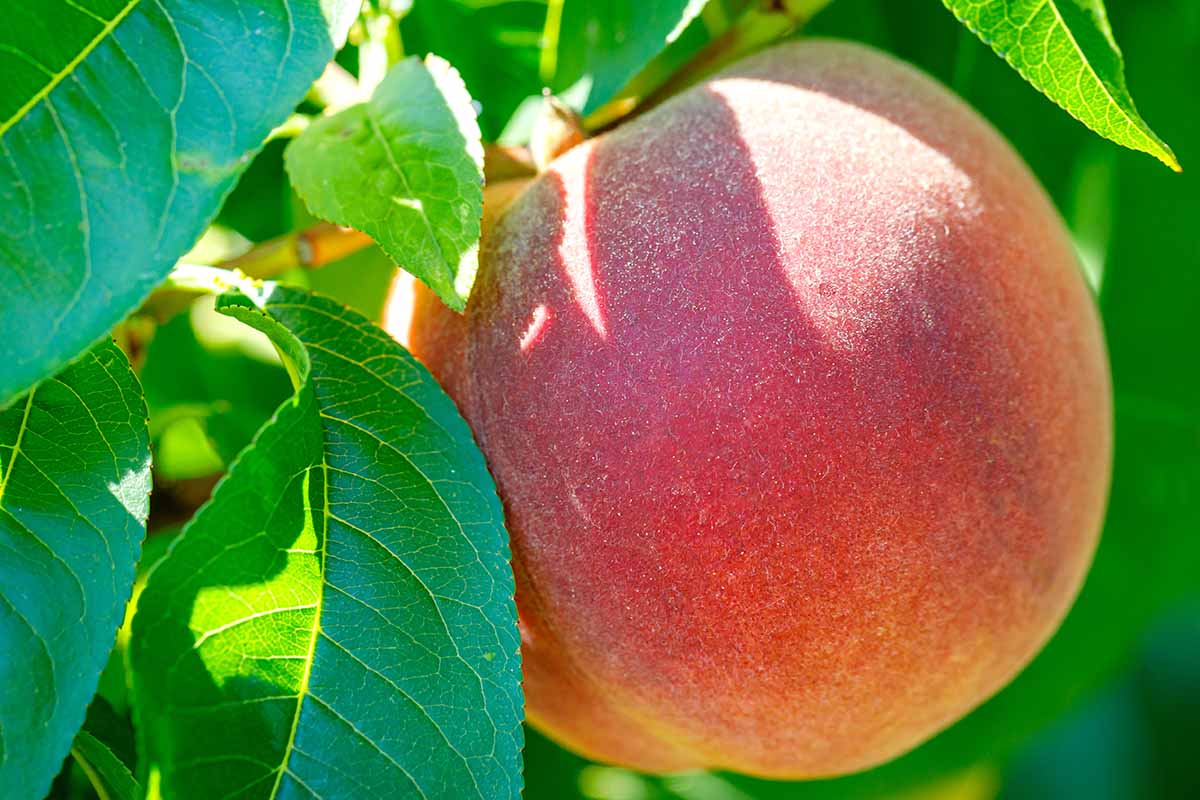
Peaches (Prunus persica) are one of my favorite fruits.
That first bite of sweet liquid sunshine transports me to comforting childhood memories of summer vacations and picnics at the beach.
I wait all year in anticipation of the first peach of the season, warm and juicy, freshly picked from my own tree.
We link to vendors to help you find relevant products. If you buy from one of our links, we may earn a commission.
If you’re not growing your own peaches, you’re missing out. And if you’re wondering if you can grow a peach tree in a container, the answer is yes!
This method helps to overcome common obstacles to growing your own fruit, like a lack of space.
Containers can be portable, so you can place your peach in a nice sunny spot, then move it into a sheltered area seasonally or in bad weather.
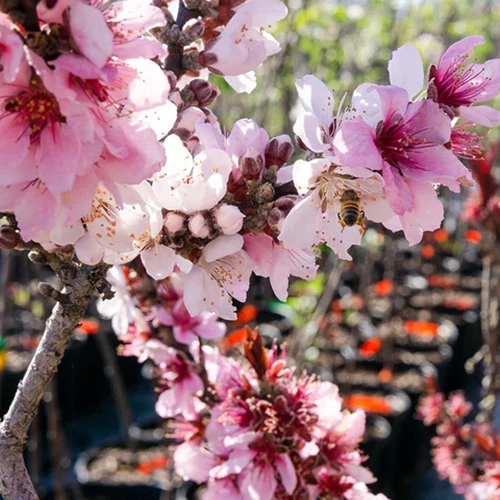
Most peach trees are self-fertile, which means they don’t need a mate to pollinate in order to produce fruit. So, you can try growing just one and you’ll still have lovely fresh peaches.
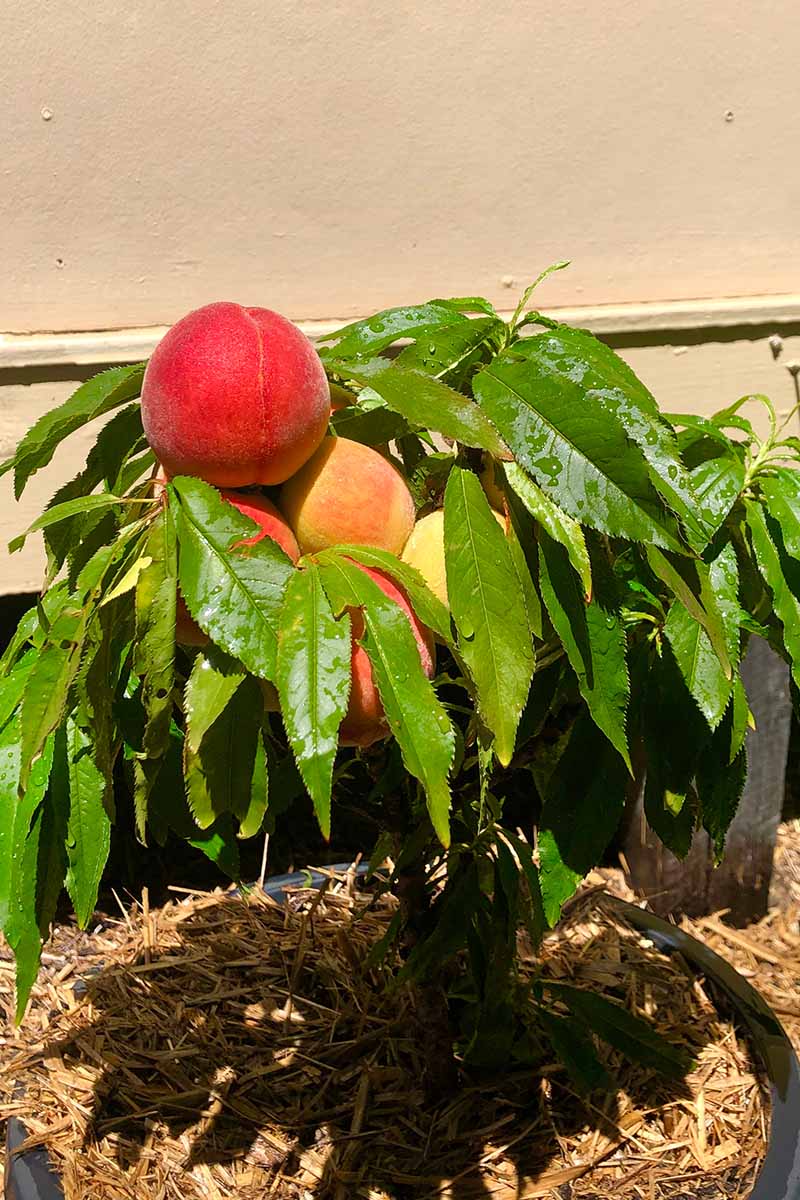
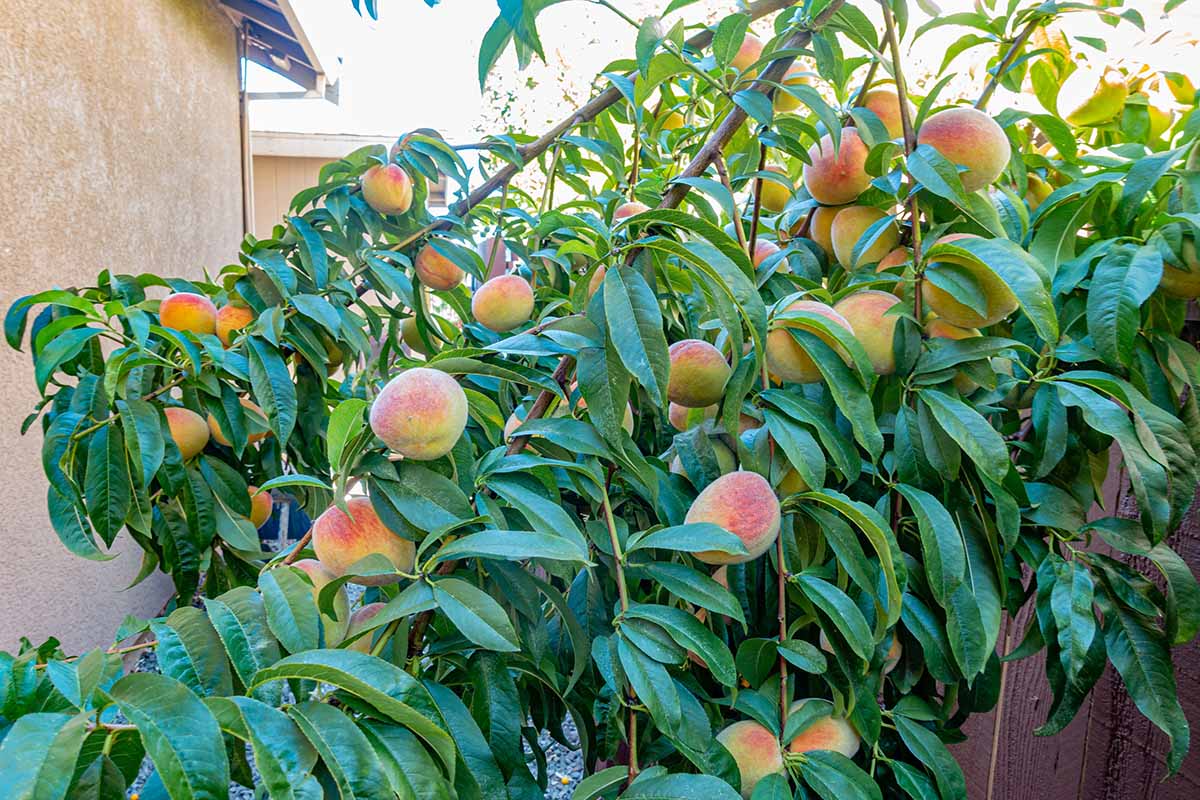
Peach trees are sun worshippers, so as long as you have a sunny balcony, patio, or courtyard, you can grow peaches in a container!
I’ve got my own peach tree, and a few years of experience to share, so if you want to learn more, you’ll like this article.
I’ll introduce you to some different cultivars and walk you through supplies and steps for planting and care.
What You’ll Learn
Ready to get started? Peachy. Let’s go!
Best Peach Cultivars for Containers
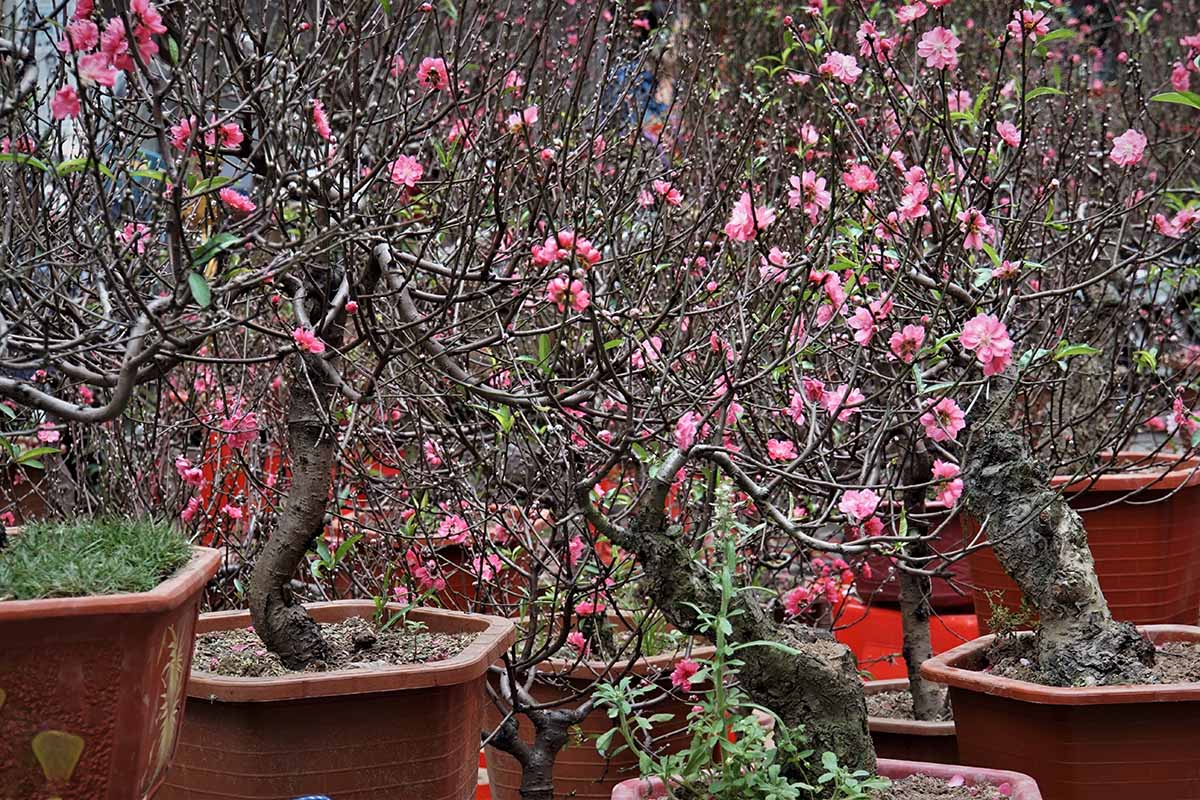
Dwarf cultivars are the best kind of peach trees to grow in containers. Some varieties are bred specifically for container growing, which is very helpful.
They will often be referred to as “patio peaches.”
There are lots of different dwarf peach varieties to choose from, and your local nurseries will likely carry varieties that are best suited to your USDA Hardiness Zone. Read on for recommendations from our trusted affiliates as well.
Before I jump into some different cultivars, chill out while I explain one detail:
To successfully produce fruit, peach trees need something called chilling hours. That means, depending on the variety, they need a certain amount of cold weather each winter.
So, before you fall in love with one kind, make sure it’s suited for your Zone.
Now, if you’re looking for recommendations, I’ve highlighted some popular favorites below.
Bonanza
This party of a peach is noted for its productivity and vigor.
It shares bumper crops of red-blushed, yellow-fleshed, freestone peaches on a dense, six-foot shrubby base. If cared for kindly, you’ll think you’ve struck gold!
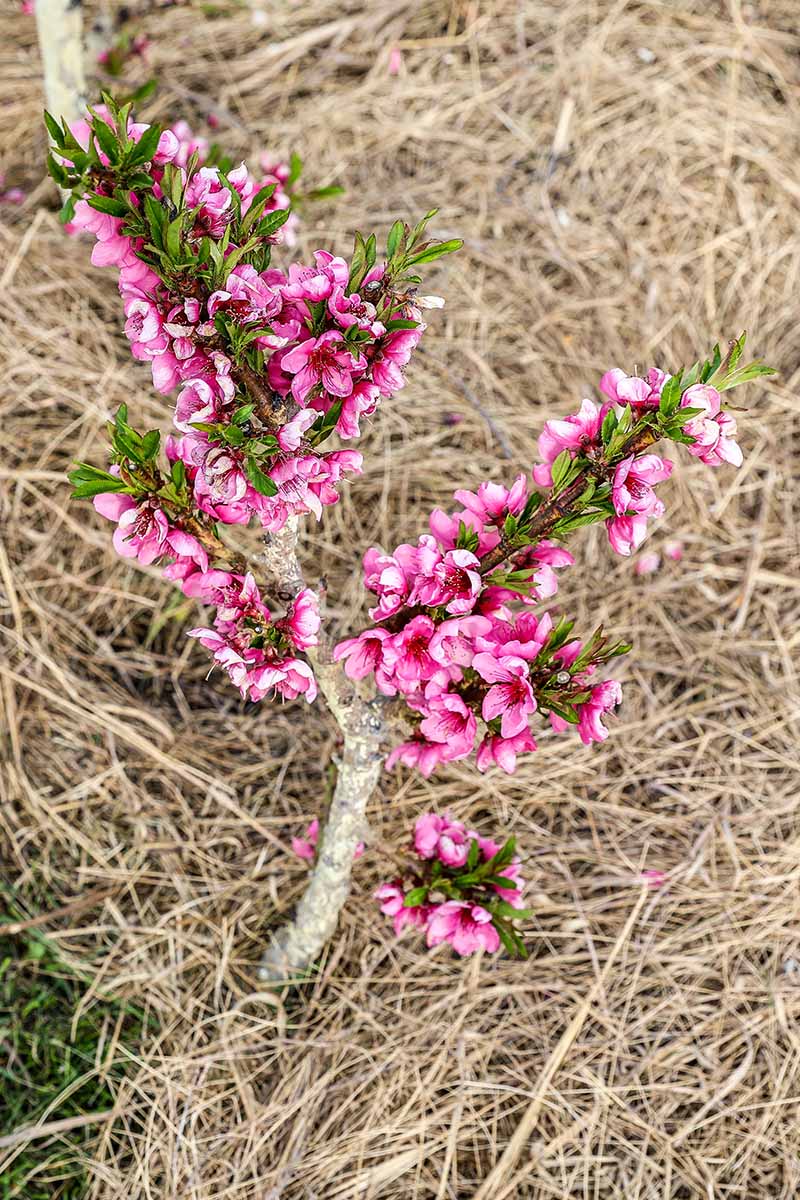
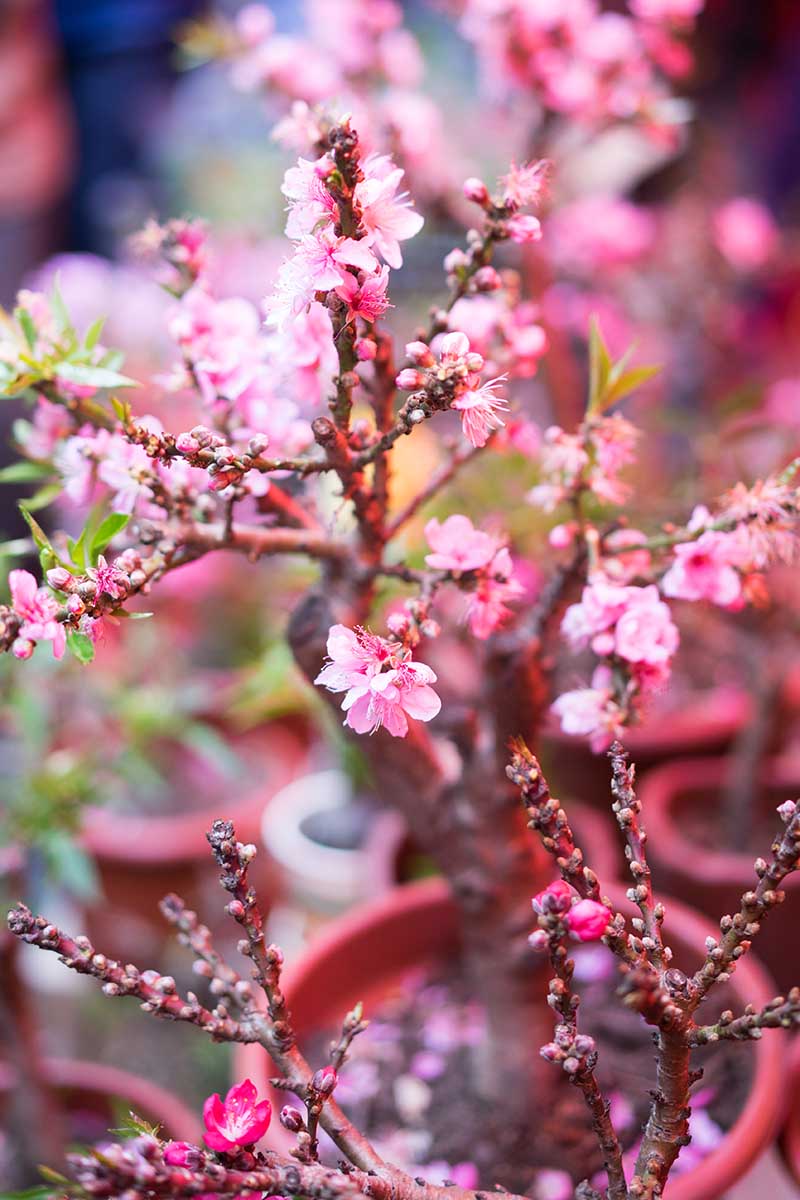
Its fruit will be ready for harvest in late spring or early summer, about three months after flaunting its pale pink flowers.

This cultivar typically requires 400 chilling hours and is suited for Zones 5 to 9.
Find ‘Bonanza’ available at Fast Growing Trees.
Bonfire
Talk about a focal point! This dreamy smokeshow is known for its unique foliage.
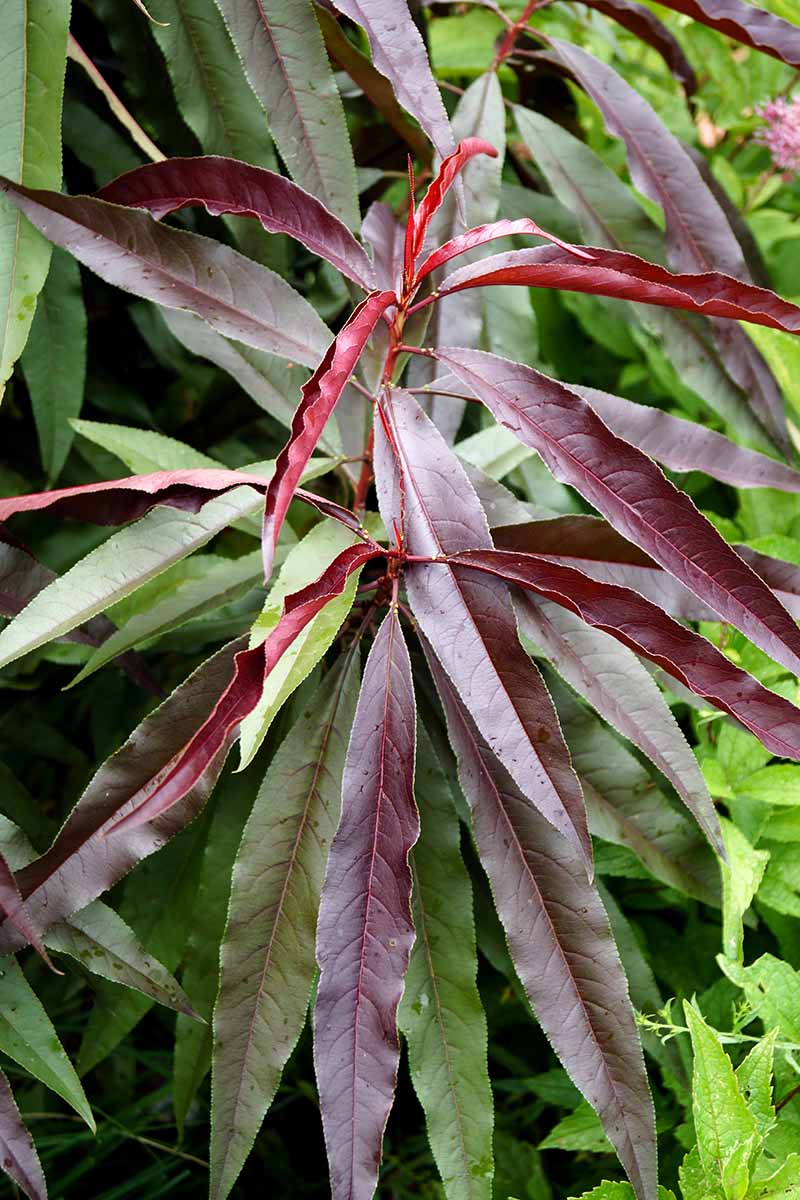
Like the flames of a beach bonfire, leaves emerge red in spring, turn a deep maroon through summer, then dance with shimmering copper highlights into fall.
‘Bonfire’ is capable of growing six feet tall. Its dark foliage strikes a sharp contrast with other pinks, purples, and reds in your garden or on your patio.
The ‘Bonfire’ isn’t all looks, though. It produces small but sweet clingstone fruits. And, it’s one of the hardiest dwarf varieties, suitable for Zones 5 to 9.
If you’re having trouble finding a ‘Bonfire,’ visit Perfect Plants Nursery.
Empress
This small but mighty princess reigns in colder areas of the United States and Canada. She’s such a show-off! In the spring, she kicks off the royal procession with her adorable pink flowers.

After applause from adoring fans, the fruits begin to form, followed by a midsummer crop of luscious, rosy freestone peaches with juicy yellow flesh.
Topping out at a petite five feet tall, ‘Empress’ requires at least 850 hours per winter of sub-45-degree temperatures to trigger flower and fruit production. This makes her winter hardy to Zone 5.
Golden Glory
This cultivar lives up to its name, as a top performer with a sunny disposition.
This dwarf cultivar matures to five feet tall. It sports clusters of deep pink flowers, then produces freestone fruit that reflects golden yellow skin, gilded with a touch of pink.
The flesh is a juicy, yellow bite of sunshine.
‘Golden Glory’ is ideal for cold climates to Zone 6, requiring 750 chilling hours.
More dwarf varieties to check out:
- ‘Eldorado’
- ‘Flory’
- ‘Garden Gold’
- ‘Garden Lady’
- ‘Garden Sun’
- ‘Pix Zee’
- ‘Southern Flame’
- ‘Southern Sweet’
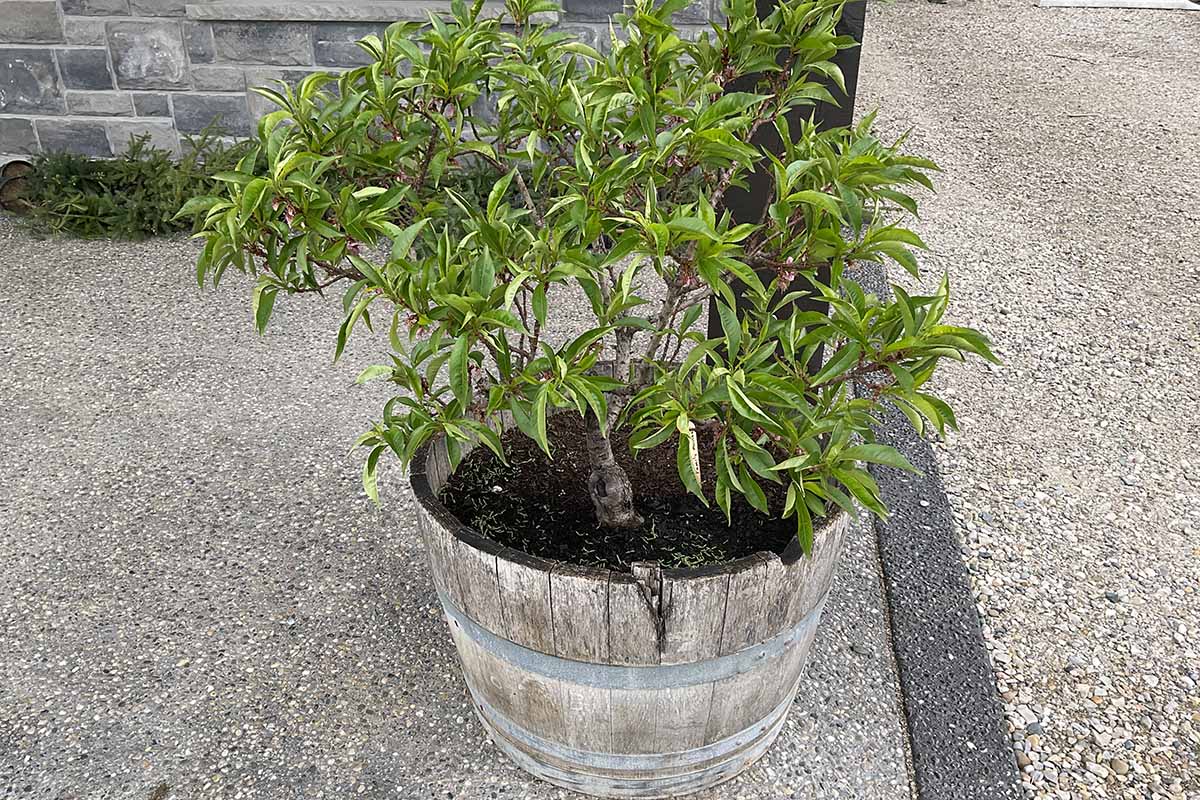
Choose a Pot
Choosing the style of a container is a very personal undertaking. I’ve hunted high and low for the perfect container for my ‘Empress,’ and finally decided to build one to suit.
It can be tempting to choose based solely on aesthetics, but for functionality in the garden you should consider other variables.
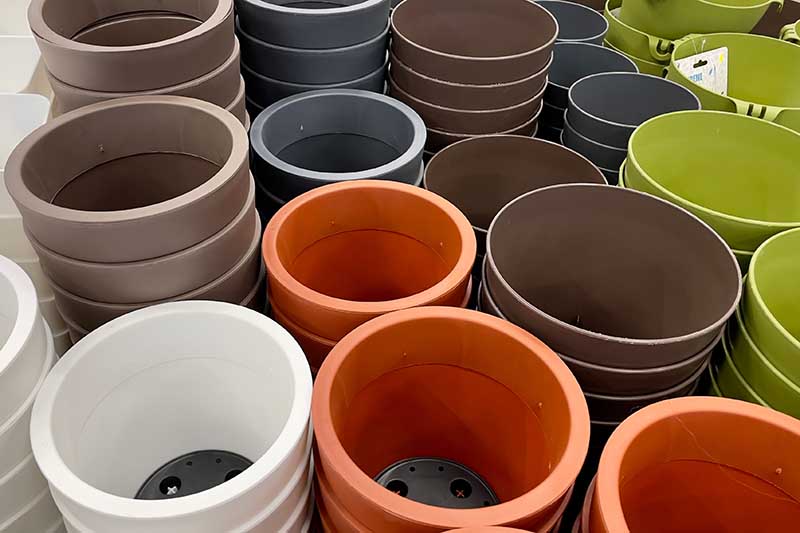
If you’re planning to move the tree into a sheltered indoor space for the winter, the pot should be portable and not too heavy. You may want to choose a material like plastic or fiberglass.
Check out new planters made from glass fiber reinforced concrete, like these from ePlanters.
If you’re leaving it outside when temperatures drop below freezing, pick a pot that won’t crack in the cold.
Ceramic and even some kinds of plastic containers will spontaneously split when the thermometer plunges. Look for planters made from materials specified for cold weather.
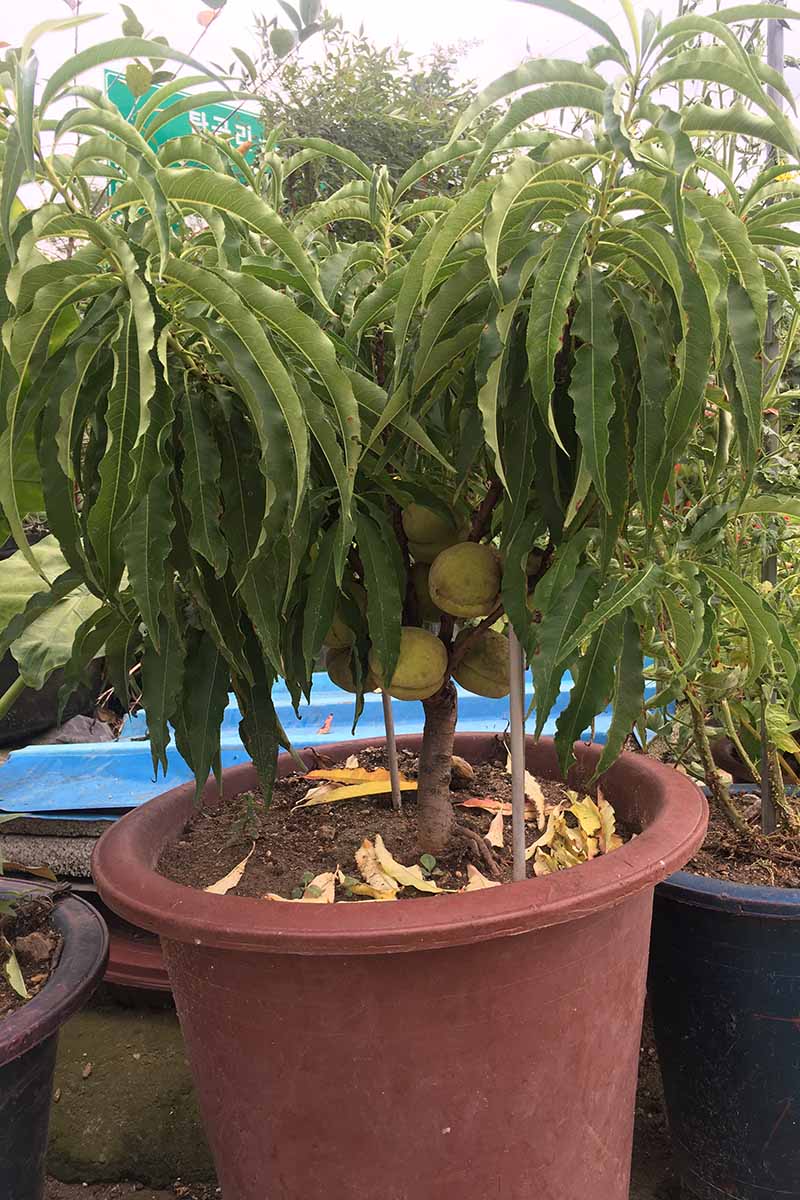
Once you decide on the material, consider the size. There is no definitive measurement I can give you because it depends on the expected mature size of your tree.
Your baby peach tree should have ample room to grow, without crowding the roots. But it shouldn’t be too big if you plan to move it.
A good rule of thumb is to look for a planter that is at least twice the width and depth of the root ball.
You can always pot up as the tree grows. In fact, you should plan to repot every two to three years.
Your container should also have holes in the bottom for drainage.
If there aren’t any, find a different style. If you’re comfortable wielding power tools, you may be able to create some holes yourself.
Prepare the Potting Soil
Peaches do well with fertile, moisture-retentive but well-drained soil. Although the dirt in your home gardens might be healthy and nutrient-rich, it won’t be adequate for filling the peach pot.
Containers have special soil needs. Regular garden soil lacks sufficient aeration and will not offer proper water retention or drainage specific to meet these needs.
So it’s best to customize the mix you fill your container with.
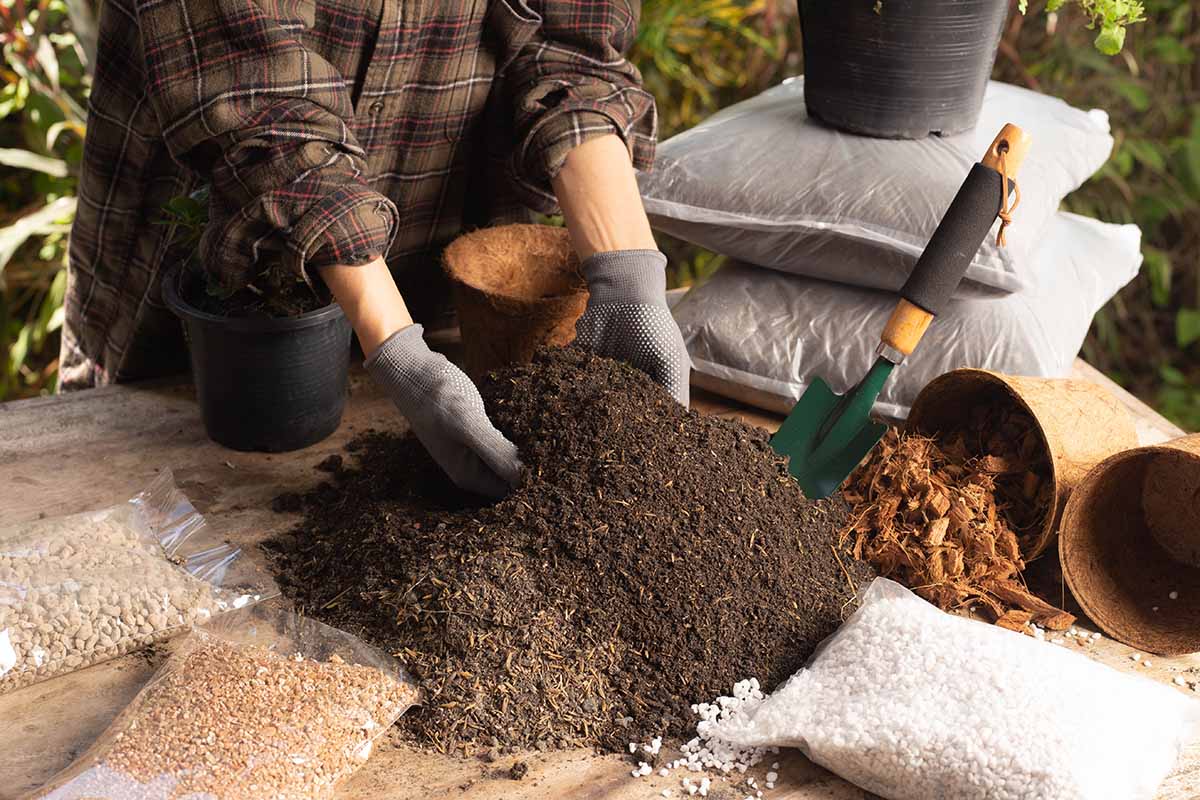
According to Jeffrey Williamson of the Horticultural Sciences Department at the University of Florida, you can choose a commercial potting soil or whip up a mixture of one part sand, one part peat, and one part bark or perlite.
Professor Williamson might live a bit south of many of us, so I’ve got another mixture suggestion for you from the University of Massachusetts Extension, Center for Agriculture.
The experts there agree that commercial soil can be used, but it’s a good idea to amend it with peat and either vermiculite or perlite. Try a ratio of two parts topsoil, one part peat, and one part vermiculite or perlite.
The sustainability of peat is a hot topic of discussion, so if you’re looking for peat alternatives, you can try bark, wood fiber, or coconut coir.
If you’re not sure about mixing your own soil, take the prepared, commercial soil route.
I recommend a high-quality product like the organic potting mix from Perfect Plants Nursery.
Steps and Tips for Planting
So, you have your new peach tree, you’ve chosen your container, and you’ve purchased or mixed your soil. Now what? It’s time to plant!
Gather Your Supplies
Round up your tree, container, soil mixture, and potting tools. Before we go further, I want to discuss some additional supplies for you to consider.
Tab’s Tips:
A few years ago, I discovered mycorrhiza fungi. If you’re unfamiliar, it’s worth reading up on. It’s been a game changer for my transplanting success rate.
Mycorrhizal fungi normally colonize the root systems of healthy plants. Some new plants are lacking it, and chances are good that your new soil won’t have it. But sometimes you can find soil mixes that contain it.
If you find one, read the package carefully because these prepared mixes are often formulated specifically for certain plant types. Learn more in our guide about the benefits of using soil inoculants.
You can also buy mycorrhizae in crystallized or liquid form and add it when you’re planting. To me, it’s definitely worth the extra time and money.
Check out Root Build 240 from Arbico Organics.
For bare root trees, I use Soil Moist Fines. This is a potassium-based polymer. You mix the granules into the soaking bucket, and it creates a gel that sticks to the roots, promoting moisture retention and reducing transplant shock.
Another suitable alternative, I recently stumbled on a combination Soil Moist product called Container Mix Plus, which contains mycorrhizae and is specifically designed for container planting. Bonus! I’ll definitely be trying this one out.
It’s available from Arbico Organics.
As with all soil and transplant additives, be sure to read the instructions carefully before using them.
While it’s true that these helpers can improve our gardening success, if you choose the wrong product or use one incorrectly they can be ineffective, or even damage your plants.
Now that I’ve explained these tips, let’s take action.
Prep Your Tree for Planting
Begin by watering your peach tree well. If it’s still in its original nursery container, give it a good shower. If it’s a bare root, soak the roots in a bucket of water for about 30 minutes.
Prep Your Container
While your tree is soaking, there are a few optional things you can do:
1. Lay a piece of screen mesh over the holes in the bottom of the pot. This helps to retain the soil in the pot while still allowing water to drain out.
2. Add a layer of gravel or small stones to the bottom of the container. I’ve heard this step argued both ways. The rationale is that it promotes drainage. But according to the folks at the University of Illinois Extension, this step can actually do the opposite and cause root rot.
Who is correct? I’m not 100 percent sure, and I’ve done it both ways. I usually have a strong opinion on things like this, but in this case, do what you think is right.
Fill the bottom quarter or third of the pot with your soil mixture. This is when you might add mycorrhizae if you have it. Check the instructions for the product you’re using.
Plant Your Peach!
If it’s still in its nursery container, remove the tree and examine the roots. Loosen pot-bound roots.
Set your tree in the partially filled container of soil. Spread the roots out and carefully add soil, gently firming it as you go.
Water thoroughly.
Resist the temptation to immediately fertilize! Your new tree has just been subjected to some stress, and fertilizing right now may actually raise its stress level.
So, give your thirsty tree plenty of water and wait a few weeks to begin any fertilizing regime.
Add some mulch to give a finished look and hold in moisture, and you’re all done.
Congrats! You did it!
Care and Maintenance
Potted peach trees need a little TLC to keep them healthy and fruiting well. Watering, feeding, and mulching are all important steps in your routine.
Some peaches in containers also need annual pruning to keep them healthy and growing in a compact shape.
Let’s go over some of the basic requirements.
Watering
Peach trees need regular watering throughout the growing season, especially newly planted specimens in containers.
You’ll find that trees in containers dry out much faster than those in the ground. Daily watering is necessary, especially in the first growing season, and if the weather is dry and warm.
Be careful not to overwater while the fruit is ripening, though. Too much water, inconsistent watering, or even excessive wet weather can cause fruits to split.
Cooler weather generally slows plant growth and thus reduces the plant’s need for moisture, so go easy on your watering schedule during cool months.
Feeding
Ask 10 gardeners about their opinions on feeding, and you’ll likely get 10 different answers.
The cultivar you grow, your growing conditions, and which products you’re already familiar with will all influence your fertilizing protocol.
For general feeding, look for a complete and balanced fertilizer that contains nitrogen, phosphorus, and potassium (NPK) in balanced proportions.
There are many brands to choose from, but I’d suggest using something organic.
Remember: you will be eating the fruit from your precious tree. Whichever brand of fertilizer you choose, follow the application instructions on the package.
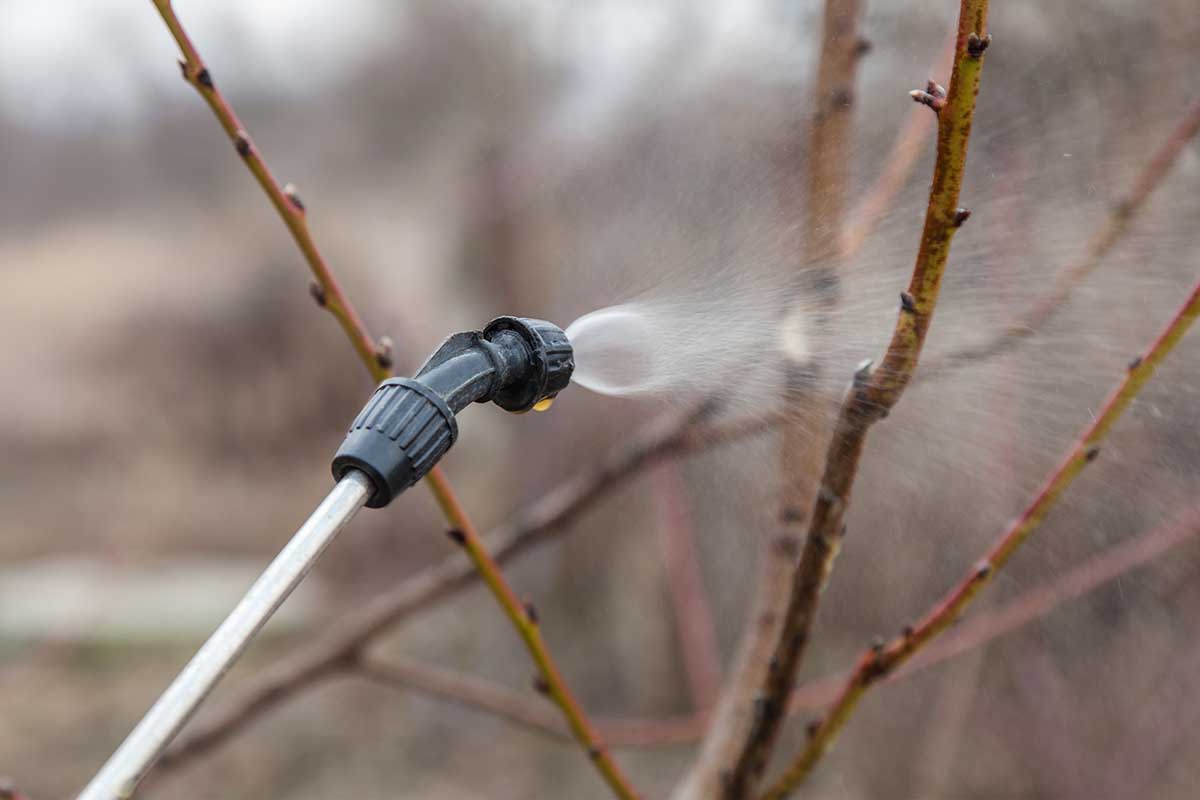
Personally, I do a late winter or early spring orchard spray on my fruit trees and shrubs. I do this to boost immunity, promote fruit growth, and help my fruiting plants resist disease.
I mix up a concoction of concentrated natural ingredients in my garden sprayer, selected based on a recipe for an orchard spray developed by farmers and orchard consultant Michael Phillips.
These include organic fish fertilizer, pure neem oil, beneficial microbes, liquid kelp, and blackstrap molasses, plus water.

The Holistic Orchard: Tree Fruits and Berries the Biological Way
You can read Phillips’s book for more details. It’s called “The Holistic Orchard: Tree Fruits and Berries the Biological Way,” and you can check it out on Amazon.
I apply this spray a few times, spaced a few weeks apart, while the trees are still dormant. When the buds look ready to open, I stop spraying.
Mulching
My happy trees also receive a fresh layer of mulch at their base every spring. Try straw or hardwood chips.
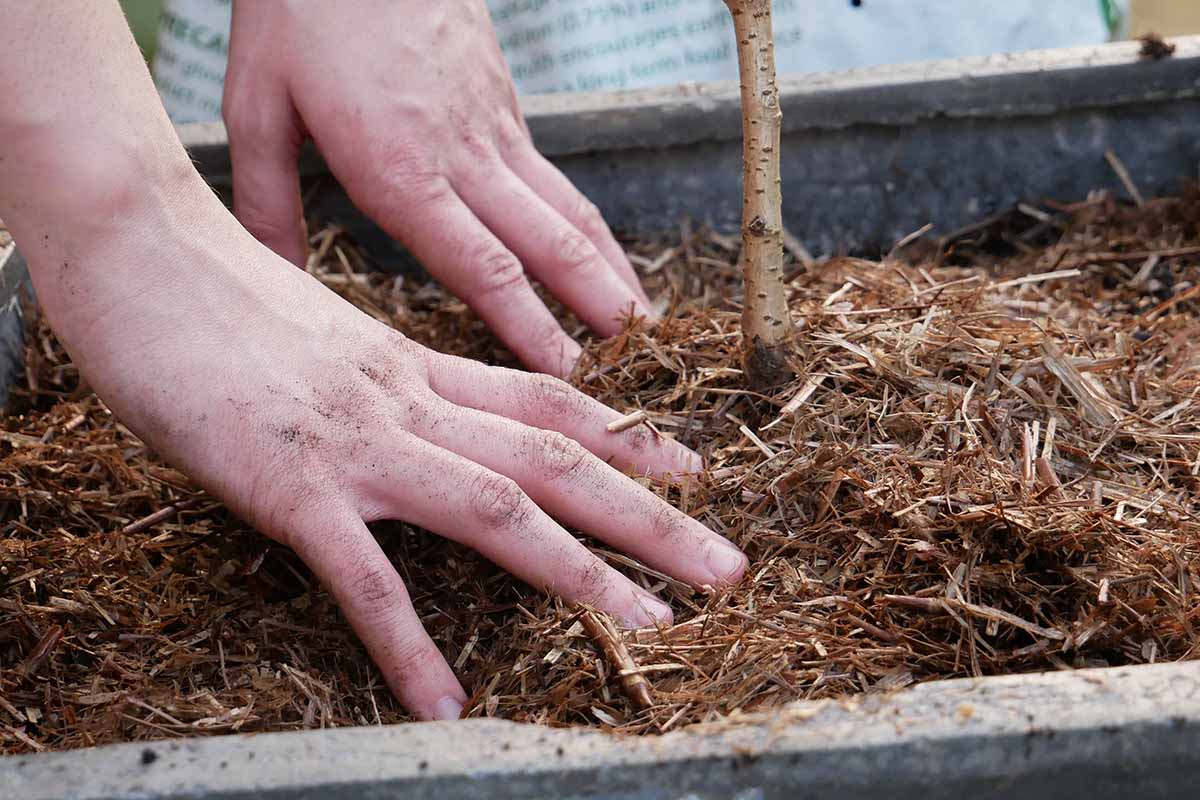
I also like to use aged manure or compost as mulch in the spring. This helps the soil retain moisture while adding nutrients at the same time.
Pruning
Some natural dwarf varieties like ‘Bonanza’ might not require regular pruning because they are slow growers.
These peach trees should develop and maintain their natural shape with little or no training or pruning.
But others might become “leggy” in a container if they’re desperately reaching for sunlight. These branches might appear misshapen, long, and unusual-looking, and they should be trimmed back to force new branching.
Sometimes the top of the tree will grow disproportionately to the bottom of the tree. You might notice some leaf shedding and dieback. In this case, you can prune more heavily to rejuvenate your tree.
The best time to prune is late winter into early spring, during dormancy. You can perform light pruning in late July or August, but severe pruning at this time will weaken the tree.
Pruning trees is a broad topic with many variables to consider.
Lucky for you, your dwarf variety won’t need much because it will max out at a certain height. Most of your pruning will be tidying and shaping.
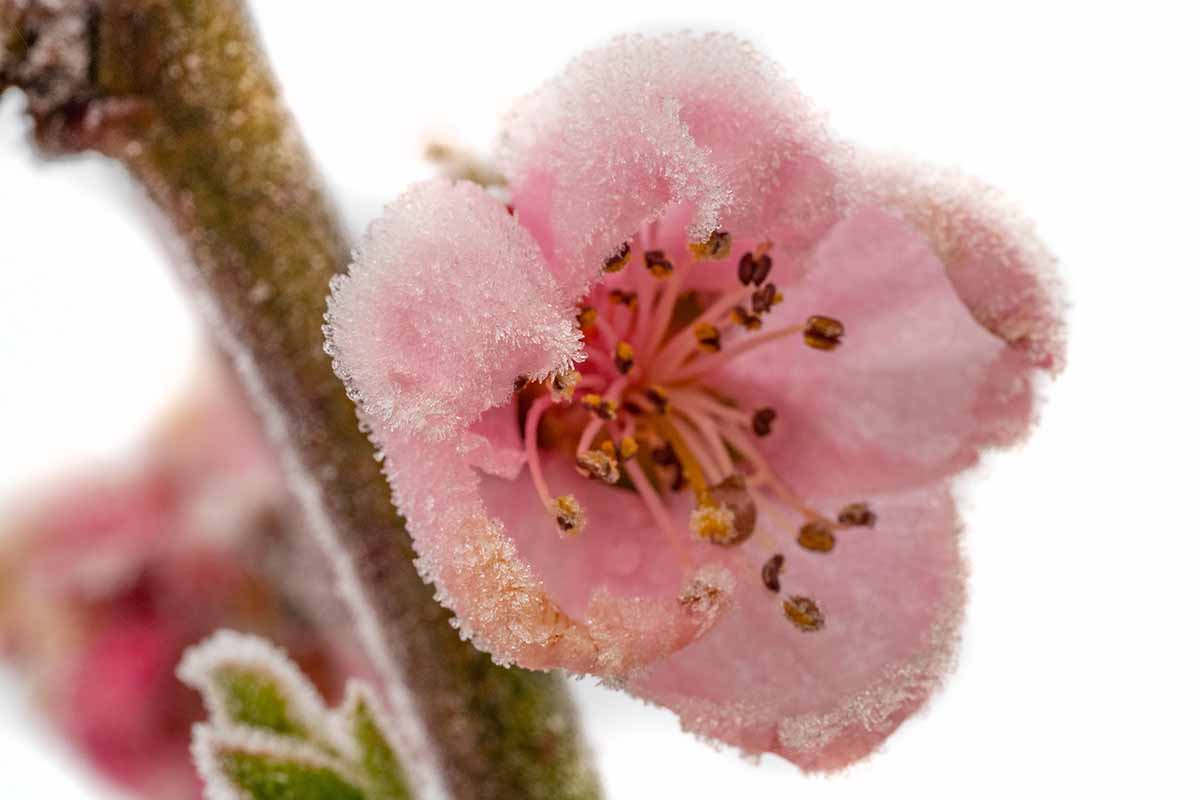
Cold Protection
Peach trees are fairly hardy, but their blossoms open early in spring, so they can be susceptible to frost damage.
If you see spring frost in the forecast, protect the buds by gently tossing a light cover over the top for the night.
If the pot is portable, move it into a sheltered spot until the risk of freezing temperatures has passed.
Let’s get back to chill hours for a minute. Chill hours are the minimum number of hours a fruit tree needs to be exposed to a certain range of temperatures in order to successfully develop fruit.
But this doesn’t mean your tree can survive extreme freezing winds and cold temperatures for months on end. If you live in an area where winters can be brutally cold, you’ll want to consider the following pieces of advice.
If you leave your container tree outside during the winter, keep in mind that the roots are more exposed when trees are planted above ground rather than below. Even with hardy varieties, you could risk some root damage if the temperature drops to extreme levels.
Consider moving the container into a sheltered spot, out of the wind. This could be a garden shed or uninsulated garage. You’ll still achieve the required number of chill hours, but you’ll protect the roots from bitter winds and wild storms.
If you don’t move your tree for the winter, consider adding some insulation around the container.
My potted peach sits exposed, out in the middle of my yard, since my container is built-in and it can’t be moved.
So, here in Zone 5, I use sheets of rigid foam insulation cut to size to form a barrier around my container.
Notice I said I wrap the container – that doesn’t mean I’m covering the whole tree!
It just means the container where the roots are nestled snug for the winter have some added protection. This forms a barrier against blustery winds and potential ice storms. It looks funny, but it works!
Learn more about preparing fruit trees for winter in our guide.
Pests and Disease
To avoid problems with pests and diseases, start by choosing the right cultivar for your Zone and growing conditions. Look for varieties that are resistant to common ailments in your area.
Some common diseases to look out for with peach trees are bacterial canker, brown rot, rust, and leaf curl.
You can avoid some of these with good ventilation and by using proper sanitation with your tools.
If you must treat plants, look for biological treatments and fungicides specific to your needs.
Common pests include leafrollers, fruit moths, scale, aphids, and stink bugs. Battle these with beneficial insects, and biological sprays like those made with Btk.
Choose other insecticides carefully.
Remember, your goal is to eat the fruit, so you don’t want to ingest unnecessary chemicals.
Preventative dormant sprays like I mentioned above, paired with proper care usually do the trick. Otherwise, treat only as needed.
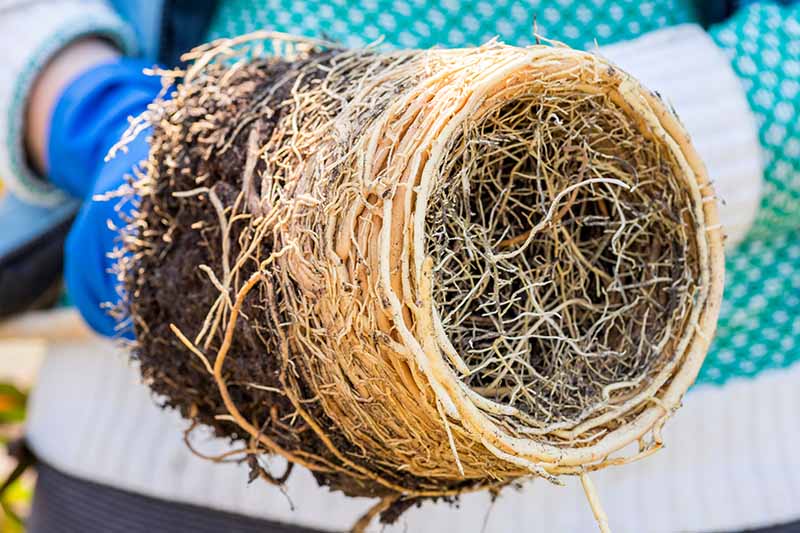
Repotting
As your tree grows, it will eventually become root-bound in its container. Be proactive and repot it into a larger container every two or three years.
How can you tell your tree is becoming root-bound? You’ll notice a slowing or lack of vertical growth.
It might still produce leaves and even fruit, but don’t wait too long because this will begin to affect growth and production.
You might even see roots poking through the holes in the bottom of the pot.
Plan to repot your tree in late fall, early winter, or early spring. These are the best times because the tree is dormant, but the soil isn’t a frozen block of ice.
When you remove your tree from its container you’ll probably notice the roots are overgrown, or “root bound.” You can take this opportunity to not only refresh the soil, but also to trim the roots.
Cut up to 30 percent of the roots from the bottom and sides of the root ball. I use my hori hori tool, and sometimes a saw if the ball is especially dense.
Pay attention to long roots that have curled inside the pot and be sure to snip those off. Loosen the remaining roots and tease out some of the spent soil.
Reducing the size of the root ball may allow you to use the same pot. If the root ball has grown significantly and you aren’t able to reduce enough safely, pot up.
Choose a container that is slightly larger than the current one, refresh the soil, and follow the planting steps I mentioned earlier. Easy!
Containers Are Peachy Keen for Peach Trees
By now you should be feeling pretty confident about planting your own peach tree in a container.
I’ve covered some fun varieties to check out, and explained how to plant your tree. I’ve also suggested some places to find everything you need. It’s time to get peachy!
Are you a peach super fan, but short on space? Your sunny balcony or patio could be the perfect spot to try growing one of your own!
Or maybe you already have a dwarf peach? I’d love to know which variety you’re growing and if any of my tips came in handy. Drop a comment below.
And to learn more about peach trees, check out these guides next:
Love This totally a handy helper site
Glad you find the site helpful. Thanks for reading!