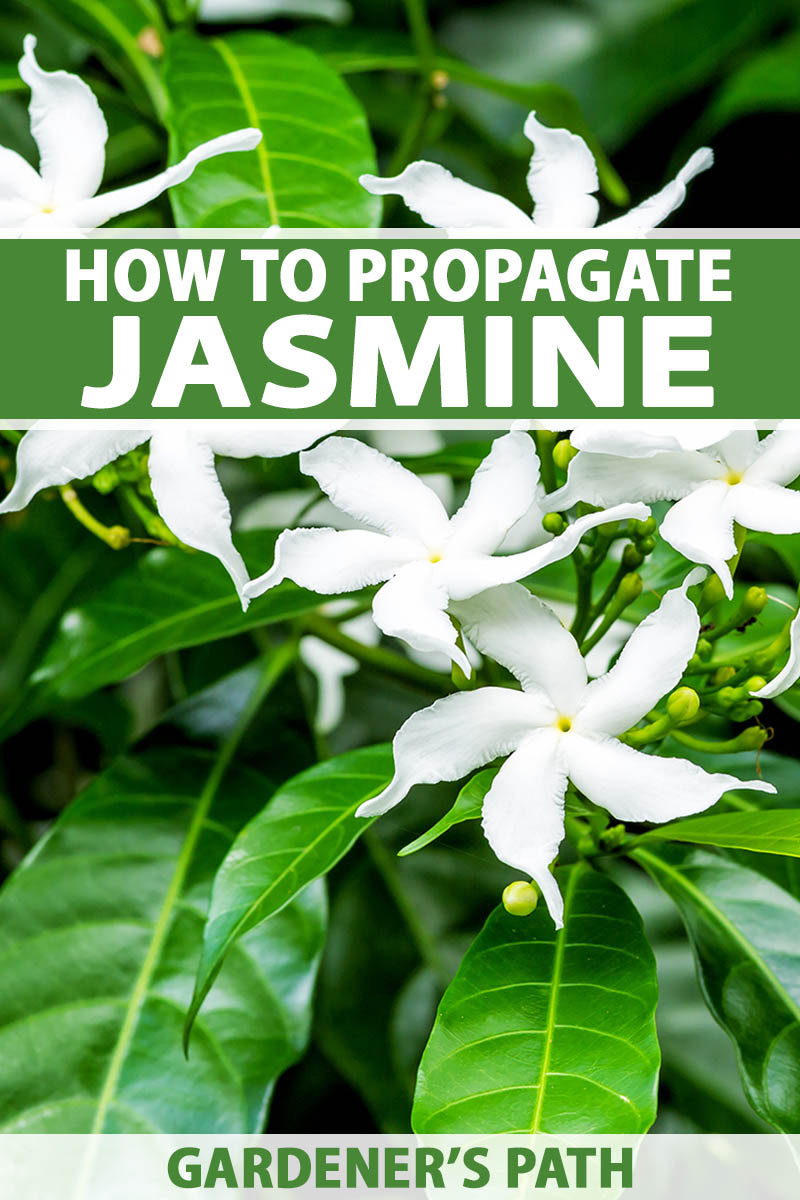
Stunning climbers loaded with glorious, starry flowers and a heady fragrance, jasmine vines (Jasminum spp.) are also easy to propagate, so you can quickly enjoy more of the exact same plants that already do well in your garden.
We link to vendors to help you find relevant products. If you buy from one of our links, we may earn a commission.
There are a few ways to propagate plants, but unfortunately, most popular garden varieties have poor seed set, or none at all.
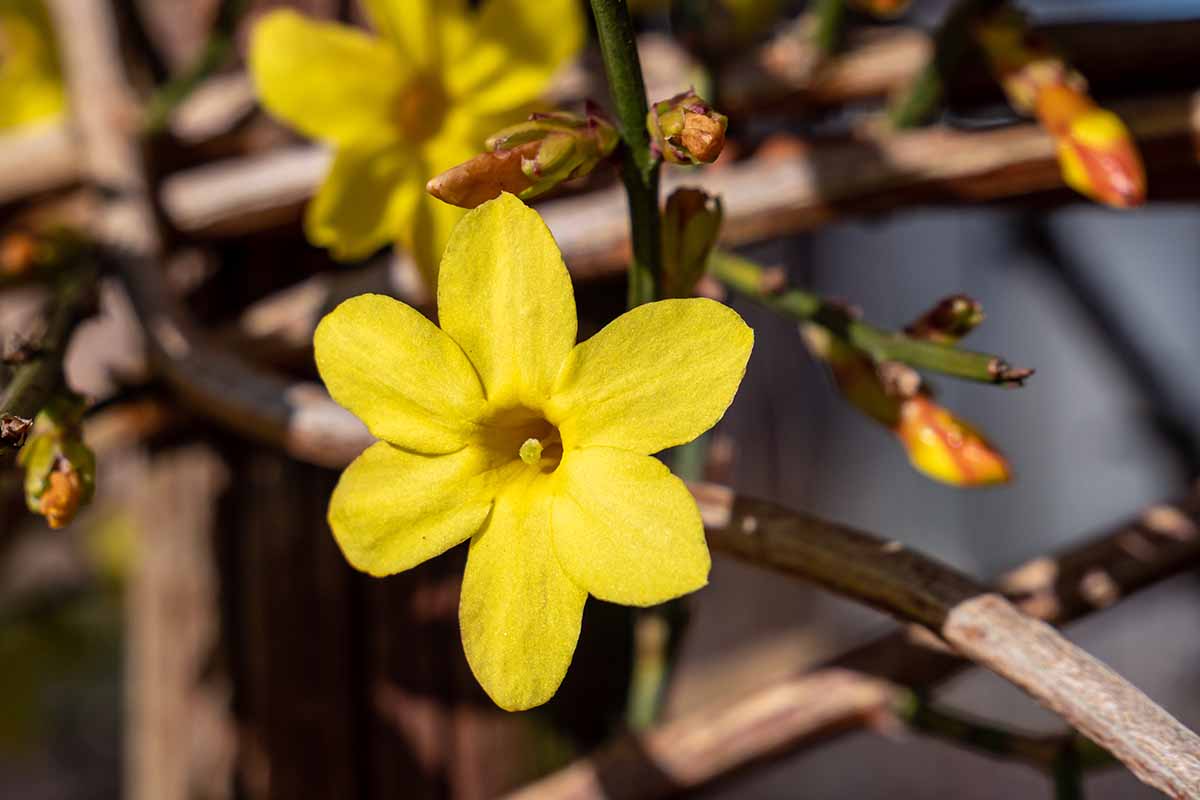
So collecting seed from species or hybrids of Arabian (J. sambac), Italian (J. humile), pink (J. polyanthum), poet’s (J. officinale), Spanish (J. grandiflorum), Stephan (J. x stephanense), and winter (J. nudiflorum) types doesn’t usually give high-yielding results.
There are some species, like the Indian variety (J. auriculatum), that have an abundant seed set, and they germinate nicely in the right conditions.
But for the most part, rooting stem cuttings is the easiest and most successful reproduction method. Layering is another viable option.
Whether you choose to take cuttings, layering, or sowing seed, let’s look at the different methods to propagate jasmine vines now.
Here’s what we’ll cover:
What You’ll Learn
Jasmine Basics
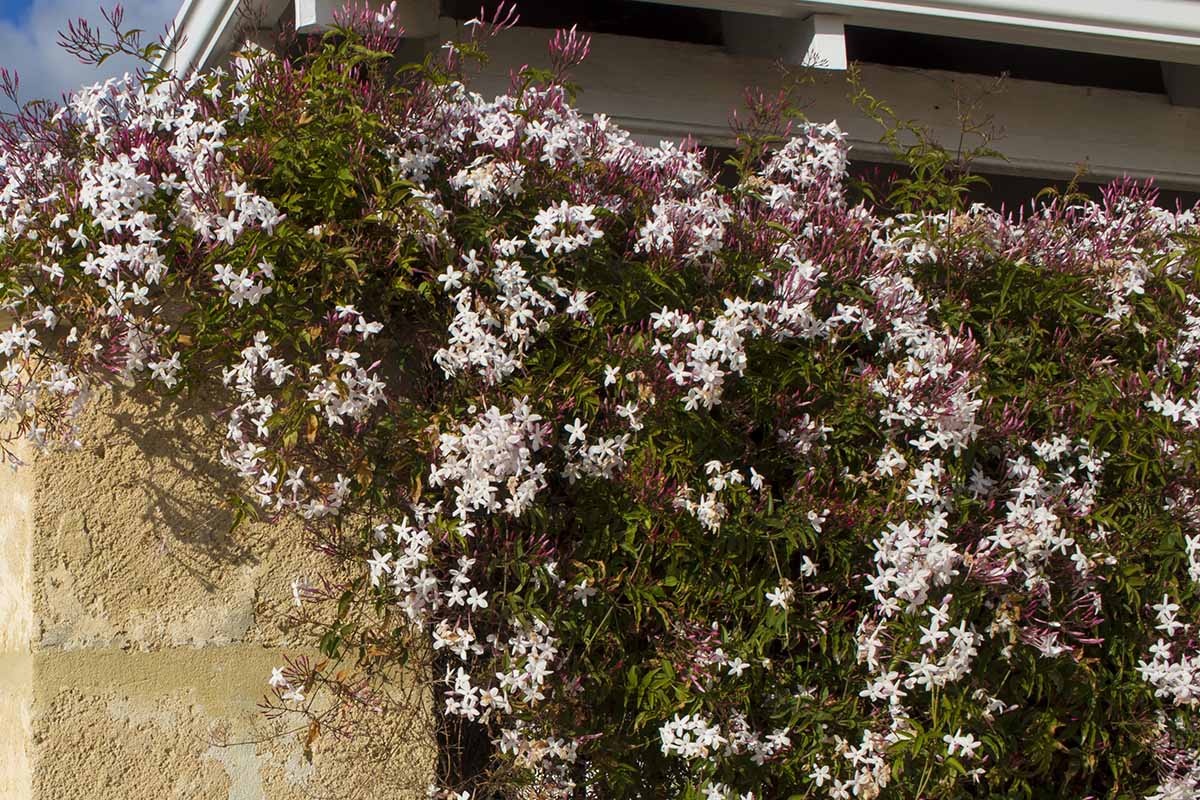
Highly showy climbing vines or shrubs, members of the Jasminum genus grace our gardens with profuse displays of starry or pinwheel-shaped flowers in shades of pink, white, or yellow.
Popular for ground covers, specimen plants, or twining up trellises, the majority of cultivars are fragrant, but not all of them.
Fast-growing and easily cultivated, most species and hybrids are hardy in USDA Zones 8 to 11, with a few suitable for cooler regions – which you can read about in our guide to 13 popular types of jasmine vines and shrubs.
In regions outside of their hardiness range, potted plants respond well to moving indoors to overwinter or they can be grown as houseplants year-round.
For overwintering or houseplant success, read our tips for growing jasmine indoors.
And while seed collection isn’t viable for most varieties, it’s still easy to reproduce your favorite plants!
Let’s have a look at how it’s done.
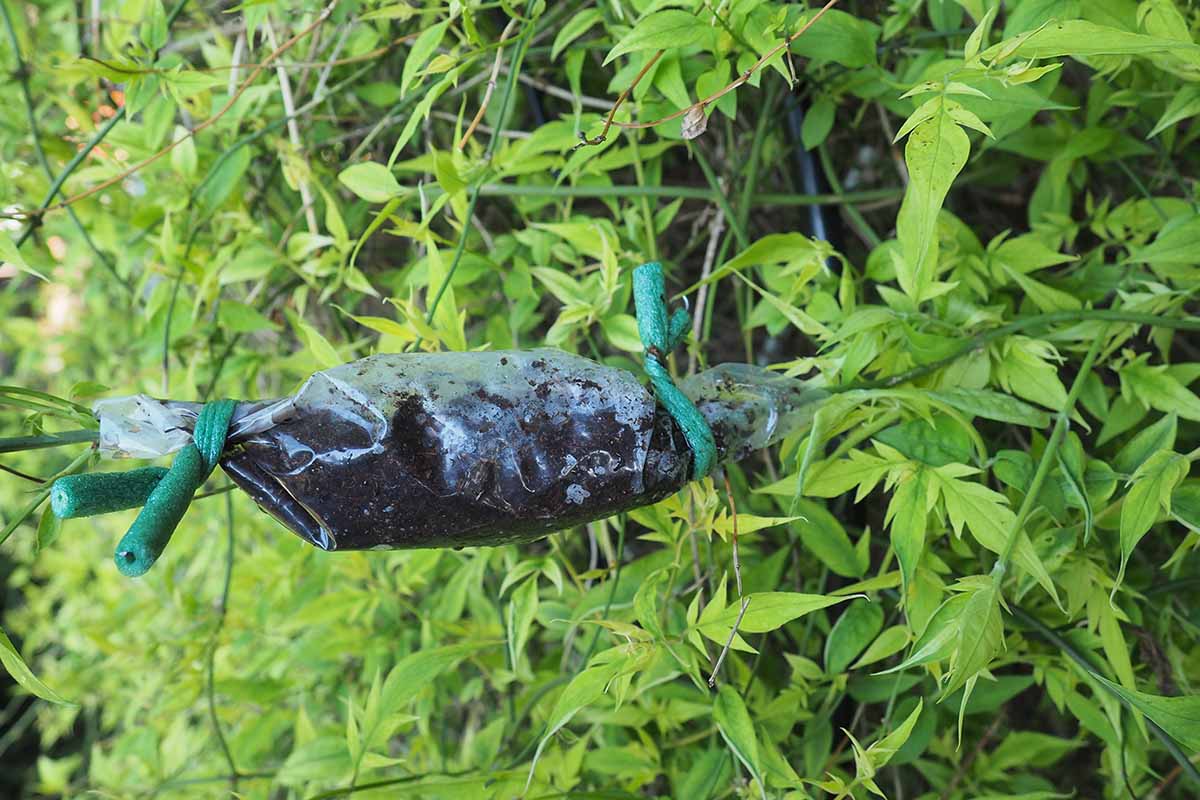
Air Layering
Air layering produces new roots from stems still attached to the parent plant.
It’s typically used when plants don’t respond well to propagation by taking stem cuttings, or if they don’t have low-growing stems that can be bent for mound layering.
For jasmine, air layering is a bit cumbersome because these plants do root well from cuttings, but there are times when it’s useful – such as with indoor plants or for shrub varieties that have stiffer canes.
Air layering should be done in spring or fall, and you’ll need the following:
- A clean, sharp knife
- Rooting hormone powder
- Sphagnum moss
- A 6-by-6-inch square of clear plastic
- Weatherproof adhesive tape or foam-wrapped gardeners wire
Ground coconut coir or other types of peat will do in a pinch, but they don’t hold water nearly as well as sphagnum moss.

Sphagnum moss is available in an eight-quart (dry) bag at Nature Hills Nursery.
Air layering starts by choosing straight – not twining – and healthy, semi-ripe stems that are one to two years old.
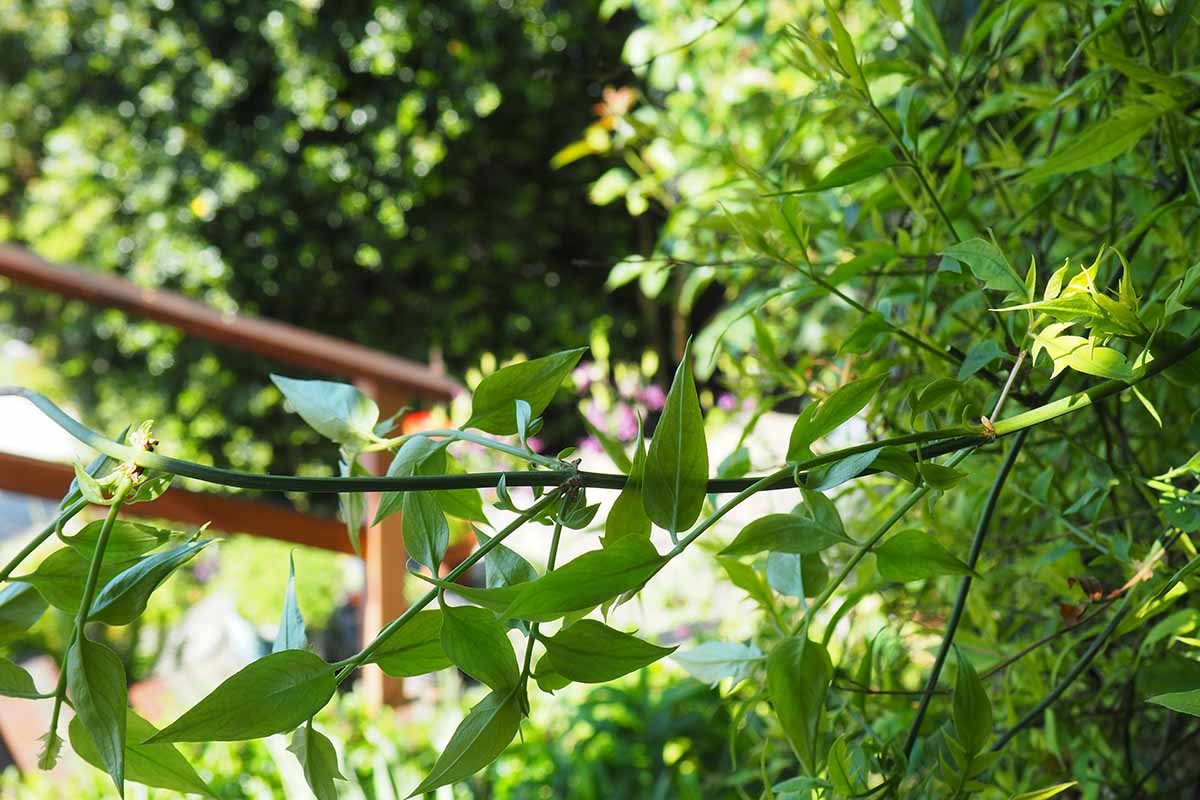
First, create a two-inch square of sphagnum moss and soak it in water for 20 to 30 minutes to get it thoroughly saturated.
Using a sterile, sharp knife, clean a one-foot stem section by removing side shoots and foliage.
Wound the stem by making two shallow cuts about one inch apart, ringing the stem.
Gently scrape away the layer of top bark between the two rings, taking care to avoid cutting deeply.
Sprinkle the wet moss liberally with rooting hormone powder.
Dress the wounded section, wrapping the moss around the stem.
Wrap the moss dressing tightly with plastic and seal the bottom end with weatherproof tape or foamy garden wire. Seal the top end as well.
Leave the wrapping in place for several months, opening it monthly to check for rooting, which can take anywhere from three to six months. When checking for roots, water the moss if needed.
Once the new roots are visible and growing through the moss, remove the plastic wrap for good.
Use clean, sharp garden shears to free stems from the parent plant, cutting slightly below the rooted wound.
Pot up or plant out newly rooted sections as outlined in our guide to planting and growing jasmine.
Mound Layering
One of the easiest ways to propagate plants, mound-layered shoots also remain attached to the parent plant while forming new roots.
And, like air layering, this method can also take several months while you wait for new roots to form.
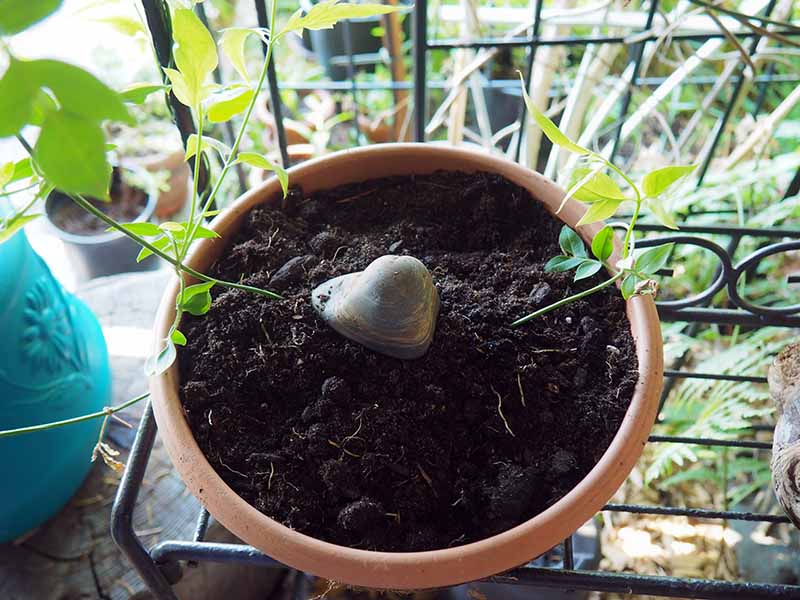
On their own, jasmine plants self-layer readily, forming new roots where stems reach down and rest on the soil, so they react well to layering with soil when this is done intentionally by the gardener.
Mound layering is best suited for shrubs or vines with pliable stems, ones that can easily be bent down to the ground or to a small pot of soil without breaking.
Mound layer in spring or autumn and use supple, one- or two-year-old shoots.
Select a spot where the stem easily touches down. Form a small hill or mound of compost-rich garden soil, then make a small trench in the top.
Remove foliage and side stems from a 12-inch section of stem on both sides of where it touches the soil.
Use a clean, sharp knife to gently scrape a one-inch ring around the stem, removing only the top bark.
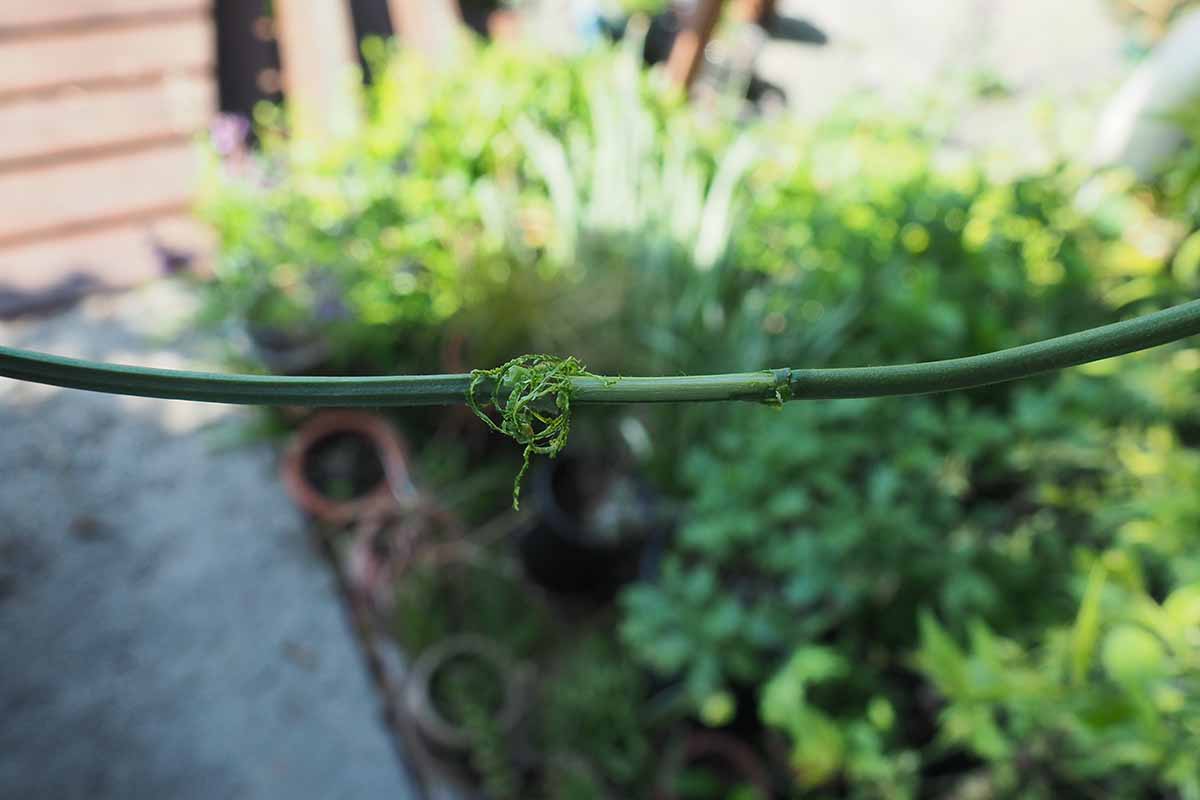
Sprinkle the wound with rooting hormone.
Lay the wound in the trench and backfill with soil, anchoring the wounded section in place with tent pegs, bent heavy wire, or a rock.
Ensure the mound gets watered with the mother plant and leave it in place for several months.
After three months have passed, start to check for rooting by removing the anchor and tugging gently on the stem’s tip.
If the wounded section moves easily, replace the anchor to continue rooting.
If it gives resistance, snip the host stem close to the newly rooted section, carefully dig out the root ball, and pot up or plant out.
Seed Stock
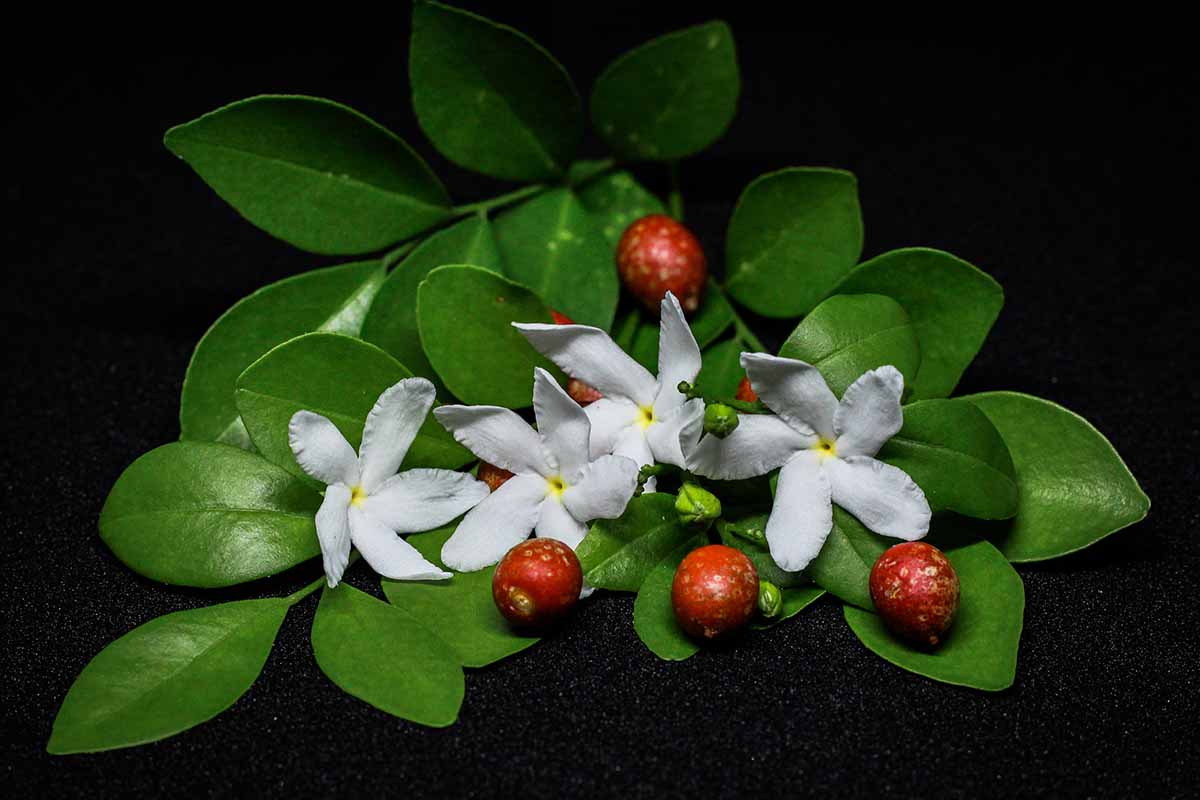
Despite the avalanche of online material claiming that jasmine vines produce a pair of thin, bean-like seedpods, they don’t!
The confusion arises because the popular and gorgeous false vine, star jasmine (Trachelospermum jasminoides), can develop long, skinny seedpods.
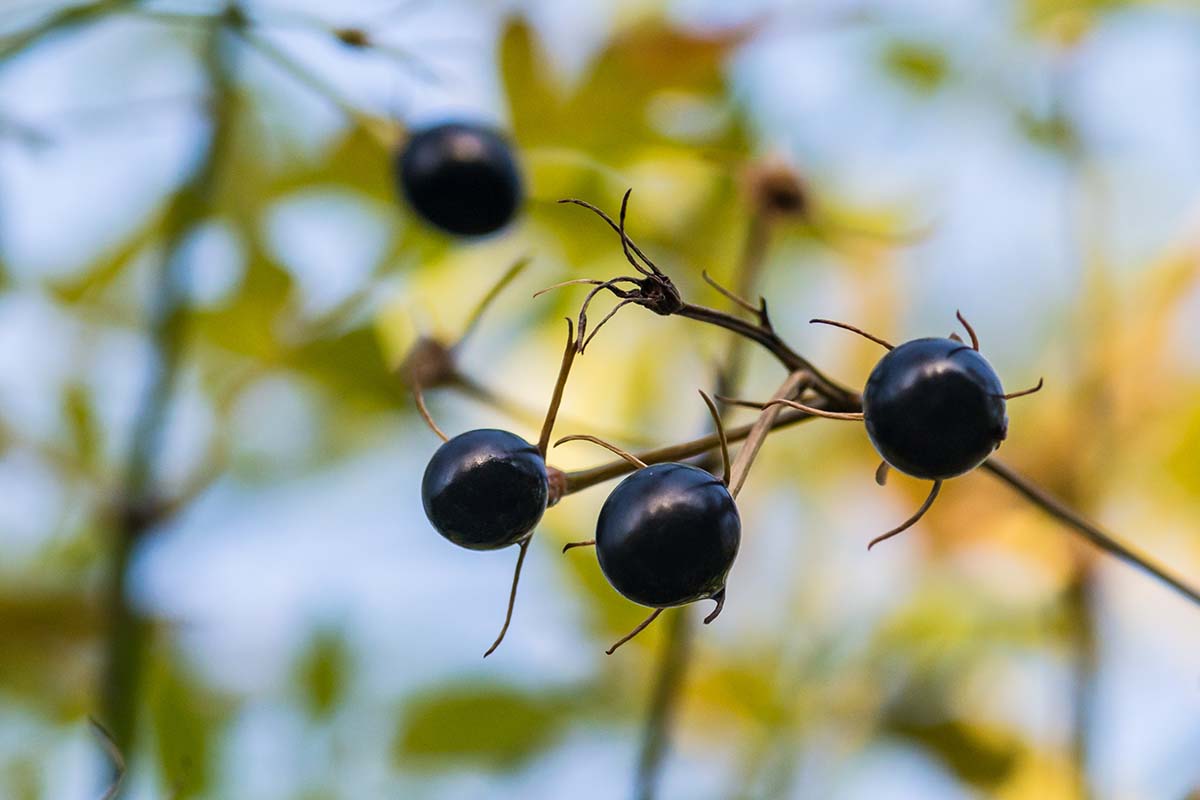
But true Jasminum species don’t develop bean-like pods – if they do produce fruit, it’s most likely a small, round or oval capsule of green, brick red, or dark purplish-black, located at the flower’s base and typically producing a single small seed.
As I mentioned, seed production for many popular varieties is spotty or non-existent, and cultivar seedlings may not be true to the parent plant.
But if your plants do fruit after flowering, harvest them in summer after the fruit dries.
Store seeds in a small envelope or container and keep them in a cool, dark drawer until you’re ready to plant.
To propagate seed, start indoors about six weeks before your last frost date.
Soak the seeds for 24 hours in a small dish of room-temperature water to accelerate germination.
Fill a tray, cell pack, or small pots with a starter soil blend and moisten the soil thoroughly.
Sow seeds lightly over the surface, cover with a quarter-inch of soil, and tamp down gently.
Cover trays or pots with a clear plastic lid, cloche, or plastic bag to retain warmth and moisture.
Place in a warm location – 70°F is ideal – in bright but indirect light.
Keep the soil moist during germination and remove covers once seeds sprout, in about four to six weeks.
After seedlings have at least two sets of true leaves and are six inches tall – about six weeks after sprouting – transplant out into the garden or pot into containers.
Stem Cuttings
Stem cuttings are taken after flowering in spring or early summer and provide the fastest and most reliable reproduction method.
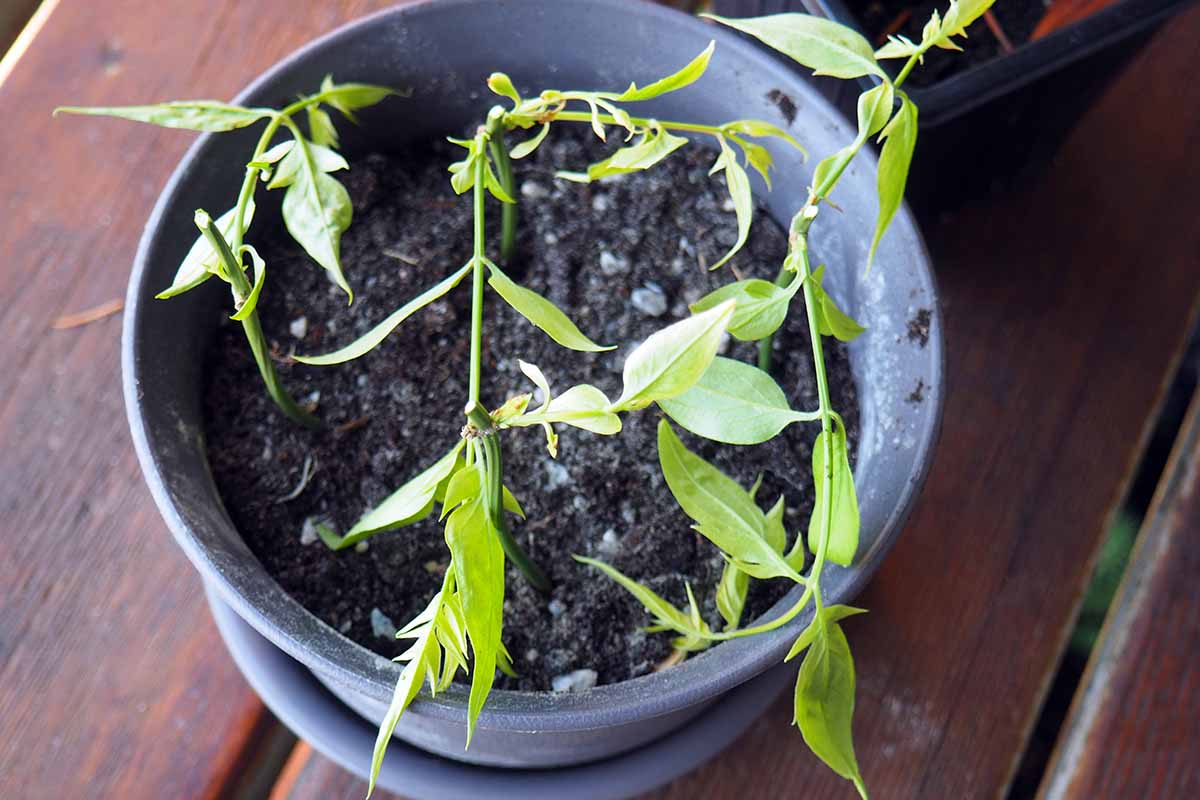
Choose strong, healthy, semi-ripe stems from shrubs or vines. Take cuttings about four to six inches in length, cutting just below a leaf node with clean, sharp scissors or garden shears.
Fill small, four-inch pots with a 50:50 mix of humus-rich potting soil and landscape sand, then water until the soil is thoroughly moistened.
Gently scrape away the surface bark from about half of the lower two inches. Dip the cut end of the stems into rooting hormone powder and shake gently to remove excess dust.
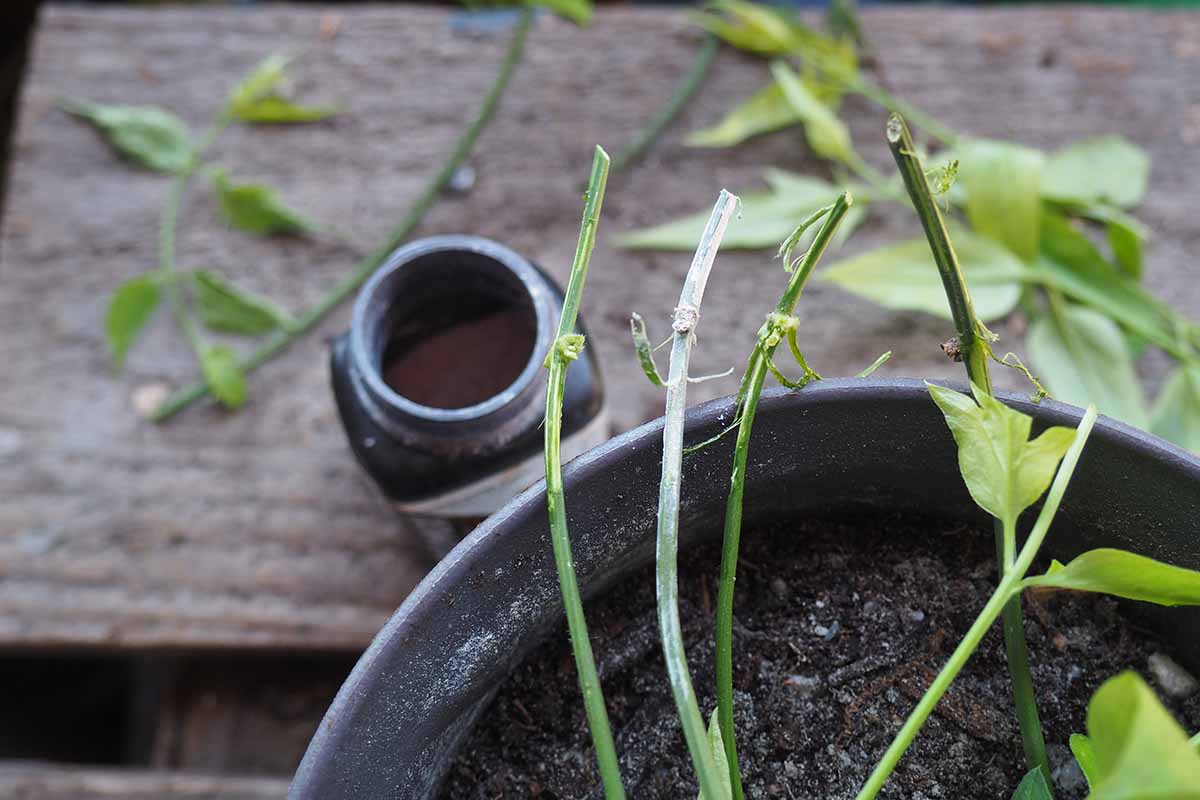
Use a pencil to poke planting holes two to three inches deep in the soil, then insert stems and firm the soil to keep them in place.
Keep your pots in a bright, warm location of about 70 to 75°F, out of direct sunlight. Maintain consistently moist, but not soggy, soil.
Roots should develop in four to six weeks. After four weeks, test for rooting by giving the cuttings a gentle tug.
If they resist, they’ve rooted and are ready for transplanting. If they move easily, they need more time.
After rooting, transplant out into the garden or pot up into containers.
Volumes of Vines
With their fast growth, charming flowers, and sweet perfume, there’s always room for more jasmine plants!
Air layering is a good option to reproduce indoor plants or those with stiff canes.
And easy methods for outdoor plants include mound layering and rooting stem cuttings from semi-ripe wood.
Or you can reproduce jasmine by sowing seeds as well – if you’re lucky enough to have plants that bear fruit.
Whichever method you choose, adding more jasmine plants is a great way to add a tropical touch to your garden!
And for more jasmine know-how, be sure to read these guides next: