There is always so much to do to get ready for winter.
With the mad rush to harvest the last of the crops, mulch and cut back perennials, and surround the cool-weather vegetables with hoop houses, it can be so easy to forget about the trees!
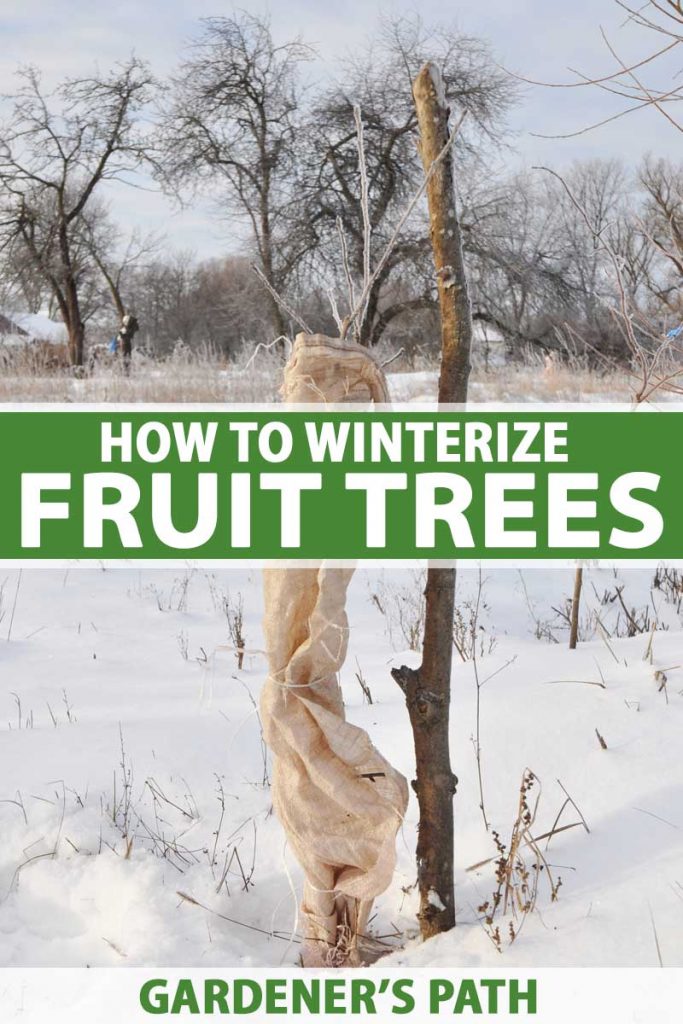
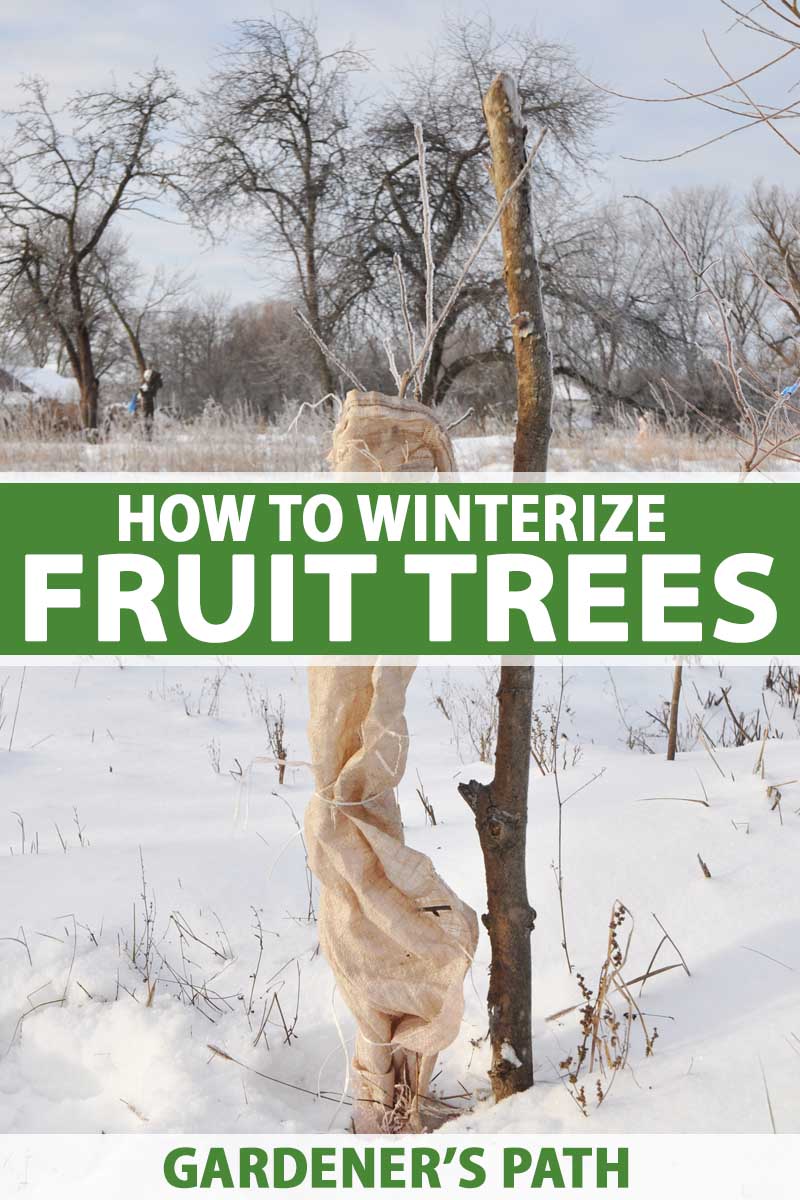
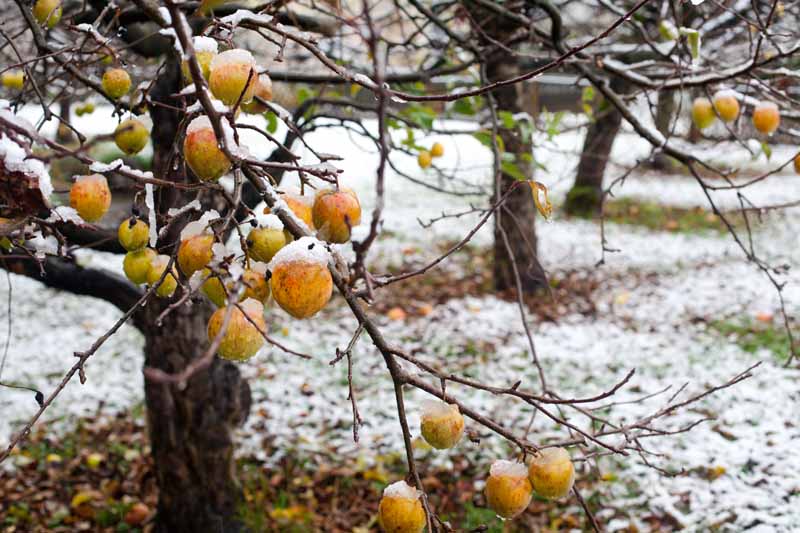
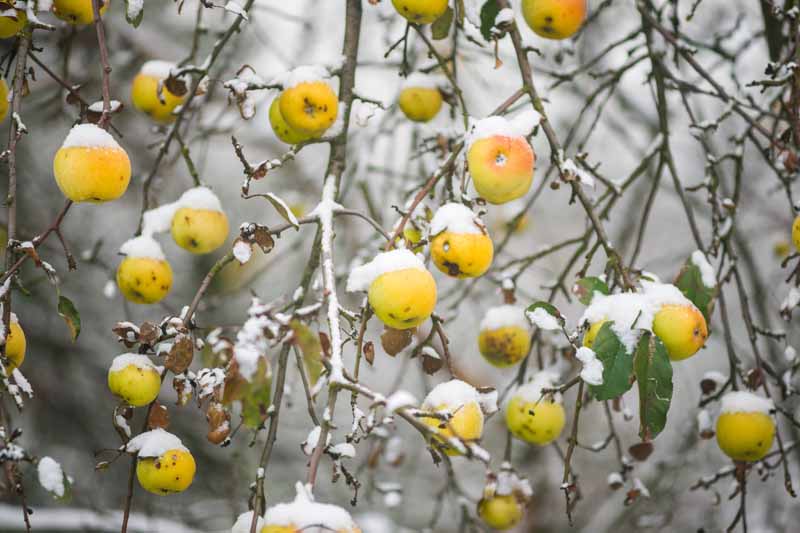
But while fruit trees may seem resilient, they are still susceptible to damage from frost and cold temperatures, and it is important to take steps to prepare them for winter.
We link to vendors to help you find relevant products. If you buy from one of our links, we may earn a commission.
This article will teach you how to winterize the fruit trees in your yard, as well as those planted in containers.
What You’ll Learn
Readying fruit trees for winter only takes a little time and effort, and doing so will keep them from being harmed by freezing temperatures, cold winds, and hungry animals.
It’s All About the Roots
The roots are such a crucial component of a tree. They are the link between the tree and the nutrient-rich soil below.
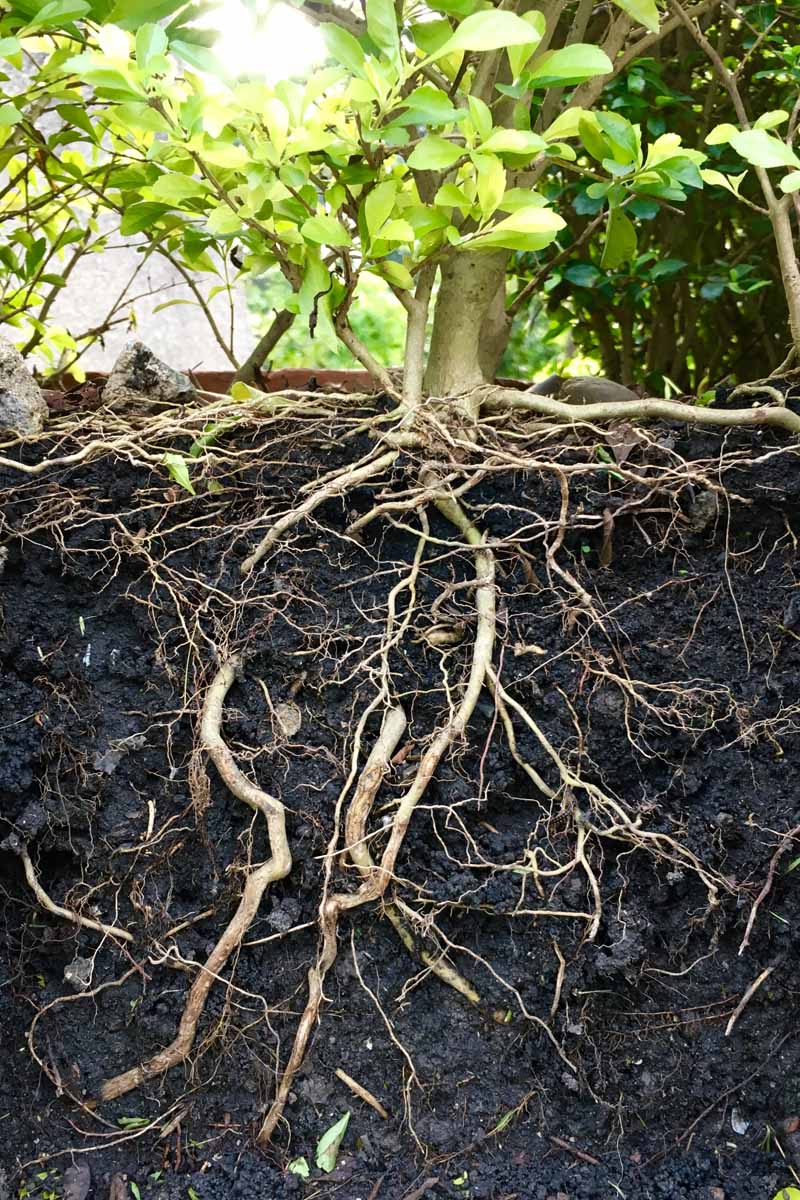
During the spring and summer, the roots absorb water and nutrients from the soil, drawing them into the trunk, branches, and leaves.
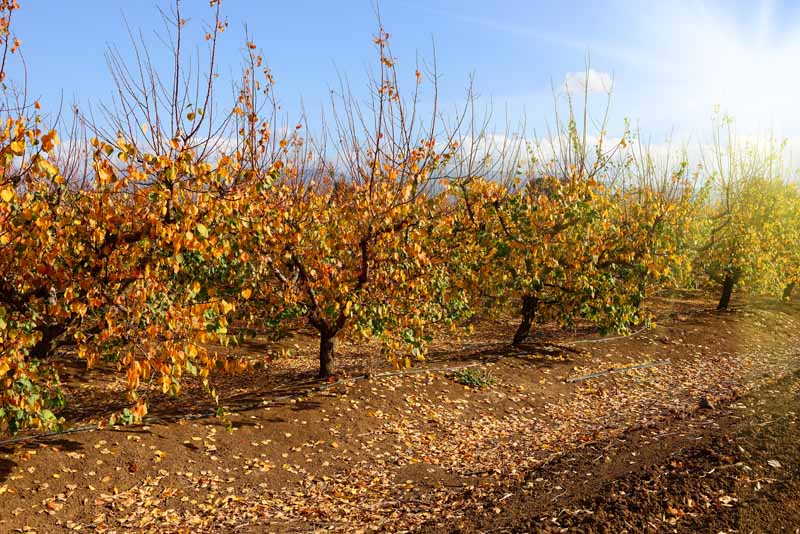
As the autumn days become shorter and the temperature drops, the tree prepares for dormancy. Deciduous trees will drop their leaves, halting the production of energy via photosynthesis.
Metabolism slows and active growth stops, to conserve energy through the winter months. The tree uses stored energy reserves to survive.
Healthy roots are crucial to a healthy tree, so it is important to protect them from harsh winter conditions.
Periods of freezing and thawing can cause damage to roots, especially for young or cold-sensitive trees.
Both soil and bark expand when it is warm, and shrink when it is cold.
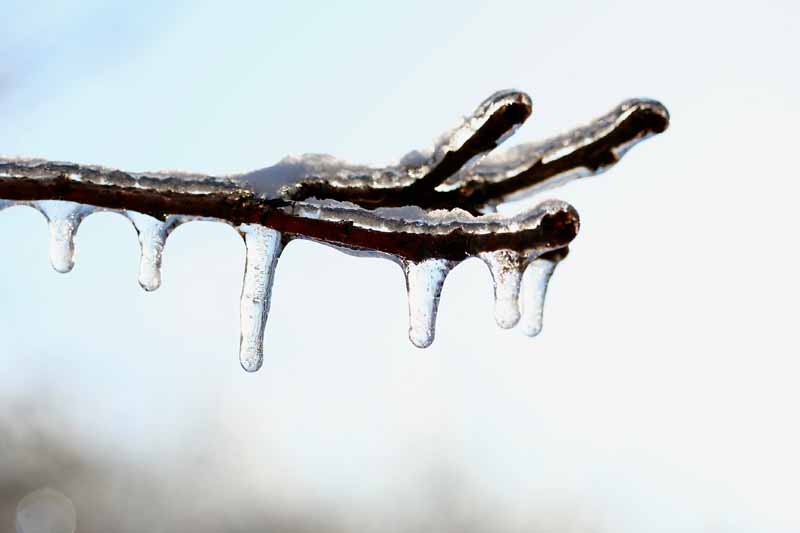
During freeze-thaw cycles, when temperatures fluctuate from above freezing to below 32°F and back up again, the upper layers of soil thaw and expand during warm days.
At night, when the temperatures drop below freezing, the soil shifts and cracks as it shrinks back.
This process of expansion and contraction can break roots or even lift them out of the soil completely, causing significant damage to young saplings.
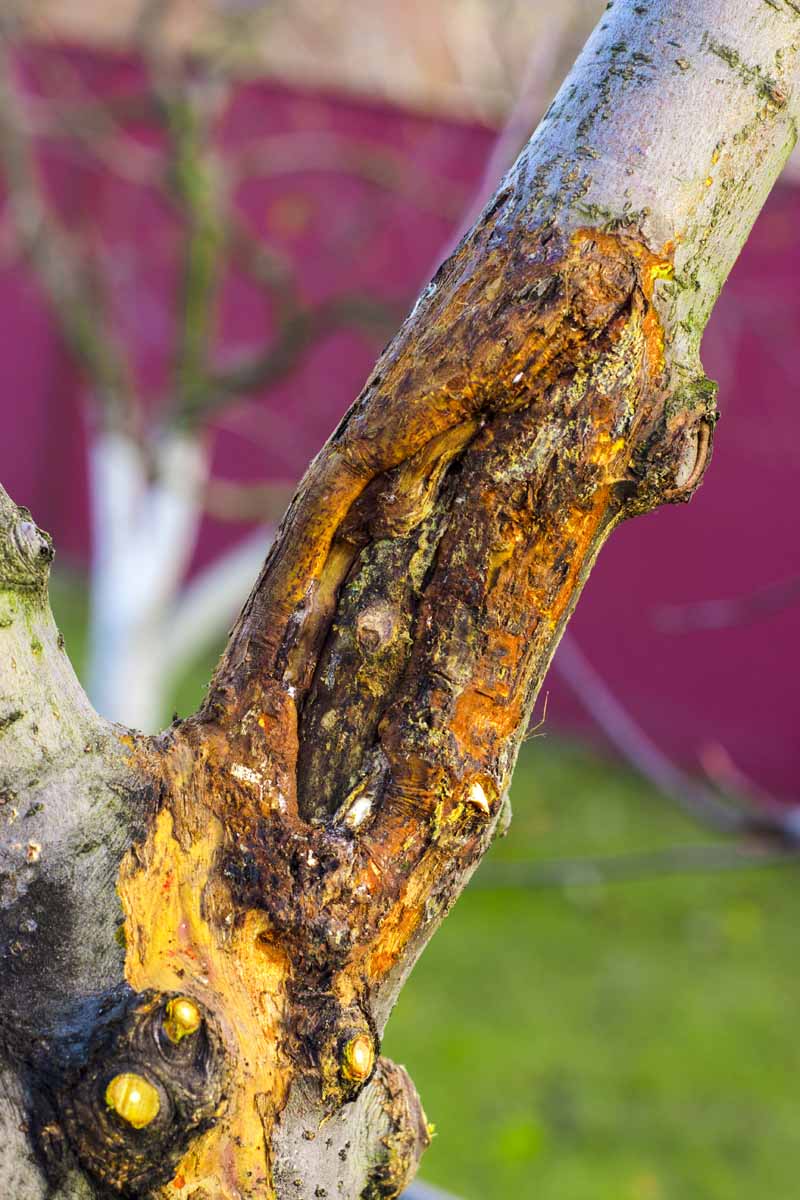
Frost cracking is another way that trees can be harmed during freeze-thaw cycles. Bark expands when daytime temperatures are warm.
At night, the outer layers of bark refreeze and contract faster than the inner layers, which can cause vertical cracking in the trunk and broken branches.
These weak points in the bark are the perfect place for pests and diseases to get in.
Luckily, there are several steps that home gardeners and orchardists can take in the fall before a hard freeze hits to protect their trees and prevent damage from happening, even during the coldest winters.
Clean Up!
Start by cleaning up debris around the base of plants.
Remove any fallen fruit that is rotting on the ground as well as any left on the branches.
Rake up fallen leaves, and be sure to dispose of anything that shows signs of pests or disease rather than mulching it or putting it on the compost pile.
Layer on the Mulch
Speaking of mulch, this is another important factor in protecting your trees through the coldest time of year.
Mulch insulates the roots, protecting them from the detrimental effects of freeze-thaw cycles.
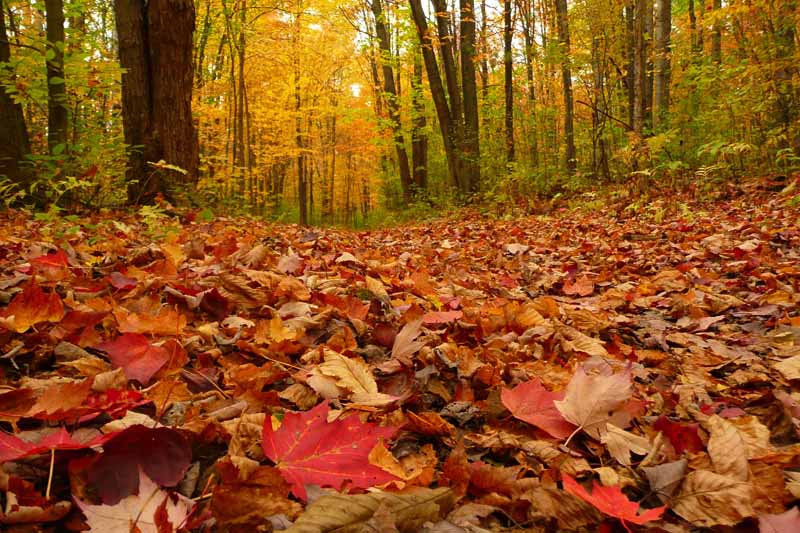
Think about a healthy forest, for example: During the winter there is no bare soil. Instead, the leaf litter serves as a layer of mulch, keeping roots safe and snug through the winter.
Cultivated trees are no different in their need for insulation, but they lack a forest’s interconnected network of plants that results in more resilient trees with natural checks on pests and disease.
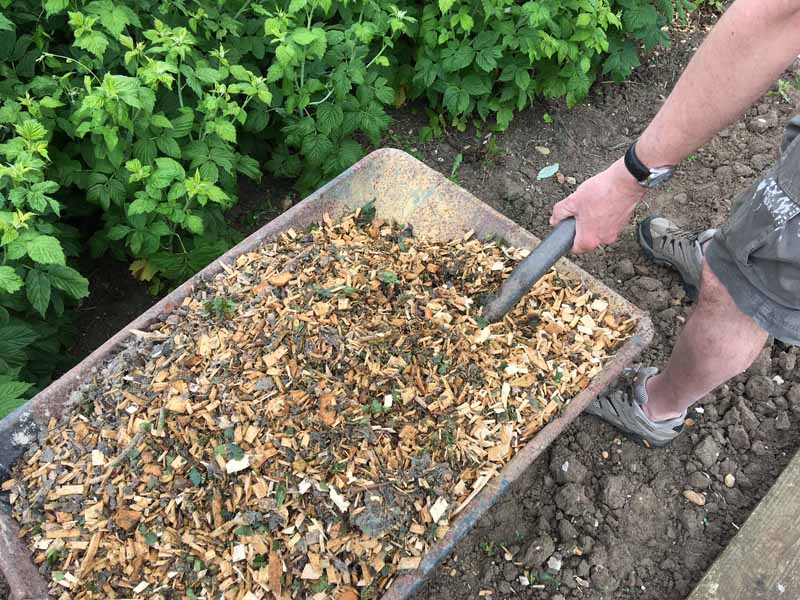
This is why it is a good idea to first clean up any fallen debris and rotted fruit around the base and then apply wood chips, shredded leaves, or straw mulch.
Feel free to apply your chosen material liberally, applying a layer at least a few inches thick in a wide ring around the trunk of each of your trees, at least three or four feet in diameter.
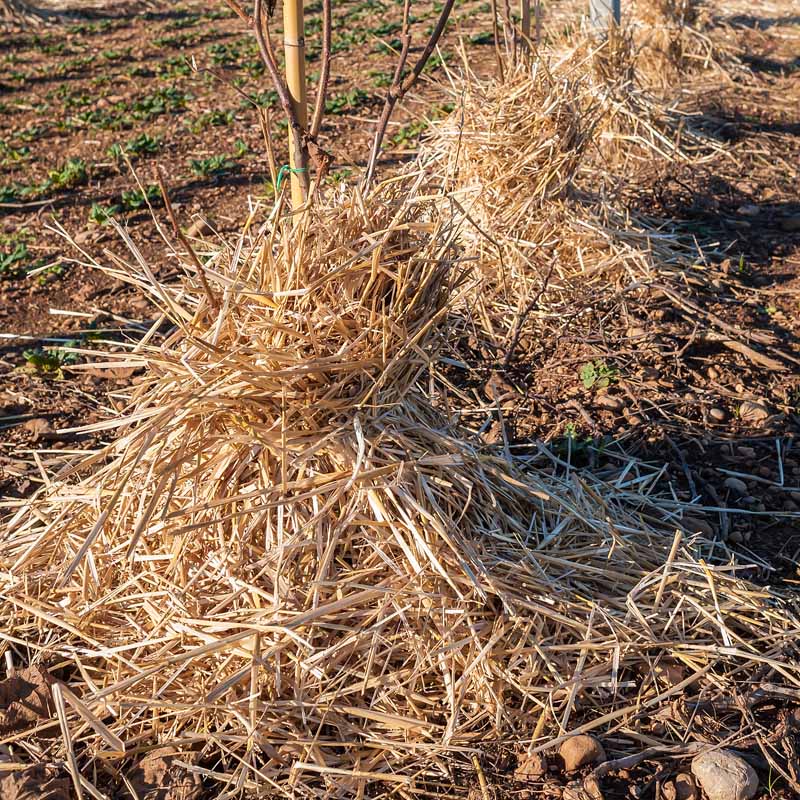
It is also a good idea to leave a few inches of space between the mulch material and the trunk to prevent a buildup of moisture that can cause the bark at the base to rot.
Avoid using compost or rotted manure as these could provide an unwanted boost of nitrogen, triggering new growth at a time when plants should be headed into dormancy.
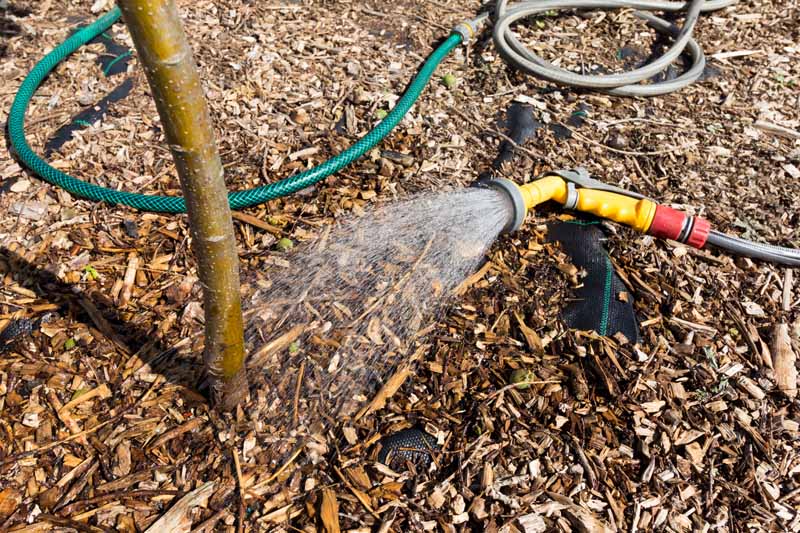
Water Deeply
A couple of deep waterings before the ground freezes solid will help to strengthen and insulate the roots in preparation for dormancy.
This is especially important for saplings, and during particularly dry periods of autumn weather.
In late autumn, after the leaves have fallen, give the trees a couple of thorough waterings.
Use a soaker hose to water slowly and deeply, making sure the water penetrates about a foot into the soil. Do this early in the day when temperatures are above 40°F.
Protect from Animal Damage
With other sources of food being less available in winter, the local wildlife will begin searching for anything they can find.
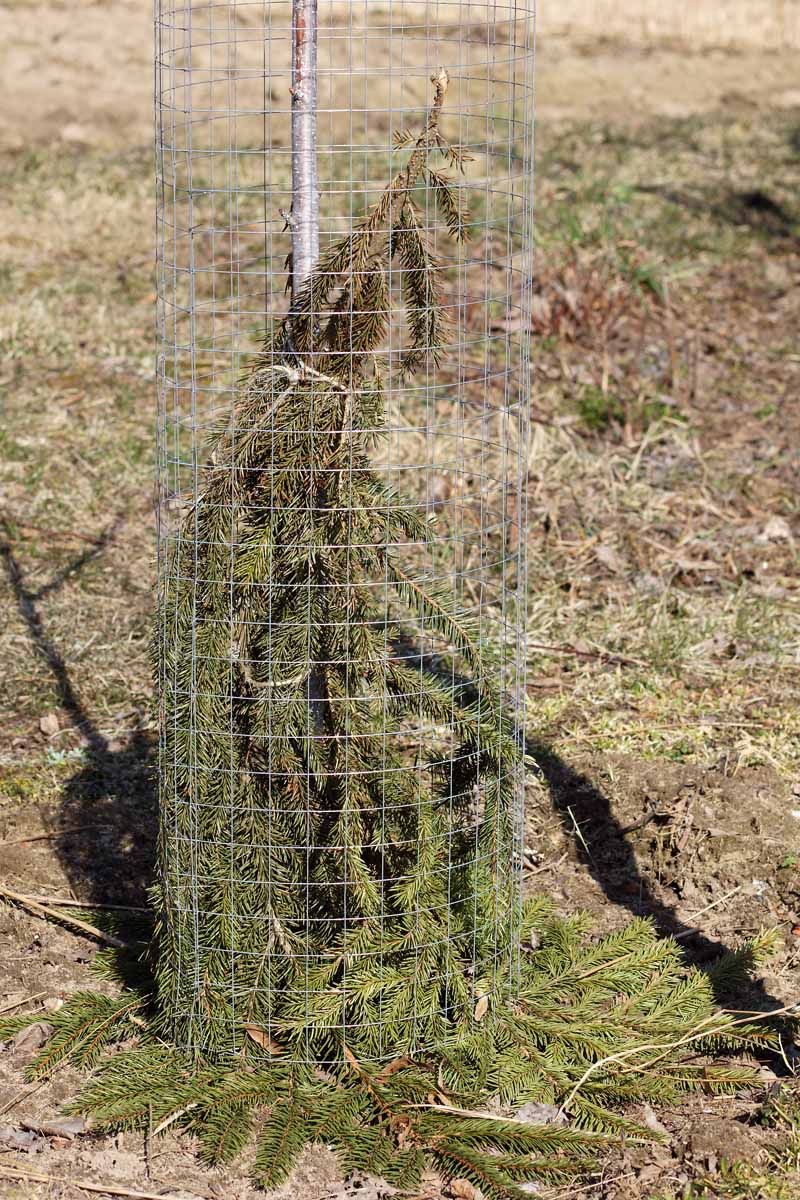
Young saplings in particular have branches that are just the right height for hungry deer or moose to reach.
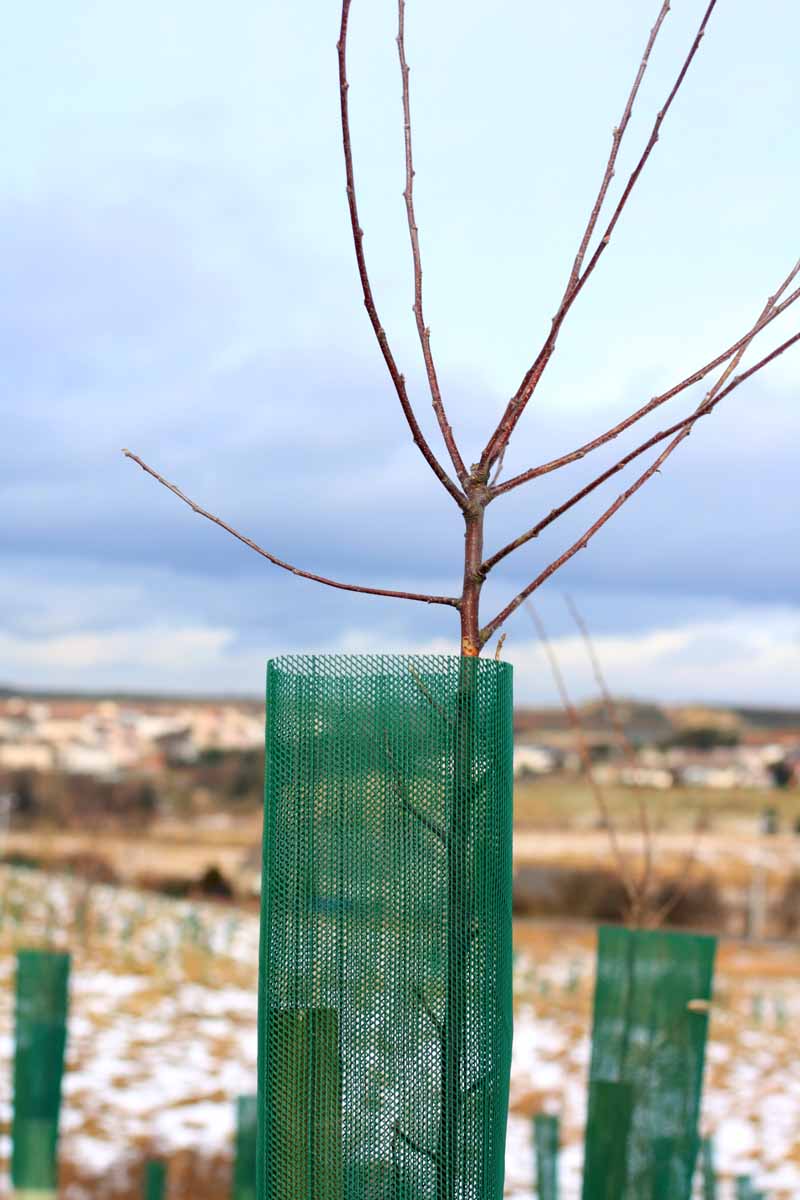
Trust me, because I speak from experience – investing in a few tree cages is definitely worth it!
Cages need to be tall enough to prevent deer from reaching over the top. Check out this article for tips on making a DIY deer fence.
Small rodents can also do damage during the winter by gnawing on roots and trunks.
You can use a hardware cloth barrier around the base of the tree. Make sure the cloth extends at least 12 inches into the soil.
Prune after Dormancy
To prevent branches from sprouting new, fragile growth in the fall, wait until the leaves have fallen and trees have gone dormant to prune.
This should generally be done anytime between December and February, after trees have gone dormant but before budding begins in spring.
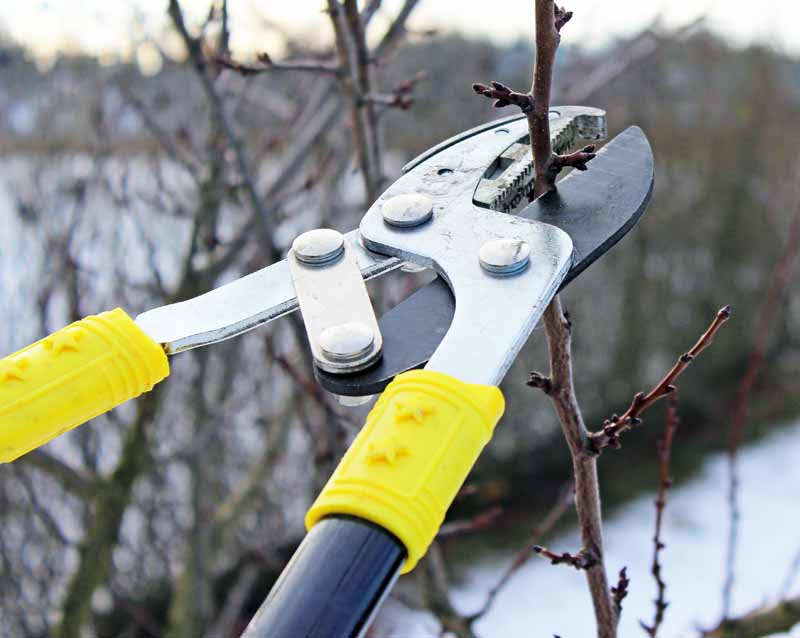
Pruning correctly can improve air flow and help to prevent disease.
Using sterile pruners, remove dead or diseased branches, suckers, branches that are growing across each other, or any branches that are growing straight up.
Some trees require special pruning techniques. For instance, bananas should be cut back to about six inches tall before winter. Learn more about overwintering bananas here.
Protect Potted Trees
While it is important to winterize fruit trees that are planted directly in the ground, it’s absolutely critical to protect those that are planted in pots.
Since they are not insulated by the earth, roots in container-grown plants are more susceptible to the cold, and more likely to freeze and die – without a little extra help from you, at least.
There are a few different ways to winterize potted trees. You can store them in a protected spot, insulate them, plant them temporarily in the ground right in their pots, or bring them indoors.
Before determining which method to use, be sure to do the necessary research to understand the species that you are working with:
- How cold hardy is it?
- What climate does it prefer?
- Does it require some sunlight through the winter, or can it overwinter in a dark place?
For instance, many citrus species are tropical and can not be exposed to freezing temperatures at all.
Apples, on the other hand, are hardy and most can tolerate some amount of freezing.
Once you have a sense of what each plant can tolerate, you can choose a protection method:
1. Store in a Protected Spot
Choose a location that won’t freeze, such as a garage or shed. Ideally, this should be an unheated space that is protected from wind, with consistent temperatures in the upper 30s or low 40s.
This method works best for cold hardy species such as fig, cherry, or apricot trees that have a natural period of dormancy.
2. Insulate with Mulch
There are several ways to do this. One method is to surround the trunk with a ring of chicken wire and fill in the frame with straw, shredded leaves, or another type of mulch.
To do this, create a wide circle around the container with the chicken wire, leaving about six inches of space between the cage and the pot.
Cut the cage to size and secure it by using pliers to fold in the cut edges, attaching them to the other end.
Stuff the space between the cage and the pot with mulch, up to the surface of the pot. Add about a foot more mulch over the top of the pot as well for added insulation.
When spring arrives, remove the mulch. You can spread it out in the veggie garden, or put it to good use elsewhere!
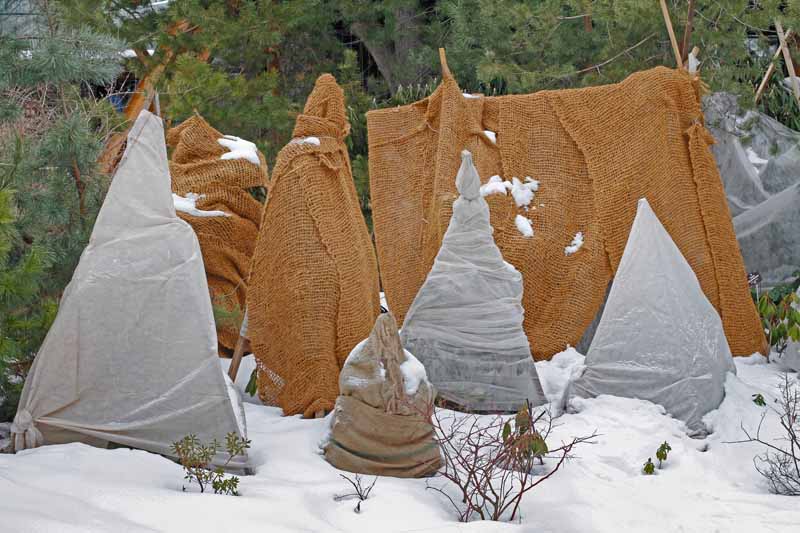
For young saplings or cold sensitive species such as citrus, you can provide extra protection by wrapping the pot in burlap before adding the mulch and wire.
3. Plant the Container
You can temporarily plant your trees in your yard if you have the space, container and all.
Before the first frost, dig a hole that’s big enough to bury the container. Spread six to 12 inches of mulch on top and leave it there until the soil thaws in spring.
This is a useful method if you are planning to transplant young trees into the ground later on, as you will already have a ready-made hole that you dug when the ground was easy to work with!
4. Bring Indoors
Another option is to bring the pots inside.
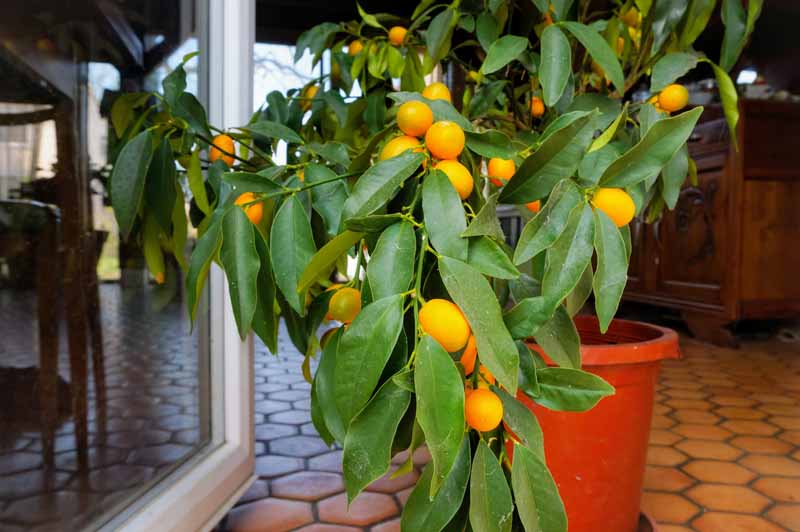
While this may not always be practical, especially for large or bulky trees, it is a great option for tropical species – such as avocados, bananas, or breadfruit – that prefer warm temperatures and sunlight year round.
Winterizing Tips
- Select varieties that are hardy to your climate to reduce the risk of damage.
- Avoid fertilizing past midsummer to discourage new growth late in the season.
- Water deeply in the fall a few times before the first freeze, especially during a dry season.
- Prune while trees are dormant, in late winter or early spring.
Keep Warm and Cozy Through the Winter
Winterizing fruit trees is a no brainer.
And it’s worth taking a few extra minutes in the fall to ensure that these valuable assets to the landscape are well protected until spring.
What methods do you use to winterize your fruit trees? Please share your tips and tricks in the comments below!
And to learn more about growing fruit trees in your garden, check out these guides next:
- How to Plant and Grow Asian Pear Trees
- 9 of the Best Asian Pear Varieties for the Home Garden
- How to Grow Asian Persimmon Trees
- Growing Apple Trees: A Fruitful Primer
© Ask the Experts, LLC. ALL RIGHTS RESERVED. See our TOS for more details. Uncredited photos: Shutterstock.
Excellent article.
Thanks for reading, Amy K!
Thank you for some great information.