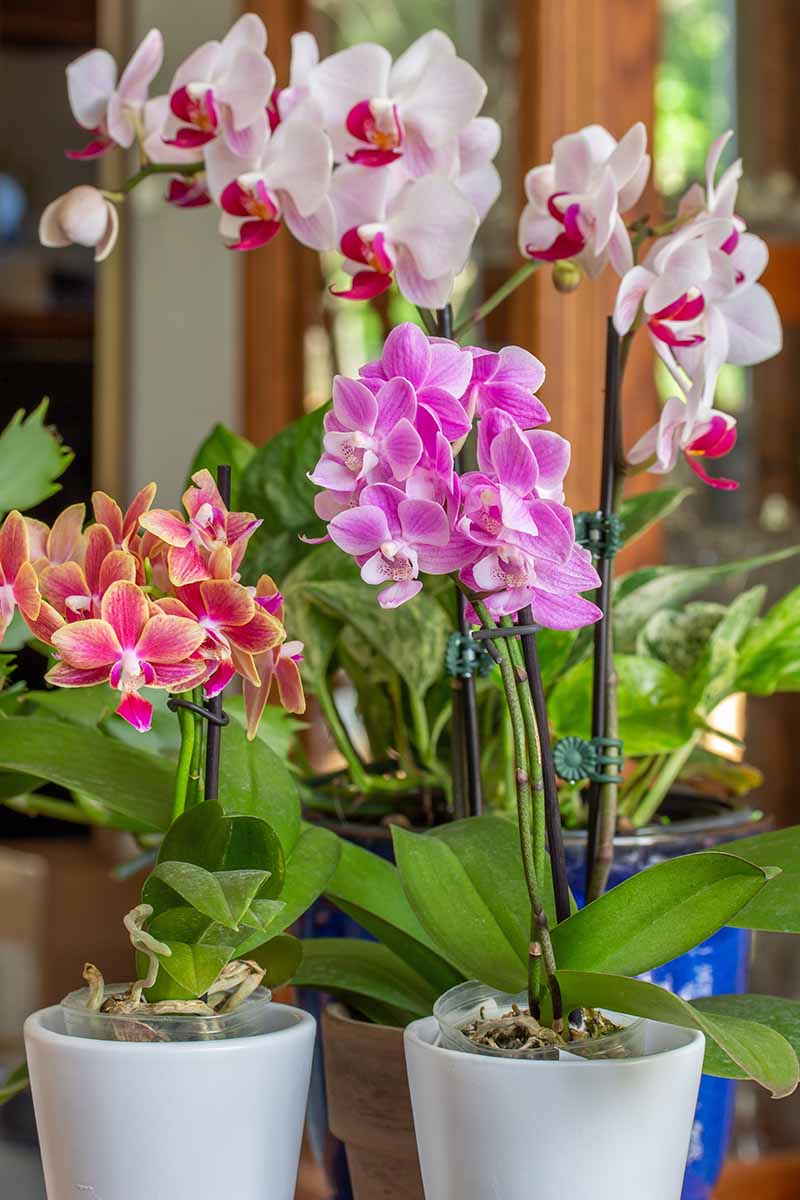
When I first started out with orchids, I did what many people do – brought one home from the grocery store, kept it until the flowers fell off, and then tossed it in the trash.
At that time, I didn’t know they could rebloom, and I certainly didn’t know anything about repotting.
We link to vendors to help you find relevant products. If you buy from one of our links, we may earn a commission.
In the years that followed, I learned how to care for my orchids so I could keep them thriving and blooming long after I brought them home.
I experimented with mounting them, learned how to make them rebloom bigger and better than before, and played around until I found the perfect potting medium.
Just because a plant has some roots coming out of the surface of the soil, that doesn’t mean it needs repotting. But a healthy, happy specimen will require repotting at some point.
As the plants mature, they need more room. In this guide we’ll talk about when and how to repot your orchids. Here’s what I’ll cover:
What You’ll Learn
Here we go:
Gather Your Tools
Before you start your work, be sure to collect your tools so that your plant is disturbed for the shortest amount of time possible.
You’ll need a new container, a pair of sharp scissors, and fresh, clean potting medium. Be sure to wash your scissors in soapy water and wipe them with isopropyl alcohol so you don’t transmit pathogens between plants.
For most species, a commercial orchid bark works well. You can buy premade bark at most specialty nurseries or garden suppliers.
You can also make your own potting mix. You’ll need a finely textured fir bark and coarse sphagnum moss, coconut coir, or perlite for water retention. Combine three parts of bark to one part whichever water-retentive material you choose.
The American Orchid Society also recommends Aliflor, either alone or combined with bark, because it breaks down more slowly than bark does and it retains water.
Alifor is a brand name of clay pebbles, which are useful when growing plants that are sensitive to overwatering because the pellets absorb moisture while leaving plenty of space for oxygen around the roots.
You can grab clay pebbles in various quantities at Amazon if you’d like to add these to your growing medium.
You can also add a tablespoon of charcoal to each container. Charcoal inhibits the growth of pathogens that cause root rot.
When to Repot Orchids
Late winter or early spring is the best time to repot your orchids, but you can do it any time of year so long as the plant isn’t flowering.
I recommend that people repot their newly purchased specimens just as soon as they’re done blooming. You never know what media the growers have used to pot your plant.
Some are potted in a bark mixture, which is ideal, but others are grown in sphagnum moss, which is less than ideal because it retains too much water.
If you’re repotting a newly-purchased specimen, you don’t need to increase the size of the container. You can use the same container, but wipe it out with soapy water first.
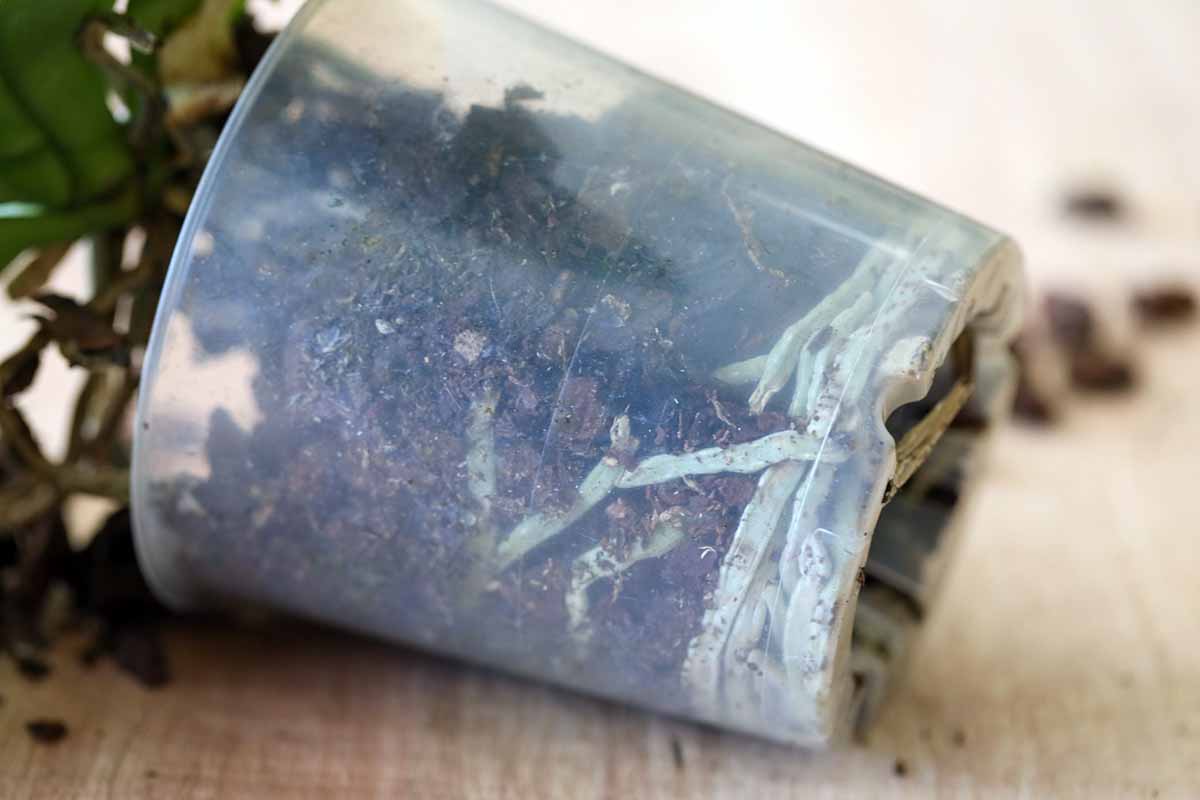
You will also know it’s time to change things up when the bark starts to break down.
As the bark crumbles and decomposes, it closes up all the air pockets in the substrate that orchids love so much. If you poke at the bark and it feels soft, starts breaking apart, or is visibly decomposing, it’s time to repot.
If the stem, aerial roots, and leaves start to grow over the side of the pot, it’s probably time to upgrade, as well.
Finally, check out the rootball. If you’re growing in a pot with holes in it, your plant will likely start growing roots out of those holes. They’ll also grow roots out of the surface of the potting media.
These aren’t necessarily a sign that it’s time to repot. However, if the rootball becomes crowded and there isn’t much room between the roots, this is a good indication that it’s time to act.
The Process of Repotting Orchids
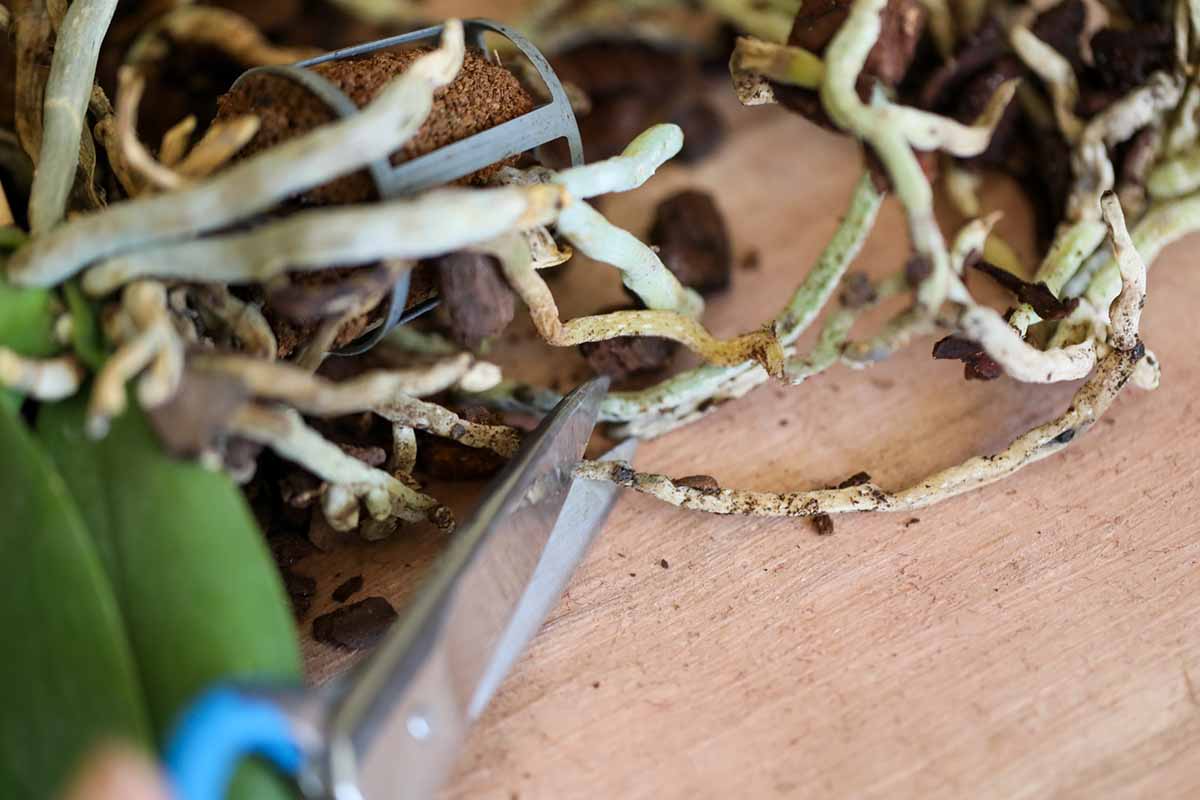
The first step is to remove the plant from its container. If you’re growing in a slotted pot, some roots might have grown out of the holes.
If the roots seem to be stuck, just trim them off with your scissors and then ease the plant out of the pot.
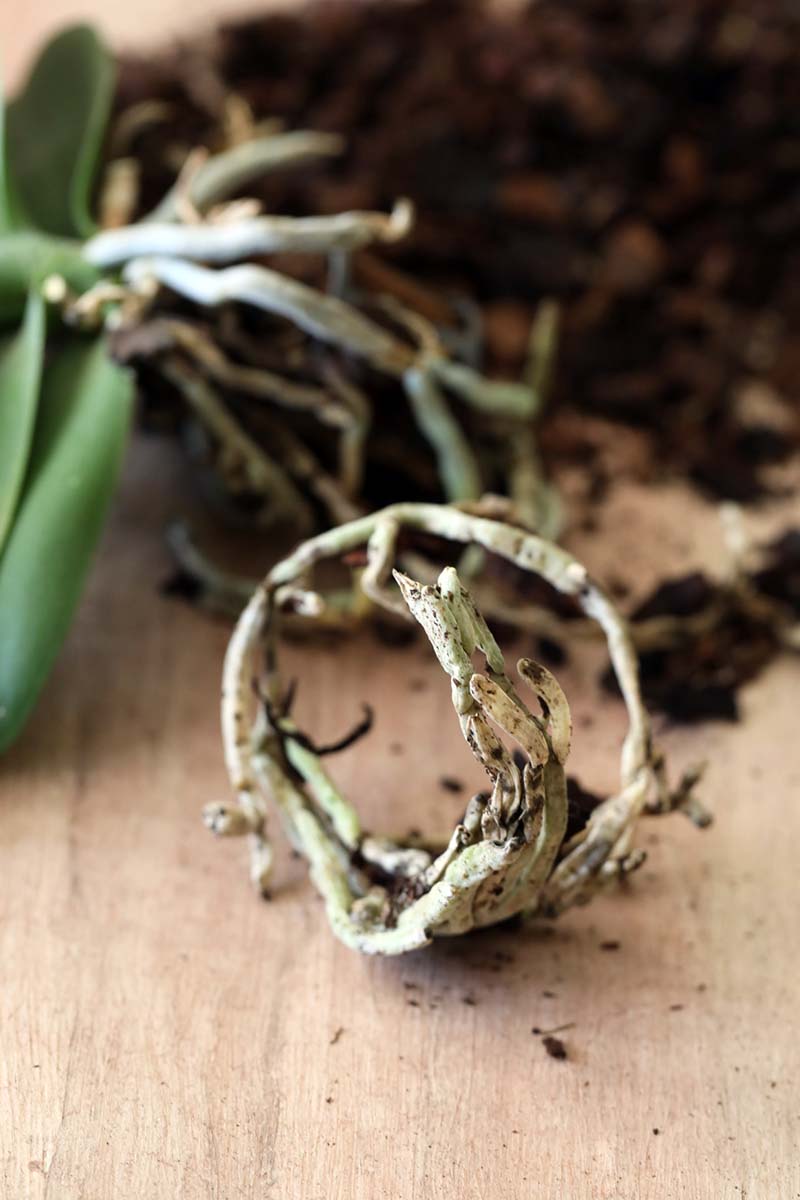
Once you have the plant out of the pot, use your thumbs and fingers to remove the existing potting material from around the roots. Then, examine the rootball.
Healthy roots should be stiff, and green, gray, white, or light brown in color. Soggy or soft growth should be removed, as should any black areas.
You can learn more about orchid roots in our guide.
Rub off any dry paper sheaths that might be growing along the bulbs to look for pests. They like to cluster in these areas. If you notice anything moving, spray the roots with insecticidal soap.
At this point, you’re ready to place the plant in the new pot. Place the root ball in the pot but hold the plant itself so that it will sit with the uppermost roots just above the medium.

Fill in the pot around the plant with the medium and press it in.
The bark should be fairly well-packed, though you want to be careful not to smash the roots. If you lift the plant at the base without supporting the pot, it should stay in place.
Moisten the medium and put your plant back in its usual spot. If you want to place it somewhere else, wait a few days for the plant to acclimate to the change before introducing it to a different environment.
And if you need a refresher on how to grow and care for orchids, check out our guide.
No Need To Contain Your Excitement
You might be surprised by how quickly your orchid will grow once it’s in a new container and refreshed potting medium.
It always gives my plants a big boost, and most species seem to be fairly unfazed by the disturbance.
What kind of orchid are you growing? Do you have a moth or a cattleya? What kind of potting medium do you prefer to grow them in? Fill us in on the details in the comments section below
If you’re ready to expand your orchid knowledge even further, we have a few other guides that I hope you’ll check out next: