If you’re hosting a bunch of orchidists at a dinner party and you really want to stir the pot, ask them for their opinions on pruning orchids.
It’s not that pruning orchids is particularly hard or anything, it’s actually pretty easy when you know how.
We link to vendors to help you find relevant products. If you buy from one of our links, we may earn a commission.
How and when to prune your plant will vary according to which orchid species you are growing – some shouldn’t ever be pruned and others need specific maintenance if you want them to rebloom.
This guide will lay it all out in an easy-to-understand way so that you can figure out when and how to prune your particular type of orchid.
Not sure what type of orchid you are growing? Check out our guide to the different types.
Here’s what’s on the agenda:
How to Prune the Different Types of Orchids
Before you even think about pruning your orchid, it’s important that whenever you’re trimming your plants, you must use clean tools. Wipe your clippers or scissors thoroughly with isopropyl alcohol.
With all the species on this list, only remove leaves if they’re diseased, dead, dying, or deformed, otherwise leave them in place. If you need to, cut them off right at the base.
Let’s start with the most popular genus: the Phalaenopsis.
Phalaenopsis
The Phalaenopsis species aka moth orchid is always the belle of the ball. It’s the most popular genus commercially thanks to its massive blossoms in a rainbow of colors that bloom for months at a time.
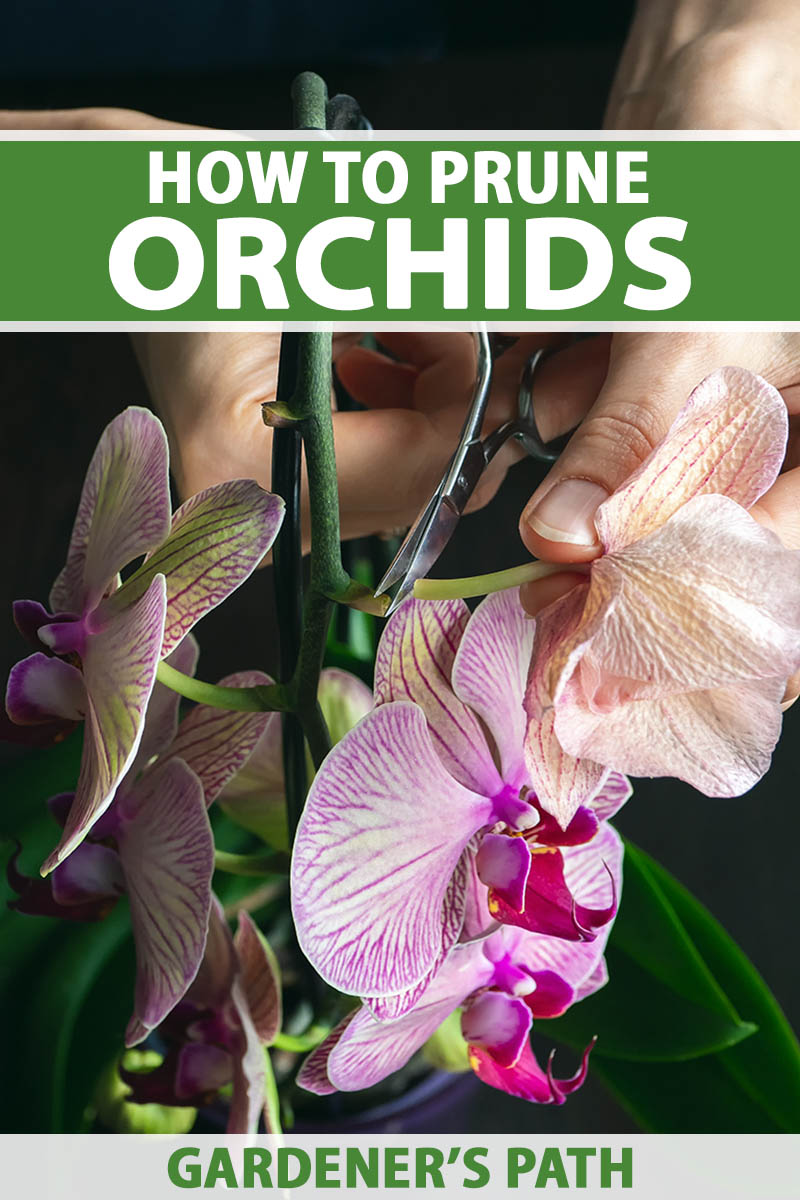
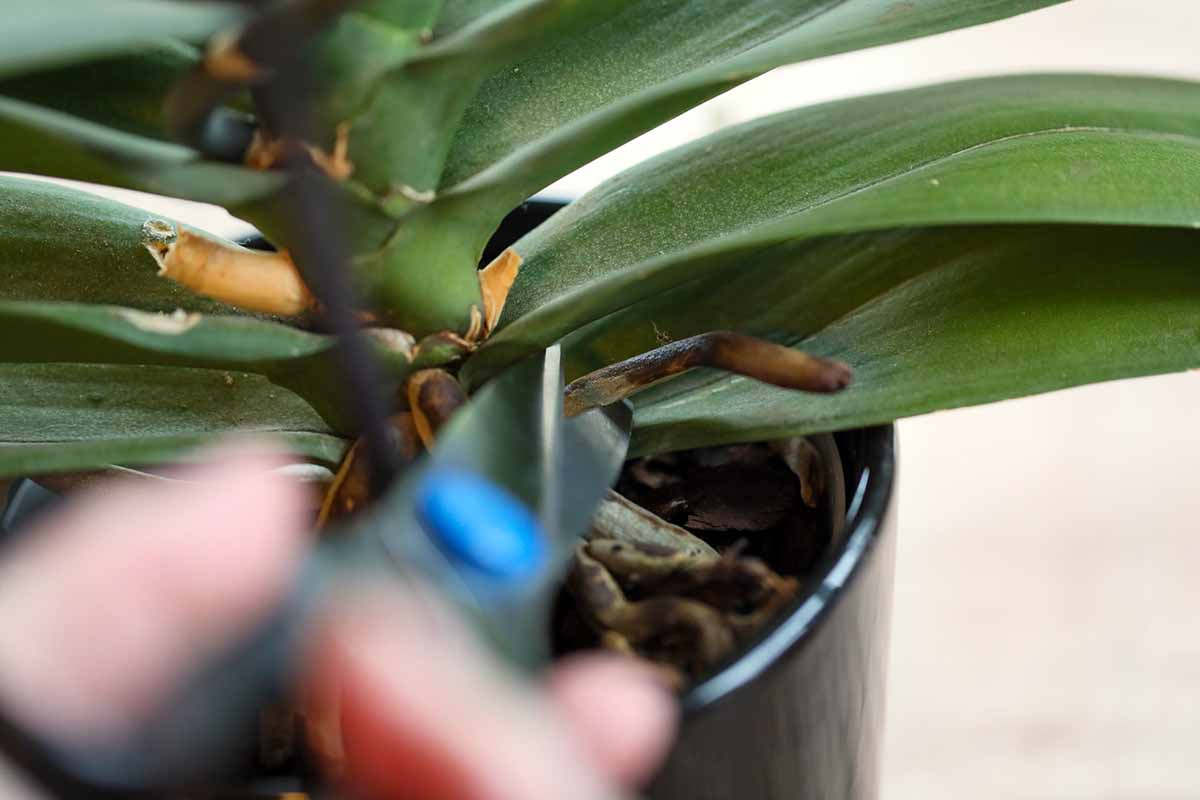
Once those beautiful flowers fade, it’s time to get out those pruners, wipe them down with isopropyl alcohol, and start the work.
Prune the flower stem off as close to the base as you can. It can be a challenge because the stem emerges from right between the leaves. If you find it difficult and it drives you nuts, you can use a clean precision craft knife to slice it off.
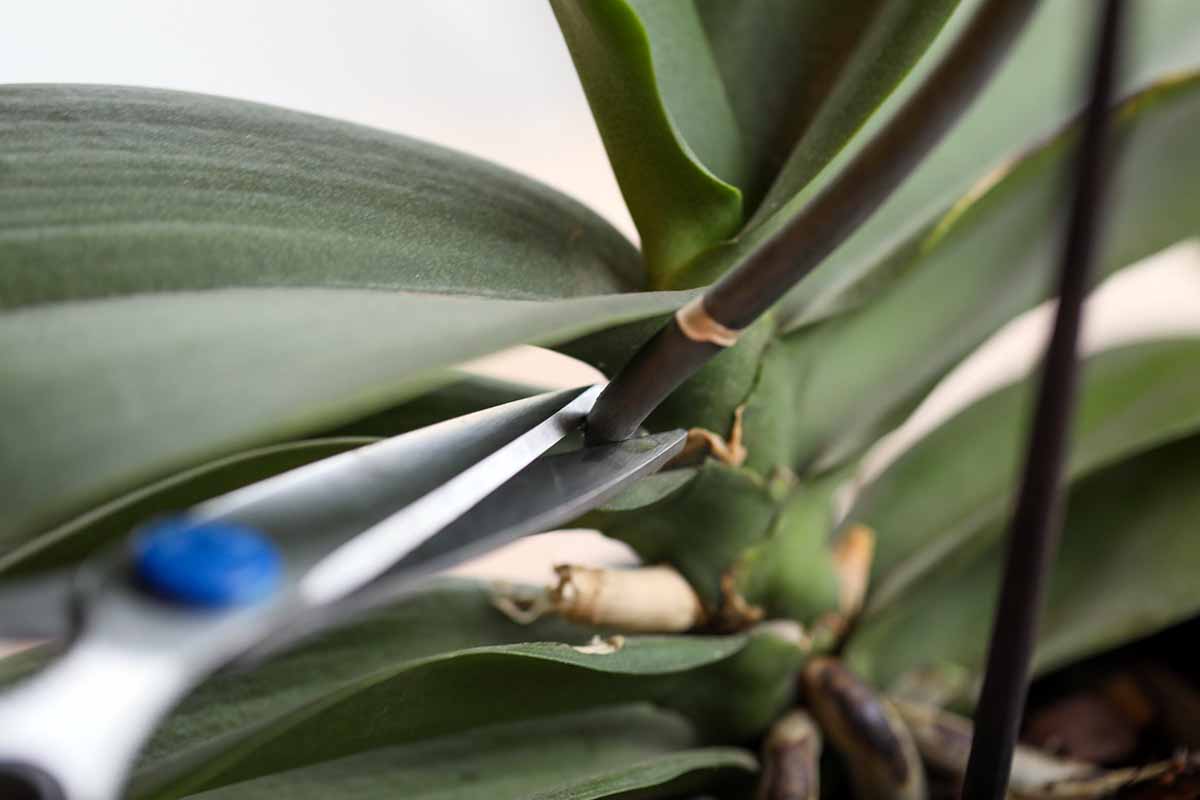
Some experts say you should allow at least one inch of flower stem to remain to reduce the chance of injuring the main stalk. I’ve never run into problems either way, so choose your level of risk versus how much you can’t stand the ugly stumps.
The exception here is that if the flower stem stays green after the blossoms drop off, there’s a good chance you’ll see new flowers growing in a few weeks. It’s rare the stem will be alive if all the flowers have fallen, however.
The flowers typically start to fall from the top of the stem first. If you want, once one falls, cut the stem back to just in front of the node where the flower emerged from. The stem might send out some new flowering branches in a few weeks.
After removing the flower stalk, take the plant out of its pot and examine the roots. If you see any black or mushy roots, those should be removed as well.
There is no need to prune any leaves unless they are yellow, brown, rotten, or symptomatic of a disease. If so, use scissors or pruners to carefully cut off the leaf at the base. Then, figure out what was causing the problem and solve it.
But if the stem turns brown or black, it won’t rebloom.
Dendrobium
Dendrobium species aren’t as popular as their Phalaenopsis cousins, and I have to assume that’s partly because the flowers don’t last nearly as long. But regular pruning can extend the blossoming period.
Each time a flower starts to droop, snip it off at the base where it meets the stalk with some scissors or your fingernails. That will encourage the plant to keep producing more blossoms.
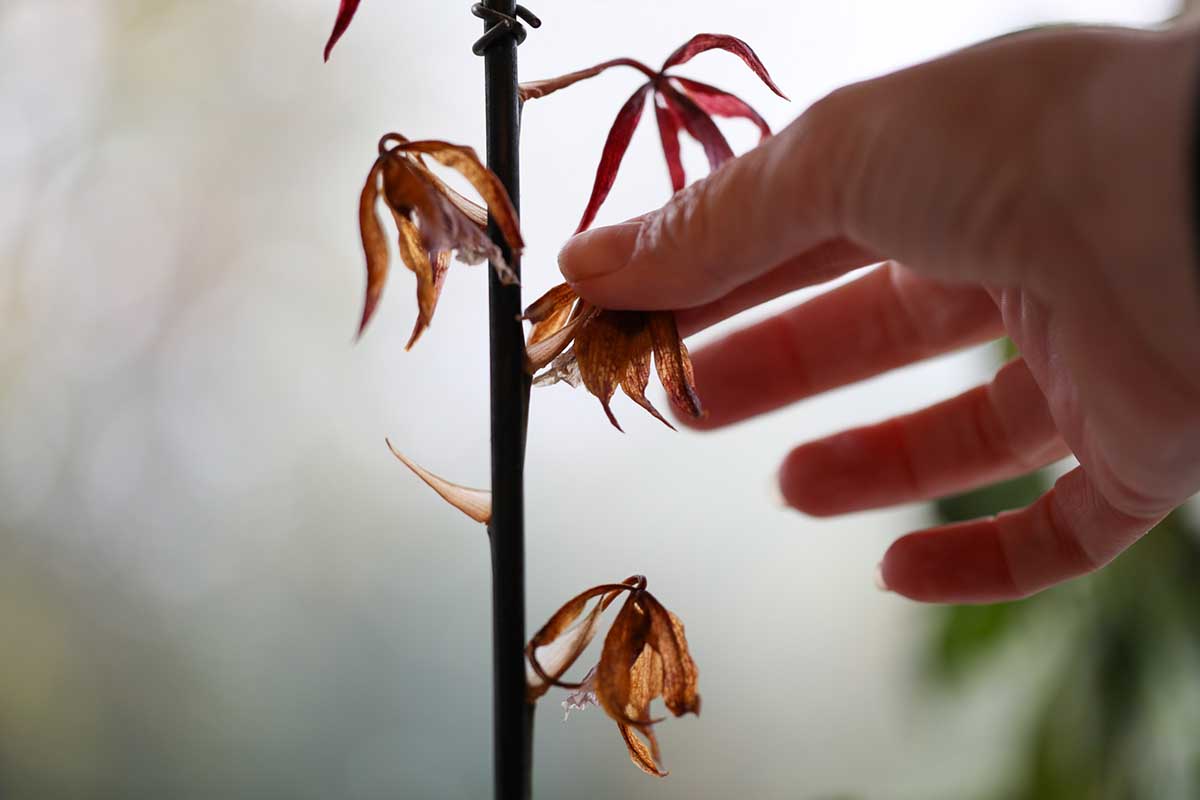
Once the flower stem is completely bare, wait a few weeks or months, and it will likely put out a second flush of blossoms.
The only time you should cut the flowering stem of a Dendrobium is if it turns brown and dies. Then, cut it off and check the roots, as described above under Phalaenopsis pruning.
Brassavola, Cattleya, Cymbidium, and Oncidium
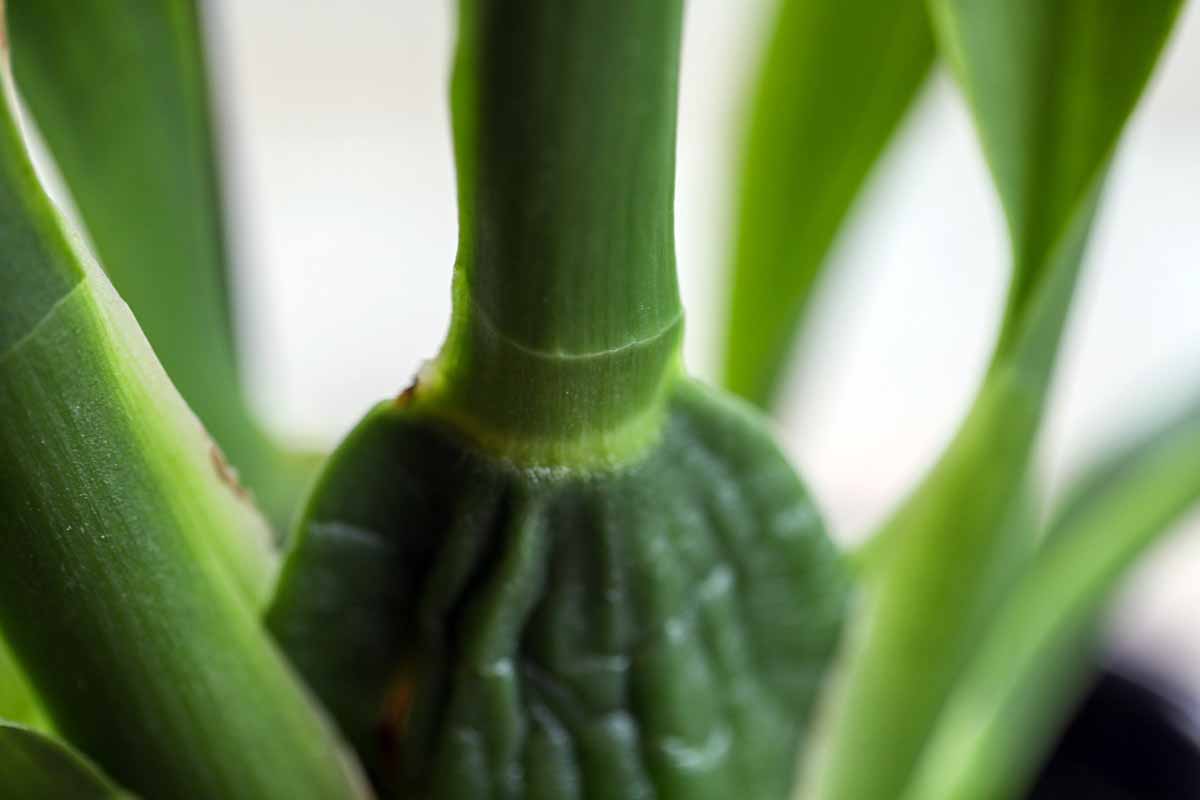
Unlike Phalaenopsis, which generally have one main stalk from which the stems and flowers emerge, Brassavola, Cattleya, Cymbidium, and Oncidium species form multiple pseudobulbs from which flower spikes emerge.
These pseudobulbs grow from the horizontal rhizome underground.
At first, the flower spikes resemble the pseudobulbs from which the leaves emerge, but as they mature, they grow a narrow stalk with flowers.
Some species only grow one flower stalk per pseudobulb, but others can grow several. Some have a single flowering stalk and others have ones that branch.
In case you’re wondering how to tell which from which, the flowering bulbs will be pointed, and the leaf bulbs will be blunt.
These types won’t rebloom from a stalk that has already flowered. You need to remove the flower stem once the blossoms are gone.
Cut the stalks at the base as close to the surface of the potting medium as possible.
Remove any leaves that are dead, dying, diseased, or deformed, and feel free to take out a few in the middle of the plant to open it up a bit. It’s not necessary, but it can improve air circulation.
Learn more about growing Cattleya species in our guide.
Calanthe, Zygopetalum, and Hybrids
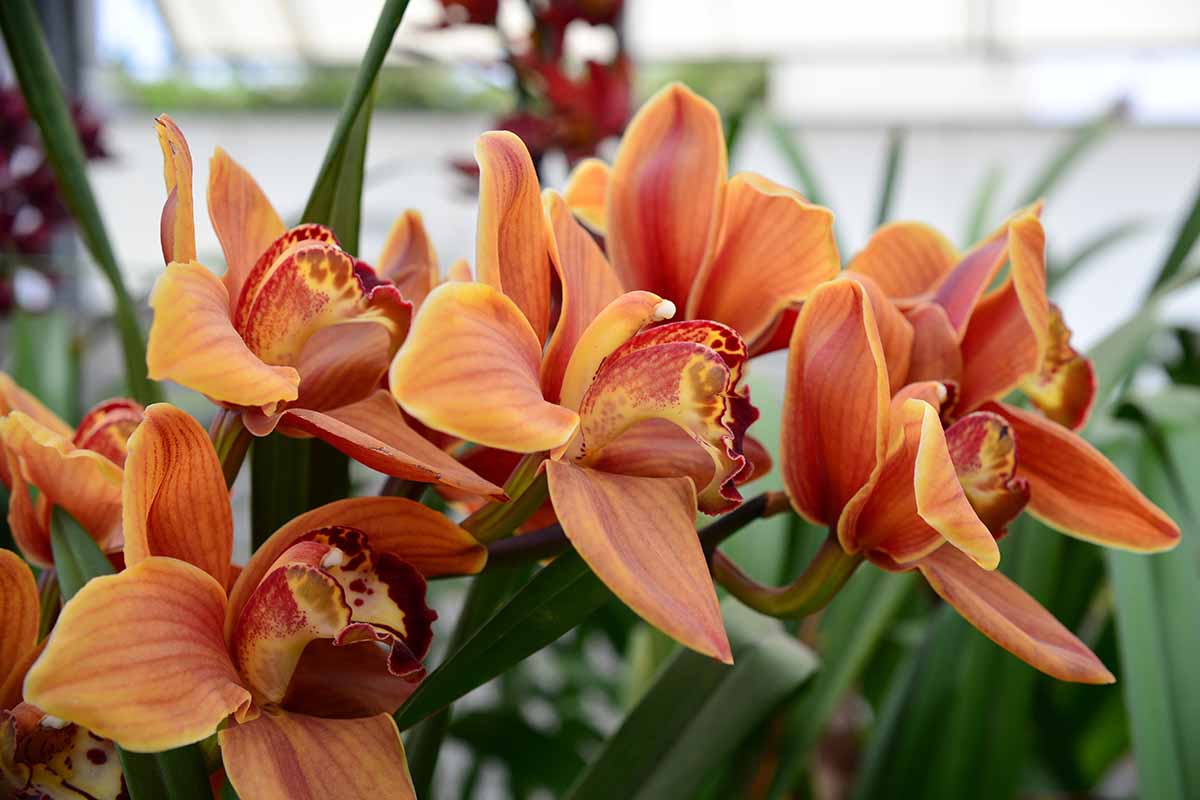
Calanthe and Zygopetalum species, and hybrids, offer up blooms in the winter and early spring when many other plants are taking a nap.
The often leopard-spotted petals give you something exciting to look at during the gray days.
After the flowers drop, it’s time to remove the flower stalk back to the first “notch” you see. These notches are the nodes and a new stalk with regrow from this area.
At the same time, remove any dead, dying, diseased, or deformed leaves and check those roots for any that are dead or damaged.
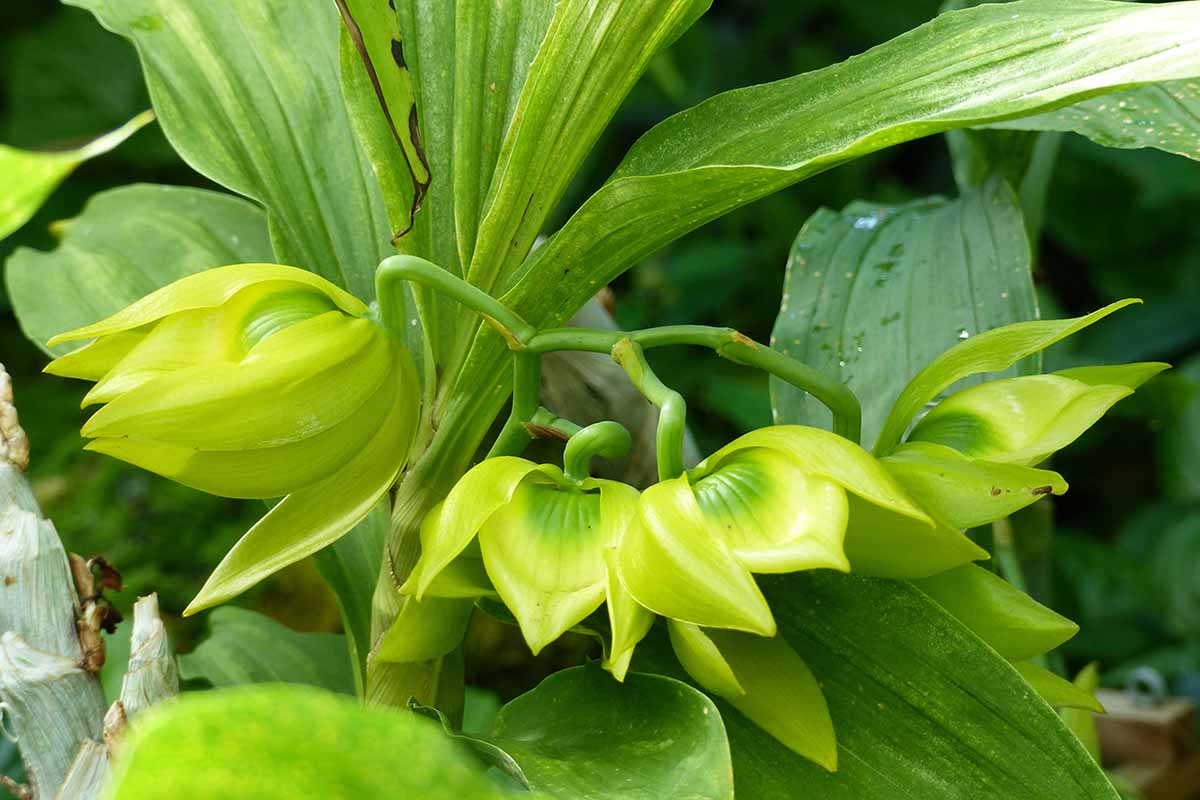
Cycnoches
Cychnoches species go dormant during the winter and drop their leaves. Just because the leaves drop, that doesn’t mean the plant is dead. Like deciduous trees, it will grow new foliage next spring.
Don’t cut off any stems in the winter after the leaves drop. Wait until the summer after the new growth has developed.
Then, look for any bare areas and prune those away. As the plants age, the older pseudobulbs will shrivel up and die. You can safely remove these with a sharp, clean pair of scissors or pruners.
The only other time you should prune is in the winter after all the leaves have dropped. Remove the plant from its pot and trim off any dead roots.
Additional Considerations for Sympodial Species
Sympodial orchids refer those that produce pseudobulbs from which the flowers and leaves sprout. Some, like Cattleya species, can be underwhelming bloomers or some of the most prolific bloomers out there, depending on your pruning techniques.
Each pseudobulb will produce one flower stalk, so a small plant with one pseudobulb will have just one flower stalk. But if you prune regularly to encourage the formation of multiple pseudobulbs, you can encourage lots of flower stalks.
By the way, this technique also works for Cymbidium, Dendrobium, Oncidium orchids, and any other sympodial species.
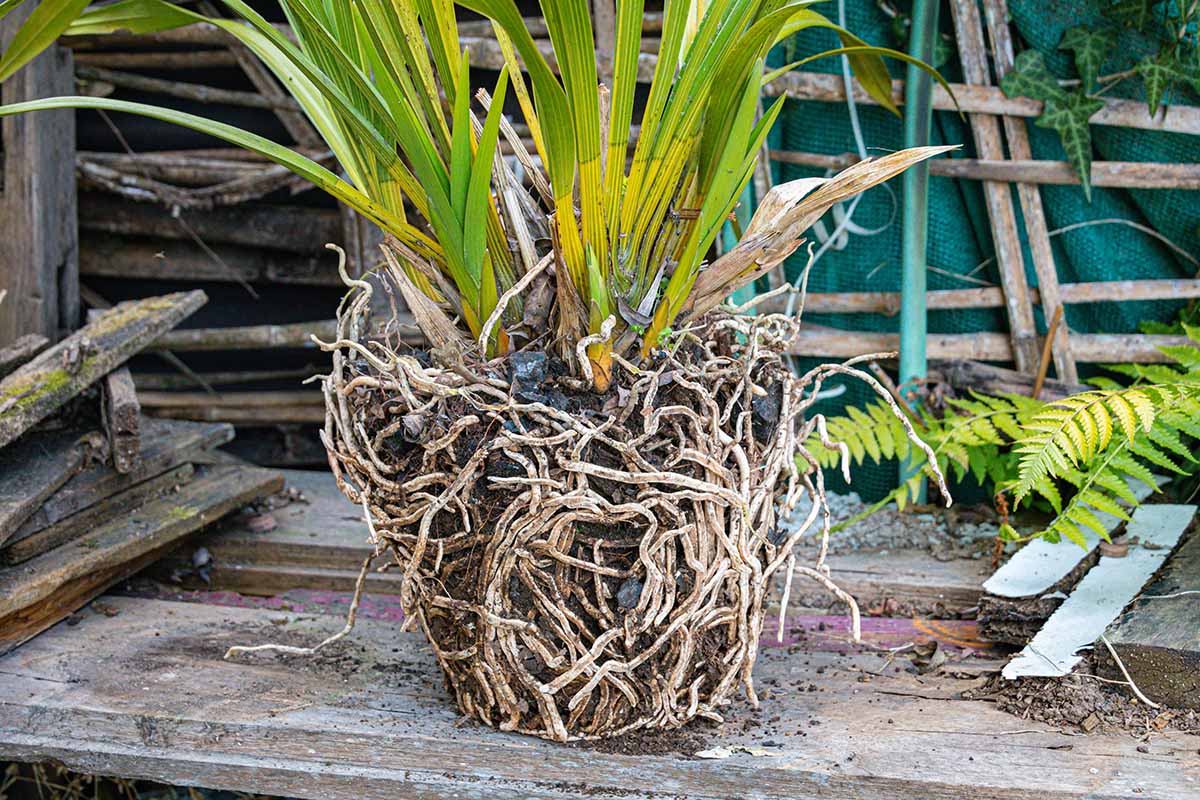
Sympodial types are those that have a horizontal rhizome underground from which the pseudobulbs emerge – rather than a single vertical stalk.
Dig up the plant and remove the soil from around the roots. Locate the main rhizome, which is the largest root and the one that is growing horizontally.
It’s usually buried in the middle of all the roots. From this rhizome pseudobulbs will emerge with swollen bases. Some eyes will have a pseudobulb emerging from it already, and others won’t.
Find the youngest, smallest pseudobulb on the rhizome. It will have the most eyes, but these eyes won’t have grown any bulbs yet.
In other words, look for a rhizome with lots of eyes that haven’t developed pseudobulbs rather than empty eyes that have already developed pseudobulbs that have died.
Take a clean, sterile razor and cut halfway through the rhizome from the nearest pseudobulb and the closest eye. Repeat this between any other eyes where new pseudobulbs will start to grow.
Don’t cut all the way through the rhizome, just halfway. Spray the rhizome with copper fungicide and replant it.
Now, your plant should send out more pseudobulbs, and thus flowers, wherever you made a cut.
Trimming Aerial Roots
The roots that develop on the plant parts above the soil are known as aerial roots, and some people don’t like the look of them.
If that sounds like you, feel free to remove them. Well, at least, some of them.
Aerial roots that are plump and white, silver, gray, or green should be left alone.
They’re healthy parts of the growing plant and they serve the purpose of anchoring the specimen and taking in air, water, and nutrients. But any that turn brown or yellow, are soft or mushy, or that shrivel up can safely be removed.
Cut them back as close to the stem as possible, using clean pruners.
You can learn more about aerial roots in our guide.
Clever Cutting for Happier Orchids
Some plants are straightforward when it comes to maintenance and others take a more refined touch.
Orchids aren’t simple but once you know what your particular species needs, you’ll be able to keep it looking and feeling its best.

What species of orchid are you growing? How long have you had it? Let us know about your plants in the comments section below!
Orchids are interesting and complex plants. Once you know how to prune them, there’s a lot more to discover. Here are a few guides to help you expand your knowledge:

One of my phalaenopsis has a 5″ dry stock between the roots and leaves. It doesn’t look healthy but has healthy roots growing out of it. Should I cut the root line and plant at the new roots?
I would definitely consider cutting it and replanting it. If part of the plant has died, it’s not contributing anything to the health of the plant and might even be holding it back.