Wouldn’t it be awesome if you could just plop some seeds into the soil, add water, and have yourself a dozen new orchids?
Unfortunately, growing orchids from seed isn’t nearly that easy. It’s what we’ll classify as an advanced growing technique.
We link to vendors to help you find relevant products. If you buy from one of our links, we may earn a commission.
If starting peas is one of the easiest home gardening projects, orchids would be on the opposite end of the spectrum.
Basically, peas are a one in terms of difficulty, and orchids are an 11 on a scale of one to 10.
Now, don’t abandon all hope and just decide to grow violets instead. I promise, you can do it. It just takes some special tools and some patience.
Orchid seeds don’t have an endosperm, which is the structure that provides most seeds with nutrients until they germinate. They’re also itty-bitty. Working with them is like trying to sow really temperamental bits of wheat flour.
To make up for that lack of endosperm, orchid seeds rely on fungi to help them germinate. It would be extraordinarily difficult to find the exact species of fungus that your particular orchid needs, but some smart folks have figured out a few workarounds.
That’s what we’re going to talk about in this guide. Here’s the a quick rundown of the coming attractions:
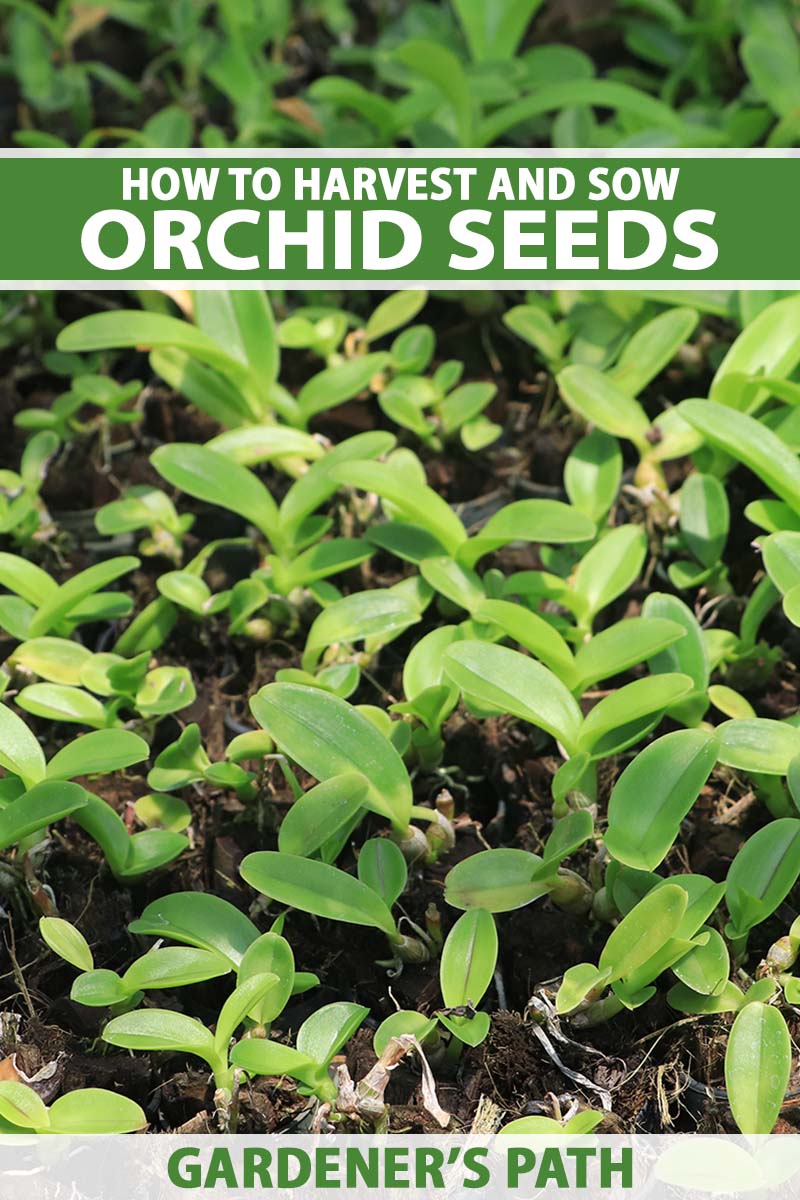
How to Start Orchids from Seed
In nature, orchids release tons of their tiny seeds into the wind to land on trees, the ground, and other plants, where some of them form a mutually beneficial relationship with mycorrhizal fungi that helps them to germinate.
The fungi help the orchids obtain and transport nutrients, and the orchids help provide the fungi with moisture and nutrients in return.
Scientists can recreate this process in the lab and you can send your pods off for what is called flasking, if you want.
This is a similar process to what we’re going to describe here. The difference is that they already have all the fancy equipment and experience to do the job for you.
The average home grower will need to use a much simpler process than what is used in the lab.
Instead of inoculating seeds with mycorrhizal fungi in a sterile lab, you’re going to use specially formulated orchid propagating agar, a type of jelly made from algae mixed with nutrients and yeasts.
The process takes months or even years before you will have little seedlings growing in individual pots. But on the bright side, one single pod can result in thousands of viable plants, so the effort may pay off in a big way.
As we jump into this project, I want you to establish a mantra: sanitize, sanitize, sanitize.
If any bacteria or the wrong type of fungi (and most of them are the wrong kind) gain access to your seeds, the project is done for.
Also, don’t forget, you can do this! Here we go…
Pollinate Your Plants
You can buy seeds, but make absolutely sure that you obtain them from an extremely reputable source. Orchid seeds can easily be contaminated by bad fungi and bacteria.
If you can’t find a reliable source or if you want to have control over the whole process, harvest them yourself.
In order to produce seeds, the orchid flowers must be pollinated.
Unless you’re growing yours outside, you’d need to have the right species of bees, wasps, flies, moths, butterflies, gnats, or birds flying around in your house to pollinate the flowers!
I’m going to guess that’s probably not the case for you, so you’ll need to lend the usual pollinators a hand.
You can pollinate a single orchid, but cross-pollinating between two different plants is better, if you have two available that are blooming at the same time.
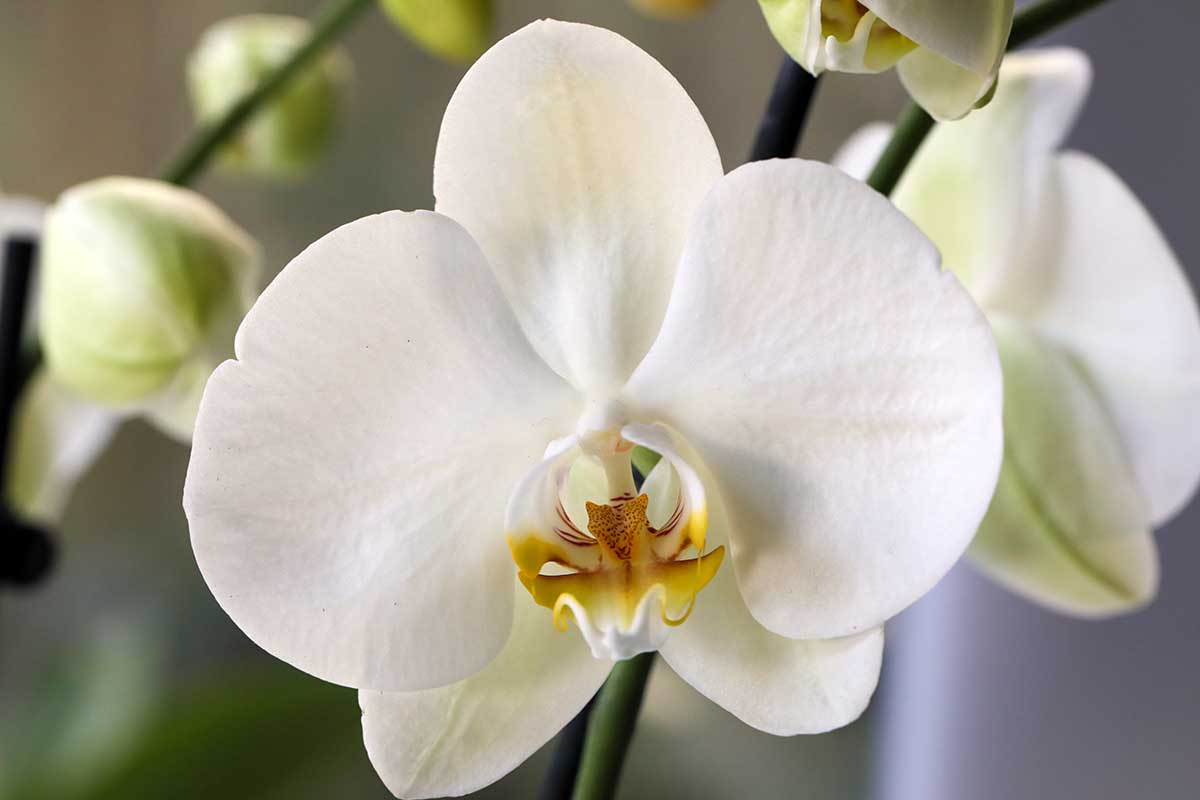
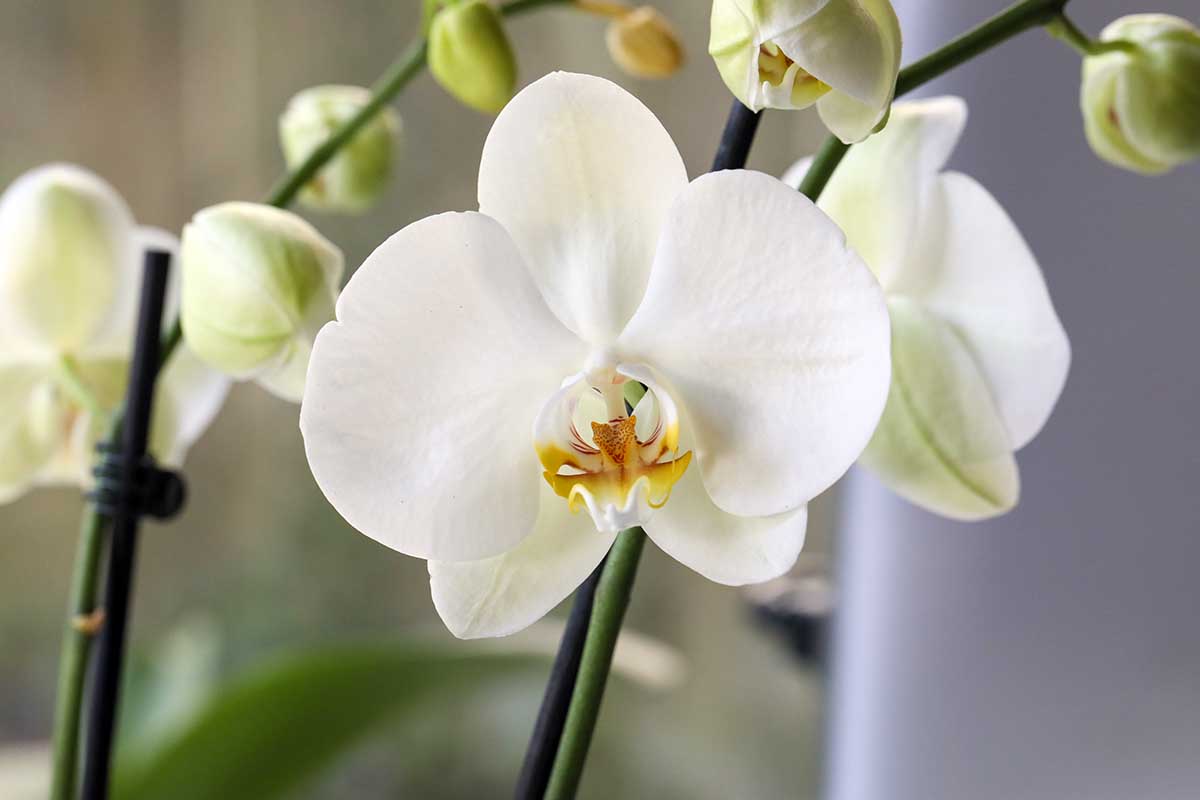
To pollinate, grab a toothpick and take a good look at the flower. There are five petals surrounding a protruding central part that contains a cap and lip. The cap is at the top, and the lip sits below that.
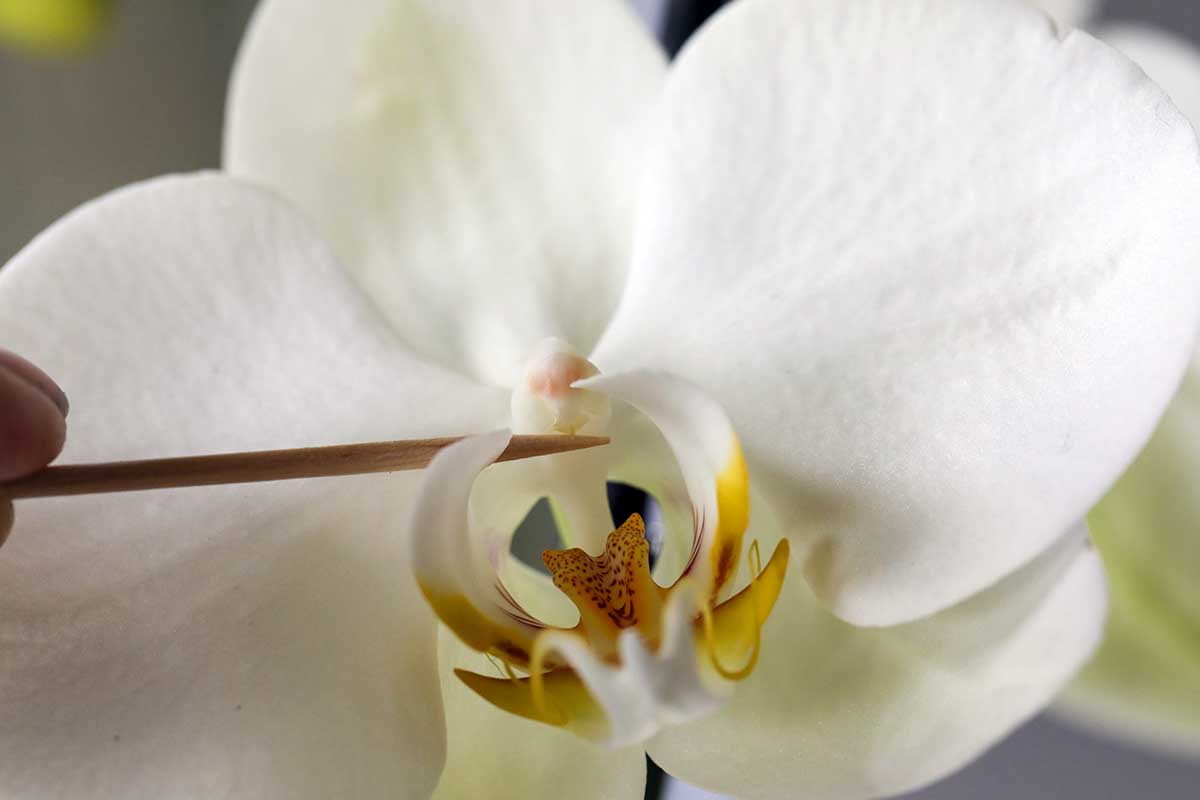
To pollinate, take a clean toothpick and place it just below the cap.
Gently pry off the front of the anther cap, which holds the pollen. It’s easy to fling the pollinia, or the masses of pollen grains, away as you pry off the cap, so do this slowly and gently.
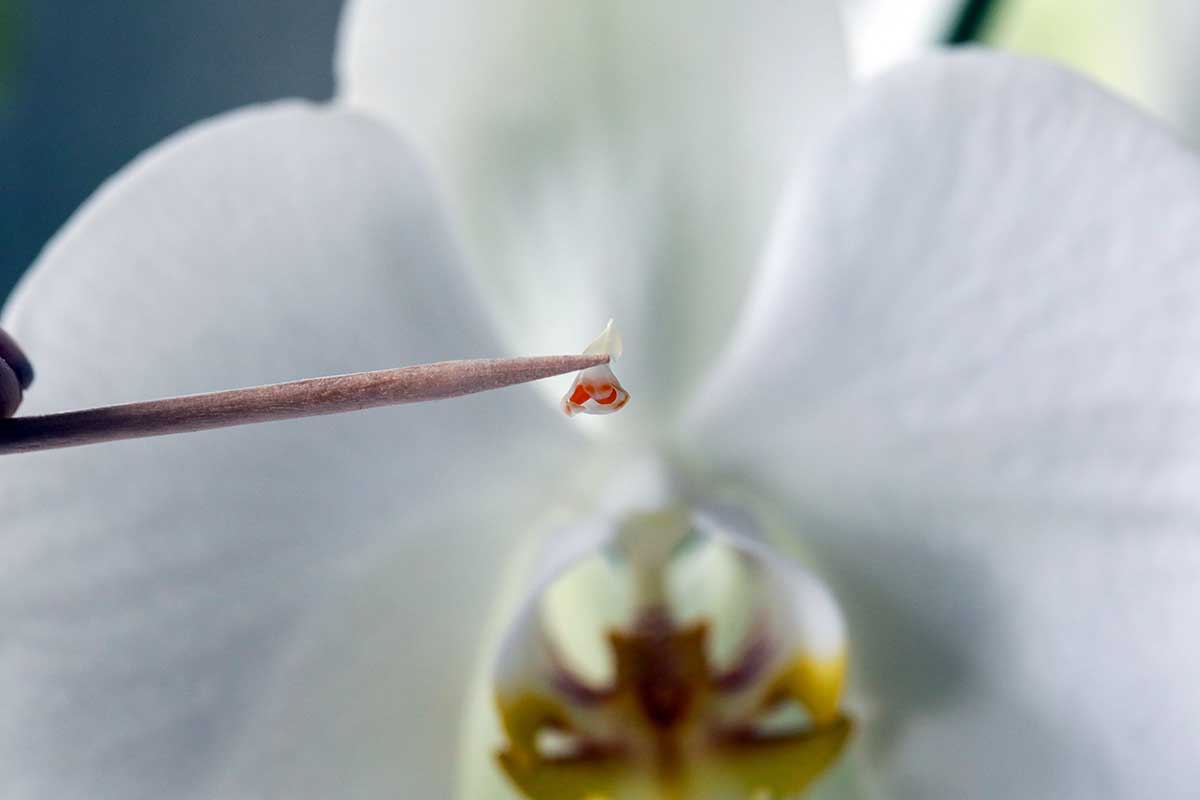
Once you have the cap off, it will carry two little yellow packets, assuming you didn’t fling them off into the wild blue yonder.
Each little packet of pollen is known as a pollinium, which is a cluster of pollen rather than the loose powdery stuff common on other species.
Pollinia are sticky, which makes it easy to pry them off and get them to stick onto the toothpick.
Use tweezers to hold the anther cap away from the pollinia, which should still be attached to the toothpick.
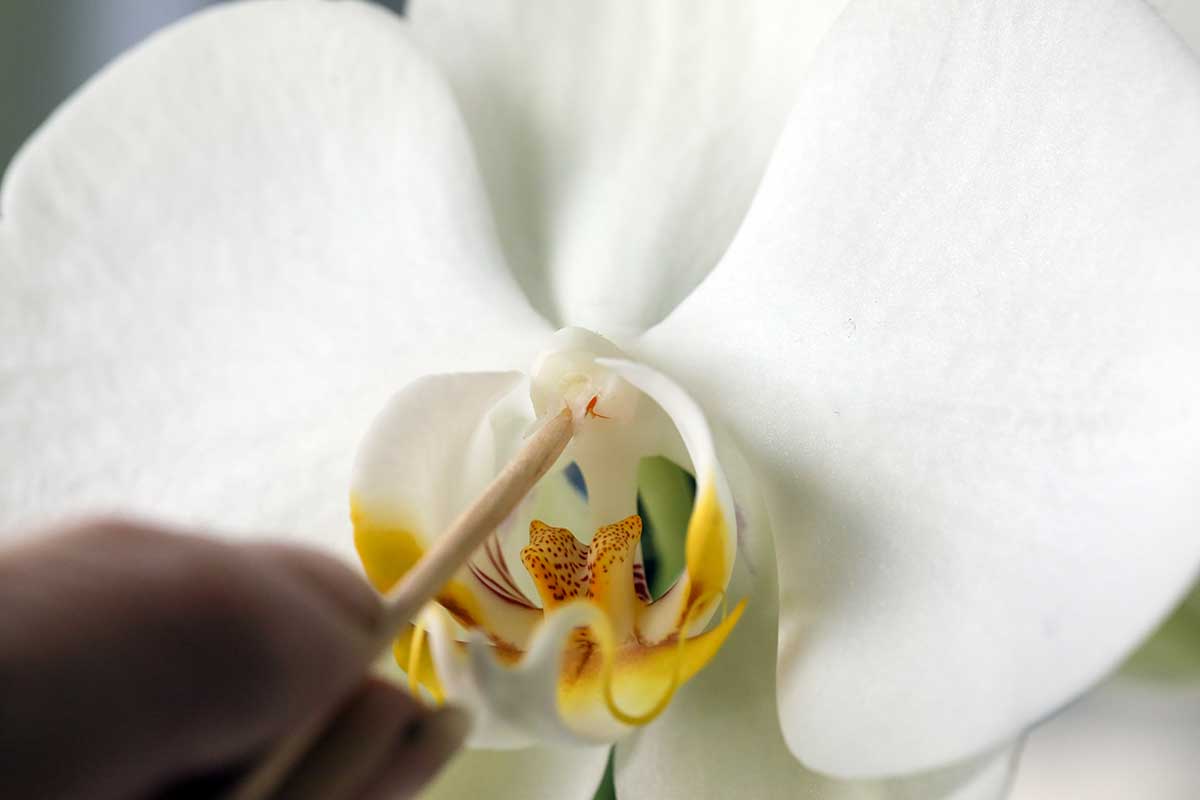
Stick the pollinia up into the stigma, either of the same flower, one on the same plant, or one of another plant entirely, and you’re done.
The stigma is the part right behind the anther that you just pulled the pollen out of.
Now that it’s fertilized, the stem at the base of the flower will start swelling and will eventually develop into a ripe pod filled with up to three million seeds.
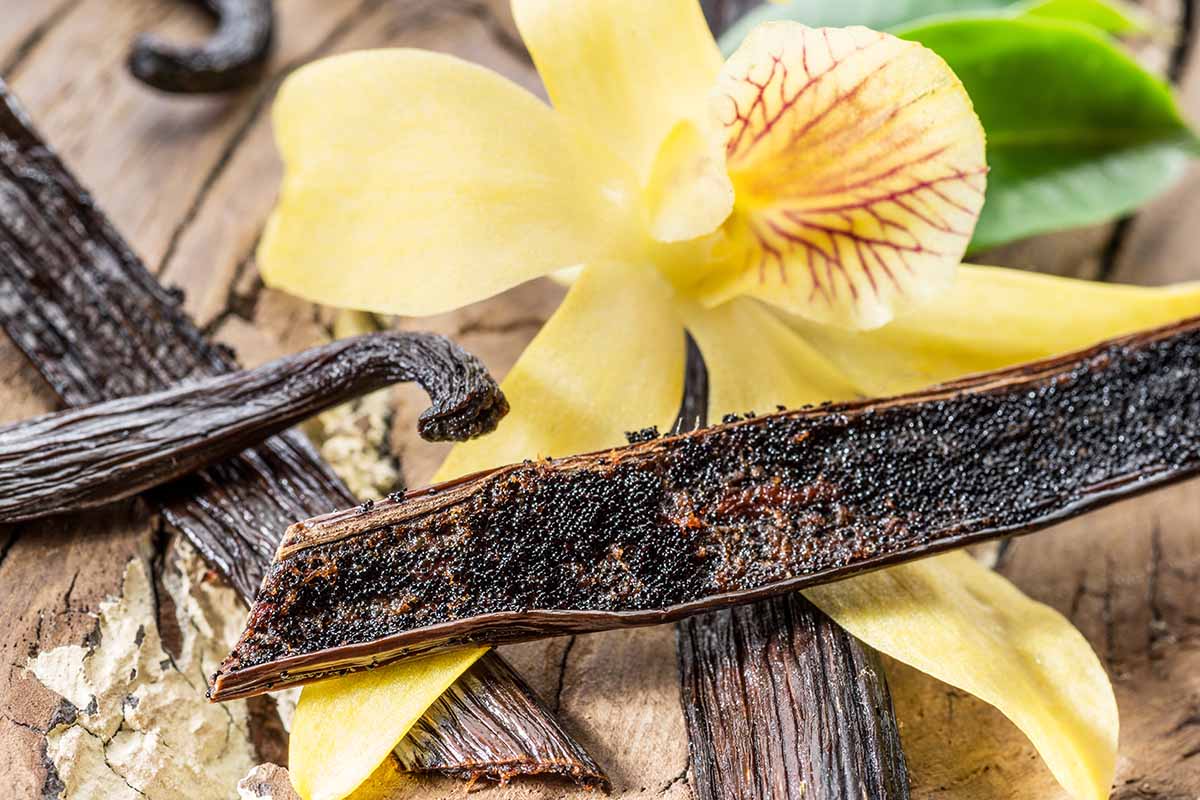
By the way, if you’ve ever slit open a vanilla pod, you’ve already seen what an orchid pod and seeds look like.
If you’ve cross-pollinated between several different flowers, make sure to label everything so you know what’s what.
Depending on the species, the pod will be ready in anywhere from one to 10 months. It will turn brown when it’s ready.
If you wait too long, the pod will split open on its own, so try to pluck it just before this. If you notice the seam starting to form a crack, that’s the perfect time to harvest.
Harvest the Seeds
Snip the pods off the plant and place them in a container. Add some bleach, put a lid on top, and shake the container to lightly coat the seeds.
Let it sit for at least 10 minutes but not more than 30. Remove the pods and lay them out on a clean towel or fresh paper towel to dry them out. This kills any pathogens on the pod’s skin.
To harvest the seeds, use a sanitized scalpel or craft knife to split the pod. Scrape out the seeds and place them in a small, sanitized container or on fresh wax paper.
Those closer to the flower end tend to germinate better.
Some people like to rinse the seeds in hydrogen peroxide, but that’s not necessary if you’re working in a clean environment. It does help, however, to use a drying agent to preserve the seeds unless you plan to use them right away.
Next time you open a package and a silica packet drops out, save it for your orchid seed projects.
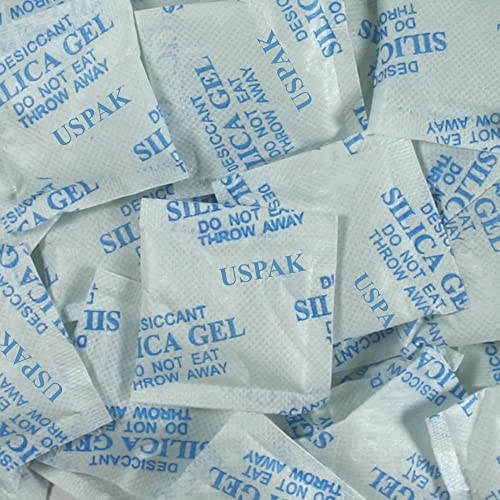
Or you can buy two-gram packets from USPak in packages of 100 on Amazon.
Store the seeds in a cool, dry, dark spot or in the refrigerator crisper drawer until you’re ready to use them, for up to a year.
Set Up Your Growing Spot
Once you’re ready to sow the seeds, find an indoor spot where you can maintain a temperature between 50 and 85°F with bright, indirect light exposure for at least eight hours a day, or for up to 14 hours. The more light, the better.
If you can’t provide that – and few of us can during the winter – add some supplemental lighting.
It also needs to be humid in the room once you open up the flasks.
Unless the humidity is naturally at least 60 percent or above in your home or workspace, you’ll need to use a humidifier of some sort.
I have a friend who works in her kitchen and boils a teakettle with the lid open for this, so feel free to get creative. Most of us will just purchase an electric humidifier since they’re a bit easier to control.
Gather Your Supplies
In keeping with our mantra, start out by collecting your sanitizing and sterilizing equipment.
You need some soap, rubber gloves, isopropyl alcohol, hydrogen peroxide, and bleach. You’ll also need a clean pot, and a heat source. Plus, you’ll need some growing flasks.
For all parts of this process, use distilled water or tap water that you’ve boiled and allowed to cool. Keep a sanitizing mixture of one part bleach and nine parts water handy for cleaning up spills, along with a clean rag and cotton swabs to do the cleaning.
You’ll also need a clean scalpel or craft knife, tweezers, and a few syringes or droppers. Some tongs are also useful to help you nab stuff out of the hot water or oven.
Your seed-starting container should be clear, tall, and narrow. Most people opt to use flasks with rubber stoppers.
You can buy a set of flasks that are all the same size, or buy a set with various sizes and see what you like best.
I find Erlenmeyer flasks to have the best shape because the neck is fairly short and the surface area of whatever you add to it is relatively broad.
Don’t feel like you’re limited, though. Any jar that can be securely sealed is fine.

If you want to experiment, Corning Pyrex has a set of clear glass flasks in five different sizes with narrow necks and rubber stoppers available on Amazon.
Boil these and the ends of your tongs for a few minutes before you fill them. Rubber stoppers should be steamed for 10 minutes rather than being submerged. Any time you sterilize something, let it cool and dry on a clean towel.
Finally, you need some agar media and fertilizer, but not just any old agar.
Buy some agar formulated specifically for propagating orchids because these contain the nutrients that orchid seeds need to germinate. You can find this type of agar online at specialty supply stores.
Make note of whether you’re growing a terrestrial or epiphytic type and choose the agar medium accordingly. Most orchids are epiphytic, but you want to be sure because they require different agar mediums.
If you want to go all the way, use a glove box for the next steps.
Glove boxes are enclosed systems that let you slide your hands inside a pair of gloves so you can manipulate items inside the sterile enclosure without introducing bacteria. Any local or online shop that sells lab supplies will carry these.
They can be expensive, but if you plan to make this a regular thing, it’s worth investing in a glove box. They’re handy if you’re into growing mushrooms from spores, too. You can also find instructions online to construct your own. Otherwise, remember: sterilize, sterilize, sterilize.
Before you start, sterilize all your tools with either bleach or heat.
If you heat your tools in the oven to sterilize them, make sure the oven reaches a temperature above 350°F and hold it for 15 minutes.
Otherwise, submerge the equipment in boiling water for 10 minutes.
Don’t put anything in the oven or into water that could melt, though.
Prepare the Medium
Follow the manufacturer’s directions for prepping the agar. This typically involves adding some distilled or coconut water.
Some mediums come pre-sterilized and already mixed, so you can get straight to growing, but I find it’s better to be safe and prepare your own unless you really, really trust the source.
Pour a half-inch of agar into each of the sterilized flasks. If some agar spills on the inside or outside of the neck of the container, wipe it off with a clean rag or cotton swab soaked in your sanitizing bleach solution.
It’s a good idea to use more than one container to increase your odds of success. That way, if one becomes contaminated, you won’t lose all of the seeds you’ve worked so hard to grow.
Sterilize your tools before you pour the agar into the containers so everything is ready once you’ve finished, but don’t sterilize too far in advance or your tools risk becoming contaminated.
Sow the Seeds
Work somewhere without any wind or breezes. Close those windows and turn off those fans. These seeds are tiny and they’ll fly away.
Put a few drops of hydrogen peroxide in with the seeds in their sterilized container (or place them in a sterilized container if you kept them in wax paper) and swish them around for a few seconds.
Pour some distilled water into the container and use a sterilized dropper or syringe to fill it with water and seeds.
Release the mixture into the flask, distributing them across the surface of the agar.
Your goal is to evenly cover as much of the agar as you can, so if your syringe or dropper isn’t long enough, you may need to gently tilt the container to get things where you want them.
Don’t stress too much, though. The water will naturally want to redistribute itself across the medium, so drop those seeds in, tilt the container around a little, and it should be fine.
If any seeds stick to the inside or outside neck of the container, wipe them away with a clean cloth or cotton swab dipped in your bleach solution.
Seal the flask.
Care for the Seeds
Place the flasks under grow lights or near a north-facing window with at least eight hours of bright, indirect light exposure per day.
Most orchid seeds need about 12 to 14 hours of light per day to germinate, so most people will need to use grow lights.
Depending on the species, it can take months for the seeds to sprout and develop roots.
Do not open those flasks. It might be tempting, but you will introduce foreign elements no matter how careful you are.
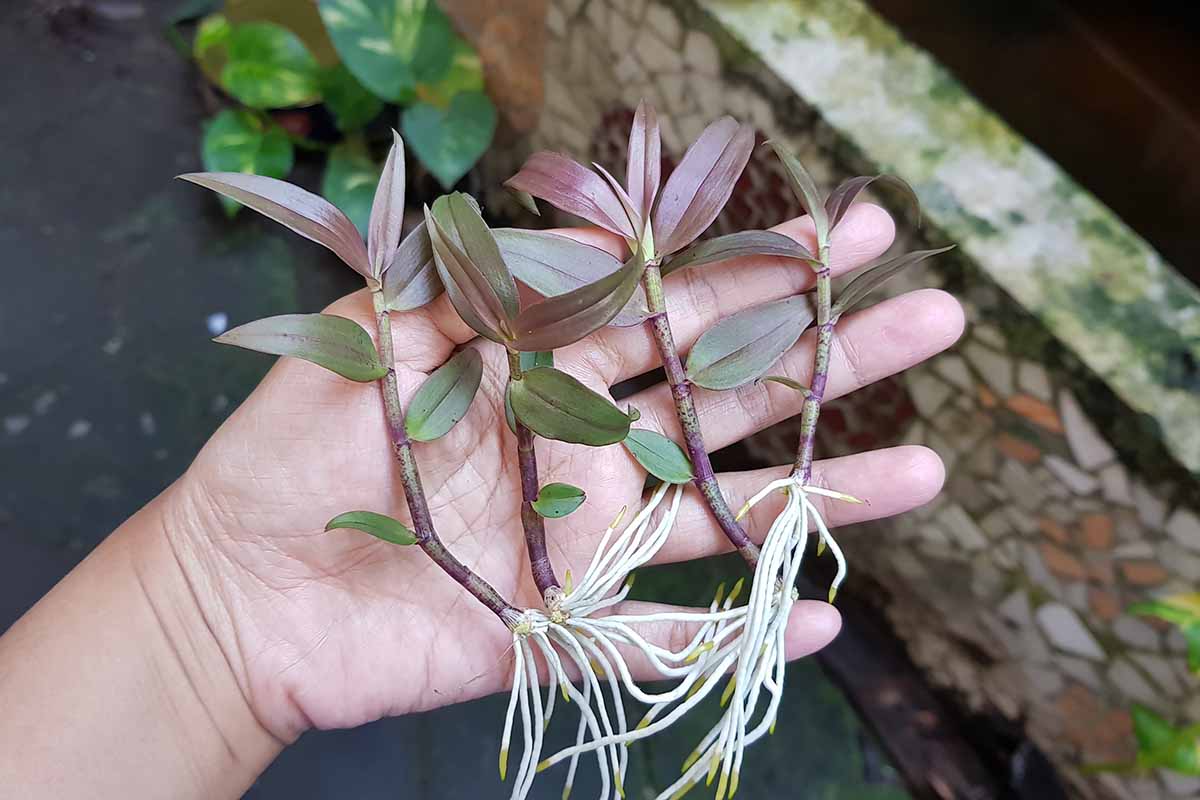
Transplant the Seedlings
When the roots are a third of an inch long, prepare by filling a few small containers with orchid bark. You’re going to want to use tiny pots to help reduce the likelihood of root rot.

These two-inch plastic pots that are available on Amazon in packs of 100 are just right.
Look for an orchid bark mix that is somewhat fine. Some bark mediums are chunkier than others, so find one that specifies that it’s small rather than using medium or large chunks.
Try this bark from Kitsypartsy, which can be purchased at Amazon in four-quart bags.
Fill the pot to within about an inch from the top. Take a sanitized pair of tweezers and gently tease a plant from the agar.
Rinse the roots clean with room-temperature distilled water by swishing them around in a bowl.

Lay the roots of the seedling on top of the bark. Gently fill the pot up the rest of the way with more bark. The roots should be covered entirely. Repeat with the remaining seedlings.
Water the bark with that good old distilled or boiled and cooled water and place the plant somewhere with bright, indirect light or artificial light exposure for at least 12 hours per day.
Remember, your growing space needs to be humid, so if you can’t maintain sufficient humidity in the room, tent plastic over the plants.
After the plant has grown several sets of leaves, you can move it to its regular spot.
Find tips on transplanting orchids here.
You Can Do It
I know, it sounds like a lot, but you should now feel confident enough to give propagating your own orchid seeds a shot.
It’s not so much that the process is complicated, but you have to be so careful to avoid contaminating the seeds and growing medium. Just remember your mantra (sanitize!) and all will be fine.
Be sure to come back and tell us how it’s going. Did you run into any trouble? What magical hybrids did you create? Share with us in the comments.
If you’d like to learn more about orchids while you wait for yours to mature, read these guides next: