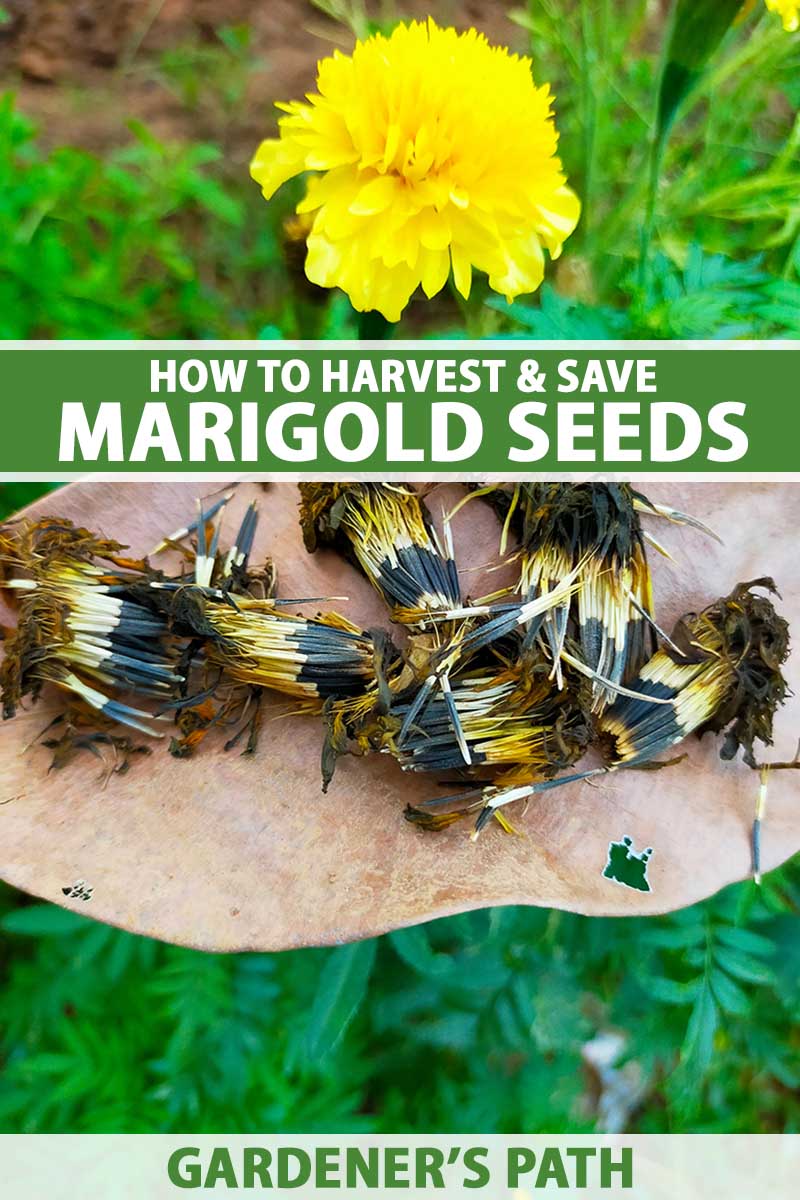
As the blooms on your marigold plants fade, you might wonder, “Can I save seeds from these withering flowers to grow new plants in my garden next year?”
The answer is a resounding – yes!
We link to vendors to help you find relevant products. If you buy from one of our links, we may earn a commission.
And there are a few steps you can follow to ensure success with this seed-saving project, so your future flower sowings will provide you with the beautiful blooms you are expecting, down to the finest detail!
I’m going to walk you through the process of harvesting and saving seeds from marigolds in seven simple steps. Here’s a quick preview:
7 Steps to Saving Marigold Seeds
Before we get started, let’s make sure you know what marigold seeds actually look like!
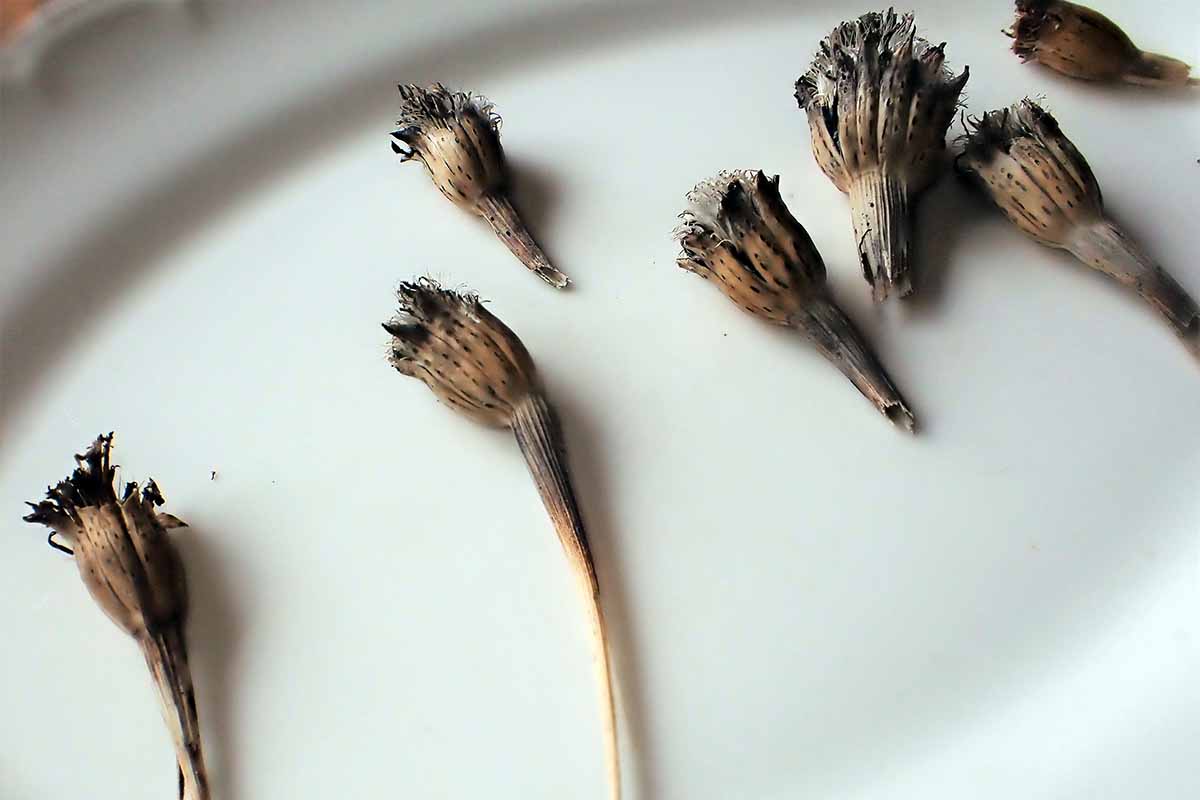
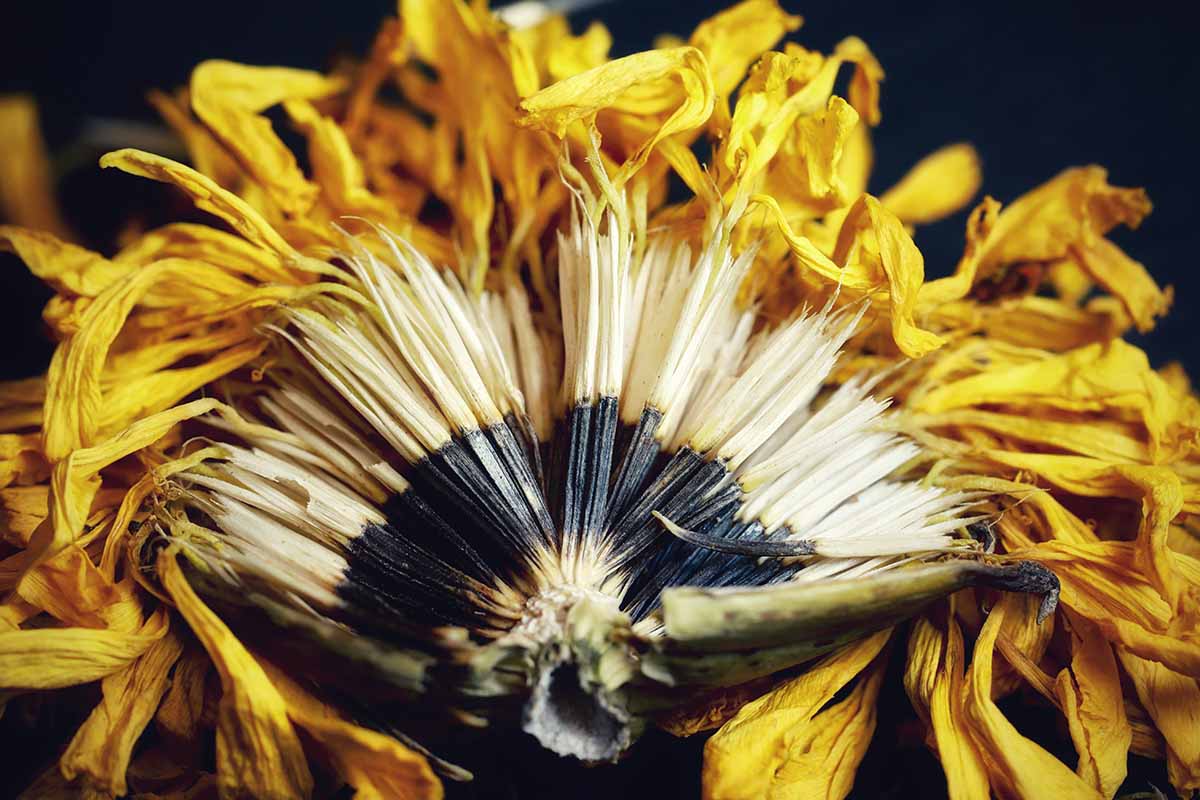
Each faded marigold bloom contains many thin “achenes,” which are long and thin, black at one end, and cream colored at the other. They are about one-half to one inch long.
These achenes are technically fruits, and each one contains a single seed.
You’ll be planting each achene intact, so for our purposes, you can consider the achene to effectively be the same thing as a seed.
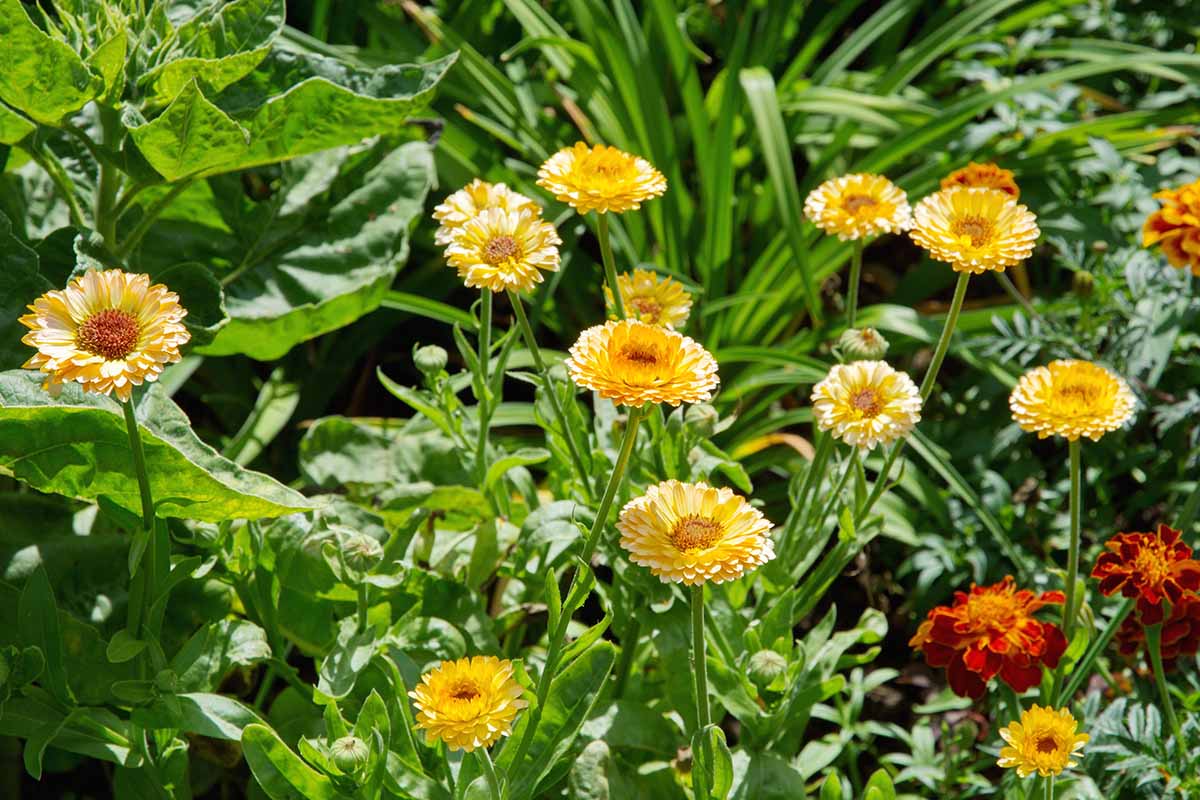
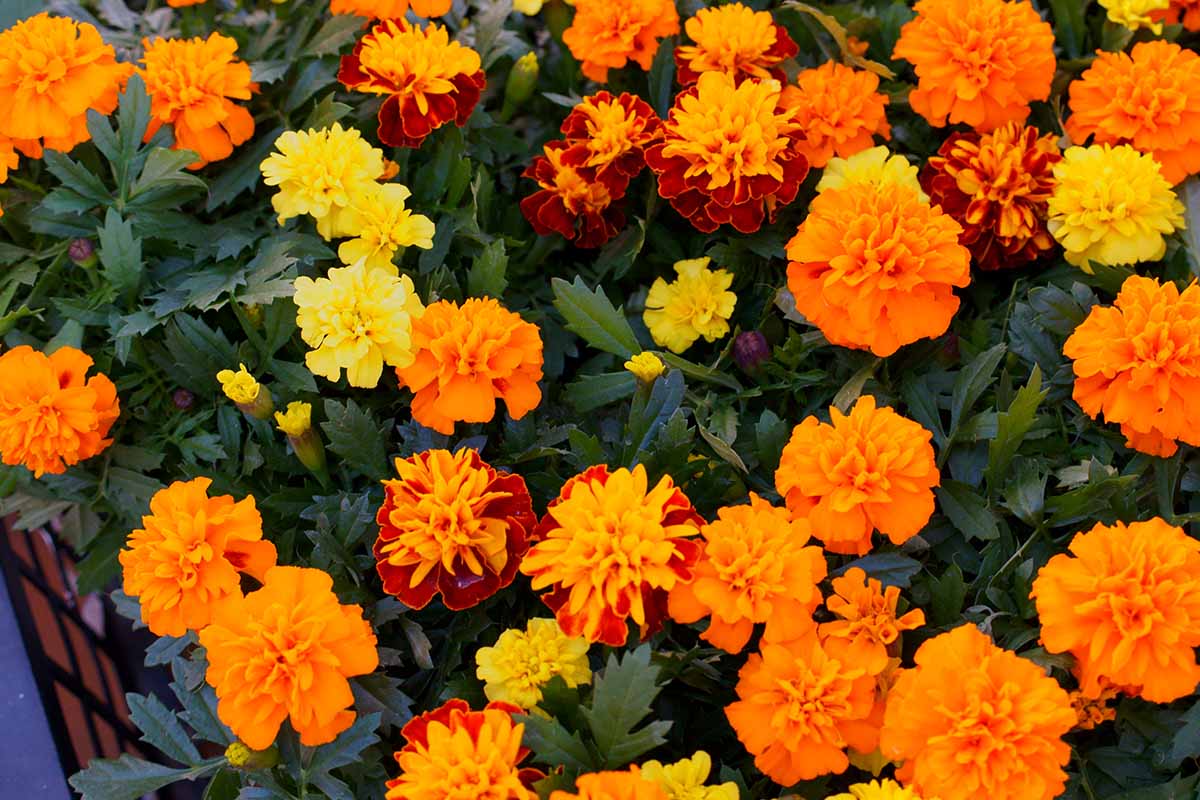
And just to make sure we’re on the same page as far as which plant we’re dealing with here, we’re discussing the plants commonly called marigolds that are scientifically classified as Tagetes species – African, French, and signet marigolds, not those also known as calendulas or “pot marigolds.”
1. Choose Open Pollinated Varieties
We’re going to start at the very beginning (it’s a very good place to start!) – before you even sow or transplant your first batch of marigolds, the ones you’ll eventually save achenes from.
But don’t worry. If you already have a bed of faded blooms that you’re itching to harvest, we have plenty of guidance here for you too. Go ahead and read steps one and two to begin, and make some mental notes of what you may need to do differently next time.
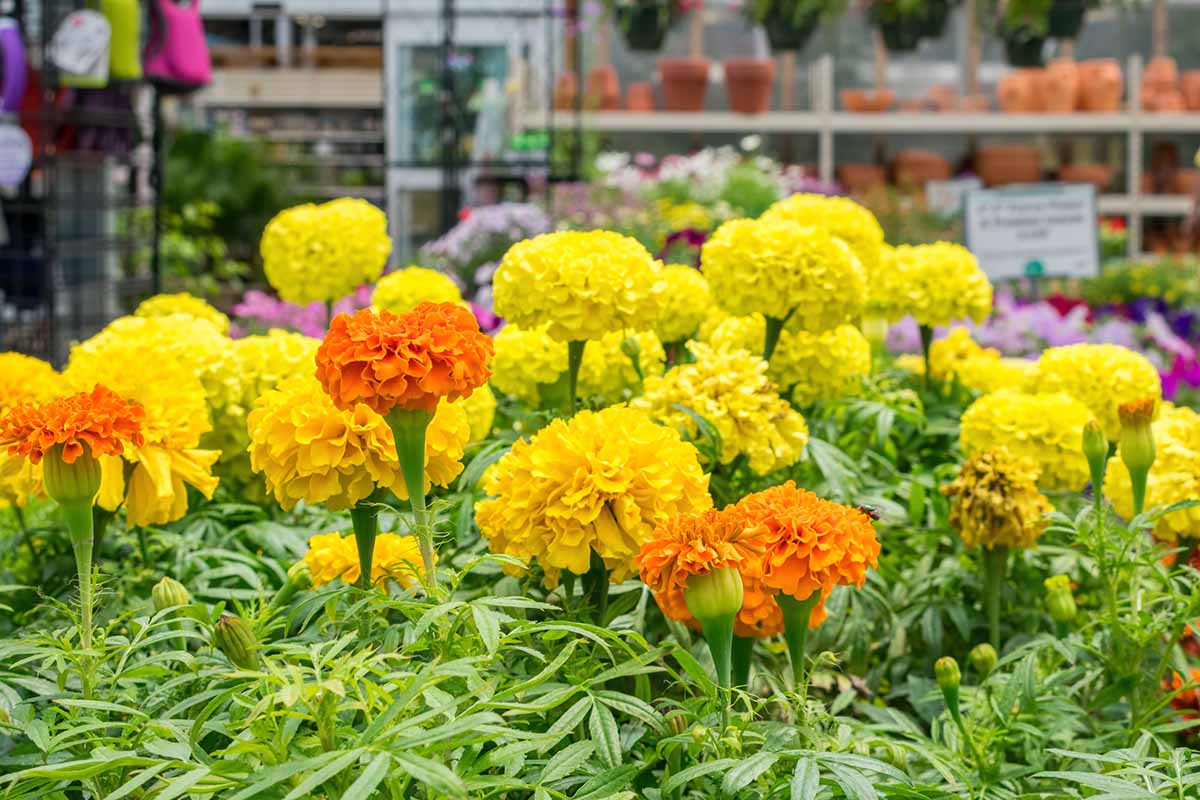
Successful seed-saving starts before you even plant your floral crop, with your choice of an open-pollinated cultivar.
Open pollination means the variety will breed true – or in other words, that future generations will reliably have the same characteristics of their parent plants, such as bloom color and texture, and flower and plant size.
Heirloom cultivars are always open-pollinated, while some non-heirloom cultivars are also open-pollinated. The latter will breed true too, they just haven’t been around long enough to earn the “heirloom” title.
Hybrids, on the other hand, are not open-pollinated and will not breed true – if their achenes are used for propagation, it’s unlikely that offspring will look like their parent plants.
And in some cases, hybrids may be sterile, meaning they won’t produce viable achenes at all.
However, if you enjoy indulging in at-home science experiments, by all means, you can certainly give this experiment a go! It can be really fun to save seeds from hybrid cultivars just to see what the results are.
On the other hand, if you want to produce reliable results, avoid saving achenes from hybrid cultivars.
One of my favorite open-pollinated marigold varieties is an heirloom cultivar of T. patula called ‘Legion of Honor.’
It’s bicolored red and gold and has open, simple blooms that make great forage for pollinators. If I had to pick just one T. patula cultivar for my garden, it’s the one I’d choose.

You can purchase open-pollinated, heirloom ‘Legion of Honor’ marigold seeds in an assortment of pack sizes from Eden Brothers.
Did you notice I said, “If I had to pick just one?” That’s because choosing an open-pollinated variety isn’t the only step to take care of before growing your flowers. There’s one more factor you’ll want to control first.
2. Isolate Species
Isolation. It’s not just the bane of the modern world, it’s also one of the biggest stumbling blocks of would-be seed-savers!
At least, it is for those of us who want to save propagation stock that breeds true to type.
Once you have made sure your marigolds are open pollinated, the next step when growing these fiery-colored flowers is to isolate varieties of the same species to avoid cross-pollination.
Although some professionals recommend isolating Tagetes cultivars by a quarter of a mile, the distance needed to isolate a variety can vary depending on pollinator populations, vegetation, wind, and other landscape and climate considerations.
While the exact amount of distancing one needs between cultivars may be hard to know for sure, as with choosing an open-pollinated cultivar, isolation will help to ensure that your offspring are reliably like their parent cultivars nonetheless.
But, if you’re up for a surprise, you can skip this step, accept the possibility of cross-pollination, and just see what you get! Many gardeners save achenes without isolating and get a second generation that looks close enough to the first.
“Hang on, there,” I can hear you saying. “You said to isolate cultivars of the same species, right? Aren’t there different species of Tagetes?”
Good catch. There are indeed multiple Tagetes species, and while interspecies hybrids are technically possible, they are far less likely to occur without some human intervention than crosses between the same species.
So, if you like to grow as many different cultivars of marigolds as possible but still want to save propagation stock that breeds true, choose cultivars from different species to plant in your garden.
3. Collect Dry Seed Heads
Once you have a patch of marigolds that are growing and producing blooms, start keeping an eye out for spent flowers.
Marigolds produce flowers continuously in a long sequence throughout the growing season, so you’ll find new blooms and faded flowers on the same plant at the same time.
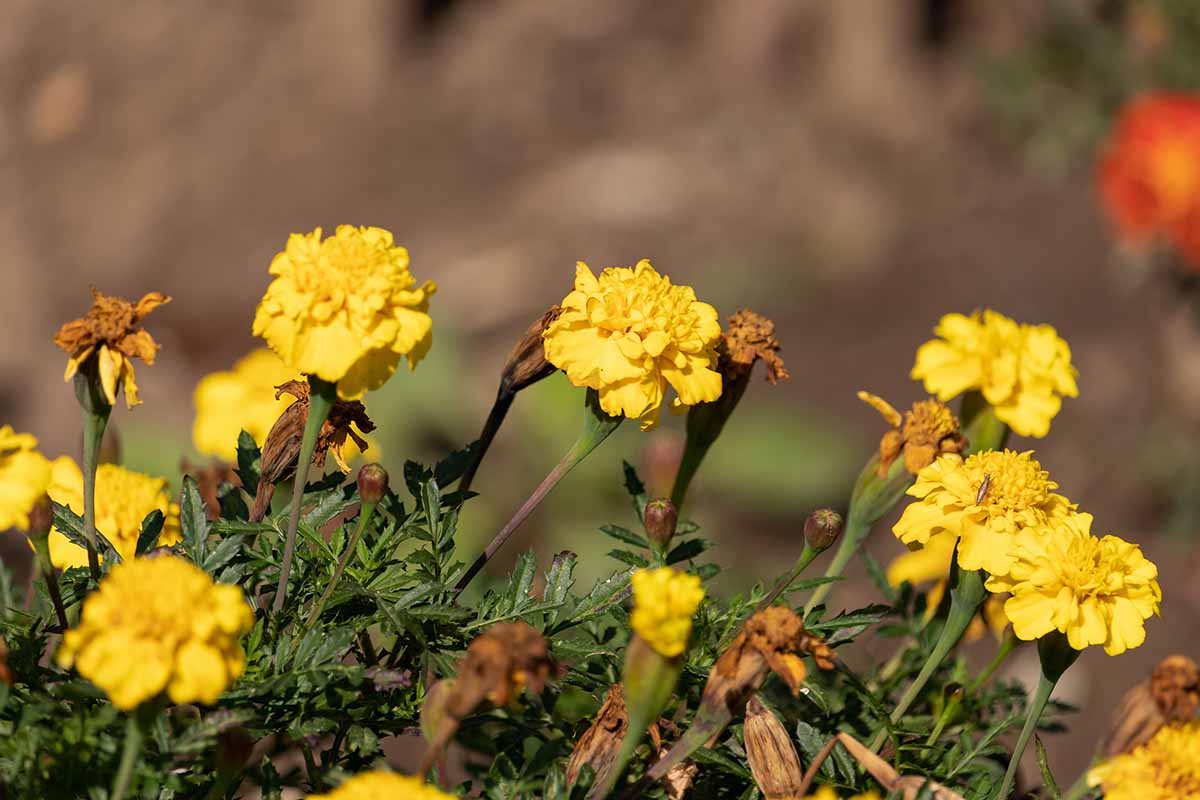
Rather than deadheading blooms as they fade, allow them to remain on the plant until they dry.
When harvested too early, immature achenes will not be viable. So allowing faded marigold flowers to remain on the plant is an important step towards making sure the achenes are able to transform into future flowers.
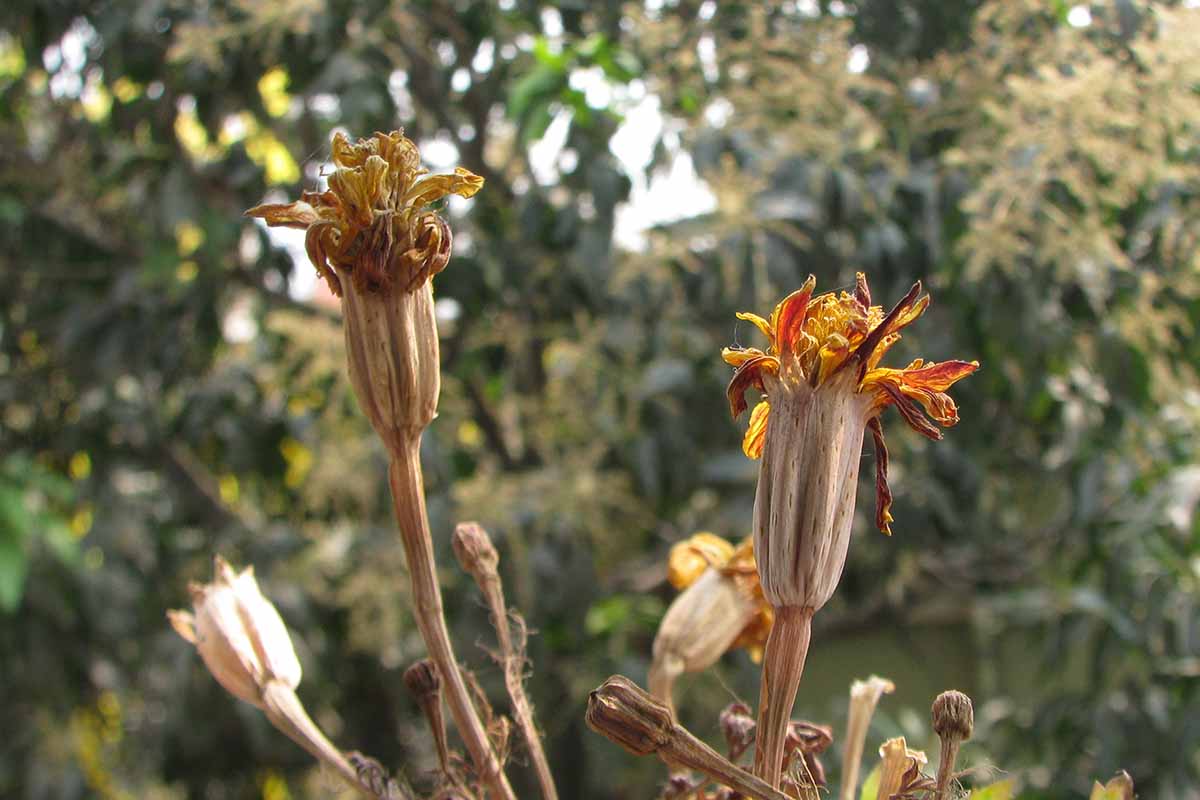
Once the withered flower heads are dry, you can snip them off with a pair of scissors and collect them in a basket or paper bag.
Try to collect seed heads from multiple plants, if possible, to provide genetic diversity in your propagation stock.
4. Allow Harvested Seed Heads to Dry
Once you have harvested the dry marigold flower heads, take them indoors or to some other sheltered location, and spread them out on a plate, a tray, or a rack.
If you live in a humid location, a drying rack will be the best option.
Choose a rack with a screen which will support the achenes rather than allowing them to fall through, such as this beechwood drying rack, available for purchase via Amazon with one or multiple tiers.
Place the rack, tray, or plate in a dry location and allow the withered marigolds blooms to continue to release any remaining moisture.
This step will help to prevent mold growth on the achenes while they are in storage.
The length of time required for this step will depend on the conditions in your home as well as the climate in your location – arid climates with low humidity will permit much quicker drying times than humid ones.
You can try the snap test to see if the achenes are fully dry – crack open a seed head, take out a single achene, and try to break it in half.
If it snaps, it’s dry. If it doesn’t, it still needs to release more moisture. Repeat the test with a few more achenes to make sure the entire batch is fully dry.
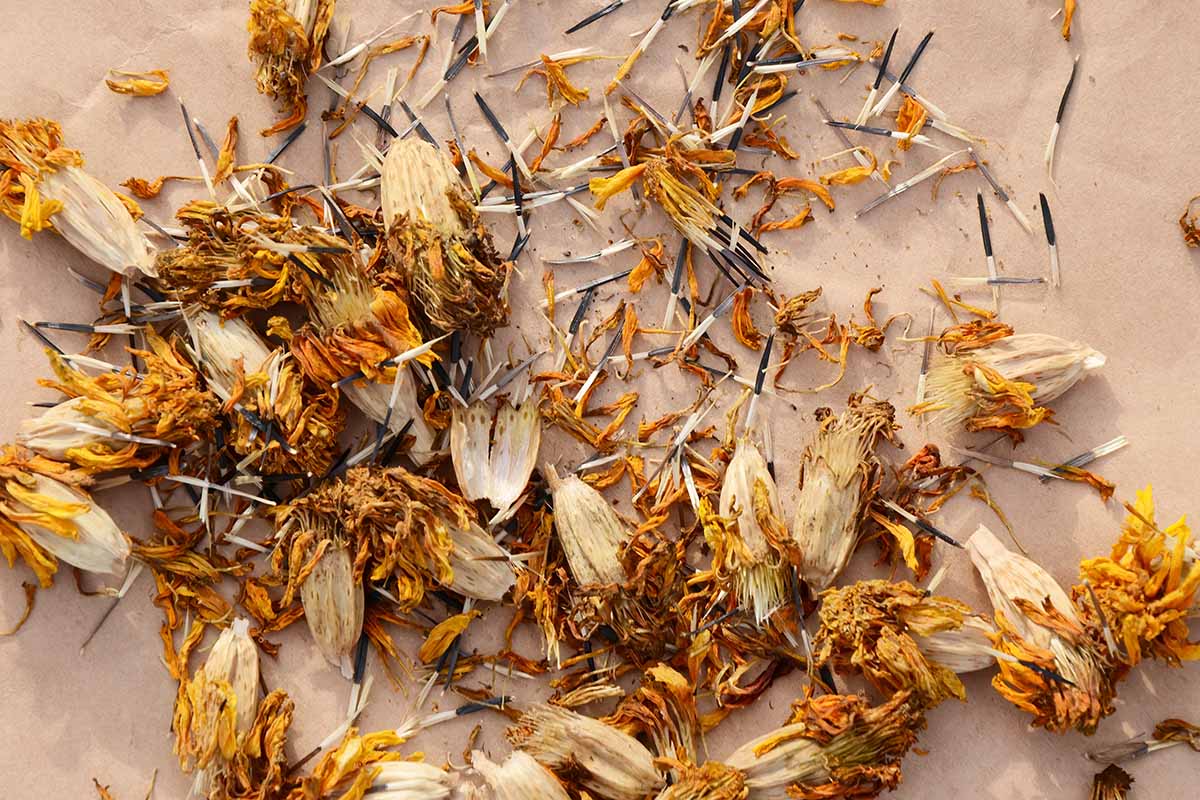
5. Remove Achenes from Seed Heads
Once the harvested marigold heads have thoroughly dried out, break open a seed head and remove the achenes.
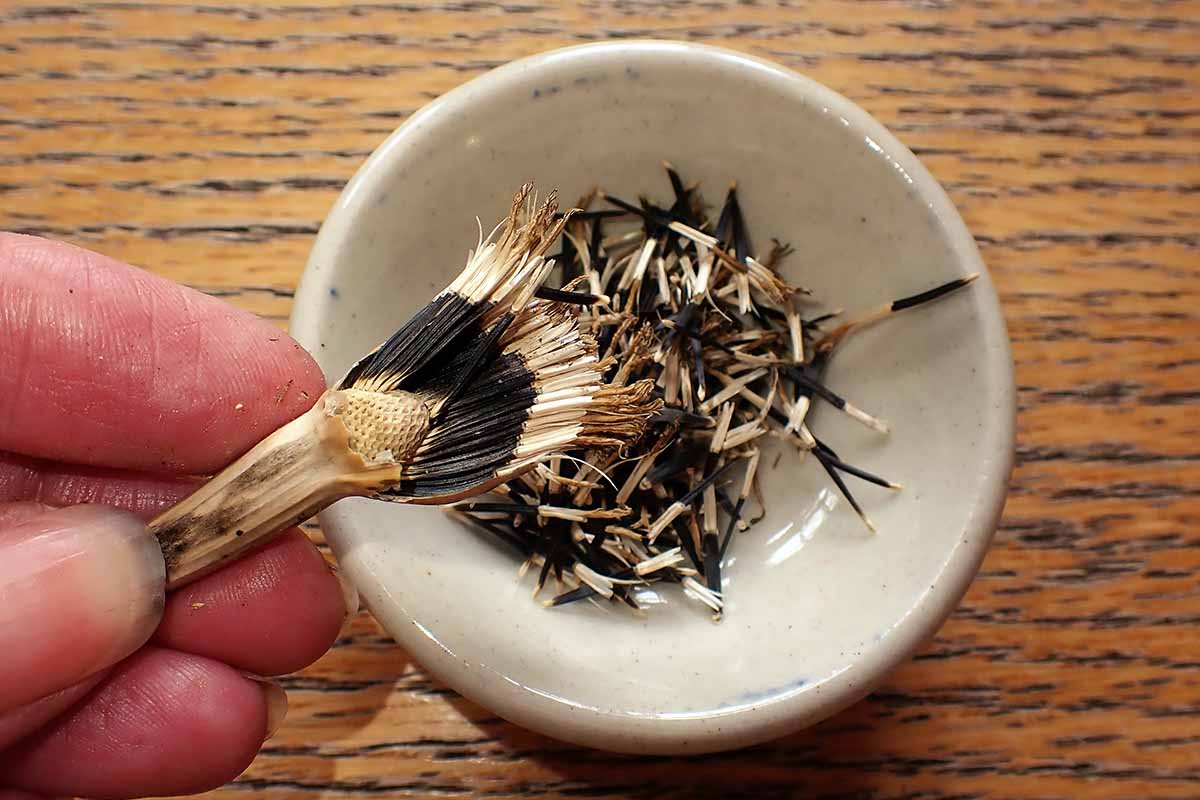
Collect the seeds in a container such as a small dish, setting the husks of the faded flower head to the side.

There won’t be any other dry vegetation to winnow away in this process, making achene collection easy and clean with these types of plants.
6. Place in Packets
Once your harvested achenes are fully dry and removed from their dry flower heads, they are ready for storage.
Some gardeners like to store seeds in airtight containers. My personal preference is to store them in paper packets, making mold growth less likely.
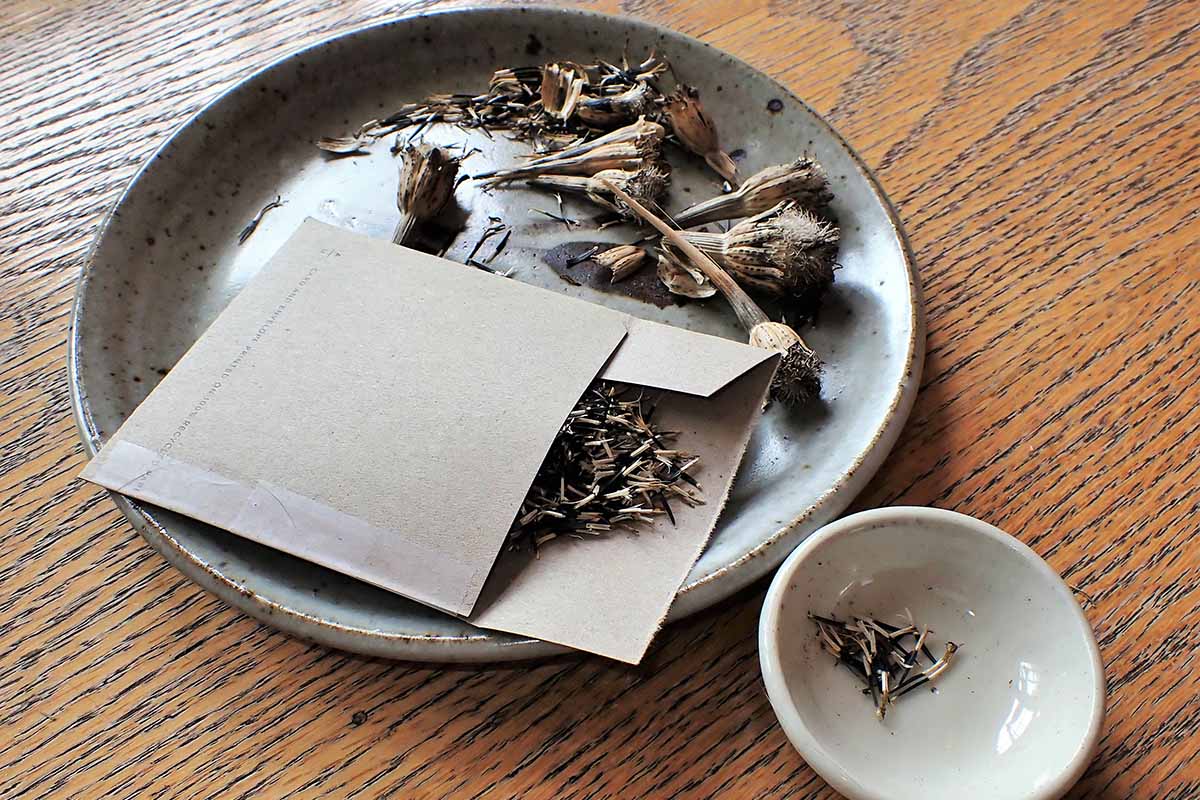
I like to make my own packets out of repurposed, used envelopes.
However, if such a DIY step doesn’t fit into your modus operandi, you can also buy small storage envelopes for this purpose, such as these small brown kraft paper envelopes that are available in packs of 100 via Amazon.
Pack of 100 Small Brown Kraft Storage Envelopes
Fill the envelopes and be sure to label them with the flower name, cultivar, and the year they were harvested.
Good labeling will allow you to keep track of your seed collection and help you use up your older stock first.
7. Store Securely
Place the filled envelopes in a dry, cool location for longevity.
Some gardeners like to store their seed collection in the fridge or freezer. I find this option unnecessary in my arid location – and it’s also an impractical option since my freezer is always packed with frozen garden produce!
However, since mice can be a problem in my rural location, I store my collection in rodent-proof metal or wood boxes, such as this green metal Burgon and Ball seed packet storage tin that you can find on Amazon.
Burgon and Ball Green Metal Seed Packet Storage Tin
Tagetes achenes will remain viable for two to five years if stored in suitable conditions.
Flowers for the Future
Congrats, gardener! I (unofficially) declare you a master marigold seed-saver! You should now be ready to produce your own supply of Tagetes blooms from here on out.
If you have any problems with this process, please be sure to drop us a note in the comments section below – we’re happy to help. And on the flip side, if you want to show off your harvested achenes or new crop of marigolds, feel free to post your photos in the comments section too!
If growing Tagetes flowers brings you unending delight, be sure to check out these articles next:
I grew these from seeds. My favorites so far. I have wonderful memories of my grandmother bringing paper bags of seeds in her trunk of her car with black magic marker scrawled marigold seeds. Precious memory.
Kathleen,
That is a beautiful marigold! And a beautiful memory of your grandmother. How wonderful that you are carrying on her tradition!
Thanks so much for sharing.
I’ve been harvesting my seeds and letting them dry out outside of the flower head. Will they still be viable or do they have to dry out while still in the head?
Hi Kaitlyn, The important thing is that the seeds need to be able to mature all the way before you remove them from the flower head. If you’ve already harvested some and aren’t sure if they matured or not, you can do a simple test. Place a few of the seeds on a moist paper towel, then put the paper towels in a sealable plastic bag. Place the bag in a warm spot, such as on top of the fridge – check it every few days to make sure the paper towel stays moist (but not soggy). Within a couple… Read more »
How can I dry marigold seeds? I live in florida zone 9a. Humidity, too! I noticed my seeds are soft. How can I dry it and make it hard like real seed? Im lost over that and been trying to figure out. Hoping you have some good advices. Pretty please!
Hi Karen, I’m sure the humidity in your part of the country makes things tricky for drying seeds. Have you tried placing them in a dry-ish location indoors, in a single layer? Using a mesh drying rack can help so that moisture isn’t building up underneath. Here’s an example of what I’m talking about: the Stack!t Herb Drying Rack available from Gardener’s Supply. Also, to find the spot in your home with the lowest humidity you may need to use a humidity gauge (also known as a “hygrometer”) such as this indoor outdoor thermometer and hygrometer combo, available via Amazon.… Read more »
One question Kristina: I dried the seeds with the white tufts on but should I remove the white tufts before planting the seeds next spring? Thanks for your great step by step guide.
Hi Helen, I’m so glad to know you enjoyed this article – thanks for letting us know! If I’m correctly understanding what you’re referring to, the white tuft is actually part of the seed. These seeds are a bit unusual, they are long and thin, half black and half white. When you’re looking at the dried flower head, you’ll see white tufts sticking out of it, but once you start to take apart the dried flower, you should see that that white tufty stuff is actually the ends of a thick bunch of individual seeds sticking out. For a good… Read more »
If the seeds are brown, not black, what does that mean?
Hi Dave,
They can be black or brown, or brownish black, it will depend on the variety.
Hope this helps!