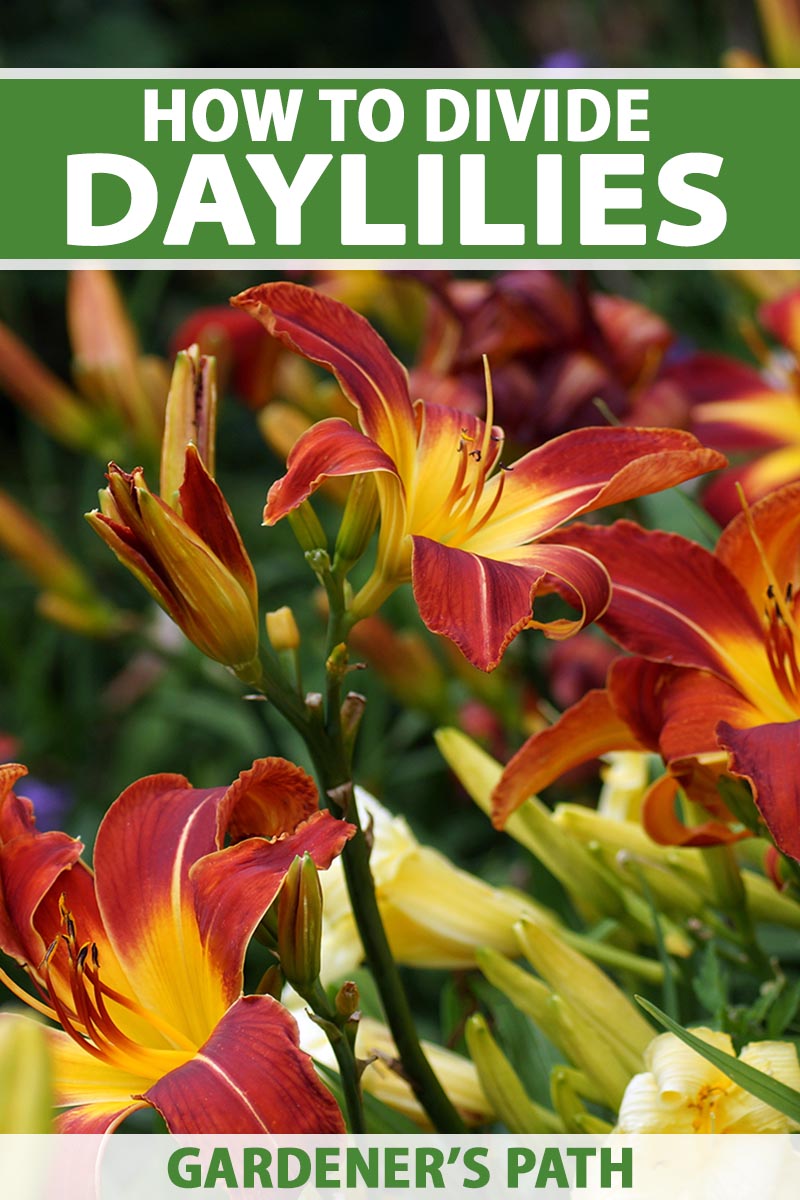
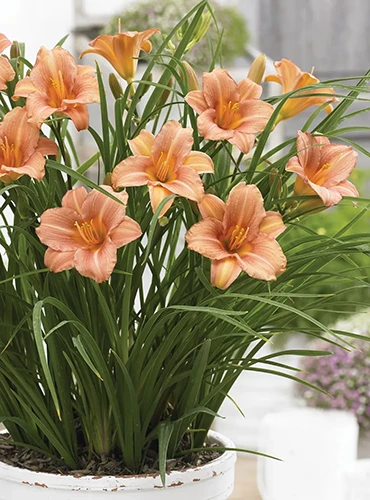
Fast growing and long lived, colorful daylilies (Hemerocallis spp.) are tough, carefree plants with an abundance of bright flowers – and they benefit from occasional division.
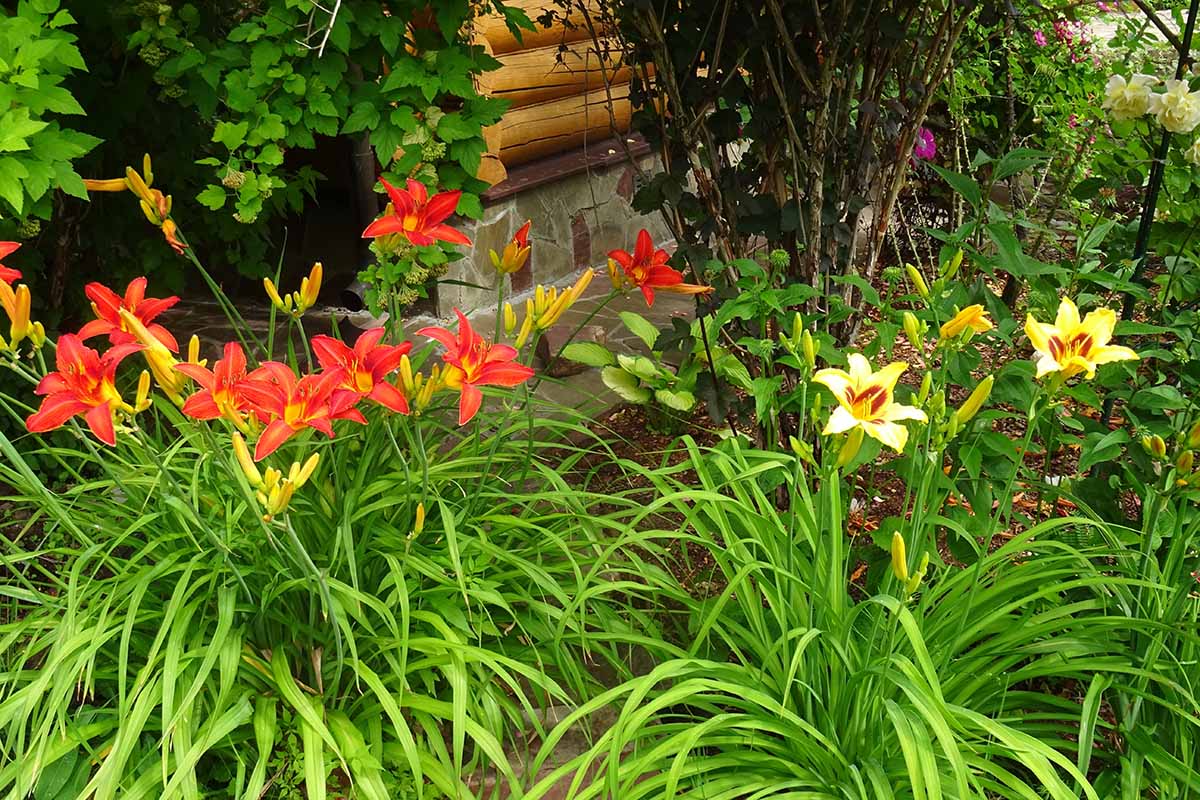
These herbaceous perennials form beautiful colonies of strappy foliage, producing multiple tall stems loaded with large, lily-like flowers.
And even though each flower blooms for only one day, healthy clumps give a long and abundant flowering season.
We link to vendors to help you find relevant products. If you buy from one of our links, we may earn a commission.
Once established, these low-maintenance and versatile plants are drought tolerant, but they can also handle moist soil like you might find beside a creek or pond.
The fast-growing rhizomes and roots spread vigorously, developing dense clumps that can eventually become overcrowded.
And when overcrowded, the plants’ vigor slowly declines and flower production wanes, with fewer and smaller flowers each season.
To maintain optimal health and maximum flower production, clumps should be divided every three to five years.
To keep your daylily patch vibrant and flowering freely, let’s jump in for the how and when of daylily division.
Here’s everything we’ll cover up ahead:
What You’ll Learn
Daylily Basics
Plants in the genus Hemerocallis are herbaceous perennials that grow from rhizomes, but they aren’t true lilies.
Growth is fast and energetic, with clumps reaching a height of one to six feet with a spread of two to four feet, depending on the cultivar.
When planting, newly divided sections can be spaced one to four feet apart.
For an immediate impact, you might wish to plant the sections closely. However, when planted closely, the clumps will fill in quickly and you’ll need to divide again in about three years.
Spaced further apart, the clumps fill in slower and you can divide every three to five years – but you have to wait longer for a full flower display as well.
Daylilies give the best floral shows in a full sun location, with an ideal mix of morning sun and protective shade from hot afternoon rays.
Light feeders, they have minimal fertilizer needs. Apply a two-inch layer of compost or well-rotted manure in early spring just after new growth emerges, and that’s all the supplemental feeding they need.
Most daylily cultivars are hardy in USDA Zones 3 to 9 with a few suitable for colder temperatures in Zone 2, and some fitting for warmer Zone 10 climates.
For complete care and cultivation info, our guide to growing daylilies in the garden has all the details.
When to Divide
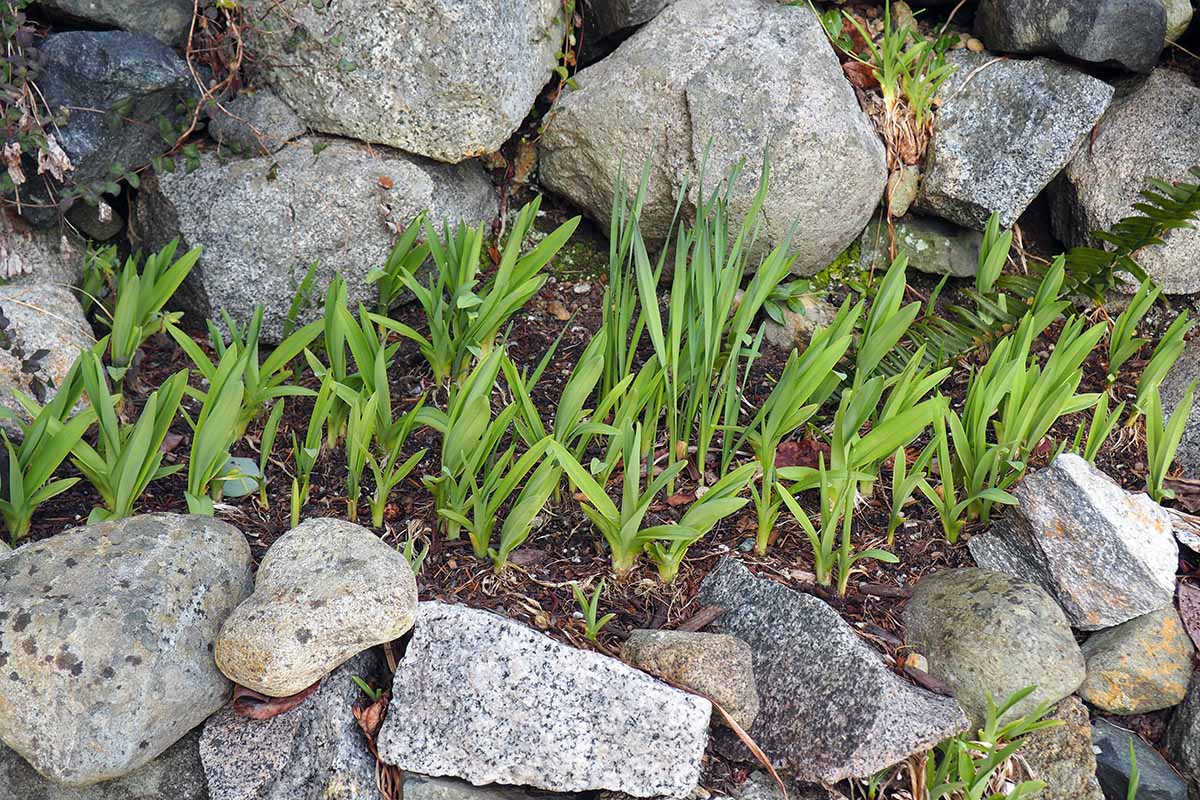
Clumps of Hemerocallis can be divided in early spring, or in late summer to early fall.
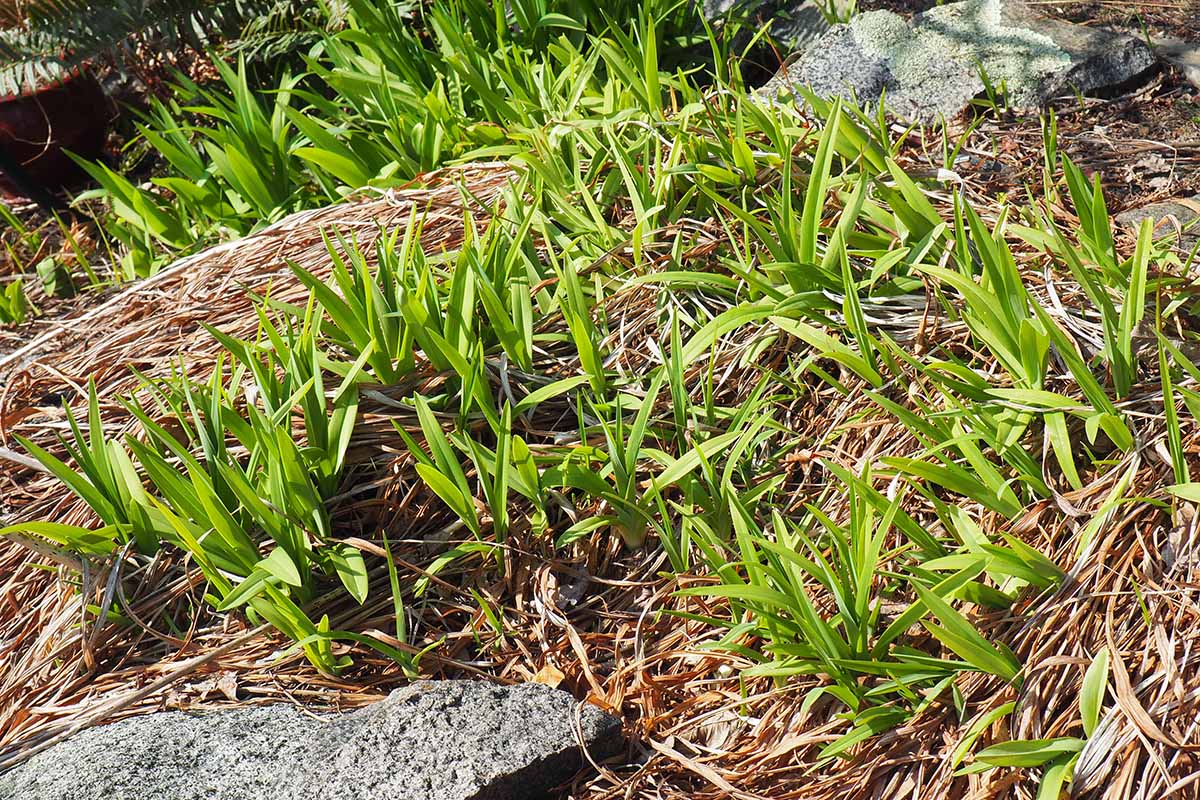
In early spring, wait until new growth is two to four inches tall before lifting clumps. Spring is the best time for division as it gives plants a full growing season to become established.
If you divide at the end of the growing season, wait until cool overnight temperatures return, but don’t dally too long – give your new transplants six to eight weeks for the roots to become established before freezing temperatures arrive.
How to Divide
To divide plants, the entire root system needs to be lifted.
If a clump is overcrowded, damage to some of the roots is inevitable – but you’re going to have so much new material, it’s nothing to worry about.
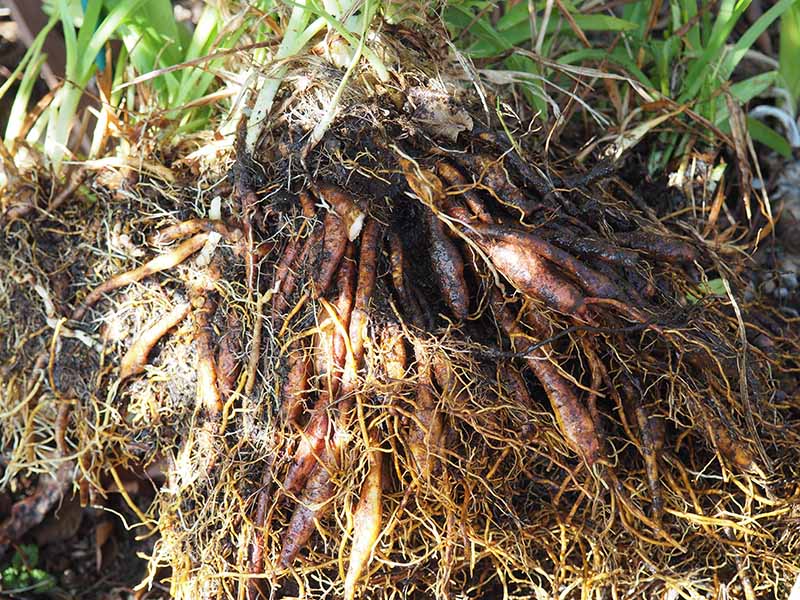
Fully insert a garden fork or spade all around the clump’s perimeter, then pry and lift it free.
Gently brush or hose off the dirt to expose the roots.
Need a new garden hose? Our guide can help!
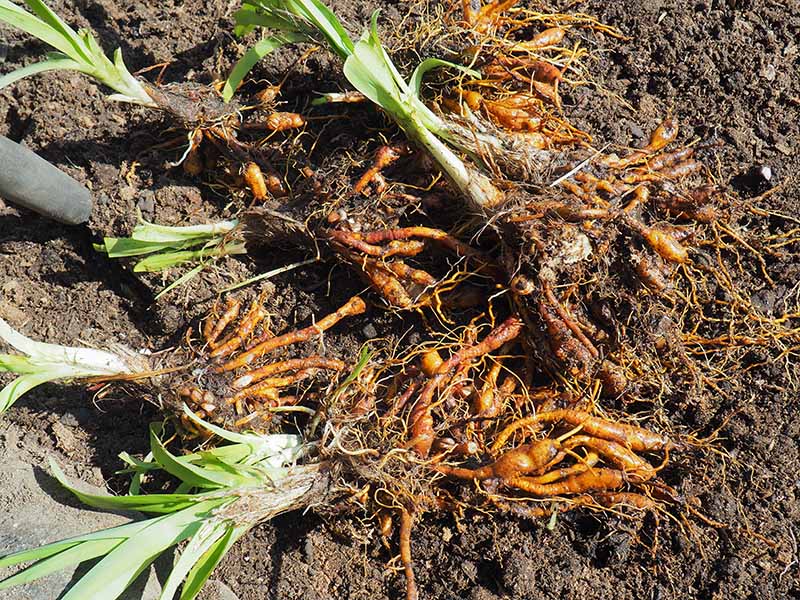
Use your fingers to carefully pull and wriggle the clumps apart into equal pieces, leaving each new section with at least one leaf fan and a healthy portion of roots.
If the roots are very choked or entwined, use clean, sharp scissors or a garden knife like a hori hori to cut and separate them.
Inspect the roots carefully and dispose of any that are damaged, rotten, small, or soft.
If you’re dividing at the end of the season, cut the fans back to about six inches.
For overgrown plants in containers, invert the pot and gently free the entire root mass before dividing as described above.
When you’re finished, you’re likely to have a surplus of divisions. Plant these up into nursery pots for friends, neighbors, or local plant sales.
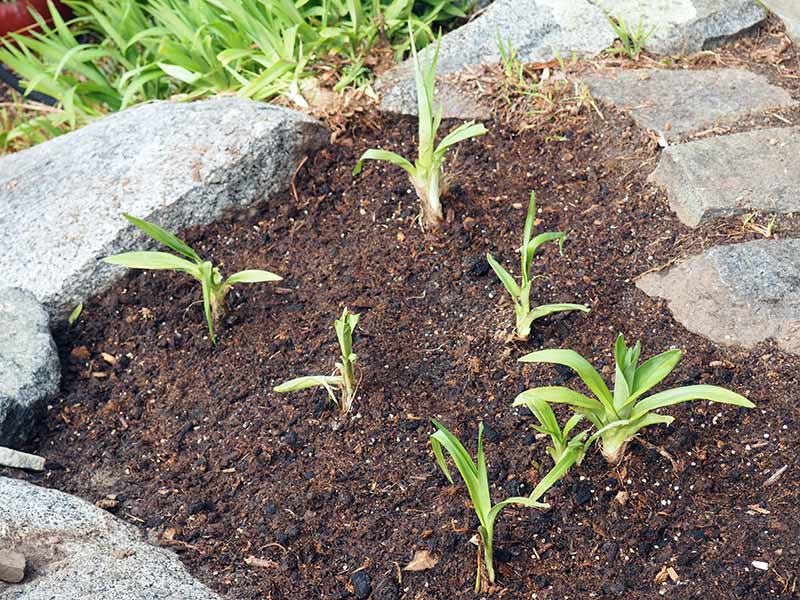
Replant Promptly
To minimize stress to your new divisions, replant promptly in fertile, well-draining soil with a slightly acidic to slightly alkaline pH of 6.5 to 7.5.
Prepare the soil by loosening it to a depth of 12 inches.
Amend with compost or rotted manure to enrich the soil and provide a nutritious growing medium.
To improve water retention, add absorbent materials such as coconut coir, peat moss, perlite, or vermiculite.
To improve the drainage, mix in some grit such as pea gravel, perlite, landscape sand, or rock chips.
Add in one or two tablespoons of bone meal to promote strong, healthy roots.
Excavate a hole large enough for the root ball and create a small mound for draping the roots.
Set the divisions in place with the roots spread over the mound and the crown about one inch below the soil surface.
Backfill and lightly firm the soil in place.
Water gently and deeply to settle.
Keep the soil lightly moist until transplants are established, providing approximately one inch of water per week.
To help retain water in the soil for young plants, add a two- to four-inch layer of summer mulch such as bark mulch, hay, sawdust, or straw.
For mature plants, allow the top one to two inches of soil to dry between water applications.
For containers, choose pots and planters that have drainage holes. I like to cover the base with two inches of loose material such as broken pottery or pebbles.
Fill pots with a fertile, well-draining potting soil, then transplant, water, and mulch as above.
Container plants will also benefit from a midsummer application of a slow-release fertilizer. Use a feed with a balanced, all-purpose formula such as 10-10-10 NPK.
Newly divided plants typically have fewer flowers in their first summer but production returns to normal by their second year.
Cultivars to Select
There are thousands of daylily cultivars, all of them beautiful!
If you don’t have your own established plants yet, here are a few of my favorites to consider starting with.
Frankly Scarlett
You’ll definitely give a damn about ‘Frankly Scarlet’! The fantastic, four-inch blooms of rich scarlet red with gold throats are vibrantly colored and nonfading in hot sunlight.
These vigorous plants bloom continuously from early summer to frost and grow to a height and spread of 24 inches.
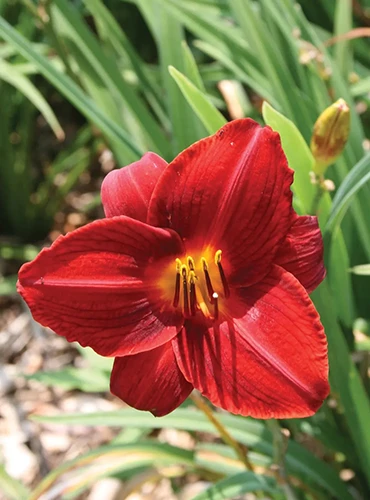
A bold choice for beds, borders, containers, drifts, and foundations, they’re hardy in Zones 3 to 9.
Bare root plants are available at Burpee.
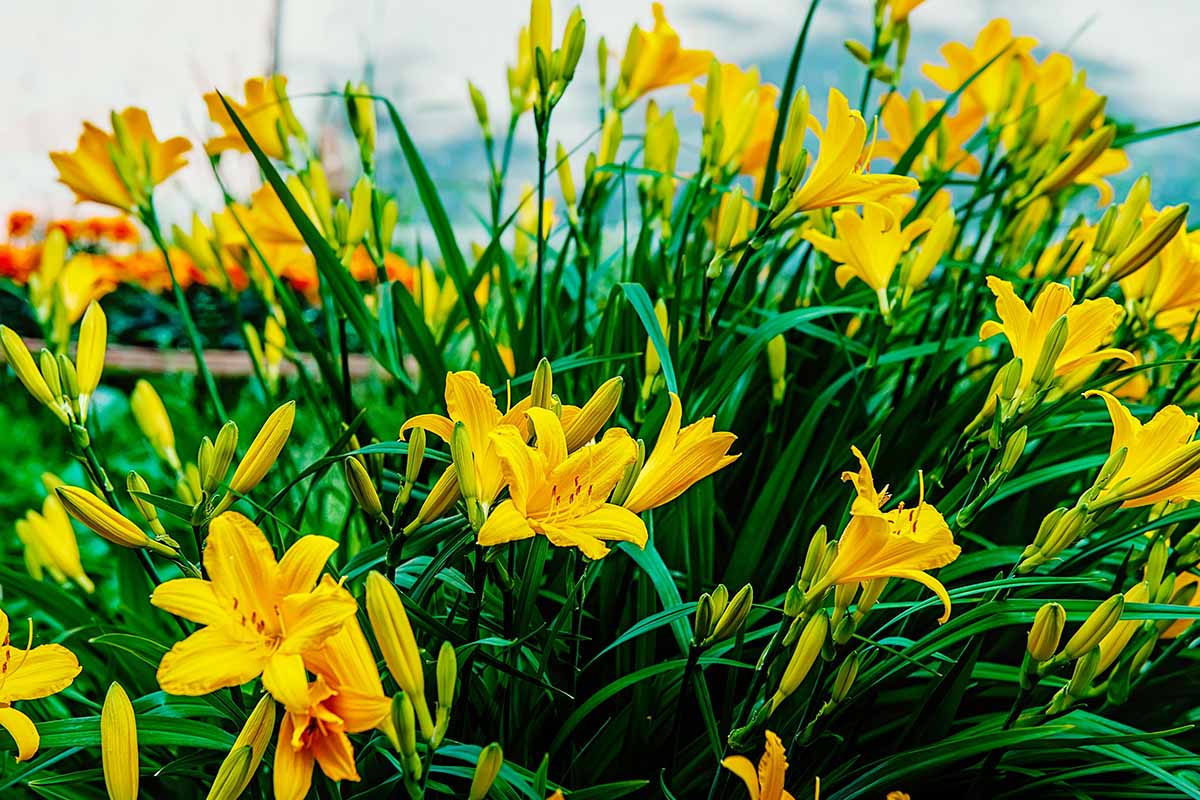
Happy Returns
You’ll want to revisit ‘Happy Returns’ often for the multitudes of gorgeous – and fragrant – lemon yellow flowers that start in May and don’t stop until frost.
With a compact habit, the three-inch flowers rise above plants that grow up to 18 inches tall with a spread of up to 24 inches.
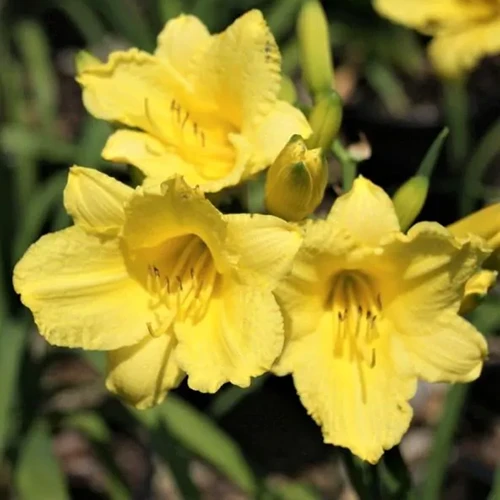
A superb choice for continuous blooms in borders, drifts, and patio pots, they’re hardy in Zones 2 to 9.
Container plants are available at Nature Hills Nursery.
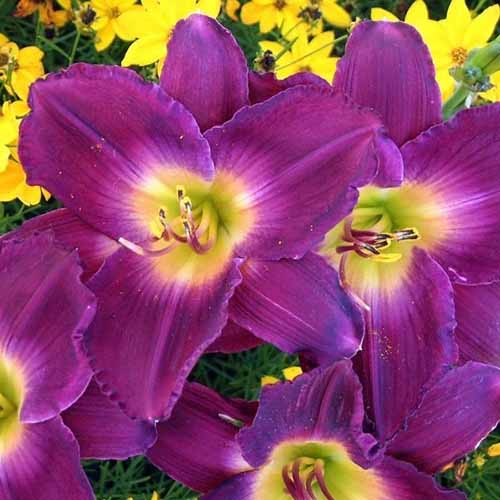
Mildred Mitchell
A true charmer with delightful tri-color blooms of lime green, mauve, and purple, ‘Mildred Mitchell’ is also lightly fragrant.
These robust plants have a height and spread of up to 24 inches with ample, six-inch flowers that bloom in late spring and early summer, then rebloom again in late summer.
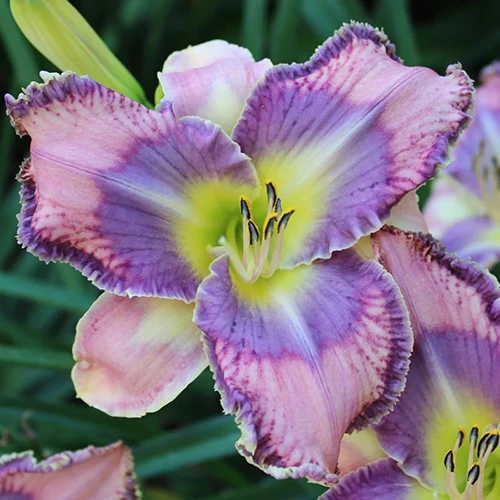
A beautiful reblooming choice for beds, borders, containers, and foundations, it’s hardy in Zones 3 to 9.
Bare root plants are available at Eden Brothers.
Pink Wing
Compact and reblooming, ‘Pink Wing’ delivers gorgeous, three-inch flowers in striking shades of peachy pink that bloom from late spring to late summer.
These tidy plants have a height and spread of 12 to 16 inches and produce hundreds of flowers over the growing season.
Offspring of the popular ‘Stella d ’Oro,’ ‘Pink Wing’ is perfect in beds and containers, or massed into drifts. It’s hardy in Zones 3 to 9.
Bare root plants are available at Burpee.
Strutter’s Ball
Perfect for bragging rights, ‘Strutter’s Ball’ features large, six-inch blooms of royal purple beautifully accented with lemon-lime throats that flower from midsummer until frost.
Clumps grow 24 to 36 inches tall and spread 12 to 24 inches, steadily producing flowers in the mid- to late-season garden.
A striking choice for beds, borders, drifts, and foundations, they’re hardy in Zones 3 to 9.
Container plants are available at Nature Hills Nursery.
Darling Daylilies
Daylilies are the darlings of the low-maintenance landscape and require little from gardeners – occasional division is all that’s required for clouds of colorful summer flowers!
Divide overcrowded clumps in early spring and let the new sections get established over the growing season.
Or divide in early autumn but allow plenty of time for the roots to settle in before cold temperatures arrive.
After that, there’s nothing left to do but enjoy your work!
If you have any questions about how or when to divide daylilies, drop us a line in the comments section below.
And for more info about how to divide other flowering plants in the garden, check out these guides next: