
I could make a list of the reasons to grow daylilies that would be a mile long.
They’re fast growing, they live a long time, they bloom for ages in super fun colors, they’re edible, and they’re tough and adaptable. Just to name a few reasons.
Whether you’re moving and want to take some with you, or they’ve outgrown their existing spot, there might come a time when you need to transplant your daylilies.
Have no fear, moving these plants is as easy as growing them!

If you simply want to divide your daylilies and leave some in place, we have a guide to help you do that. This guide is focused on moving the entire plant without leaving any behind.
Here’s what we’ll talk about to help you make that happen:
What You’ll Learn
Daylilies aren’t true lilies. They’re part of the Hemerocallis genus and more closely related to aloe than true lilies.
When to Transplant Daylilies
Technically, you can move your plants any time the ground can be worked. But this process tends to be the most successful if you do it in the spring or fall.
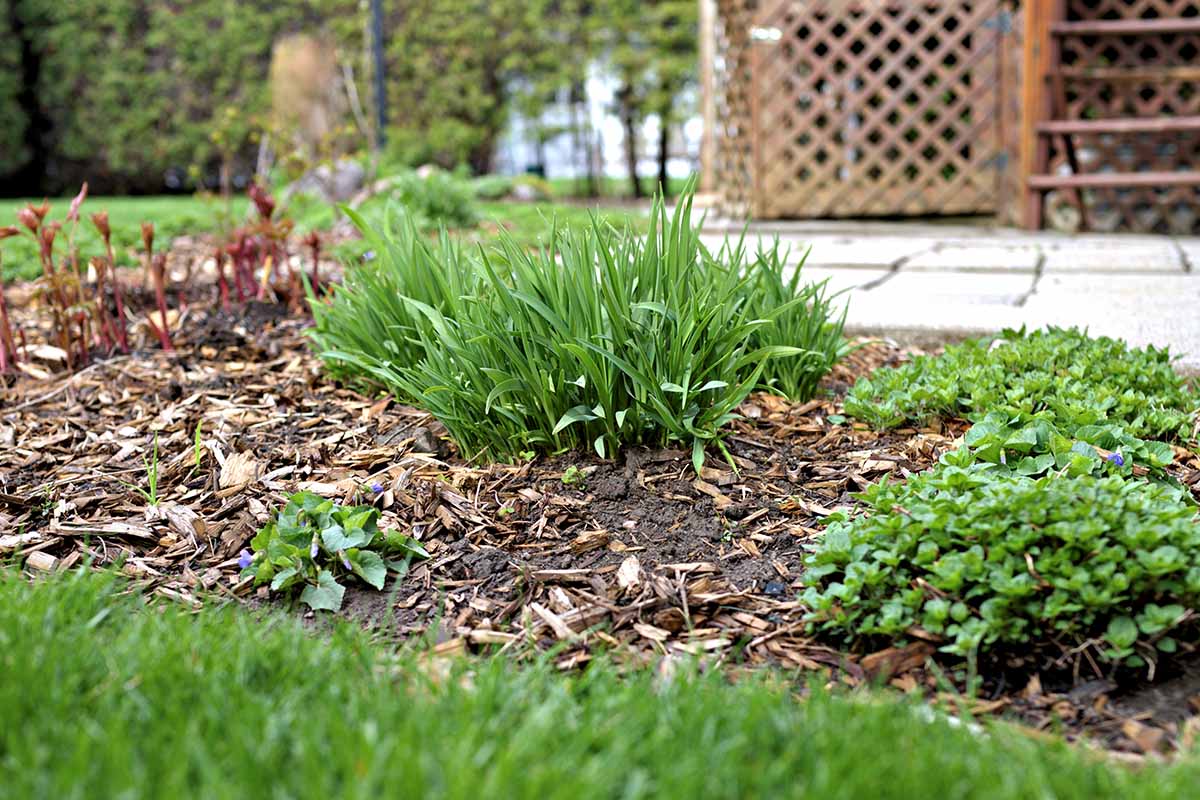
In the spring, wait for the shoots to just start emerging. That way you can see where the plant is, but it hasn’t grown so large at that point that it’s going to be difficult to work with.
In the fall, wait until the plants stop blooming. If you have a type that blooms until the first frost, you’ll just need to trim off the blossoms.
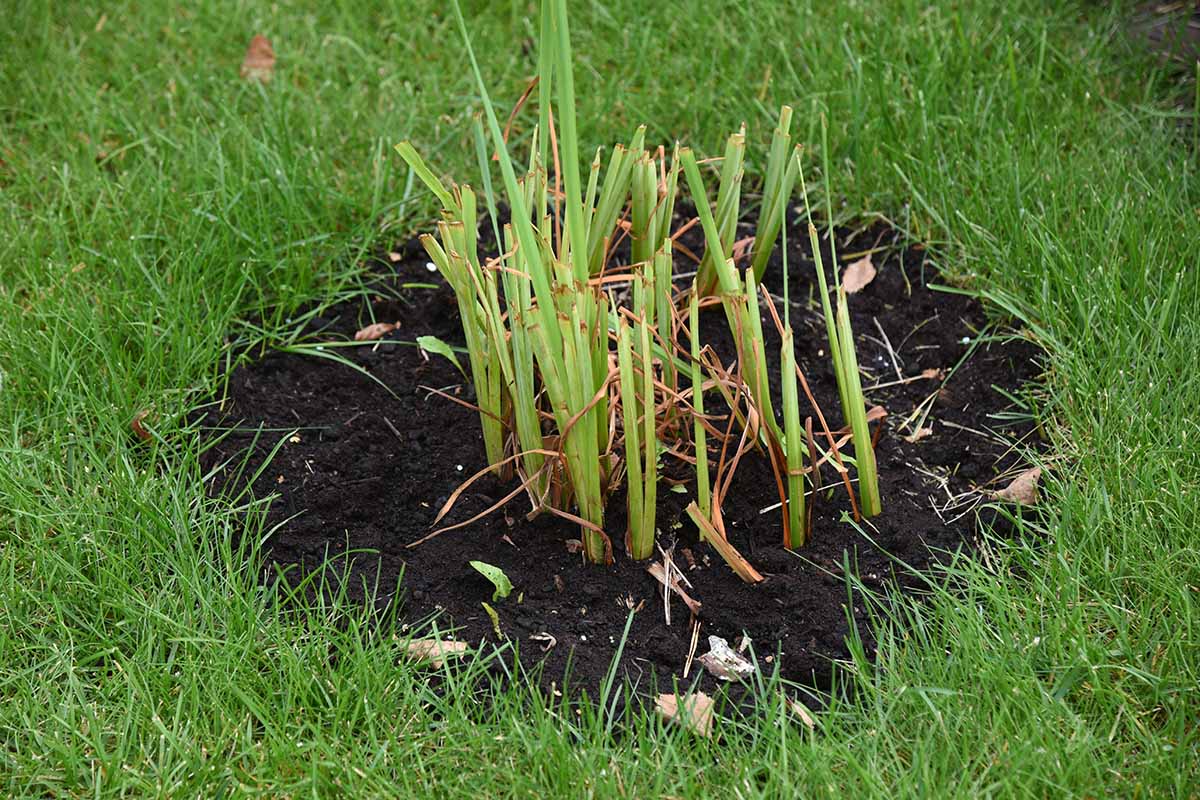
Before you transplant, cut the foliage down by about half or wait until the leaves have died back on their own.
If you opt to move a plant in the summer, just be aware that it might not bloom that year.
Ideally, wait for a cool, overcast day to do the work. This reduces the amount of transplant shock that the daylilies will experience.
Avoid working when the soil is soggy and wet because this increases compaction.
Prepare
Preparation is key anytime you move a plant. I always dig the new hole first so the daylily doesn’t have to spend too much time hanging out with its roots exposed.
Dig a large hole that is at least half as deep as your plants grow tall, or at least a foot deep as a minimum. Make it a bit wider than the width of the plant.
Work some well-rotted compost into the soil you removed from the hole. This is a good way to add some nutrients and loosen up clay or add texture to sand.
While you’re at it, remove any rocks or weeds that you come across.

Then, if you’re working with a daylily that has mature growth, prune it down but cut by no more than half. Remove any flowering stems.
Start Digging
Use a shovel to dig up the entire daylily, roots and all. You most likely won’t be able to dig up all the roots, but so long as you dig up a majority, the specimen should be fine.

Make sure to take up all the stolons or rhizomes if your goal is to completely relocate the plant and eradicate it from the existing area.
It’s okay to leave some of the fibrous roots behind, but if any of the rhizomatous roots remain, a new plant will likely emerge in that spot.
If you have a big patch that you’re working with, you might need a wheelbarrow, wagon, or a tarp that you can drag along the ground for easy transport.
Replant
Add some soil to the bottom of the hole so that the depth is roughly equal to the size of the roots.
Lower the removed plant into place in its new home. You might need to adjust the amount of soil in the hole to ensure that the plant sits at the same height that it was initially.
Fill in around the roots and firm it back up. Add some water to plump those roots back up and settle any air pockets. As the soil settles, you might need to add some more soil.
It’s Moving Day… Lilies!
Pack those suitcases and hand over the keys, because it’s moving day! Oh, wait. Never mind, wrong kind of move. Grab that shovel and garden gloves, because it’s moving day!
Daylilies are one of the easiest plants to move, in my experience. They don’t suffer terribly from shock and they reestablish themselves readily.
I’ll let you in on a little secret…
A friend was changing up her garden and offered me a bunch of adorable daylilies. I dug them up, drove them to my house, and unpacked them onto my driveway in the afternoon sun.
Then, I got distracted and totally forgot about them. For a week.
They weren’t looking too happy, but I planted them anyway. They took the rest of the year to recover, but by the next year, they were as happy as ever.
Don’t test the limits of your daylilies like I did, just know that they can bounce back from abuse.

Why are you moving your daylilies? Taking some from a friend? Maybe you’re selling Grandma’s home and want to keep one of her favorite flowers, or just remodeling your garden area? Let us know what your plans are in the comments section below.
While you’re at it, if you need to move some other flowering plants, we have several other guides that might help you out. Here are a few: