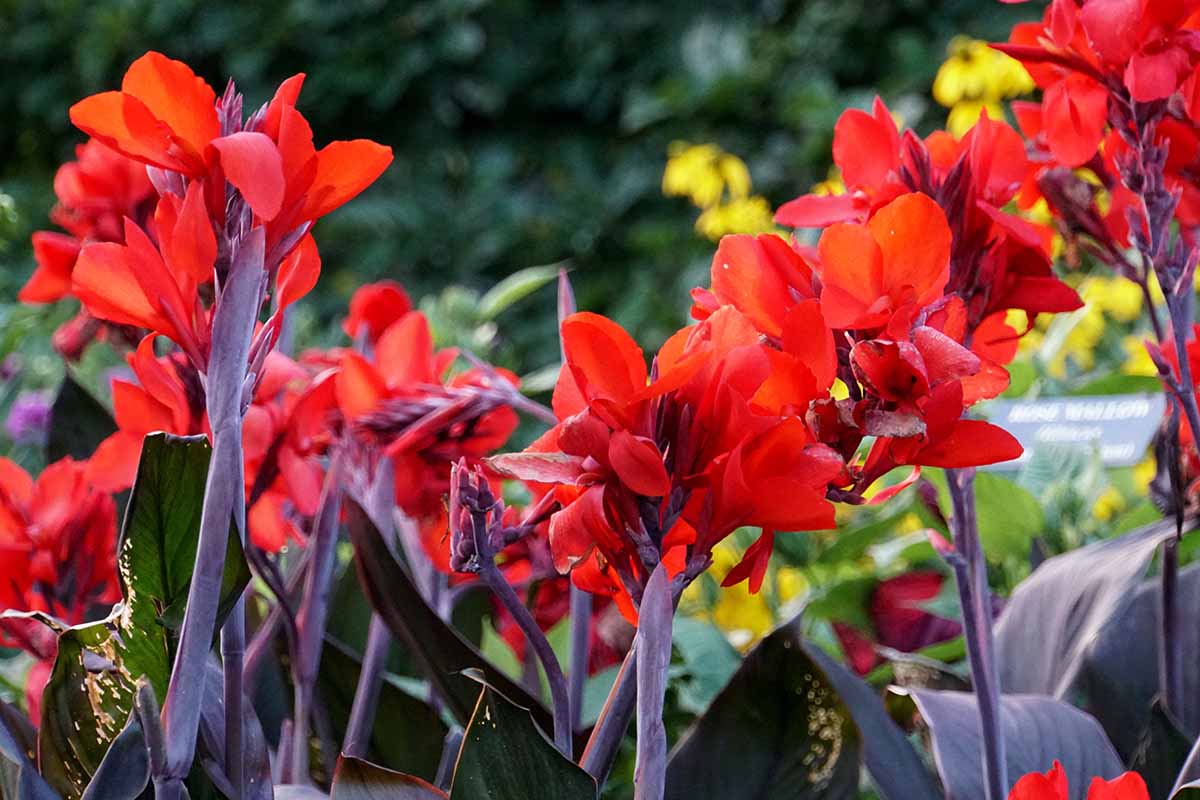
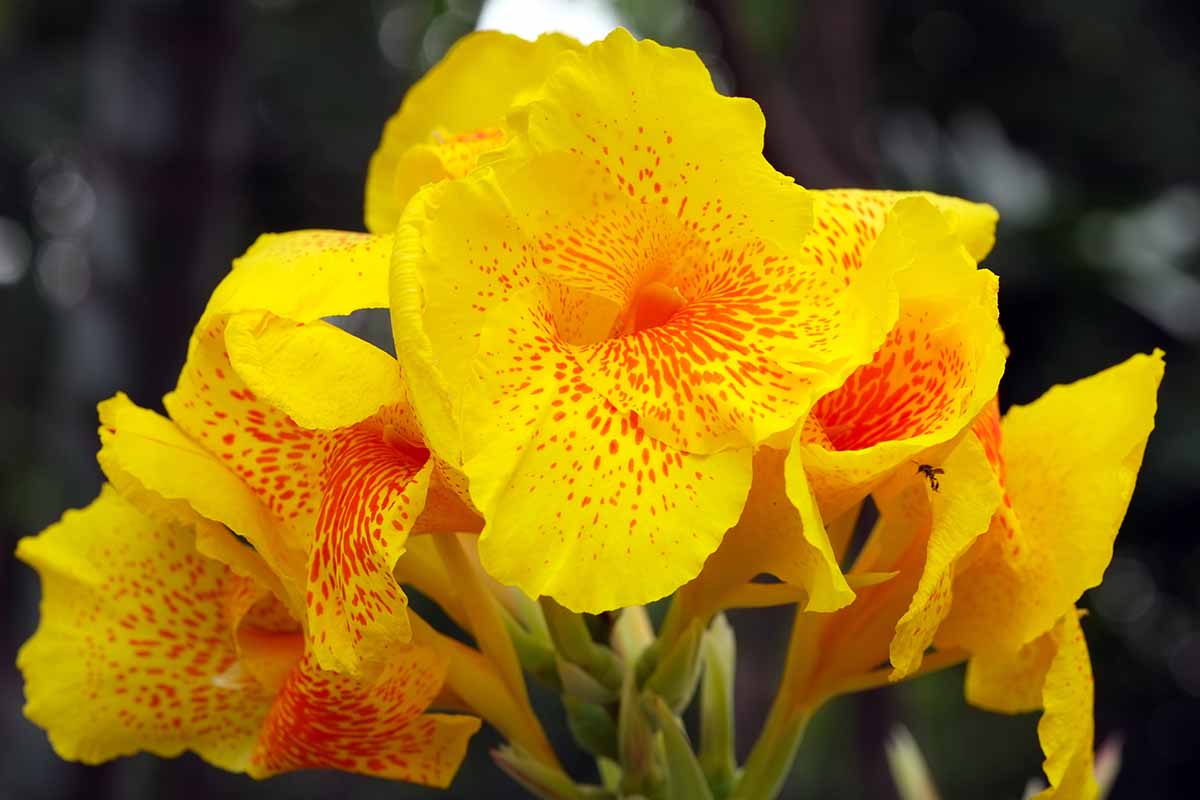
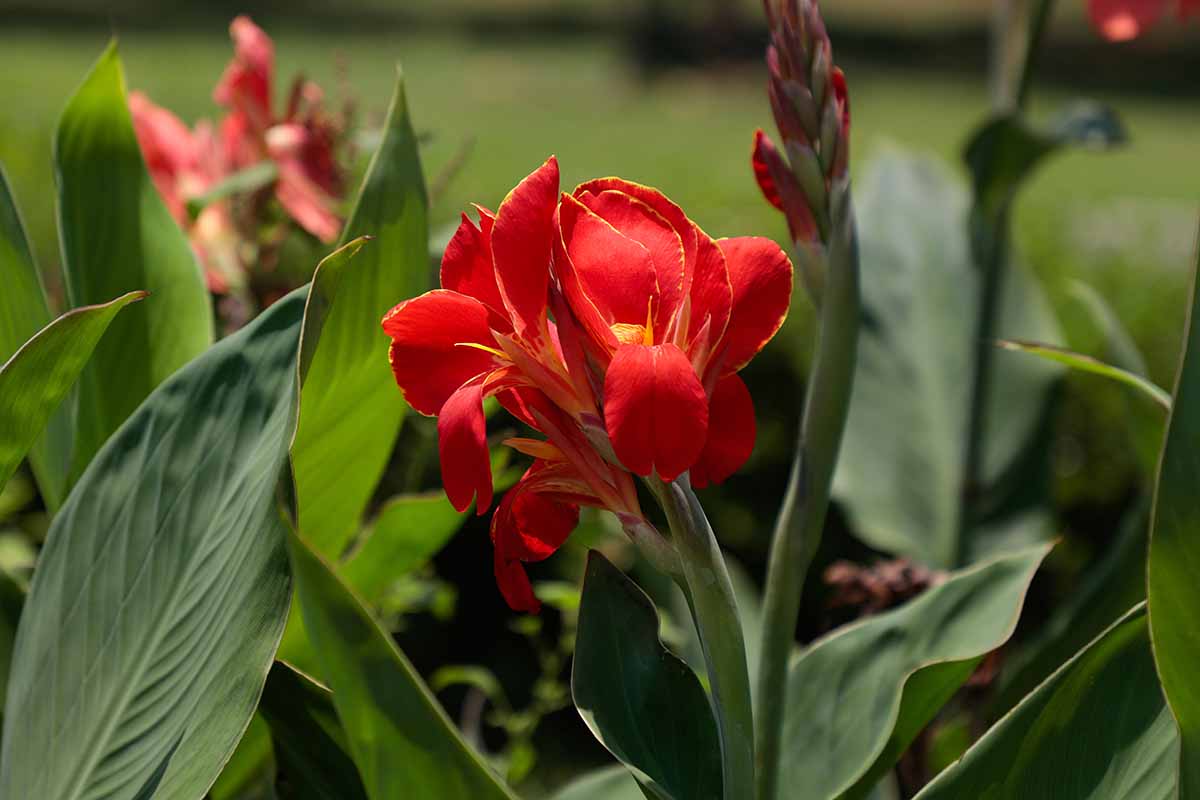
Canna lilies are flowering perennials that grow best in USDA Hardiness Zones 8 to 11. These captivating plants belong to the genus Canna, within the family Cannaceae.

We link to vendors to help you find relevant products. If you buy from one of our links, we may earn a commission.
Canna lilies are native to tropical and subtropical regions. Their striking flowers and lush foliage make them popular choices for gardens and landscapes, adding a touch of tropical beauty.
While they are not true lilies, they certainly stand out as extraordinary and enchanting plants in their own right.
If you would like to learn more and you’re interested in cultivating these lovely flowers, visit our guide to growing canna lilies.
In this guide, we will discuss how to lift, cure, and store these beauties, with emphasis on those growing in Zones 7 and below.
Let’s get to it!
What You’ll Learn
Reasons for Digging Up Canna Lilies
Digging up these rhizomes serves various purposes, including managing overcrowding, promoting healthier growth, and providing winter protection.
Over time, they multiply and spread, leading to overcrowding. By digging up the plants, you can separate the rhizomes, creating more space and enhancing the overall aesthetics, keeping plants from appearing dense and tangled, and making them more visually pleasing.
Dividing also ensures continued vitality and blooming, rejuvenating the plants and allowing for relocation or sharing.
As USDA Hardiness Zones 7 and below experience cold winters, digging them up in the fall and storing the rhizomes indoors protects them from freezing temperatures, ensuring their survival for the next growing season.
Properly stored, these rhizomes can be replanted when the risk of frost has passed in spring.
For gardeners in Zones 8 to 11, they can be left undisturbed in the ground during the dormant period. This allows the rhizomes to remain in their natural habitat, ready to sprout anew when the growing season returns with no risk of succumbing to the winter cold.
Curing and storing the rhizomes after lifting is not necessary if you are immediately dividing them for replanting in warmer locations.
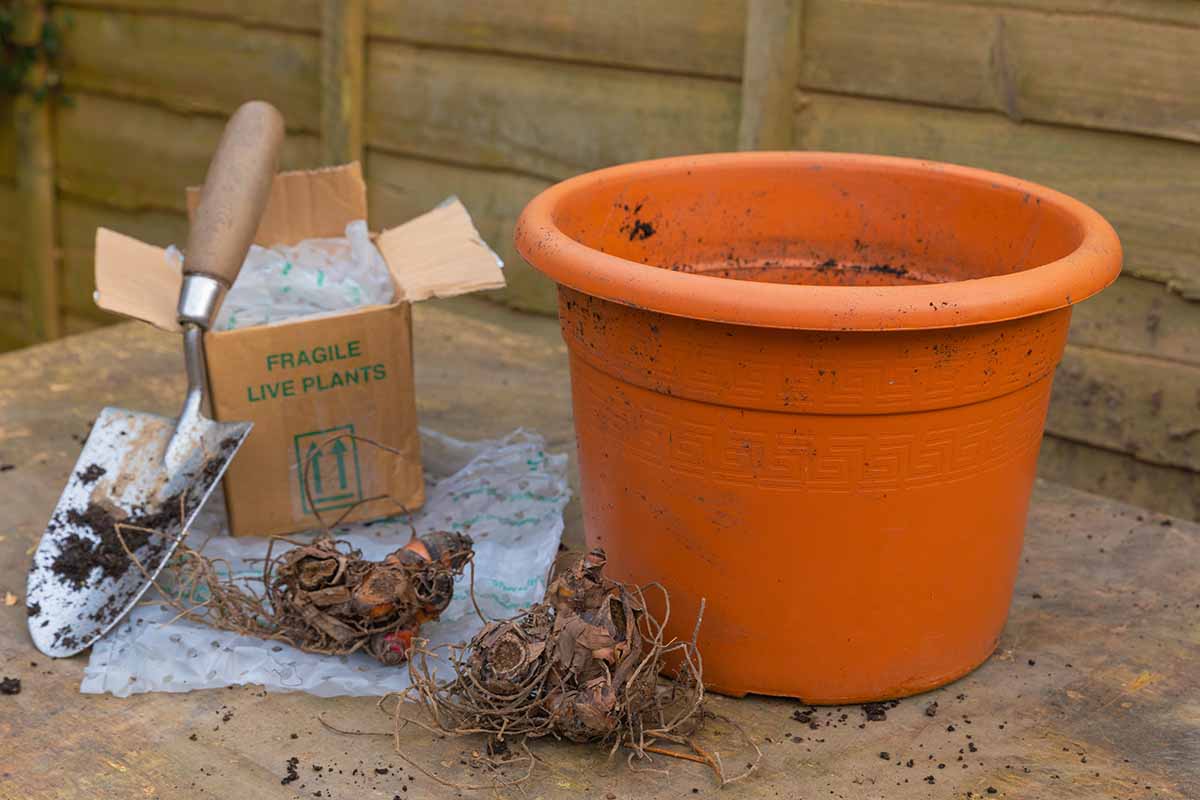
How to Lift Canna Lilies
If you want to protect your in-ground rhizomes for the duration of cold winters, you should dig them up in the fall and bring them inside.
While you may have enjoyed their company during the summertime, no worries! You’ll have them back in no time by following a few simple steps.
When the leaves have yellowed or died back, it’s the perfect time to act. Alternatively, you can wait until they have been killed by frost just before the ground freezes.
Leaving them until then provides the longest possible growing season and gives them time to continue to photosynthesize and store food reserves within the rootstock for next year.
To overwinter these flowers by lifting the rhizomes for storage, follow these simple steps:
- Cut Back: Trim the dead foliage, leaving only about 3-6 inches above the rhizomes.
- Dig: Carefully use a shovel or spade to dig down 4-6 inches deep and approximately 6-8 inches around the outside of the clump.
- Continue Digging: Cut all around the clump, loosening the soil to facilitate lifting.
- Lift: Gently lift the clumps out of the ground, shaking off any excess soil.
- Rinse: Rinse them to remove dirt, preparing them for curing and storage.
After rinsing, check the rhizomes and discard any that show signs of disease or rotting.
Canna lilies don’t always require division before overwintering. If the rhizomes are clumped, you can wait until spring when it’s time to replant, and then consider dividing them.
That said, you also have the flexibility to divide them right after lifting, although this step isn’t obligatory.
When dividing them for replanting, try to ensure that there are three to five eyes on each rhizome.
Curing
After digging up the rhizomes, they should be allowed to air dry in a well-ventilated area. The recommended temperature for drying is around 41 to 50°F.
This drying period usually takes no more than one week. During this time, excess moisture evaporates, reducing the risk of rot and other types of fungal disease during storage.
You don’t want the rhizomes to shrivel or become excessively dry. If you notice that they have started to wrinkle or shrink, you can remedy this by gently submerging them in water or spraying them with water.
Once they have dried, remove any remaining foliage. Removing the foliage helps prevent the growth of mold or other pathogens on the rhizomes.
By following these steps, you can prepare them for storage and improve their chances of remaining healthy during the storage period.
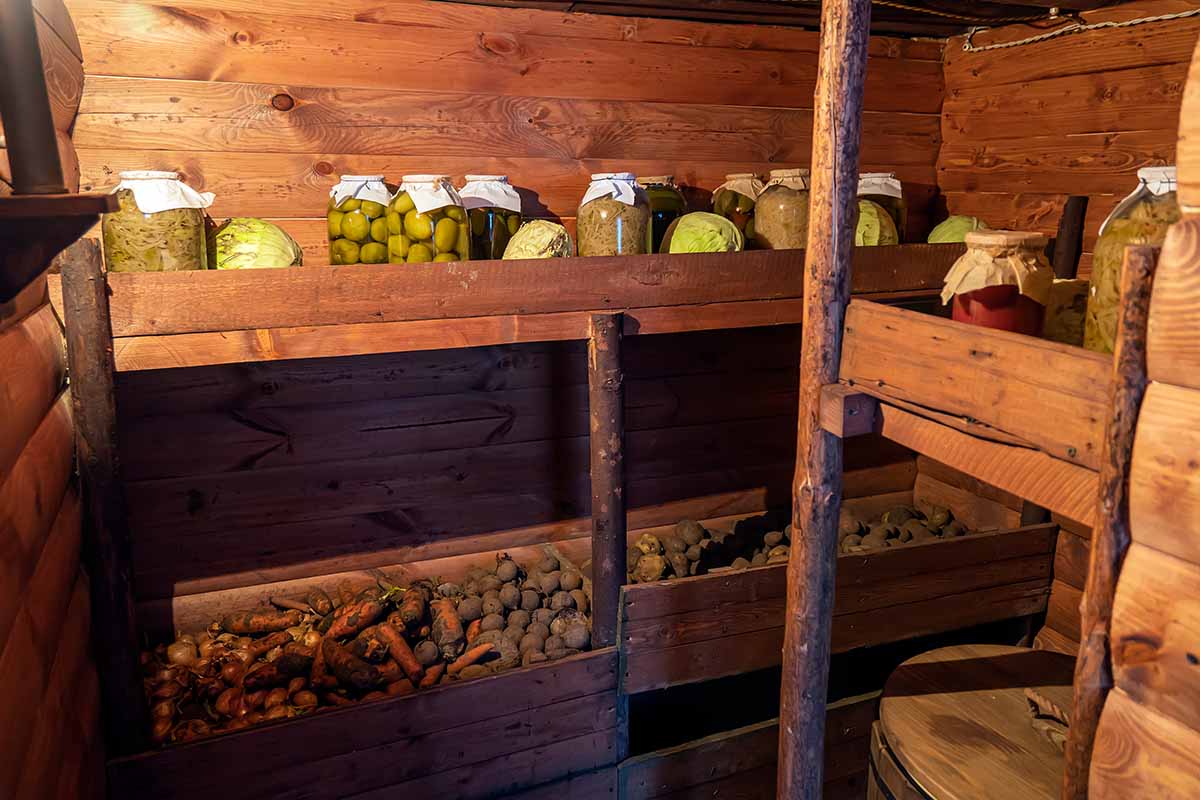
Storing
Here are the key points for storing canna lily rhizomes:
- Storage Location: Store them in a cool, dark place with about 50% humidity and suitable ventilation. Ideal location options include fruit cellars and cool basements. Avoid temperatures below 40°F or above 70°F. The ideal temperature range is 40 to 55°F.
- Avoid Freezing: Do not store in attics or garages where freezing temperatures may occur.
- Regular Check-Ups: Check on the stored rhizomes periodically throughout the winter.
- Discard Damaged Rhizomes: Remove and discard any that appear shriveled, diseased, or infested by insects.
Adding a layer of peat moss, coconut coir, sand, vermiculite, or sawdust underneath the bulbs helps maintain a suitable level of moisture. It provides a stable and slightly humid environment for the bulbs, preventing excessive drying out or excessive moisture accumulation.
Consider using breathable containers such as paper bags, cardboard boxes filled with shredded paper, or mesh bags to store the rhizomes. These containers allow for ample air circulation, reducing the risk of excess moisture and potential rot.
Bulbs should be stored in a cool environment to maintain their quality and prevent premature sprouting.
Higher temperatures can trigger premature growth and reduce the bulbs’ energy reserves, leading to weaker plants when they are eventually planted.
Storing bulbs in a cool place helps maintain dormancy and preserves their energy for the upcoming growing season.
When storing them, it’s a good practice to label each rhizome or group of them with their respective variety or color. This will help you easily identify and differentiate them when it’s time to replant.
Read more about storing bulbs and rhizomes here.
Replanting
In the spring, when the frosty grip of winter has loosened its hold and the weather begins to warm with nighttime temperatures staying above 50°F, it’s the perfect time to bring your rhizomes back to life.
Start by checking each rhizome for vitality to make sure they are healthy. Next, select a well-drained and sunny location in your garden. Prepare the soil by loosening it to a depth of four to six inches, placing the rhizomes horizontally in the soil, burying them at a depth of four to six inches below the surface, spacing 12 inches to three feet apart.
Position them with the eyes (bud-like growth points) facing upwards. Cover them gently with soil, patting it down lightly to secure them in place. Water the newly planted rhizomes thoroughly to provide them with the moisture they need to initiate growth.
Bulb Bliss
In this article, you have gained an understanding of the essential steps for storing canna bulbs.
By learning the reasons behind digging them up, honing your technique for lifting, implementing effective curing methods, and discovering the proper storage methods, you have acquired the best practices for preserving their vitality!
We invite you to share your experiences and insights on storing canna bulbs in the comments below.
Interested in learning more about growing canna lilies? Check these guides out next: