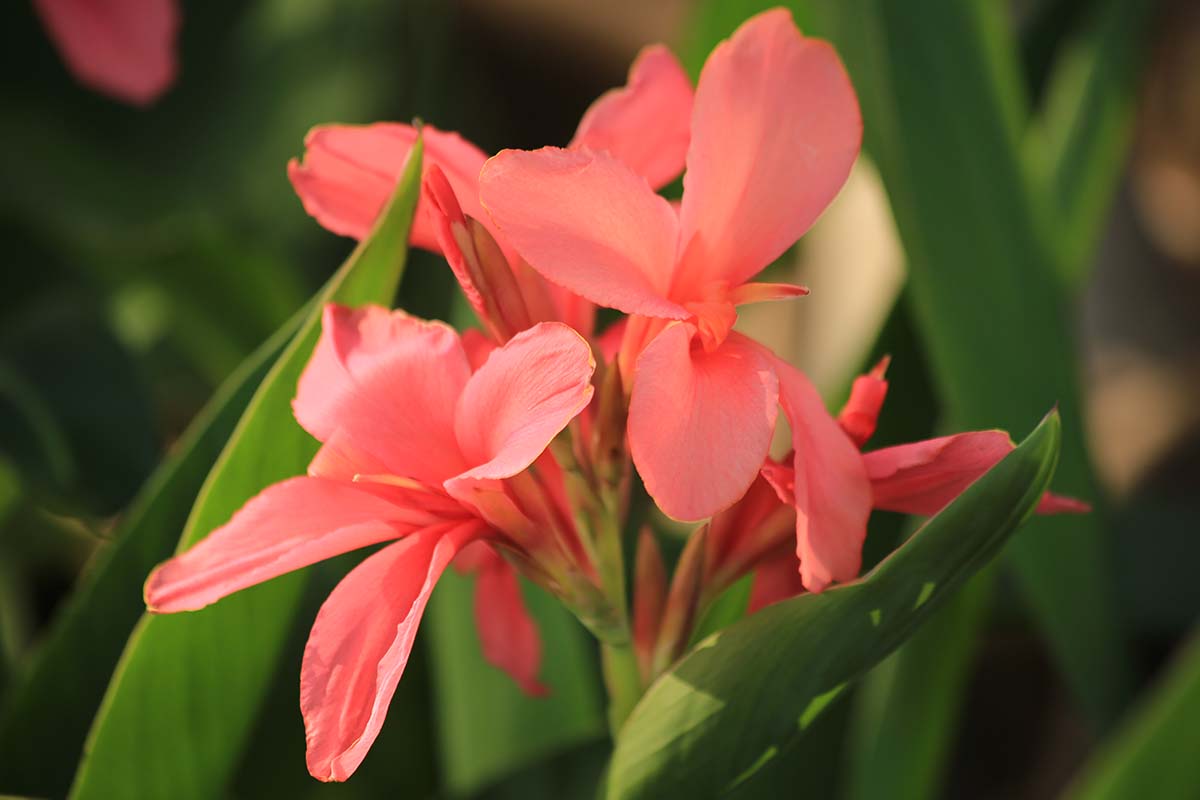
Canna lilies are happiest growing in moist, fertile, slightly acidic soil. But what should you do in terms of providing fertilizer to help ensure that they produce beautiful blooms?
These plants are native to tropical and subtropical regions from southern North America down through Latin America.
Understanding their native environment will help us decipher their nutritional needs, setting them up to thrive within your garden.
We link to vendors to help you find relevant products. If you buy from one of our links, we may earn a commission.
In our guide to growing canna lilies, we cover how best to grow and care for these tropical and subtropical plants.
This guide will take a more in-depth look at fertilization requirements and nutritional needs to give you the healthiest leaves, rhizomes, and blooms!
Here’s what we’ll cover:
What You’ll Learn
Start with Soil Health
When grown outside of their native environment or region, tropical and subtropical plants tend to have specific soil needs that must be met in order for them to thrive.
Cannas are no exception, so if you’re planning to plant canna lilies directly into your landscape, it’s a good idea to inspect and test your soil first.
Inspect Your Soil
Healthy soil is the best foundation for a healthy root system.
Observe the location where you’re thinking of planting your canna lilies – the soil needs to be fertile, and able to maintain adequate moisture levels in an area that receives at least six hours of sun a day.
Upon initial inspection, if you’ve found that your soil needs some help retaining moisture, amend the planting area with organic material. There are many options for this, but well-rotted compost, leaf mold, or aged manure are some high-quality choices.
If making your own organic compost isn’t an option, I suggest purchasing a product like Compost Plus. It’s available in five-pound bags from Arbico Organics.
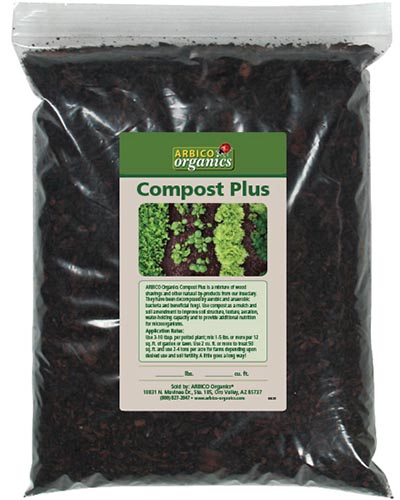
This compost mix, full of fermented material, beneficial bacteria, insect frass, and wood shavings, can be mixed right into your soil or top dressing of mulch.
Not only will mixing in organic materials help with moisture retention, but it will also improve long-term soil health in the planting area. If you feed your soil, it will reward you with healthy, happy canna plants!
Test Your Soil
Now, let’s talk about soil testing.
Cannas aren’t super demanding, but they do like their soil to have a pH of 6.0 to 6.5. Having the proper soil pH allows your cannas to absorb nutrients as efficiently as possible.
If the pH isn’t right, your plants will essentially starve and die from a lack of nutrition, even if you’re fertilizing.
Testing your soil using a soil test kit, like this single-pack kit by Luster Leaf that’s available on Amazon allows you to test the acidity of your soil as well as the chief plant macronutrients – nitrogen, phosphorus, and potassium.
After you test, you’ll have a better idea of your soil quality and what to do next. For more comprehensive results, you might want to consider a mail-in test kit, either with a private company or your local agricultural extension office.
Soil Amendments
There are a few extra amendments you can add to your garden soil to improve its overall health and make it the perfect environment for your canna lilies.
Coffee Grounds
Are you a coffee drinker and a canna lily lover? Then this is a match made in heaven.
If you’ve tested your soil and found it to be relatively neutral, save your coffee grounds from your morning cup of joe. Spent coffee grounds will naturally bring the pH of the soil down and help to keep your cannas happy.
Sprinkle your spent coffee grounds around the planting area, near the base of the plants. Do this once a week, for both your canna lilies and your kitchen compost pile.
Elemental Sulfur
Sulfur is an essential mineral when it comes to soil health. It works as both a soil conditioner and a natural acidifier, which is good news for your cannas.
The most common form of elemental sulfur for home gardeners is aluminum sulfate. It’s commonly used to change the bloom color of hydrangeas, which change based on the pH of the soil they are planted in.
It doesn’t take much aluminum sulfate to lower the pH of a planting area. But it must be done consistently on a monthly basis to maintain the ideal pH level of 6.0 to 6.5.
Aluminum sulfate is sold online, in most nurseries, and in commercial big box stores.
When applying aluminum sulfate, you can either apply it lightly as a top dressing to the soil or mix it with water in a watering can.
Aluminum sulfate from Hi-Yield is available from Amazon in a four-pound bags.
Follow the information on the back of the product packaging for specific ratio and mixing instructions.
Lime
I keep mentioning ways to lower the pH of the soil, but what if you need to make it more alkaline?
Using lime in the garden is one of the first steps gardeners take if they find their soil to be too acidic. A soil pH of 5.5 and below is bad news for these plants.
There are two main types of lime you can buy: calcitic lime and dolomitic lime.
Check your soil’s test results again. What do the nutrient levels look like? If your soil doesn’t lack any essential minerals like magnesium, use calcitic lime. If your soil is low in magnesium, use dolomitic lime.
Calcitic lime, as you may have guessed, has calcium in it. Calcium is one of the building blocks of a plant’s biological structure. It’s used to hold together things like cell walls and membranes. Without calcium, plants will produce misshapen, spotted leaves and have stunted growth.
Magnesium powers photosynthesis. If a plant has a magnesium deficiency, this means it can’t properly absorb energy or manage its metabolism. It’s important to correct a magnesium deficiency so your plants can grow and thrive.
Lime is sold in pellet or powdered form, and each has its own specific uses. Pellet lime should be used in established garden beds, while powdered lime is best for new or bare soil that will need to be tilled.
When’s the best time to amend with lime? The short answer is: early to mid-spring and mid- to late fall.
The long answer is: there are more benefits to applying lime in the fall. It can take a few months for the lime to break down before you see your soil’s pH change. By applying lime in the fall, your soil pH will be raised in time for spring planting.
If you’re starting a new garden bed for your cannas, grab a garden till and till up the top six inches of soil.
Using your soil test as a reference, work the proper amount of powdered lime into the loosened soil. You’ll find measurement instructions on the back of your bag of lime. It’s dependent on your soil’s pH, but you’ll measure out so many pounds of lime for every 1,000 square feet.
If you’re treating an existing garden bed, you’ll spread pellet lime using a broadcast spreader. With a garden rake, work the pellets into the top layer of soil around your canna lilies. Be gentle so you don’t damage the rhizomes or roots.
We put together a full guide on how to use lime in the garden because it can be tricky if you’re new to the process. But if you have your soil test results on hand, it should be a cakewalk.
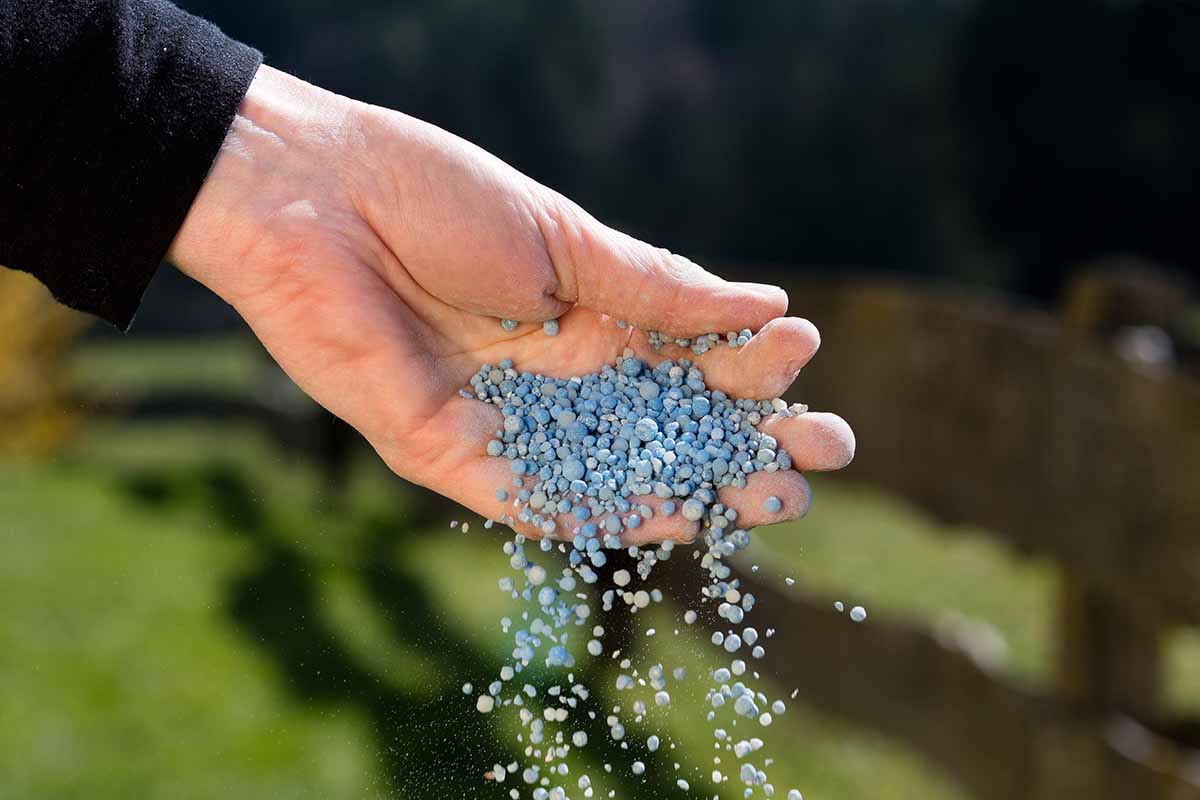
How and When to Fertilize
Taking the time to properly fertilize will set you up for success and keep your cannas happy during the growing season. Luckily, cannas are not very picky about fertilizer, so it’s more a matter of your own preference.
Cannas should be fertilized regularly so that they will continue to grow and push out new blooms.
Chemical fertilizer options include a balanced, all-purpose 10-10-10 NPK product, or one that encourages more blooms at a ratio of 5-10-5 NPK.
These numbers illustrate the ratio of nitrogen (N) to phosphorus (P) and potassium (K) in the fertilizer mix, based on lab testing.
With organic fertilizers, on the other hand, it may be more difficult to know what exactly they contain in terms of the exact nutritional makeup that you’re offering to plants, though purchased products generally give a good indication of what’s provided.
Nitrogen helps your cannas grow those large, beautiful leaves and new stems. Phosphorus encourages rhizome growth and new flowers. Potassium promotes a healthy immune system for your cannas and helps them fight disease.
You’ll want to begin fertilizing in the early weeks of spring, starting in March. Stop about eight weeks before the first frost date for your zone.
Available Types of Fertilizer
How often you fertilize within the growing season will depend on the type of fertilizer you opt to use. Let’s dive into some more of the specifics next.
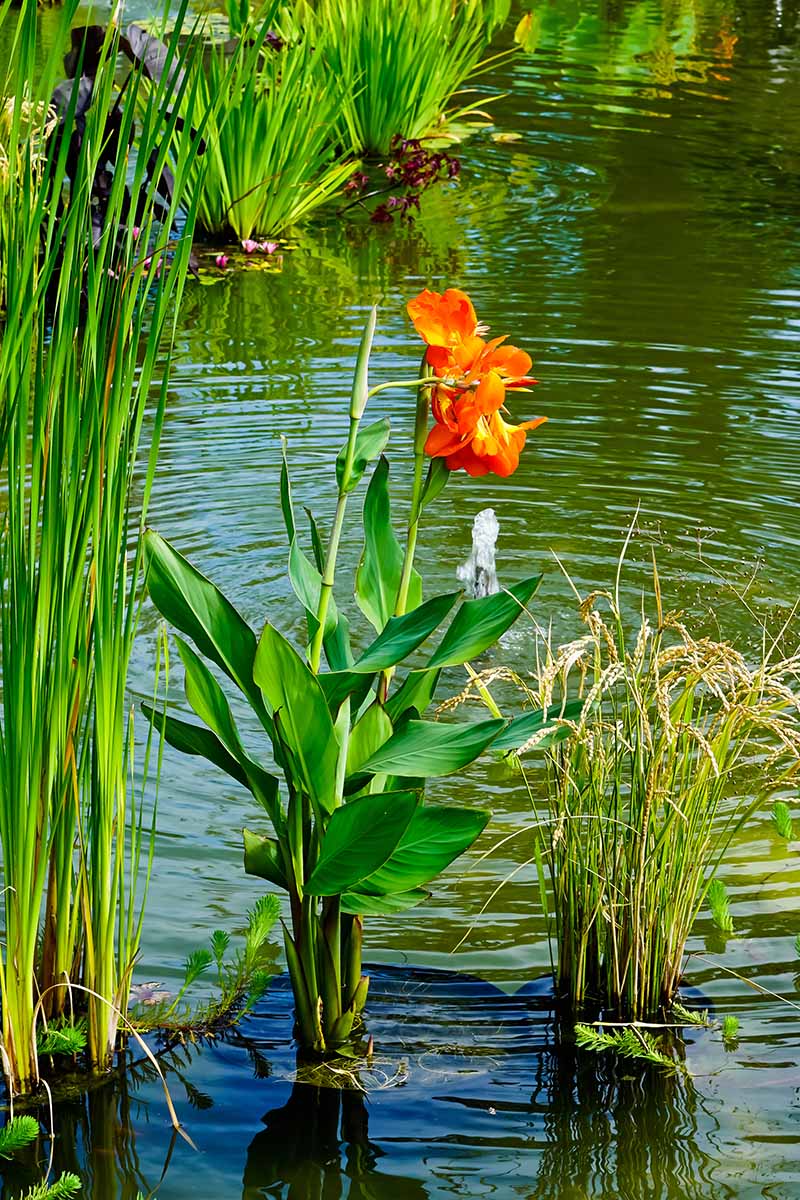
Aquatic Plant
Some types of canna lilies grow well in garden ponds. There are many different forms of aquatic plant fertilizer to choose from, so it’s more a matter of personal preference.
Aquatic fertilizers are typically sold in tablet, liquid, and granular forms.
Never use fertilizers for your garden as a replacement for aquatic fertilizer. This may disrupt the ecosystem within your pond and cause algae blooms, killing the fish and plants in the pond.
Using aquatic fertilizer tablets meant to encourage blooming in aquatic plants, like water lilies, is ideal for your cannas. Tablets will usually be formulated to feed your pond plants for anywhere from 15 to 30 days.
Thrive Aquatic Plant Fertilizer
Packages of 20010-14-8 (NPK) Aquatic Fertilizer Tablets by CrystalClear Thrive are available on Amazon.
Using these fertilizer tablets is easy because you can do the necessary math quickly – they’re applied 1:1 for every gallon of soil in your garden pond.
If you’re using a different brand of fertilizer, the specific concentrations or ratios may vary. Make sure to read the recommendations on the product packaging carefully before introducing the product you’ve selected to your garden pond.
Specifically for your cannas, calculate the proper amount of tablets you’ll need and insert them into the pond pot.
Since cannas are heavier feeders, you’ll need to fertilize again every 15 days through the end of the growing season, or according to package directions.
Granular Slow Release
Granular fertilizers are a popular option for potted plants, and cannas will grow really well if planted in large containers.
The main benefit of granular fertilizers is that they release their nutrients slowly into the soil, feeding your cannas over time. This is a great option if you’re short on time and energy, or just unable to feed your canna lilies frequently.
On the flip side, using a slow-release fertilizer means the nutrients aren’t immediately available to your plant if it needs them.
Whether you’ve planted in a garden bed or in a pot, spread granular fertilizer on top of the soil right around the base of the plants and their surrounding rhizomes. Water deeply to give your cannas some nutrients from the freshly spread granules.
An all-purpose granular 2-2-2 (NPK) fertilizer like this one by IV Organic from Arbico Organics can be applied to your cannas every four to six weeks.
Liquid
Cannas are water-loving plants, so using a liquid fertilizer is the fastest way for them to absorb the fertilizer.
The only downsides to using liquid fertilizers: you’ll need to fertilize more frequently, and it’s possible to overfertilize if you aren’t careful.
Always make sure to read the label on the package before applying liquid fertilizer to your cannas.
Some types of liquid fertilizer can be fed to your canna through the roots or as a foliar spray. Nutrient uptake is fastest through the leaves and can fix nutritional deficiencies much more quickly when compared to root uptake.
You can buy liquid fertilizers in a pre-mixed solution, concentrate, or as a teabag to be “brewed” or reconstituted prior to application.
Speaking of tea bags, have you heard about the benefits of making your own compost tea? It’s one of the best ways to naturally and organically fertilize your cannas and other garden plants.
As the name implies, you’re taking your compost and “steeping” it in water to feed to your plants in liquid form. It’s a neat method for fertilization.
Check out this guide on how to brew your own compost tea for a rich and beneficial homemade liquid fertilizer.
If you’re looking to buy a liquid fertilizer off the shelf, products made with ingredients derived from fish are an excellent choice for blooming plants like canna lilies.
Neptune’s Harvest Fish Fertilizer
Neptune’s Harvest Hydrolyzed Fish Fertilizer 2-4-1 (NPK) is available via Arbico Organics.
It’s high in phosphorus, which will promote more blooms on your cannas. Plus, there’s no fishy odor, which is an absolute win.
Mix your foliar fertilizer according to the package instructions and put it in a spray bottle. Spray it all over your canna’s leaves until they’re thoroughly wet, but don’t drench your plants. You don’t want to waste any fertilizer.
Repeat this process every two weeks, and enjoy those blooms!
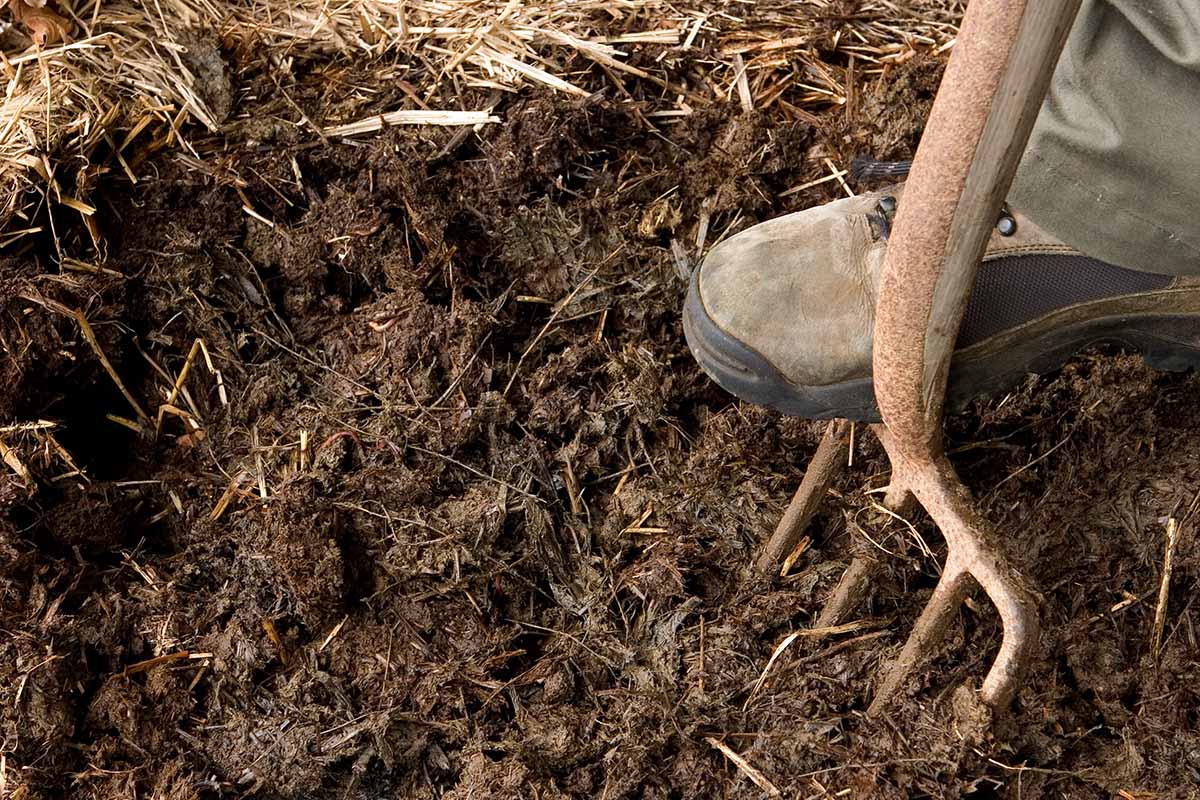
Kitchen Compost or Manure
Using well-rotted manure and kitchen compost are some of the best ways to naturally lower the pH of the soil while also giving cannas what they crave: nutrients!
If you’re using these at-home fertilizers, apply twice a year, first in early spring right as new growth is beginning to emerge, and again in early summer, around the end of June.
In the early spring, grab some organic garden compost or well-rotted manure to fertilize your cannas.
All livestock manure must be well-rotted before using it to fertilize your garden. Fresh manure has too much nitrogen and will scorch your plants.
Well-rotted manure has no unpleasant smell and has a different texture than it does in its original form. Generally, livestock manure mixed with bedding should be stored for a minimum of three months before using it in garden.
Starting around the perimeter of the planting area and working your way to the center, work in two to four inches of your fertilizer of choice.
Leave a bit of space at the base of the plants so the fertilizer doesn’t burn the stems.
Cover with two inches of pine needles, leaf mulch, or pine mulch. Using an organic garden mulch that will break down in the soil is another natural method of lowering the soil pH for cannas long term.
Water deeply after mulching, so the freshly laid fertilizer can begin to soak into the soil and start feeding your plants.
You Canna Do It!
Adding canna lilies to your garden is a surefire way to turn any outdoor space into a tropical oasis. But they require a bit of extra TLC in order to produce full, luscious leaves and pretty blooms.
They aren’t finicky about their fertilizer, but they are heavy feeders. Depending on the type of fertilizer you’re using, you might need to feed these plants at least once a month during the growing season.
If you’re using organic options or granular slow-release fertilizer, you should fertilize every six to eight weeks.
If you’re growing your cannas in a garden pond, always use an aquatic fertilizer to feed your plants. Never try to use garden fertilizer in your garden pond.
If you enjoy growing canna lilies in your garden, I’d love to hear about your experience in the comments. I personally have canna lilies growing in a pot by my kitchen window – it’s such a treat to see wildlife like hummingbirds take a sip from the blooms.
And to learn more about cannas check out our other guides next:

Why are my canna leaves always browning?
Hi Lydia sorry to hear about your cannas. It’s possible that they are not getting enough water, or potentially they are overwatered. Can you share a picture and let us know what growing zone you’re in and the type of soil they are planted in? Thanks!
What should I do with Canna fruits as I am not able to raise them.