
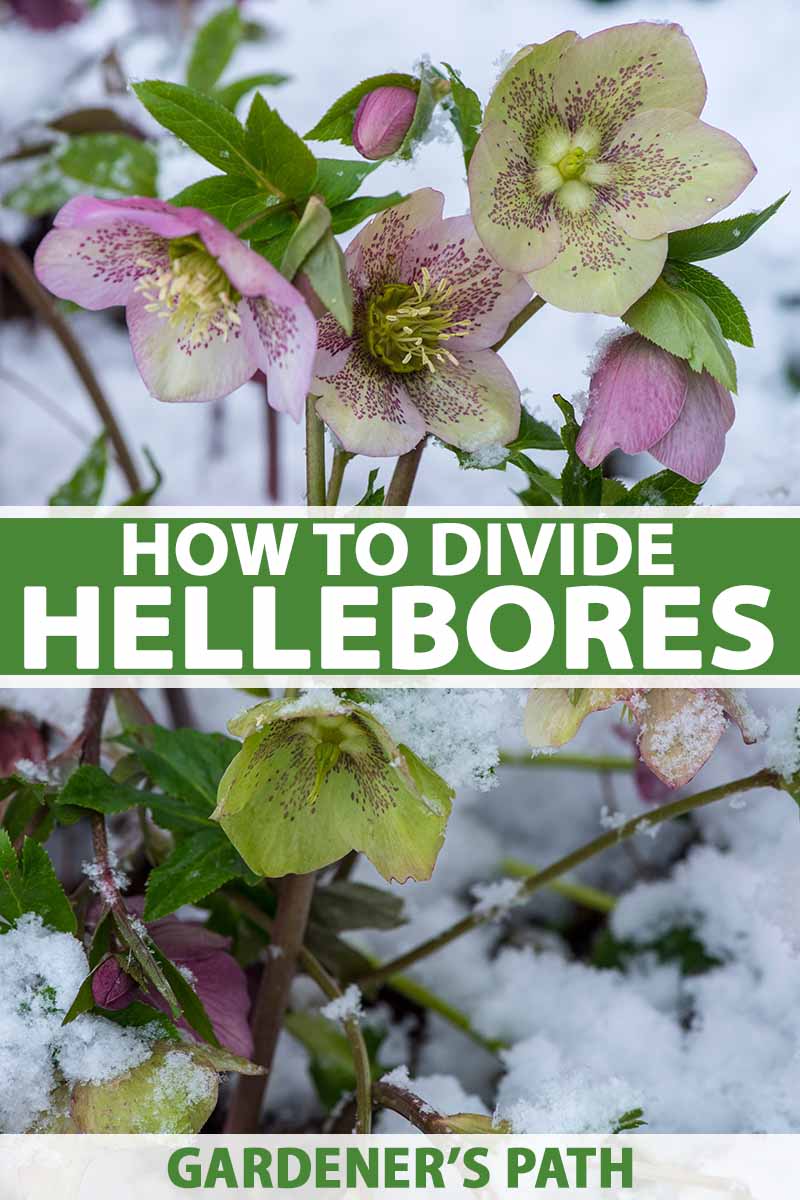
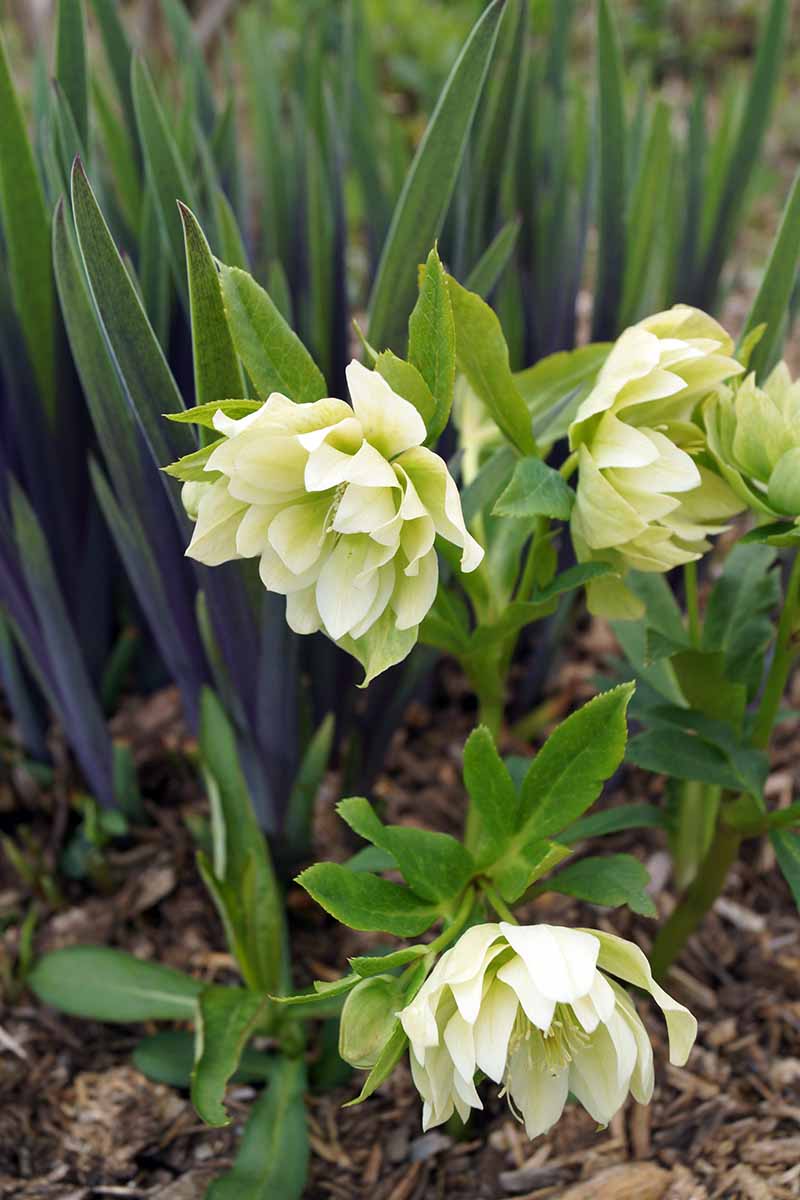
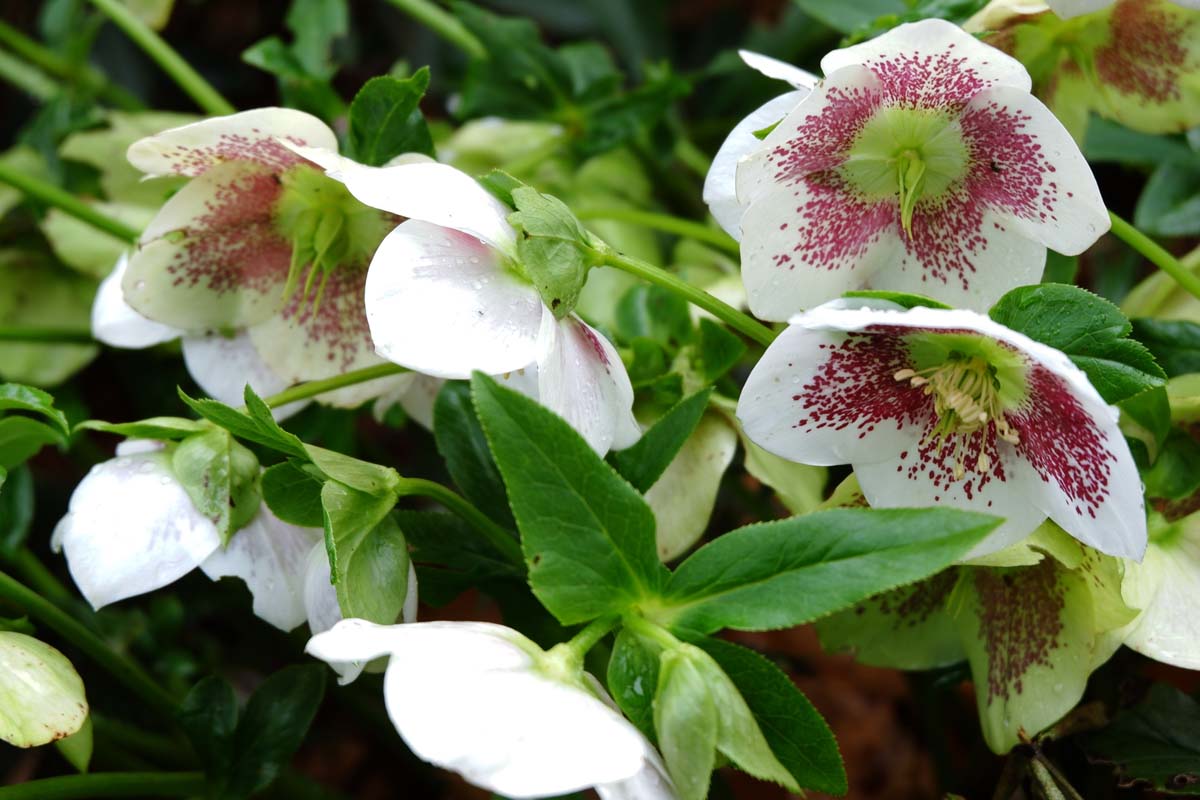
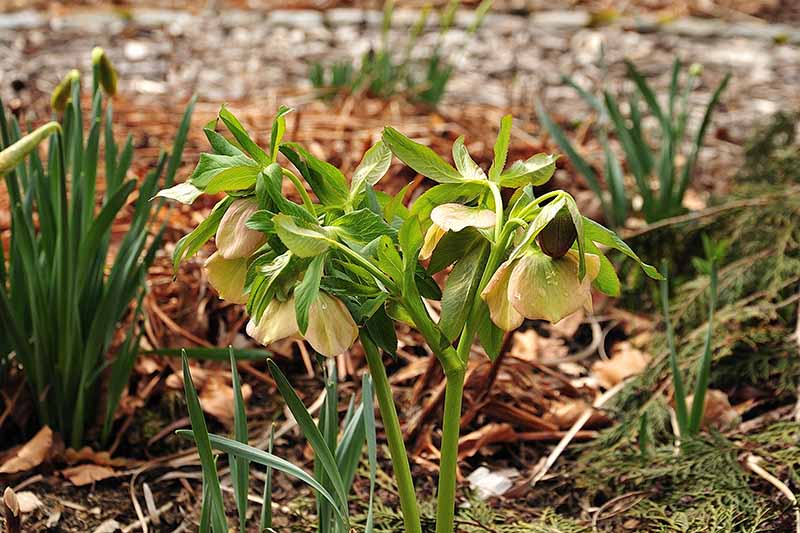
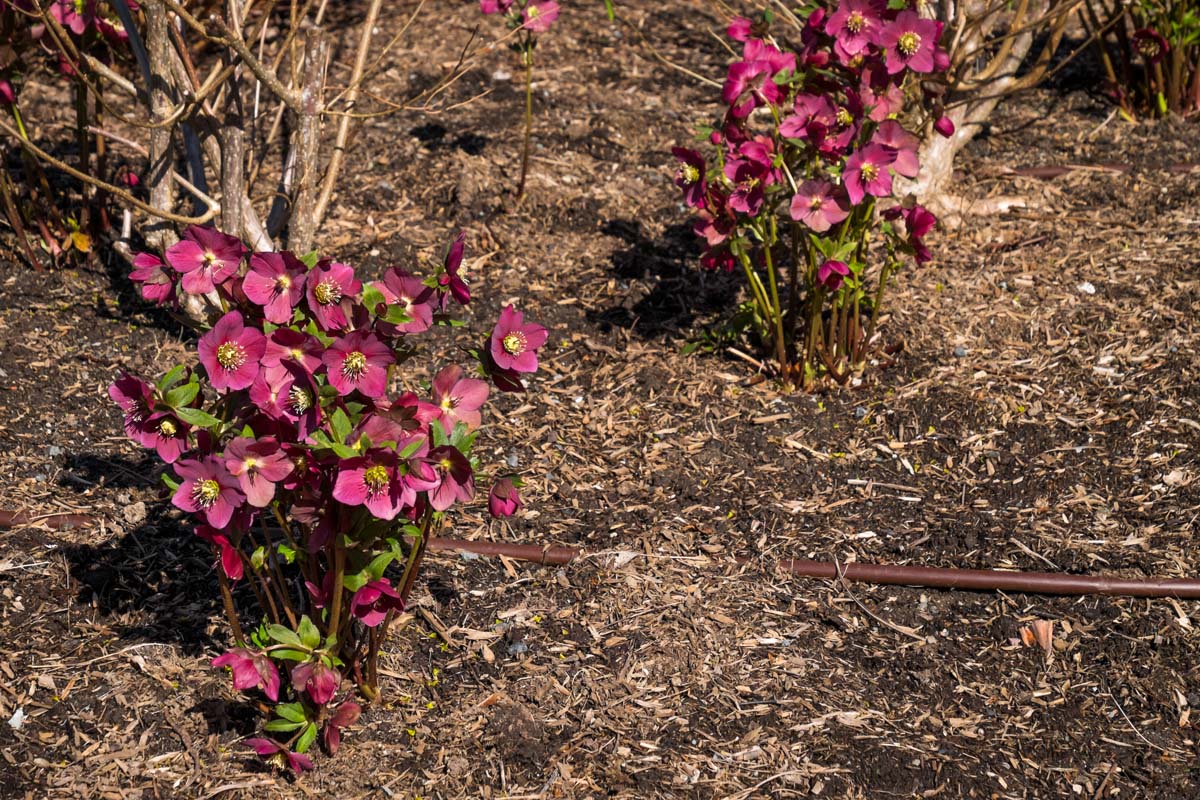
The hardy hellebore, Helleborus spp., aka Christmas, Lenten, or Winter rose, is noteworthy because it blooms in mid- to late winter in an array of colors including white, yellow, green, pink, and deep shades of purple bordering on black.
The most common types available to the home gardener are of the Helleborus orientalis species, aka Lenten rose, as well as hybrids of this species and a few other distinct species. The hybrids are classified generically as H. orientalis x hybridus.
This species and its hybrids – members of the Ranunculaceae family – are acaulescent, which means that they have abundant foliage at the base, and flower stems that rise individually from the thick root, or rhizome, below.
We link to vendors to help you find relevant products. If you buy from one of our links, we may earn a commission.
This botanical configuration lends itself well to successful division – or the dividing of one plant into multiple plants.
In this article, you will learn how to divide an acaulescent hellebore and transplant the divisions. If you’re new to growing hellebores, see our full growing guide here.
What You’ll Learn
Why Propagate by Division?
Division creates a true replica, or clone, of the original plant. Propagation by division preserves the exceptional traits like double rows of sepals, foliage variegation, speckling, and unusual color of the parent plant.
There are two additional ways to propagate hellebores:
2. Micropropagation
Seed from some types of plants produce “true” to the parent. But for cultivated hellebores, it may yield one or a number of different colors that may or may not resemble the parent plant. Learn more about harvesting hellebore seeds for propagation here.
Micropropagation involves the extraction of plant tissue for propagation in a laboratory setting.
When you want to be certain that a hellebore you propagate will have the traits you desire, it must be divided from a plant known to have those characteristics.
Choosing the Right Time
Plants do their hardest work when they bloom and set seed. At these times, leave them alone to do their job. Dividing is best done either before blooming or after the plant has set seed.
There are two ideal windows of opportunity for this task:
- Late winter
- Early fall
Let’s consider both options, as well as the pros and cons of each.
Late Winter
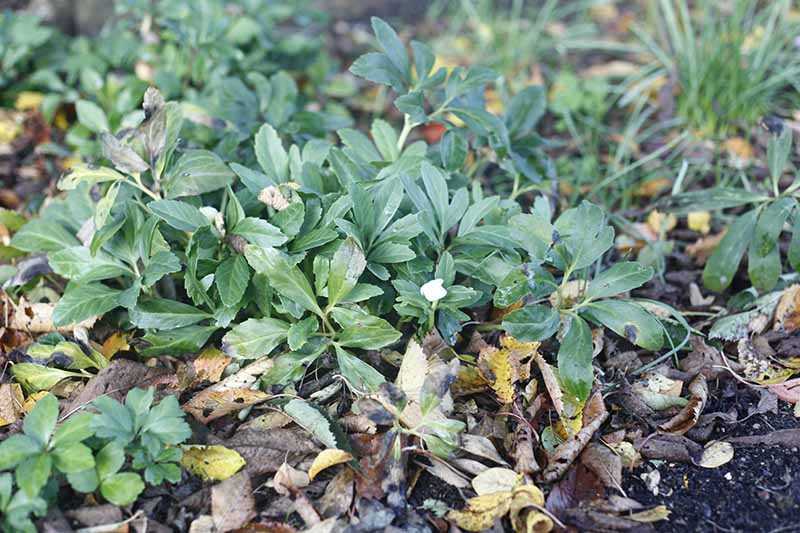
In late winter, at just about the time when you’re fed up with the ice and snow, look for the first new hellebore shoots.
If you’re like me, and you leave the old foliage in place until spring, their locations should not be hard to find.
On the other hand, if you cut your plants to the ground last fall, hopefully you remembered to mark their locations. Otherwise, if there’s snow on the ground, you may not notice the new growth until the flowers show their heads.
Either way, to divide before flowering, you will need to locate your plants and take action before the buds set.
Pros:
- Transplants have ample time to become established before winter comes around again.
Cons:
- A late frost could damage or kill transplants.
- Fragile new shoots may be damaged during the division process.
- Locating new shoots before they bud may pose a challenge.
Early Fall
After perennials have flowered and gone to seed, they’re fair game for dividing. For hellebores, this time comes during the summer.
However, it’s best to wait for summer’s peak heat to pass before digging in, to avoid undue stress on both the original plant and transplants.
Pros:
- Plant locations are obvious.
- Risk of frost damage is low.
Cons:
- Transplants don’t have as much time to become established before winter.
My personal preference in USDA Hardiness Zone 6 is to take my chances with early fall division, when the plants are sturdier and the weather is more predictable.
How to Divide a Hellebore
Always wear gloves when handling hellebores. They contain sap that may cause skin reactions in sensitive people. For this task, waterproof gloves are recommended.
The ideal time to divide a plant is in the morning, before the sun is high. Choose a temperate day when the ground is thawed and workable, and the wind is low.
Here’s what to do:
- Water the plant lightly to moisten the soil.
- Use a sharp, pointed, long-handled shovel with a 12-inch blade. Press your foot on the shovel blade to dig a perimeter ring around the plant at a distance of 8 inches from the edge of the stems and foliage. As you dig, press down on the handle, to start to lift up the entire plant – roots, dirt, and all.
- Go around the plant several times, digging and lifting, until the plant comes freely out of the ground on your shovel. Lift the entire plant out of the ground and set it down beside the hole.
- Use a three-pronged garden claw to gently loosen the soil from the roots. Expose as much of the root system as you can without damaging it.
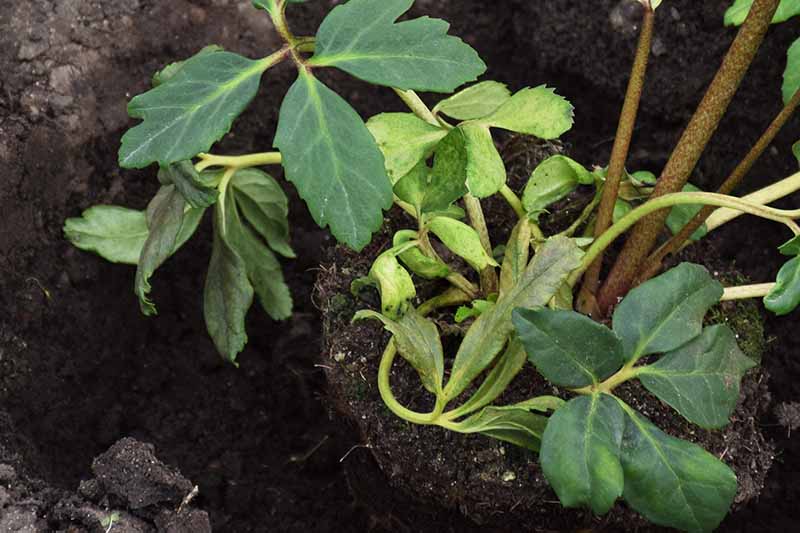
- You should be able to clearly see where the stems and leaves that grow above the ground meet the roots that grow below. This meeting point is called the crown. Lay the plant on its side. Examine it and identify the thick root, called the rhizome, from which the stems rise.
- To divide one large plant into multiple small ones, use a clean pair of pruners to cut through the rhizome at intervals of your choice. Each cut section, or division, should contain one or more stems, a chunk of rhizome, and several tiny roots.
- Place the divisions in a bucket of water. They should never be allowed to completely dry out.
Transplanting a Division
Once a plant is unearthed and divided, and the divisions are standing in water, it’s time to transplant.
If you haven’t already, choose locations for the divisions. Each location should be partially shaded, with organically rich, well-draining soil.
Work the soil until it crumbles, to a depth of 10 to 12 inches. Mix in some compost as needed to add organic matter to the soil.
Now you’re ready to transplant!
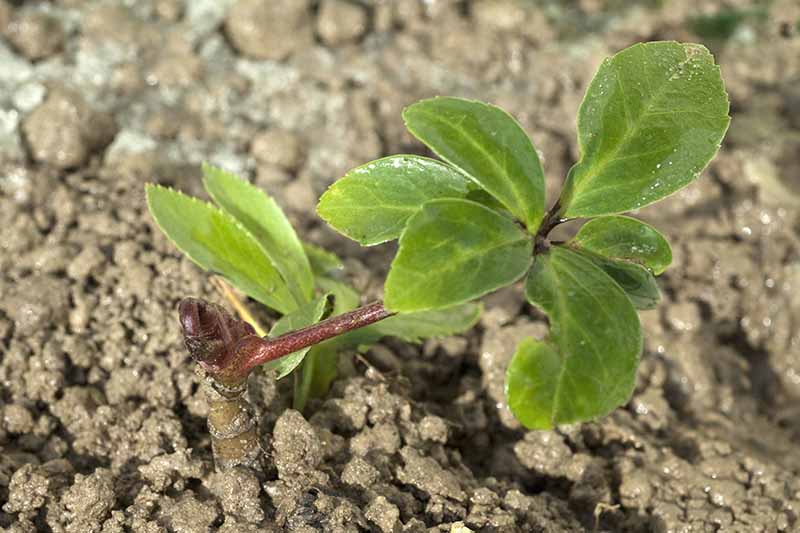
- Select a division to plant. Swirl it gently in the water, to detangle the roots and encourage any broken ones to fall away. Remove the division from the bucket.
- Make a depression in the prepared soil about six inches deep.
- Hold the division over the depression so that the crown is level with the freshly turned earth. Tease the roots gently so they spread out over the soil.
- Holding the division with one hand, gently refill the depression with soil, covering the roots and stabilizing the new plant. Use two hands to gently tamp the soil down around the crown.
- Use the fine spray of a hose or watering can to thoroughly moisten, but not flood, the soil over the roots. Hand-tamp the soil again to remove air pockets. Don’t use your foot, as you don’t want to compact it.

If you choose to return a division to the original location from where you dug it up, refill the hole with the discarded soil. As you did for the new location, give the soil an organic boost with a few handfuls of compost, and work it to a crumbly consistency to a depth of 10 to 12 inches.
Make a six-inch depression in the soil and settle the plant in as we did with the others.
Give your new plants every chance to succeed by getting them into the ground as soon as possible after dividing.
Keep the soil moist, but not oversaturated, throughout the growing season. Water once a week in the absence of rain.
Apply an inch or two of mulch over the soil to improve moisture retention, inhibit weeds, and reduce competition for water. Keep the mulching material 1-2 inches away from the stems to prevent moisture buildup and rot.
Fertilize with a well-balanced, slow-release granular product. You may apply it at the time of planting, and throughout the growing season as indicated by the package instructions.
Dividing and transplanting stresses plants temporarily. Once the roots become established, the life cycle resumes. You can expect to see flowers in the next growing season.
Multiply Your Favorites
Propagating hellebores by division is a cost-effective way to clone the desirable traits of a parent plant, such as the color and number of sepals, and foliage markings.
By replicating a favorite variety, you can gradually achieve an attractive repetition throughout your landscape.
Space the divisions randomly for a more natural scheme.
Or place them at even intervals for a more formal pattern.
Consider planting other late-winter bloomers – such as daffodils, forsythia, and snowdrops – among them for a varied palette.
Get out your garden planner and add “divide hellebores” to it right now! You’ll be glad you took the time to do it.
In addition to beautifying your own gardens, you may find friends only too happy to take “extra” divisions off your hands.
And if you invest in some of the more unusual cultivars, you may have a new interest to “cultivate” with your local garden club or hellebore society.
If you want to learn more about growing hellebore flowers in your garden, you’ll need these guides:


We are having our front landscaping done. I needed to remove my Hellebores as I do want to keep it for when the work is done. I separated it in half and gave half away. The landscaping work will take 2 weeks. What should I do with it in the meantime to ensure it remains healthy and survives? I currently have it in a pot, in partial shade with organic soil…. thank you!
Hi Chantal –
While dividing and transplanting hellebores is usually done in early fall or late winter, sometimes circumstances require us to do so at an inopportune time. And while your plant has been stressed, it sounds like you are giving it the TLC it needs right now. Be sure the container drains well and you keep the soil evenly moist, but not oversaturated. You may apply a slow-release all-purpose fertilizer per package instructions.
Hi Nan! Thanks for this great article! I grow cut flowers in Glenmoore, PA and have about 20 hellebores in deep shade that I’d like to still transplant to a brighter area to get blooms next spring. Is late October/early November too late to transplant? I was thinking of not dividing them and disturbing their root systems as little as possible, perhaps even put them under low tunnels with frost protection to help extend the time they have to root in at the new spot. Think this will work? If you have any thoughts I’d sincerely appreciate it – thank… Read more »
Hi Megan –
We’re so glad you enjoyed the article.
It’s a little late for transplanting in Southeastern PA, because we are due for our first frost. September is ideal because plants have time to establish before winter. The next best transplant time is late winter/early spring, after the last average frost date. I would wait until then.
There are tiny “sprouts ” (arethey???) Under the flowers of my Lenten Rose, that is a thin very easy to pull up tiny green leaved “thing”. Loads of them. Are these seedings or weeds?
So many, takes a while to remove, even though a gentle tug gets them up. Because they are not attached to any part of the plant , I am assuming they are weeds. But this type is not in my garden anywhere else. Appreciate an answer very very much
Hello Maeve –
Hellebore sprouts have a shiny appearance and pop up all around a “mother” plant. Can you take a photo to share with us?
I am crazy in love with the Lenten Rose. I have had 5 plants now about 4 years. They are huge and probably ready to be divided. I live in Knoxville, Tn. and have already cut away all the old leaves. There’s a lot of new plants to divide.
Hi Jewell Rose –
We share your love and wish you happy gardening.
Several of my hellebores are surrounded by “babies.” I am in Zone 7, more or less, in Maryland. It is now coming into mid-September. Can I move some of those babies straight to new garden ground or do I need to transplant them into pots and wait until spring? Thanks!
Hi Ellen –
Thank you for your great question! September is a good time to transplant the hellebore babies directly into new garden homes, provided the weather doesn’t surprise us with anything drastic.
I want to transplant some seedling size hellebore from under my backyard lilac to under my maple trees. It seems difficult if possible at all to dig very deep due to all the small maple roots. Would it work to dig a trench and lay the hellebore roots in that?
Hello Rod-
It’s best not to disturb the roots of an established tree. Use a dibber or dandelion weeding tool to make holes between the roots and loosen the soil. Mound organically-rich soil over the holes to a height of four to six inches above ground level. sow one seedling per mound. Allow 14 to 18 inches between seedlings to accommodate mature dimensions.
To keep the soil in place while the seedlings establish themselves, you might have to surround the mounds with small rocks. You are, in effect, making a raised bed for each.
I transplanted my volunteer helloborus last fall. How long before they bloom?
Hi Carolyn-
It generally takes two years for transplanted hellebores to become established and bloom again.