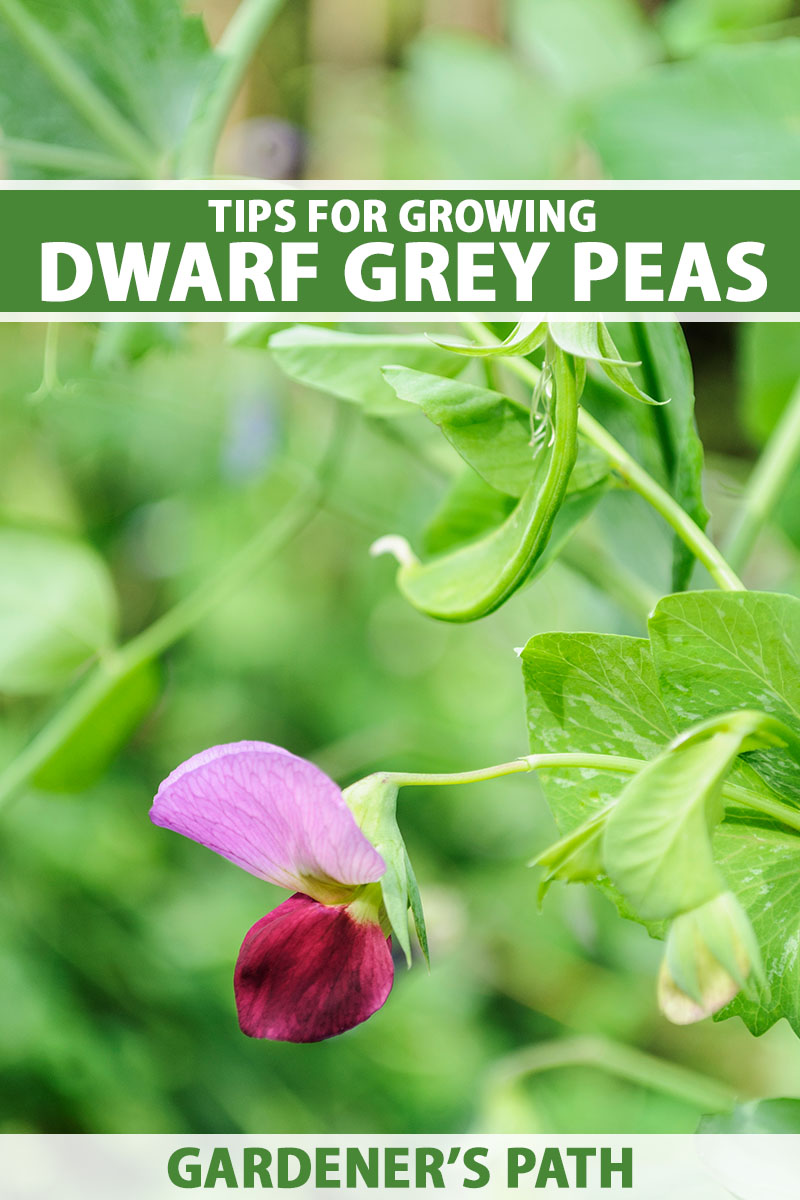
Pisum sativum ‘Dwarf Grey’
It’s a testament to the ‘Dwarf Grey’ snow pea’s easy-going nature when I tell you one of the toughest issues is deciding whether to spell that name “Grey,” like the British and even most American distributors, or “Gray” as per common US spelling.
Beyond forcing you to deliberate for, oh, 10 seconds or so over which vowel to use, I think you’ll find that this legume is easy to care for.
We link to vendors to help you find relevant products. If you buy from one of our links, we may earn a commission.
It has lovely traits, including its ability to produce shoots, edible blooms, and a reliable harvest of flat, crispy pods in the chilly days of spring or early autumn.
As long as you meet its need for cool temperatures and well-draining soil, it’s hard to go wrong with ‘Dwarf Grey.’
If you think this might be the cool-season vegetable you need in your home garden, let me tell you a little more about it before you make up your mind.
Here’s the short list of information on offer:
What You’ll Learn
These compact plants are one of the first vegetables that reach a harvestable size in the spring and one of the last to keep producing in the chill of autumn.
Follow these tips for the healthiest plants and biggest yields.
What Are ‘Dwarf Grey’ Peas?
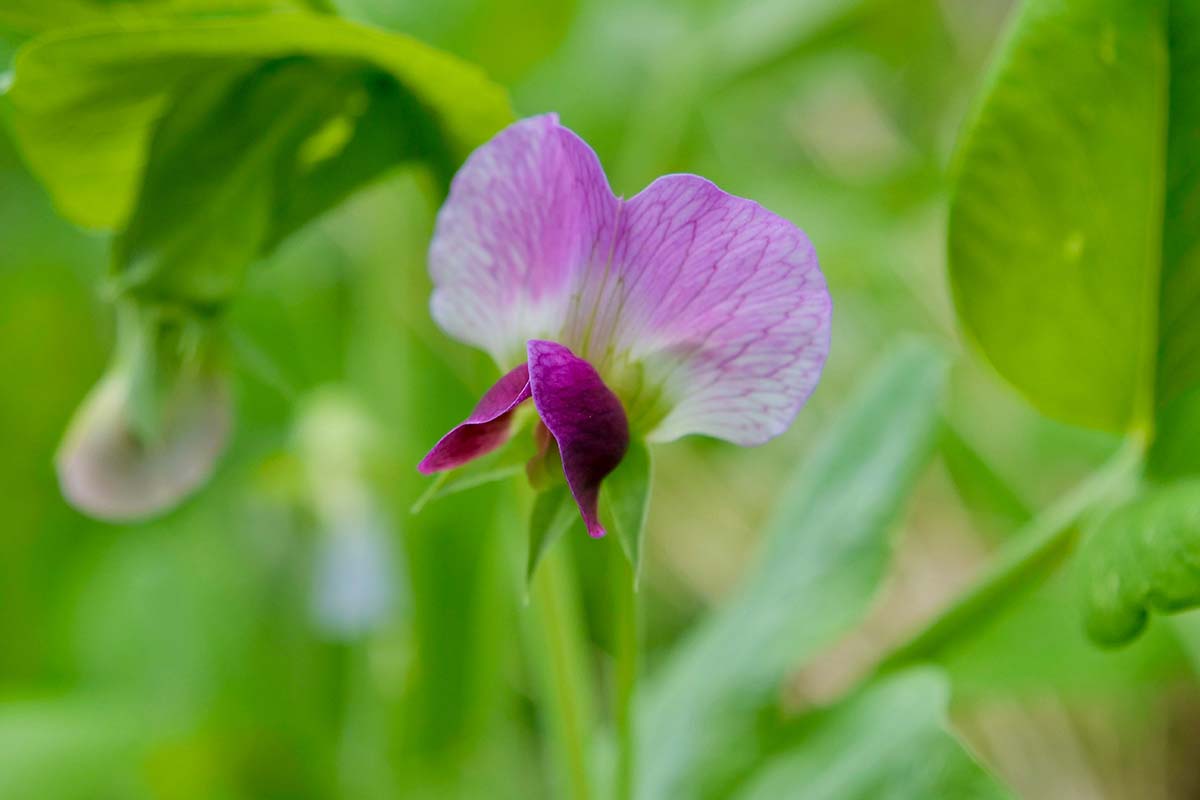
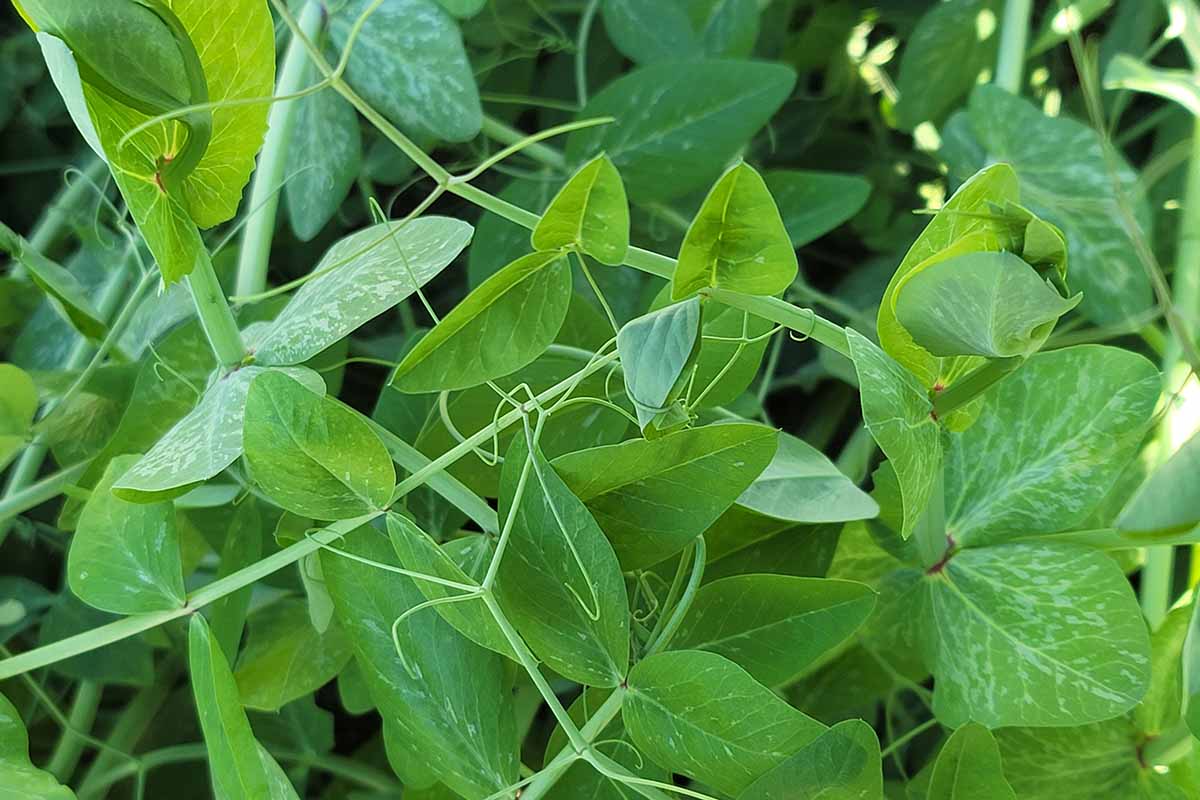
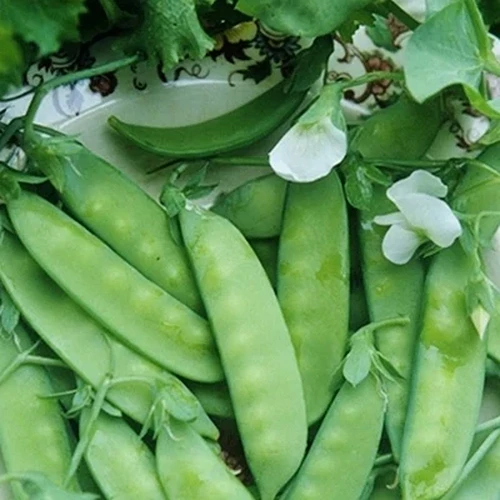
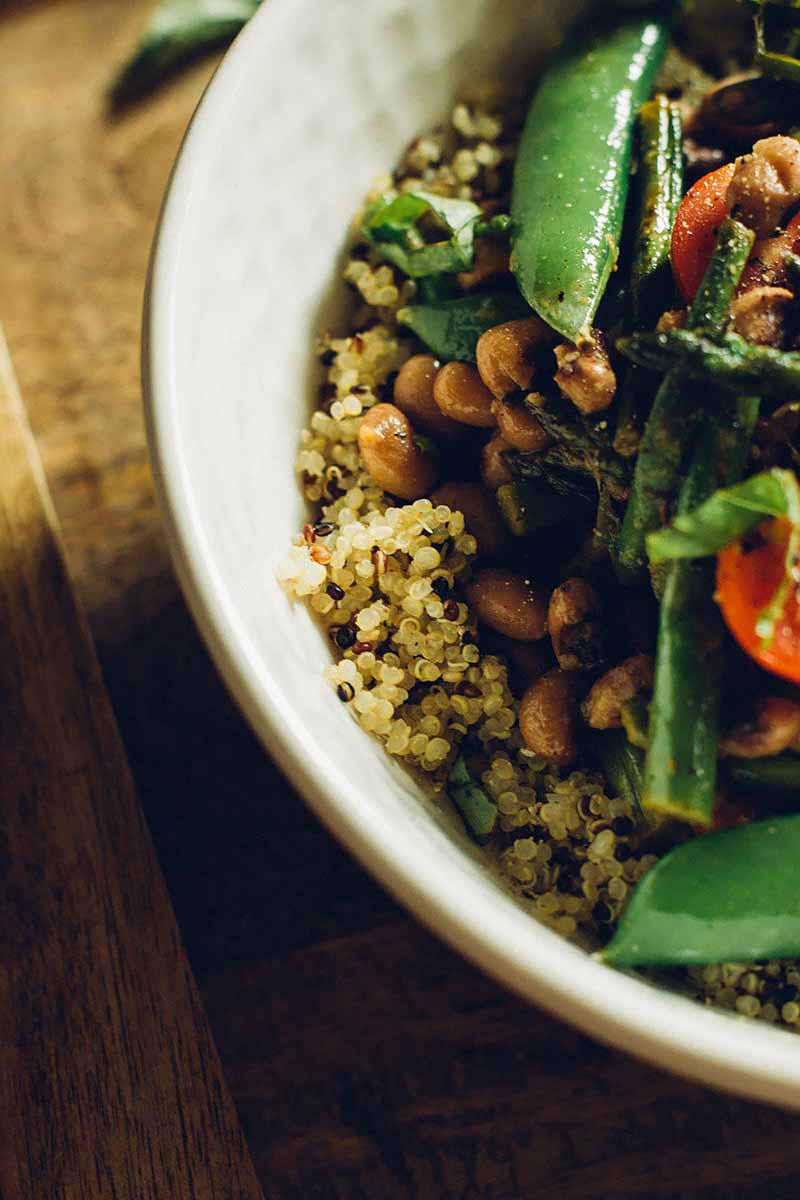
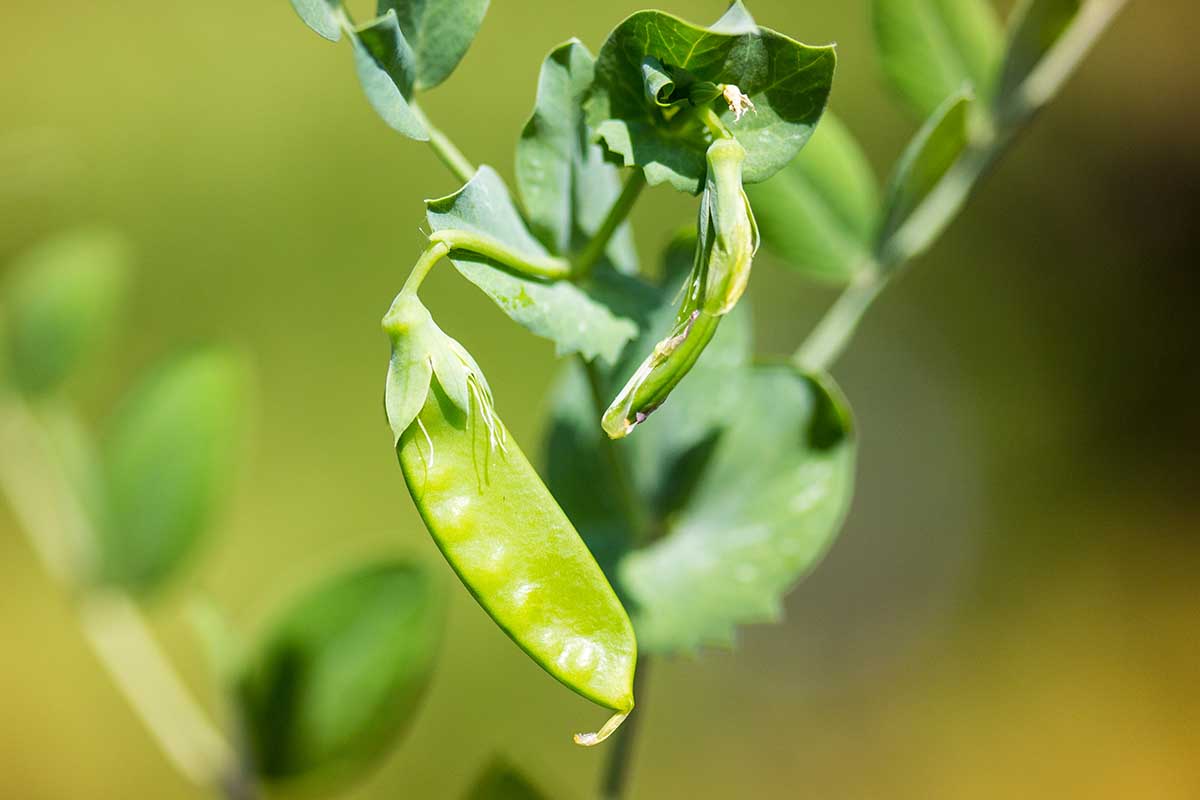
‘Dwarf Grey’ is a small-but-mighty variety of edible pod pea, prized for its flat, green, two-and-a-half-inch pods as well as its sweet, mild pea shoots and edible pink and violet blooms.
Like all members of the Pisum sativum species, it’s a legume that draws nitrogen from the air and fixes it into garden soil via root nodules. These hold specialized bacteria that form a symbiotic relationship with the plants.
This cultivar grows more quickly than many other peas, producing pods 57 to 65 days from sowing.
Like all snow peas, ‘Dwarf Grey’ pods are fabulous in Asian cooking. Peas are native to that continent, originating in an area spanning southwest Asia and northeast Africa.
We do know for sure that P. sativum was grown widely in Africa and Asia by 1,000 BCE and that the flatter-pod snow peas are a more recent innovation.
Historians estimate snow peas arrived on the culinary and garden scene in the 1500s.
More compact versions with bicolor blooms were grown sometime in the late 1700s, but the ‘Dwarf Grey’ cultivar wasn’t officially a thing until 1881.
That’s the year a forerunner of today’s Ferry Morse – the Detroit-based D. M. Ferry & Co. – offered this “most desirable” variety in their catalog.
How to Sow
While it is possible to start ‘Dwarf Grey’ seeds indoors in biodegradable pots and then transplant the seedlings, it saves little time because transplant survival is not great.
The better option is to sow the seeds outside in early spring, six to eight weeks ahead of the average last frost in your area.
Here in East Tennessee, that date corresponds to Valentine’s Day, so I plant then and usually harvest my first fully-formed snow peas by Mother’s Day.
If you don’t have an easy-to-remember guideline like mine, be sure to note a reminder to plant in your gardening journal or set a reminder on your phone.
It’s so important to get these cool-weather-loving legumes planted while they’ll have time to produce ahead of the onset of hot weather.
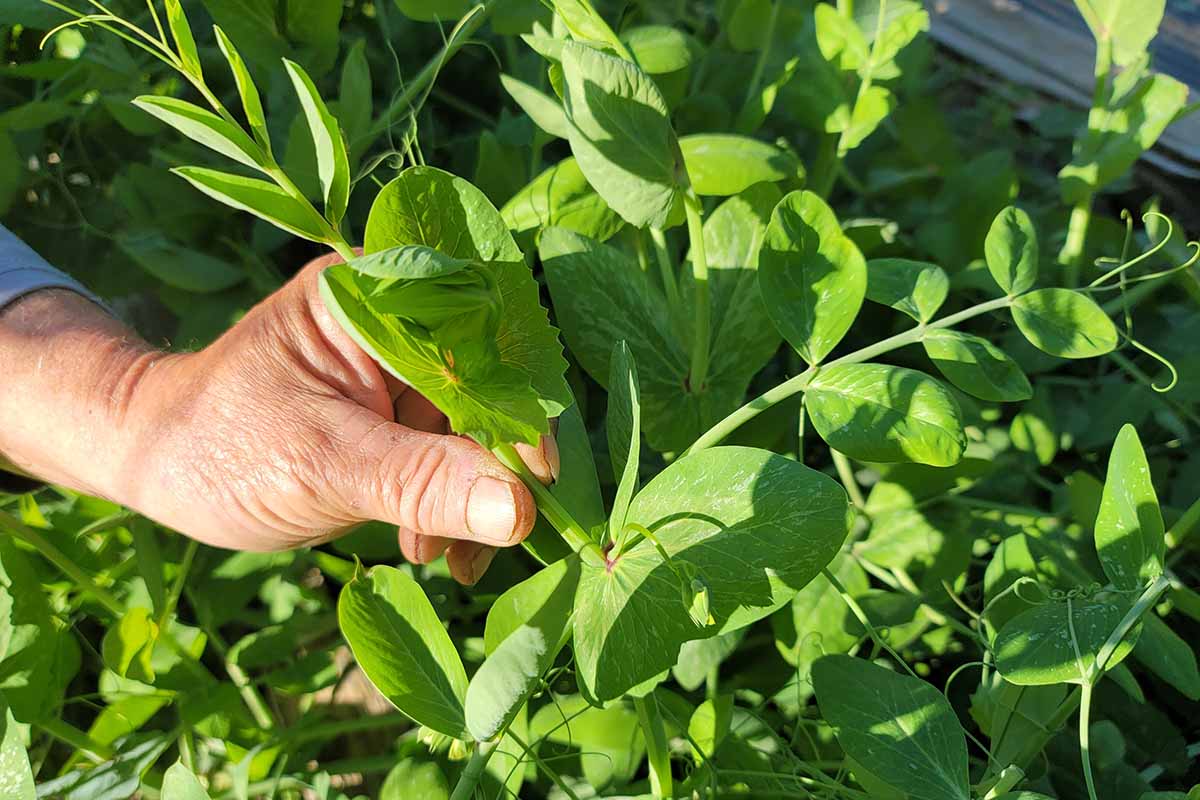
If you’re planning to grow full-size plants, sow the seeds an inch deep and about two inches apart in rows separated by 12 to 18 inches.
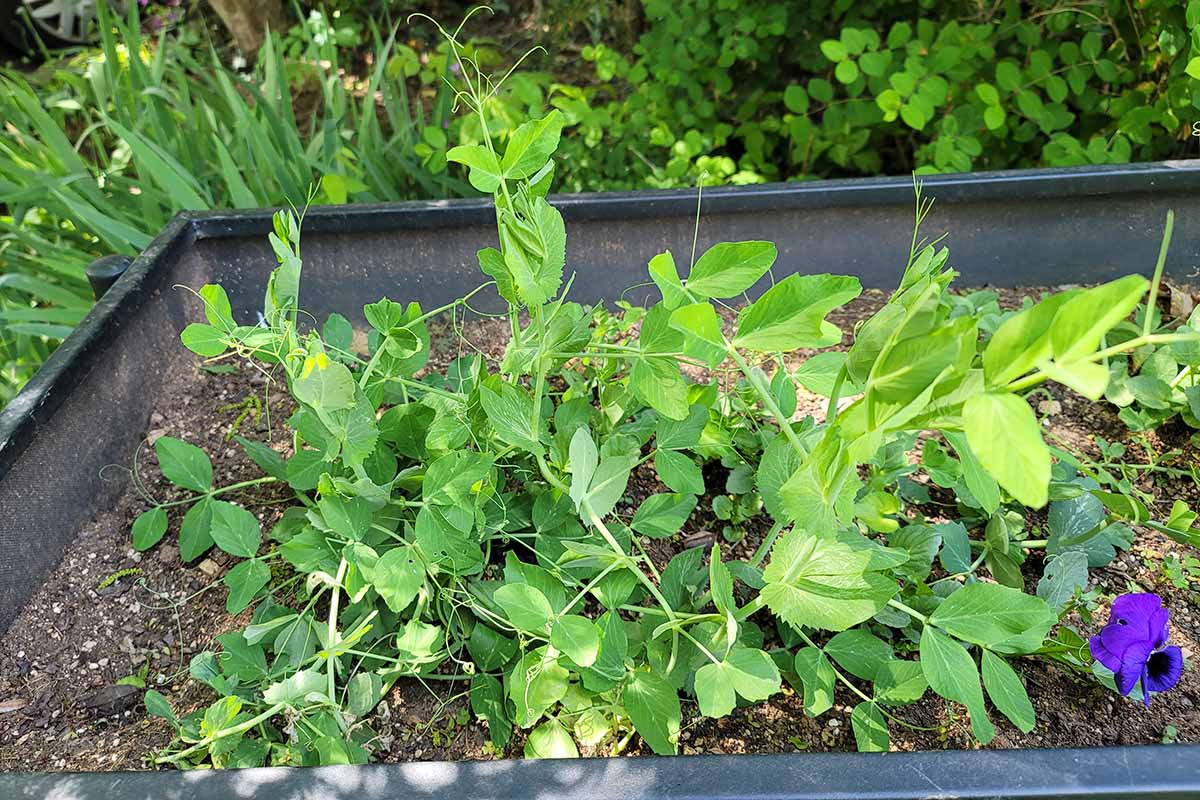
You can also tuck a few here and there in prepared containers or other vegetable beds that have a bit of extra space.
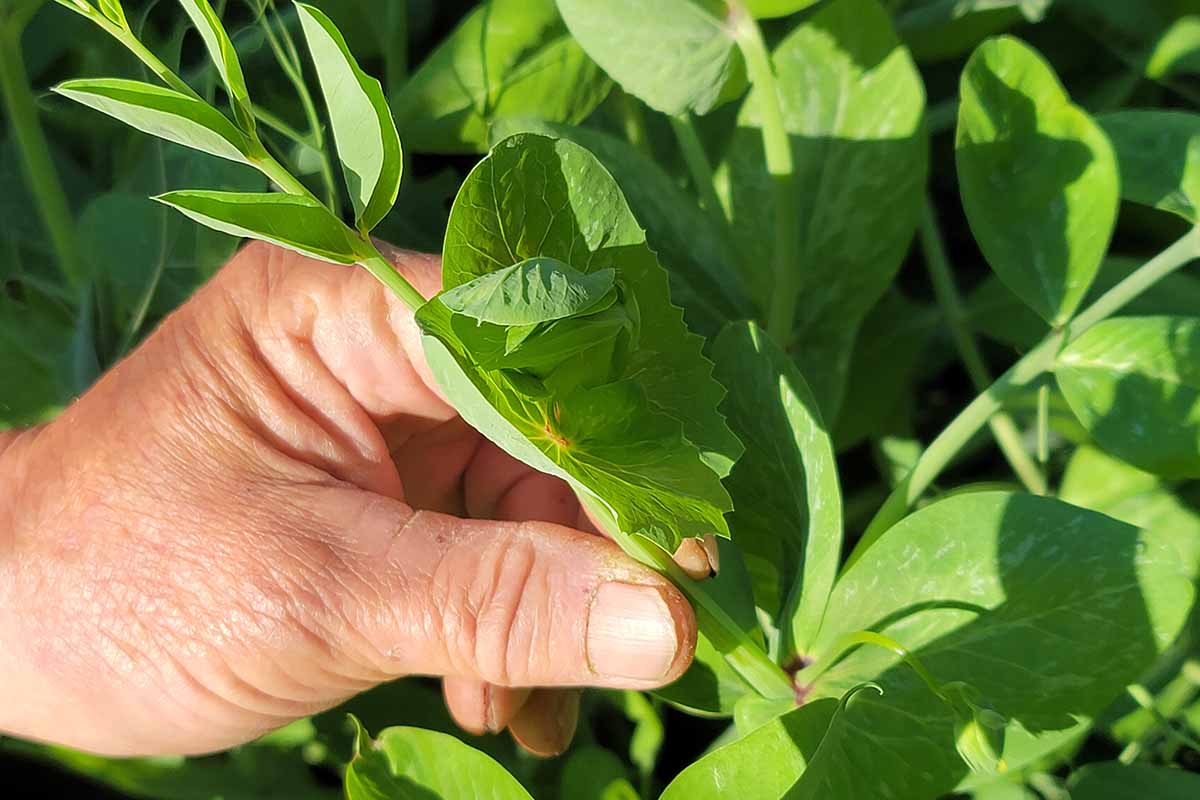
The photo above shows one of the ‘Dwarf Grey’ plants I snuck into the container where I grow pansies for their edible blooms, for example.
I avoid planting peas with alliums since in my experience they don’t grow well together, but they’re compatible with other spring veggies like radishes and lettuce.
Read up on these and other science-backed companion planting ideas in our guide.
It’s a good idea to inoculate the seeds ahead of time to kick-start their ability to “fix” nitrogen in the soil, if this hasn’t been done already. Be sure to read seed packets.
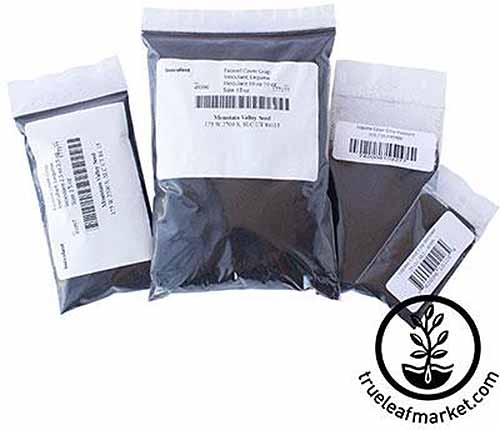
I like the powder you stir into the seeds directly ahead of planting. One option is available from Mountain Valley Seed Company via True Leaf Market.
After you sow the seeds, make sure to press firmly on the soil to anchor them in.
I’ve been known to walk on top of the rows with rubber-soled garden shoes after sowing. If I don’t, the pea seeds tend to plump up and float back to the soil surface in our spring rains.
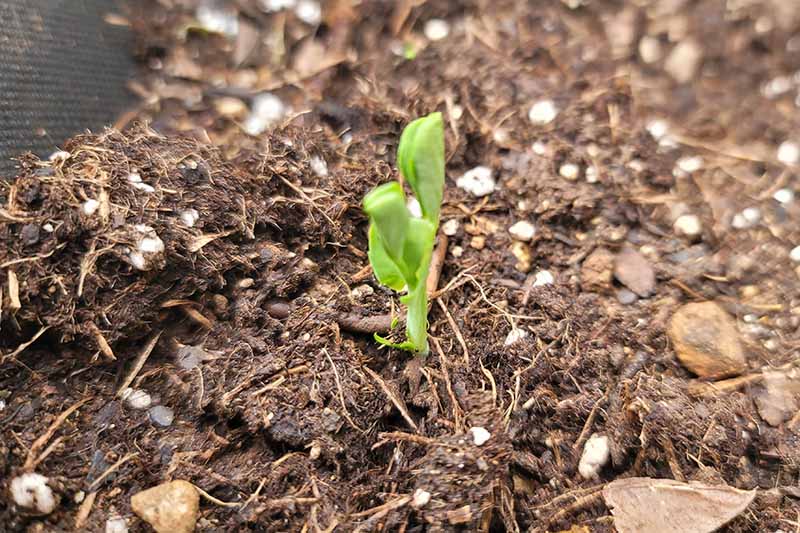
After tamping the soil, water it thoroughly and then keep it moist until the seeds sprout. That usually takes about seven to 14 days.
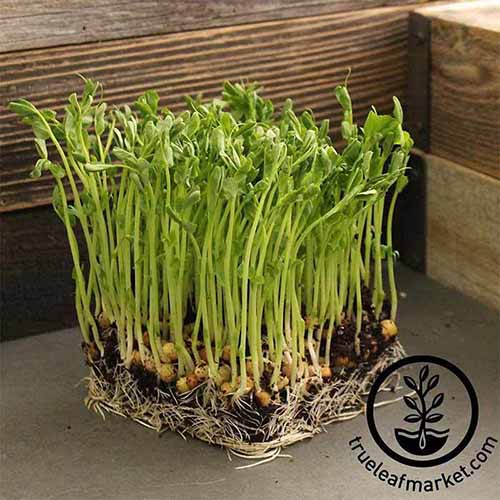
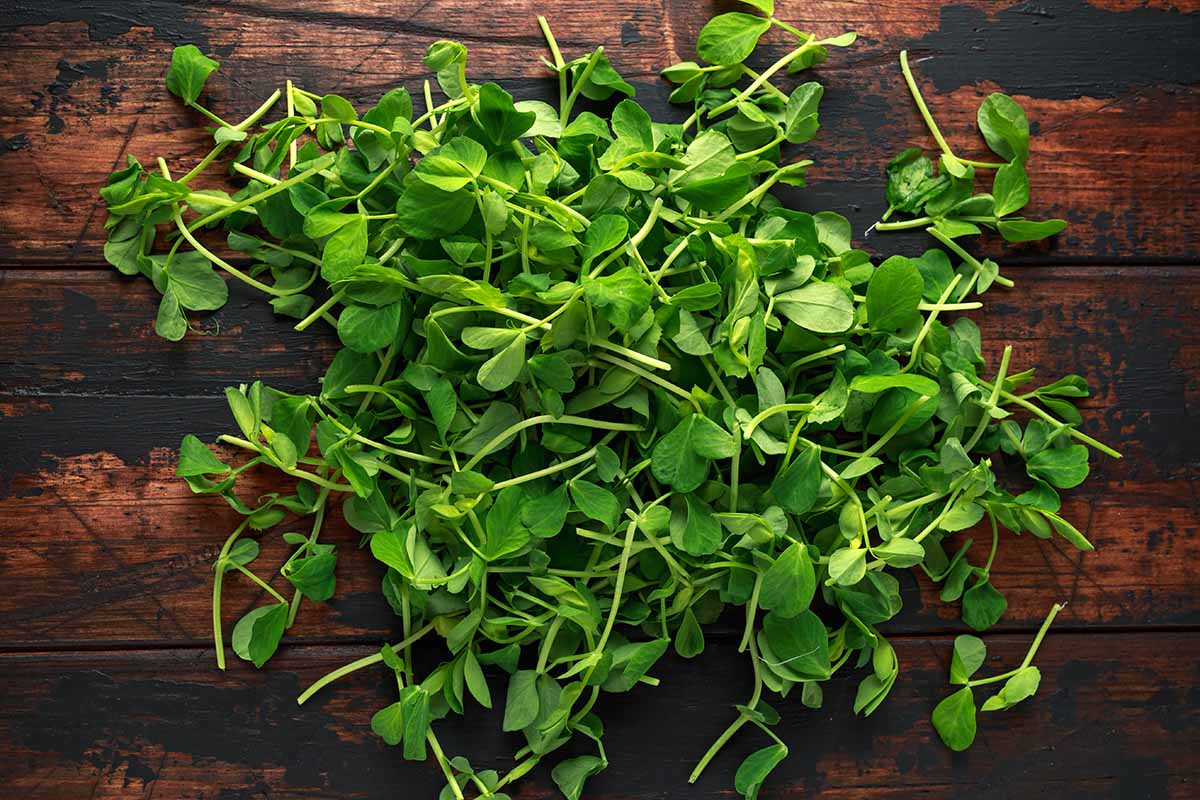
If you intend to grow peas solely for microgreens or “shoots,” space them just half an inch or so apart on all sides. You can sow them in a shallow dish of potting mix indoors or blanket an area of a raised bed or outdoor container.
Look for more tips on growing microgreens in our guide.
Once your ‘Dwarf Grey’ seeds sprout, you’ll have tasty treats fresh from the garden starting with shoots in about 10 days.
Keep reading for tips on getting the highest yields and enjoying every phase of the harvest.
How to Grow
If you meet its minimal growing requirements, you won’t usually have any trouble with ‘Dwarf Grey.’
Focus first on the temperature.
Forget that this legume is a green bean relative when you get ready to sow: Unlike green beans, limas, and black-eyed peas that love heat, P. sativum needs cool weather to produce.
The seeds go in the ground four to six weeks ahead of your last frost in spring, or two months ahead of the first frost in autumn.
Plant in full sun.
Once temperatures exceed 85°F, snow peas will quit growing, blooming, or producing edible pods.
Since this variety matures starting 57 to 65 days from sowing, calculate how much time they have before the temperatures get too hot for them in your area.
If these calculations indicate your plants won’t have enough time to mature, consider sowing the first group to harvest as shoots, which only takes about 10 days after they sprout.
If you still want the pods, plan to plant another crop the next season, whether next spring or next autumn, when you have enough time for them to fully mature.
This undemanding plant does have one absolute must: well-draining soil. Without that, it may succumb to damping off, and the larger plants may incur deadly root rot.
It’s okay if the soil is only average, or if you have sandy or clay soil. But you should amend it to be well-draining.
Otherwise, plant in raised beds or containers filled with a mix formulated for vegetables. Don’t use the fertilized soil mixes for container gardens – they contain more nutrients than peas need.
The ideal pH for snow peas is between 6.5 and 6.8. If you’re striving for healthy plants and top yields, that’s the range to shoot for.
Try a soil test the season before you grow peas so you’ll have enough time to adjust the pH with limestone, wood ash, or other amendments as needed. Soil pH shifts take time!
If you’re ready to sow, but your soil isn’t the right pH, consider growing in a raised bed or container full of soil with that ideal pH and working on your garden patch soil for next season.
When growing in containers, choose one at least 12 inches in diameter for three or four plants.
It doesn’t need to be more than three or four inches deep to accommodate the shallow roots of pea plants, but it does need drainage holes and a well-draining growing medium formulated for vegetable beds.
We have more extensive information on choosing a container to grow snow peas for you in our guide to growing peas indoors.
Also, make sure your patch is weed-free before you sow seeds. Snow peas have shallow roots that make them tough to cultivate later without pulling the vegetables out with the weeds.
Applying two inches of mulch once the plants are about four inches tall helps to suppress weeds and retain moisture.
Newspapers, pine straw, and dried, untreated grass clippings are all good choices. Steer away from wood chips or any mulch treated with herbicides.
You can prune the vine tips back to their lowest set of true leaves when they’re about six inches tall if you wish.
That encourages branching for a more substantial shoot harvest and will also promote more flowering.
Don’t worry about supplemental fertilizer – these legumes won’t need it.
If you plant in well-draining soil and sow ahead of early-summer heat, you may not need any supplemental water for ‘Dwarf Grey’ either.
The harvest will be over before the soil gets too dry in midsummer, at least in theory.
If the soil does start to look dry, strive to give the plants about an inch of water every two weeks once the temperature starts exceeding 80°F up until they start flowering, and then stop with the extra water.
When you’re growing in containers or window boxes, you may need to water more frequently, which makes it all the more important to plant in well-draining soil.
If rain doesn’t provide it, do so yourself, but be extra careful to water at the soil surface level, not from overhead.
Growing Tips
- Sow seeds four to six weeks ahead of the average last frost in your area.
- Time spring sowing so the plants will produce before your local temperatures exceed 85°F.
- Sow in well-draining soil with a pH of 6.5 to 6.8.
Where to Buy
I’m pleased to be able to share a number of sources for ‘Dwarf Grey’ pea seeds to grow in your garden.
Buy a larger quantity if you plan to grow microgreens or enough pods to freeze.
You can always freeze extra seeds in an airtight container, and they should stay viable for at least a couple of growing seasons.
Find 100- and 400-seed packets and 1,600-seed bulk sacks available from Eden Brothers.
If you’ll focus on growing microgreens, you may want larger quantities of the seeds since even a 10-inch container or shallow tray can hold 50 or more seeds for germination.
One to 25-pound sacks are available from True Leaf Market.
When you’re planning to start with a modest container of full-size plants or a few snow peas tucked into a small-space garden or early spring window box, a small packet can be more manageable.
Purchase a 25- to 30-seed packet of ‘Dwarf Grey’ from Gaea’s Blessings via Amazon.
Managing Pests and Disease
Water sprinkled on the leaves can lead to a number of fungal infections, especially when it’s damp and humid out, or if the peas don’t have enough space for ample air circulation.
After decades of growing snap and snow types, I make it a point not to touch the leaves when they’re wet from the rain. It seems like even the lightest brush will cause peas to get bean rust.
It’s caused by the fungus Uromyces appendiculatus and will trash your snow peas, starting with the leaves and eventually killing the whole plant.
The key to preventing bean rust is rotating your crops so you don’t grow peas or any other legumes in the same spot without a two-year break in between.
The fungus can live in soil for several years, even without a host plant. When one type of legume develops bean rust, the fungus will overwinter in the soil and reemerge to attack other legumes growing in that spot for the next year or two.
If you get bean rust, the only remedy is a bummer: You have to remove and destroy the affected plants. So be sure to rotate your crops, okay?
The other most commonplace diseases to avoid are powdery mildew, damping off, and root rot.
A handful of pests might make themselves known, too.
Rabbits, deer, squirrels, and the like can’t help but notice that you’ve provided this tasty, tender early crop – and they don’t know it’s not for them, do they?
You can protect the seedlings from herbivores with row cover until they begin to bloom and need pollinating, or wrap them with bird netting.
Insects won’t usually bother the peas until later in the season, and your best hope there is that they’ll be growing so well they can withstand a bit of insect damage.
Aphids are the most common. Learn how to detect, prevent, and combat them in our guide.
You can also pick up more pointers on avoiding and treating pests and diseases in our guide to growing snow peas.
Harvest and Storage
In the season replete with pungent spring onions and spicy greens, it’s nice to have sweet, mild peas to harvest in still-chilly weather.
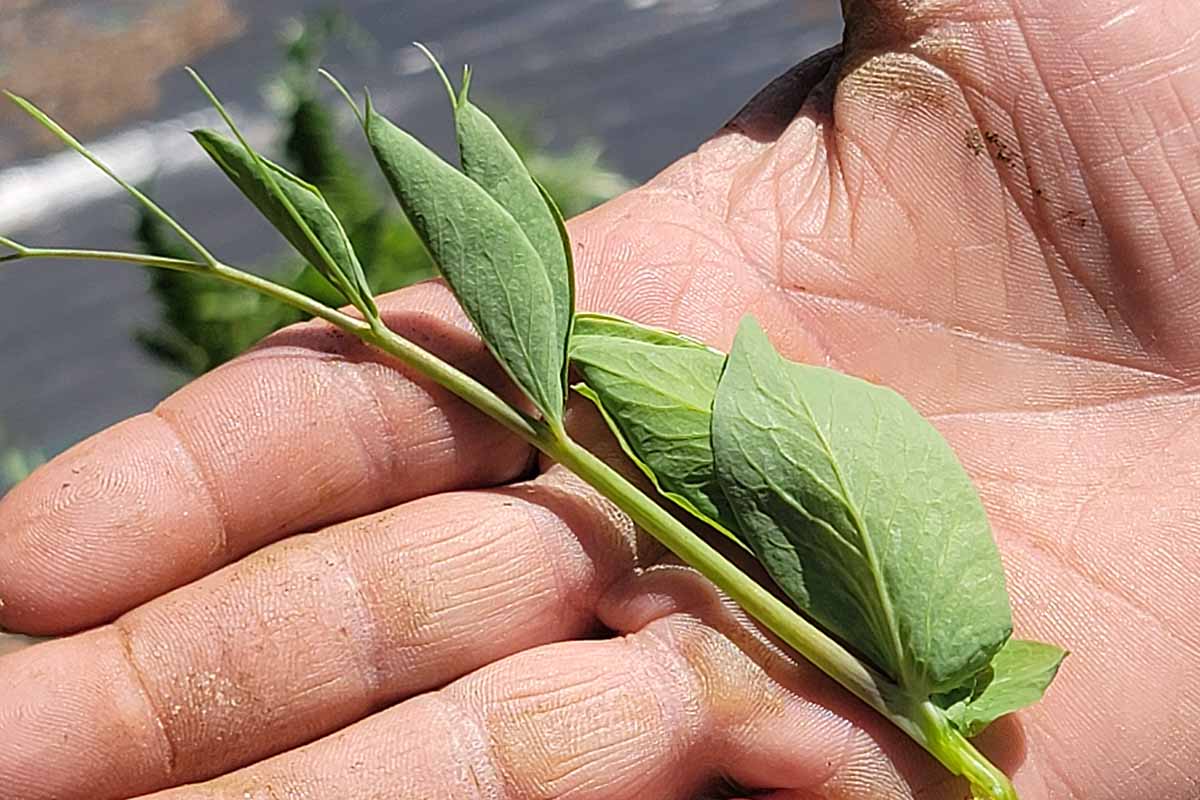
Even if you’re not growing ‘Dwarf Grey’ expressly for shoots, you can harvest a couple once the plants are at least four inches tall.
You’ll want to leave behind at least one pair of true leaves while harvesting the tops – both the stem and the leaves together.
You can pinch off a few inches of each vine tip using your fingers, but I recommend using clean scissors instead, so you don’t inadvertently pull the plants up by their shallow roots at the same time.
If you are growing the peas just for the shoots, you can harvest them a few at a time and leave the true leaves behind to grow more shoots. Or, you can cut the whole bunch at the soil line in one fell swoop.
Be sure to till the remains into the soil, or put the soil and debris into the compost.
The first shoot harvest will yield just one per plant, while a subsequent harvest of two or three vine tips per plant should be possible two or three weeks after making your initial cuts.
You can nibble these shoots while strolling through the garden or add them to salads or cooked recipes while they’re freshly picked.
I encourage you to harvest shoots only as you need them, but if that’s not possible, you can store them for a couple of days in the refrigerator. Just make sure the temperature isn’t below freezing or they’ll immediately wilt and get slimy.
To encourage them to last longer, remove any yellow or damaged leaves ahead of time, wrap them in a paper towel, and slide them into an open zipper-lock plastic bag ahead of storing them in the veggie crisper.
If you need to rinse off some dirt, do that only right before you cook them so they don’t get mushy.
Snip edible flowers right after they open, and try to eat them or use them as a fresh ingredient immediately. Otherwise you can store them for a few days in the fridge using the same process you would for shoots.
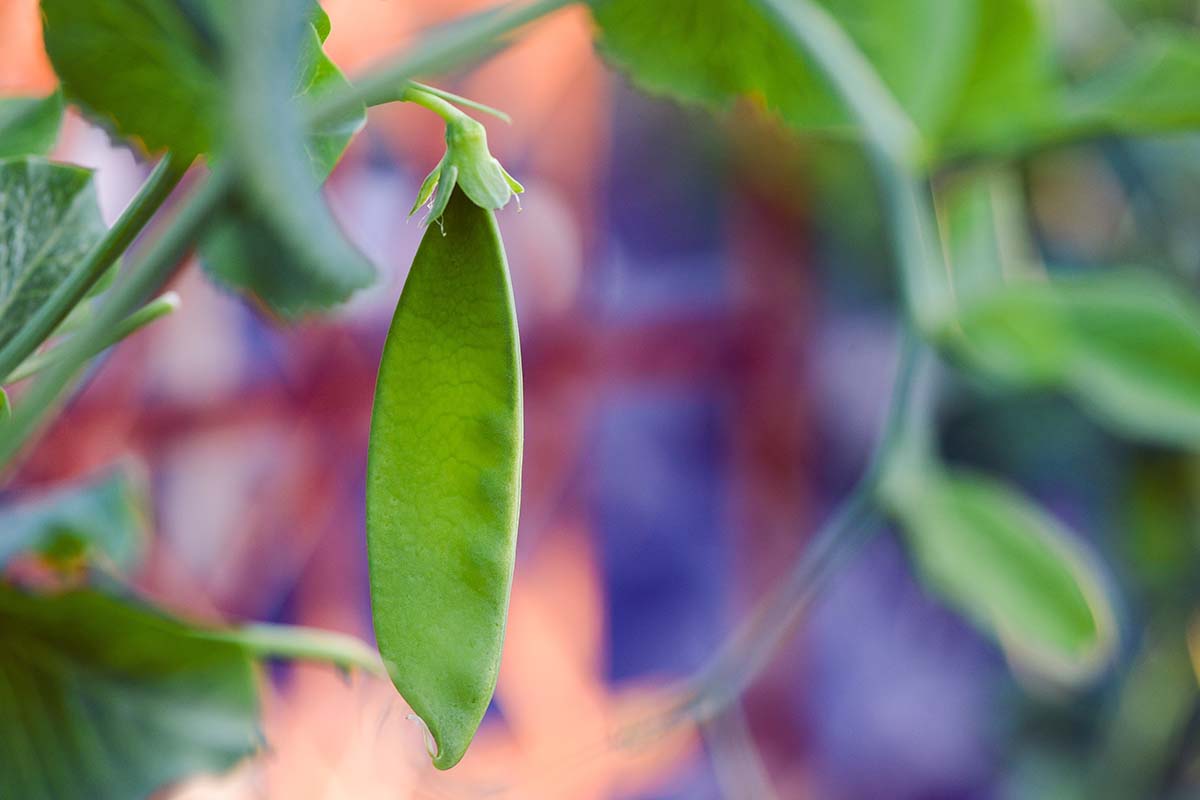
When your top goal is a hefty harvest of pods, you’ll want to mark your calendar or set a cell phone reminder for 57 days after you sow.
That way, you can start looking for the pods and enjoy them at peak flavor and before they’re stringy.
Pick them when they’re bright green and about two to two-and-a-half inches long, and while they’re still flat, without the protruding seeds that indicate overripe snow peas.
I’d use scissors for the harvest, but you can pinch the pods from the stems with your fingers. Keeping them picked encourages new pods to form.
Ideally, you’ll be able to pick them right ahead of cooking or fresh eating, but you can also store them using the same paper-towel-and-plastic-bag-in-the-fridge method you would for the shoots or blooms.
Speaking of cooking, stick around for some preserving and recipe inspiration.
Preserving
Flat ‘Dwarf Grey’ snow pea pods don’t lend themselves to dehydrating or pickling, but you can freeze them.
Make sure to blanch them first, tossing them in boiling water for 90 seconds, draining them, and then plunging them into ice water for two minutes.
Then drain them a second time and lay them flat on a clean, dry dish towel to dry thoroughly.
Freeze them in a single layer on a sheet pan and then place the individual frozen pods into freezer zipper bags or airtight containers. Put them back in the freezer until you’re ready to use them.
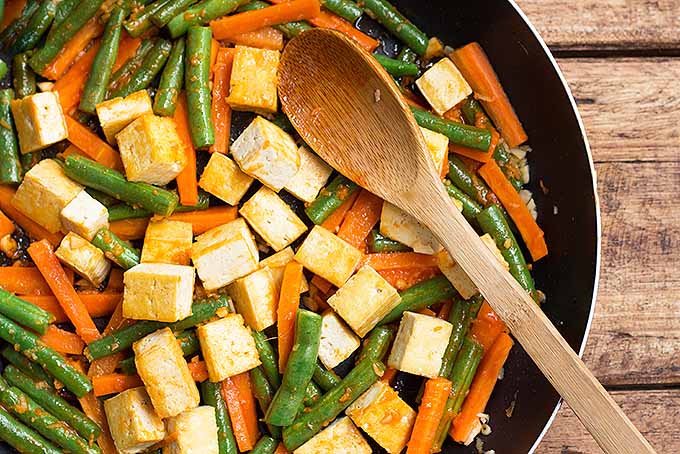
You can also freeze them as an ingredient in a stir fry like this recipe for sriracha tofu vegetable stir fry from our sister site, Foodal.
Substitute snow peas for about half of the green beans called for, and add them at the end of cooking.
Of course, you may end up eating all you grow while they’re in season, as we’ll discuss next!
Recipes and Cooking Ideas
There are so many great ways to cook with the harvest, from adding fresh shoots to smoothies, to garnishing soups and frosted cakes with their pretty blooms, to steaming the pods for a fresh side dish.
I enjoy eating the fresh pods with horseradish dip or hummus, or I like them slit lengthwise and stuffed with cream cheese and chive filling.

I also like slivering the pods and adding them to a coleslaw, like this recipe from Foodal.
And they’re a substantial addition to dinner salads. I love their green color and crisp texture added to Foodal’s recipe for asparagus, snow pea, and black-eyed pea salad.
They live up to their reputation as a standout ingredient in Asian foods, too. But don’t take my word for it – cook Foodal’s Asian chicken cabbage stir fry and see for yourself.
If you bring the pods into contact with heat, you’ll need to follow a few guidelines.
For one, never add snow peas to a long-cooking recipe like stew or vegetable soup. They tend to get mushy, yellow, and cabbagey after simmering for more than a couple of minutes.
If you want to include them in your soup or fried rice, add them in the last minute of cooking – literally.
They’re tasty in pasta salad, too. It’s best to blanch them for just a minute in boiling water and then refresh them in ice water so they’ll keep that lovely bright green color.
Then be sure to drain them before adding them to chilled dishes.
Quick Reference Growing Guide
| Plant Type: | Annual legume | Tolerance: | Clay or sandy soil, fusarium wilt, light frost |
| Native To: | Asia, Europe | Maintenance: | Moderate |
| Hardiness (USDA Zone): | 3-11 | Soil Type: | Average |
| Season: | Late spring, early summer, early autumn | Soil pH: | 6.5-6.8 |
| Exposure: | Full sun | Soil Drainage: | Well-draining |
| Time to Maturity: | 10-21 days (shoots), 57-65 days (snow peas) | Attracts: | Flying pollinators |
| Spacing: | 12-18 inches (rows); 2-3 inches (seeds); 1 inch (shoots) | Companion Planting: | Basil, brassicas including broccoli and kale, carrots, lettuce, marigolds, potatoes, radishes, spinach |
| Planting Depth: | 1 inch (seeds) | Avoid Planting With: | Garlic, onions, other alliums |
| Height: | 24-36 inches | Order: | Fabales |
| Spread: | 6-12 inches | Family: | Fabaceae |
| Growth Rate: | Fast | Genus: | Pisum |
| Water Needs: | Moderate | Species: | Sativum |
| Common Pests and Diseases: | Aphids, armyworms, cutworms, leafhoppers, pea weevils, spider mites; bean rust, damping off, pea enation virus, powdery mildew | Cultivar: | Dwarf Grey |
The Little Snow Pea That Could
‘Dwarf Grey’ snow peas are one of the vegetables helping me meet my goal of growing and harvesting at least half of the food I cook and eat each day.
I haven’t reached that level yet, but planting this variety that grows in chilly weather and produces shoots, blooms, and pods for consumption is another step in the right direction.
Watching the wizened, hard seeds I have sown grow into lush plants with crisp pods is almost as beneficial to my mental outlook as the tasty legumes are to my sustenance.
Are you a fellow ‘Dwarf Grey’ fan, or do you have a question about some aspect of planting and growing this variety that wasn’t addressed above? We welcome your comments in the section below and will respond quickly if you need more info.
If you found this guide helpful and need more legume advice in your life, check out these pea guides next: