Growing beans at home in the backyard garden can be a real confidence-booster when you are a beginning gardener.
But if you pick your crop too early, your harvest will feel a bit insubstantial. If you wait too long, on the other hand, you will end up with a mouth full of unpalatable stringiness.

We link to vendors to help you find relevant products. If you buy from one of our links, we may earn a commission.
In this article, we’re going to look at a few ways to determine when beans are ready to harvest, as well as a couple of easy techniques for removing the pods from the plants.
If you’d like a review of the entire green bean growing process, make sure you read our complete guide.
Here’s what we’re going to cover in this article:
What You’ll Learn
Estimate Your Harvest Date
To get an idea of when your crop will be ready to pick, you might want to start by estimating your harvest date. You can do that by referring to the cultivar’s number of days to maturity.
You should be able to easily find this information for your cultivar on your seed packet.
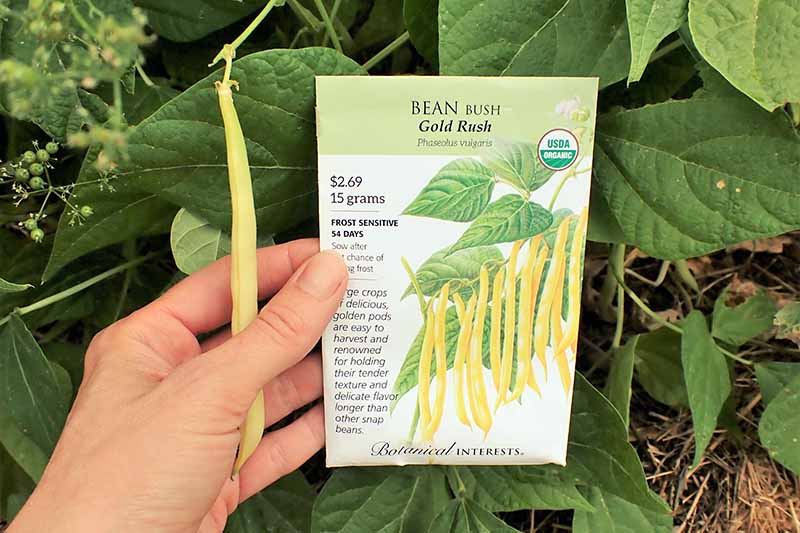
For instance, my organic ‘Gold Rush’ beans, which you can grow from seeds available at Botanical Interests, should be ready to pick 54 days after I pushed the seeds into my lovingly amended soil.
The number of days to maturity for these legumes generally ranges from 45 to 75 days, depending on the variety. Bush cultivars tend to be faster to mature, while pole types are generally slower.
Once you locate the number of days to maturity on your seed packet, take this number, and count ahead from your sowing date to arrive at your estimated harvest date.
You may want to note this date in your garden journal.
Of course, knowing this is only helpful if you made a note, mental or otherwise, of your sowing date.
If you just don’t remember exactly when you buried your beautiful seeds in the soil, no worries, there are other ways to gauge readiness.
However, having this date in mind can be helpful in case you are planning to take a summer vacation, for instance, and want to make sure you are home during prime bean picking time.
You don’t want to leave all the fun to your garden-sitter, do you?
Keep an Eye Out for Flower Buds
There’s another way for you to estimate the arrival of your fresh pods once your plants are flourishing – be on the lookout for the tell-tale sign of blossoms on the plants.
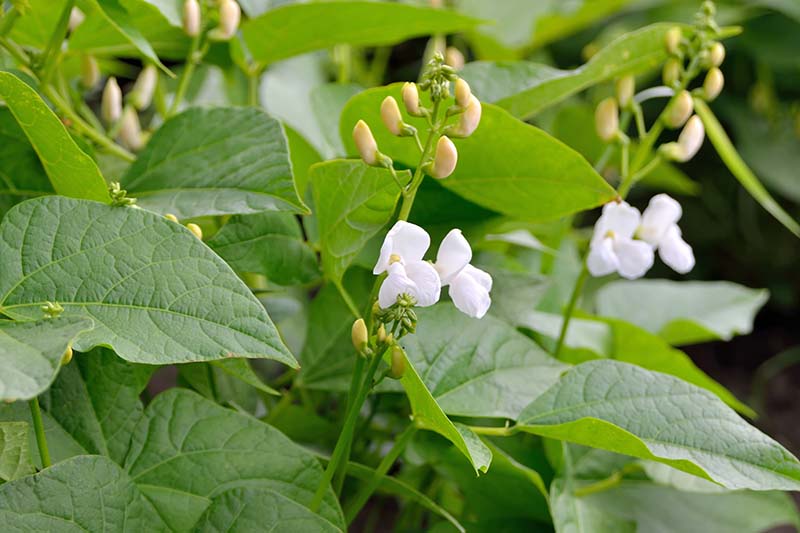
You’ll know your crop is getting close to being ready when you start to see flowers.
Once these blossoms show themselves, your pods will only take one to two weeks to grow to a harvestable size.
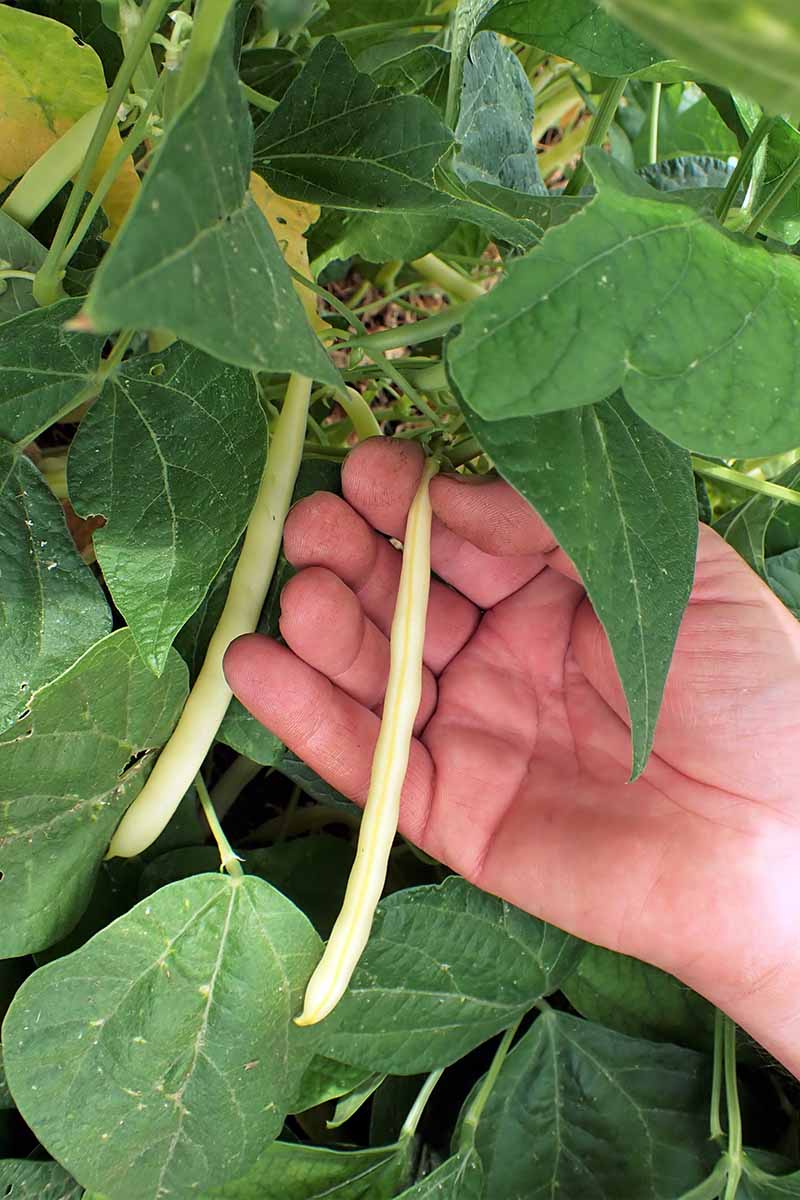
Calculate Pod Length
In addition to days to maturity, seed packages sometimes also specify how many inches long the pods should be at picking time.
This length may range between four to eight inches, depending on the variety.
This piece of information can be helpful because one cultivar may get stringy and tough at six inches long, while another may stay tender at seven inches in length.
We gardeners are a thrifty lot – why pick beans at five inches if we can pick them at seven without sacrificing flavor or texture? So get out that ruler!
Once your flower buds turn into small pods, keep your eye on them and keep this ideal length in mind.
Don’t be afraid to get out there and measure – small variations can make a big difference, and eyeballing mature size isn’t always best.
Know What to Look For
Let’s say you don’t have an estimated harvest date in mind, and you don’t know the ideal pod length for what you’ve planted.
All of a sudden, there are pods on your plants, and you don’t know if they are ready or not.
What to do?
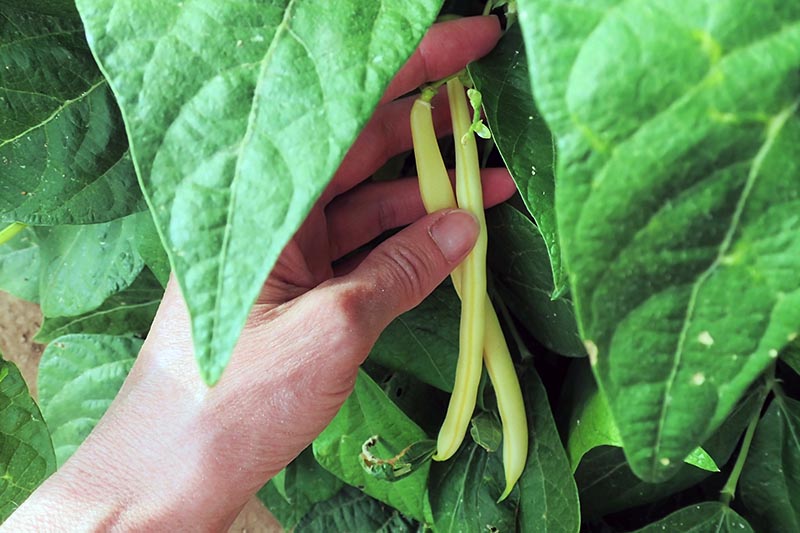
This is when you need to know what you’re looking for based on general features of snap type beans at their peak of ripeness.
Remember these three words when inspecting your crop for readiness: long, firm, and crisp. When your pods are ready to pick, they’ll feature all three of these qualities.
Beat the Bulge
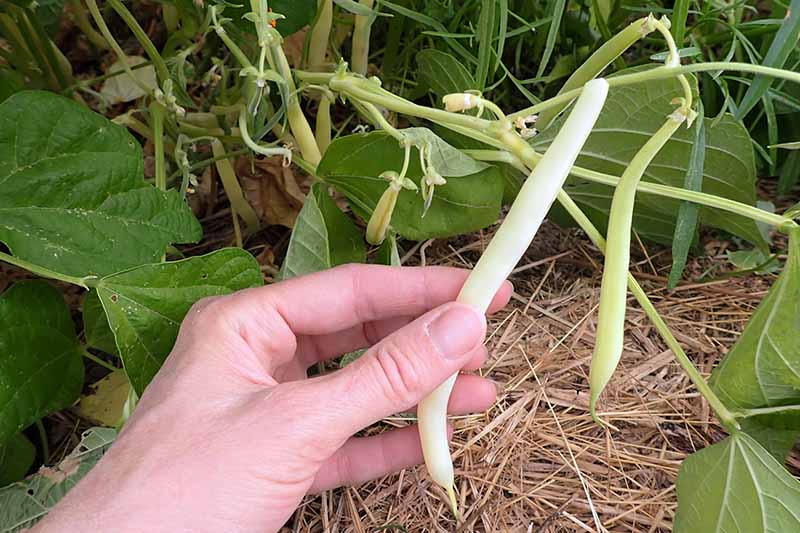
You’ll want to let your crop size up, but don’t let it size up too much.
If you wait too long to harvest these legumes, you will notice the seeds inside the pods start to bulge.
When this happens, creating some curves in a previously straight pod, your crop has passed the ideal picking time.
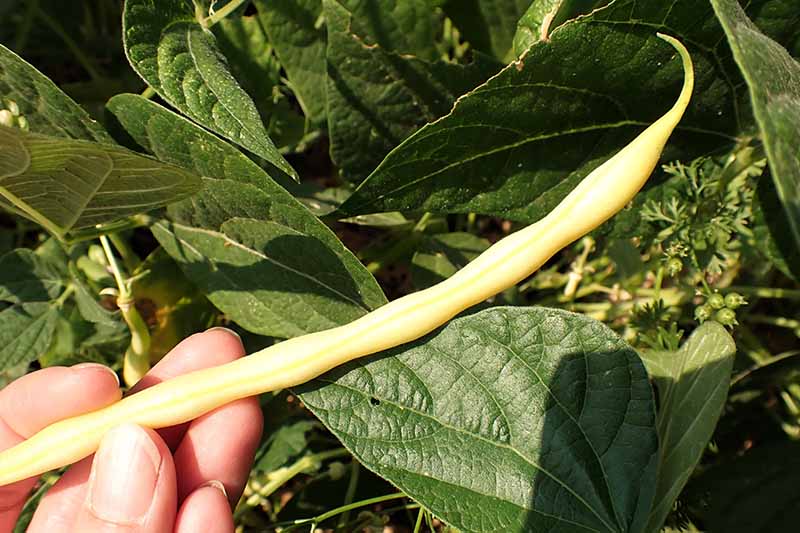
Most cultivars will start to become fibrous at this point, and begin to lose some of their flavor as well.
Here’s why that is:
With fresh snap beans, we aim to pick them before the seeds reach maturity, when the pods and seeds are still tender. At this stage, the seeds are not yet fully developed, so they are not viable or able to grow into a new plant.
As the seeds mature, the pods containing them will become inedibly tough and fibrous, and will eventually dry out.
When the seeds reach full maturity, determinate plants will stop producing and die.
If you want to encourage your plants to produce more beans, that means you need to keep picking them, and don’t let the seeds within any pods reach full maturity for the best quality.
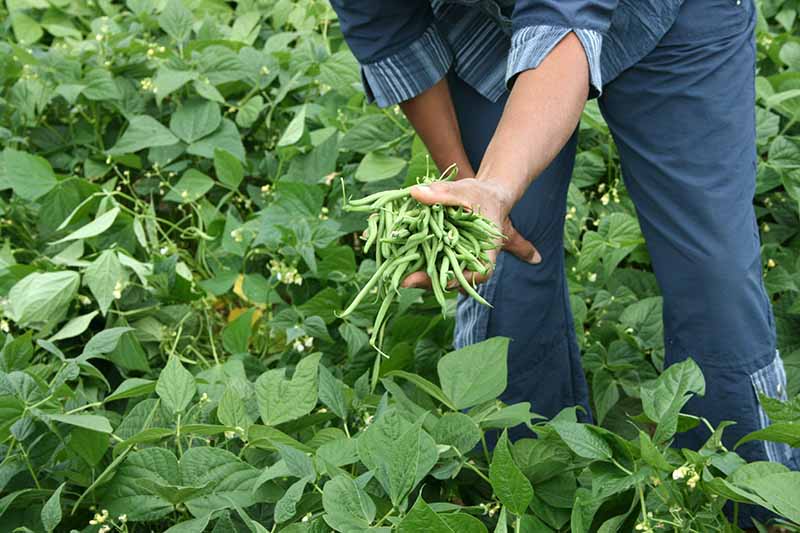
Pinch or Cut Your Crop
Once your crop has sized up and it’s time to start your harvest, first check your bean patch. Is the foliage dry?
To prevent disease spread, try to avoid harvesting when plants are wet, such as after rain showers, supplementary irrigation, or when early morning dew is present.
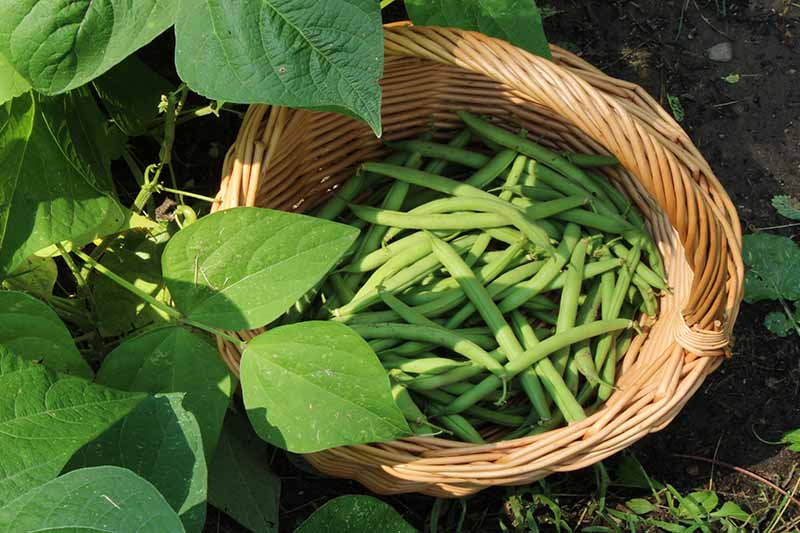
Once your plants are dry, grab a bowl or basket, and a clean pair of scissors or garden snips.
If you’re going to use your pods right away, you can put your scissors to the side and employ the pinch method.
Grab a bean right below its stem between your thumb and index finger. Press, and the bean will come right off. Easy-peasy! Or should I say, easy-beansy?
This technique is very similar to the one used for deadheading marigolds and will save you a step in the kitchen – there will be no tedious work of removing stems from the ends of the beans.
Plus, pinching them off between your fingers is a snap – pun fully intended.
On the other hand, if you want your beans to keep longer in the fridge, use a pair of scissors and cut off some of the stem with the pod.
Keeping a bit of the stem attached will help these veggies last longer in storage. That’s all there is to it!
Now that you have a haul of your own garden produce ready to cook up, why not explore some recipe ideas?

Personally, I love the creativity of using fresh legumes instead of dried ones in this recipe for green bean tacos with goat cheese crema. You’ll find it on our sister site Foodal.
Your homegrown legumes can also serve as the fresh stars of a homemade three-bean salad. You can find this recipe on Foodal as well.
Pick Your Own at Home
You now have a few different ways to determine when it’s time to pick your bean crop, as well as a couple of picking techniques that you’re sure to master quickly.
Are you celebrating your very first bush bean harvest? Or are you an experienced gardener with your own nifty tips or tricks for picking these legumes? Either way, we’d love to hear about it in the comments section below!
And for more information about growing beans in your garden, check out these guides next:


Hi, I think you did a great job on this and it was really helpful to read this on how to harvest beans. As I wouldn’t have known if you didn’t make this article for me! Thank you so much! One question I have is a way to tell when your beans are crisp, as I find when I checked the bean’s firm and longness I didn’t feel a crisp, still deciding when it’s ready to harvest because of it. So maybe a technique to find that out would help, other than that this was very helpful and informative.
Hi there,
Thanks for the kind words on this article – I’m glad you found it helpful!
When snap beans are crisp, they will snap in half when you try to bend them. When they are not crisp, they will bend, but will not snap.
Hope this helps!