So many of our favorite dishes start with onions (Allium cepa), finely chopped, and sweating out their umami flavor in hot butter or oil.
They’re also easy to harvest and cure – get things right and you can have a self-sufficient supply that lasts for up to a year.
We link to vendors to help you find relevant products. If you buy from one of our links, we may earn a commission.
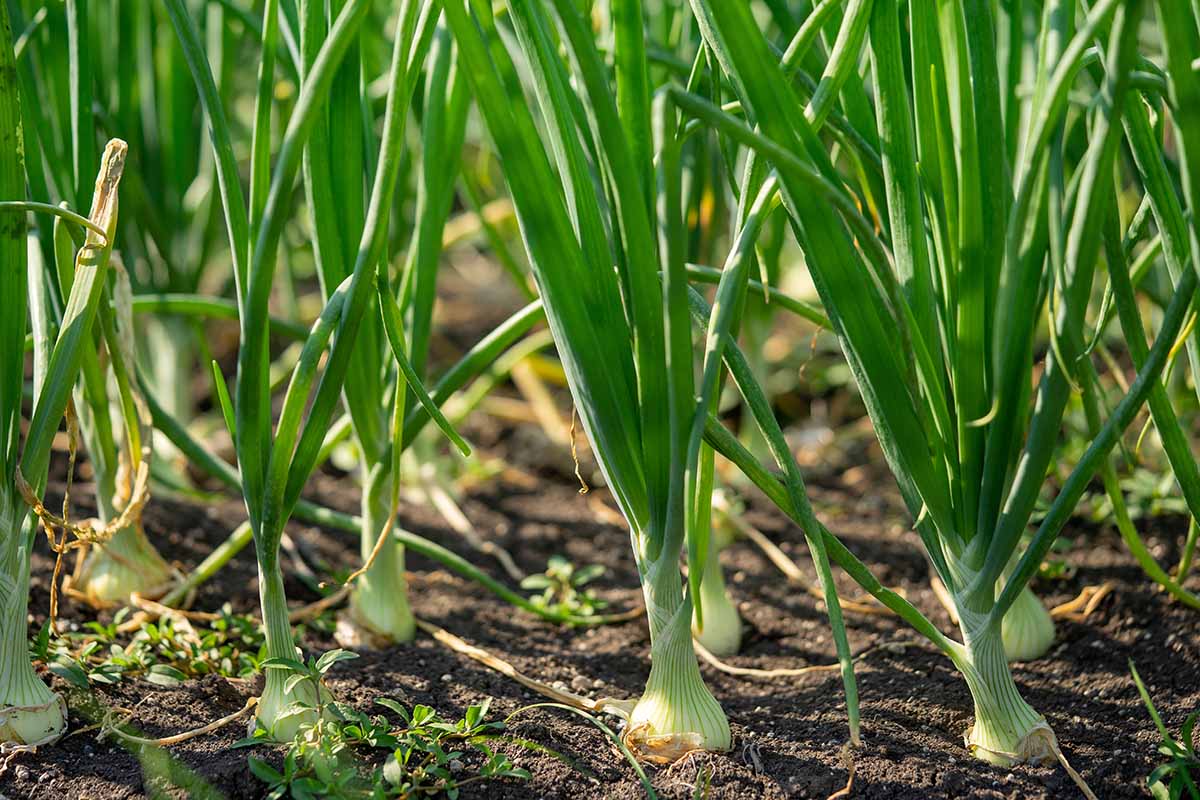
You need to get your timing right from the start for a successful harvest. Plants need long, hot days for the bulbs to swell to useful eating size. Plant them too late, and all you’ll have at harvest time is foliage with little to no bulb.
If you need a refresher, our guide to growing onions provides cultivation instructions.
In this article, we’ll go over what you need to do for a successful harvest of homegrown onions.
Here’s what’s ahead:
What You’ll Learn
When to Harvest Onions
When to harvest your onions depends on the variety you’re growing, when and how you want to use them in your cooking, and whether you want to store them long-term.
At planting time, make a note on your cell phone or in your gardening journal to remind you when harvest time approaches, based on the days to maturity for the type you select.
Green Onions
These are A. cepa varieties, harvested when the bulbs are immature. Depending on where you live, they may also be called spring onions or sometimes scallions.
Confusingly, in some places, the term “scallions” is also used to describe a different allium variety, A. fistulosum, aka bunching onions. These plants don’t form bulbs and cooks chop up their hollow tops to add a crisp, mild onion taste to a dish.
For more information about how to harvest bunching onions, check out our guide.
You can harvest immature A. cepa tops and use them in the same way once they’re over four inches high.
However, if you want the plant to keep growing for its bulb, limit how much foliage you remove to a few snips. The taste of their foliage is slightly more sour with less bitterness and sweetness than A. fistulosum.
To harvest green onion bulbs, wait until the plant is about six to eight inches tall and the main stalk is half an inch wide. This will be about 21 to 30 days for direct-planted sets (small bulbs that then sprout), to around 50 days or more if you sow from seed.
When harvested at a young age, the bulbs don’t have time to form a papery skin so there’s no need to peel off the outer layers – you can use the whole thing.
The flavor is milder than mature fresh or storage bulbing varieties and can be used raw in salads.
Use these within a few days as they don’t store well.
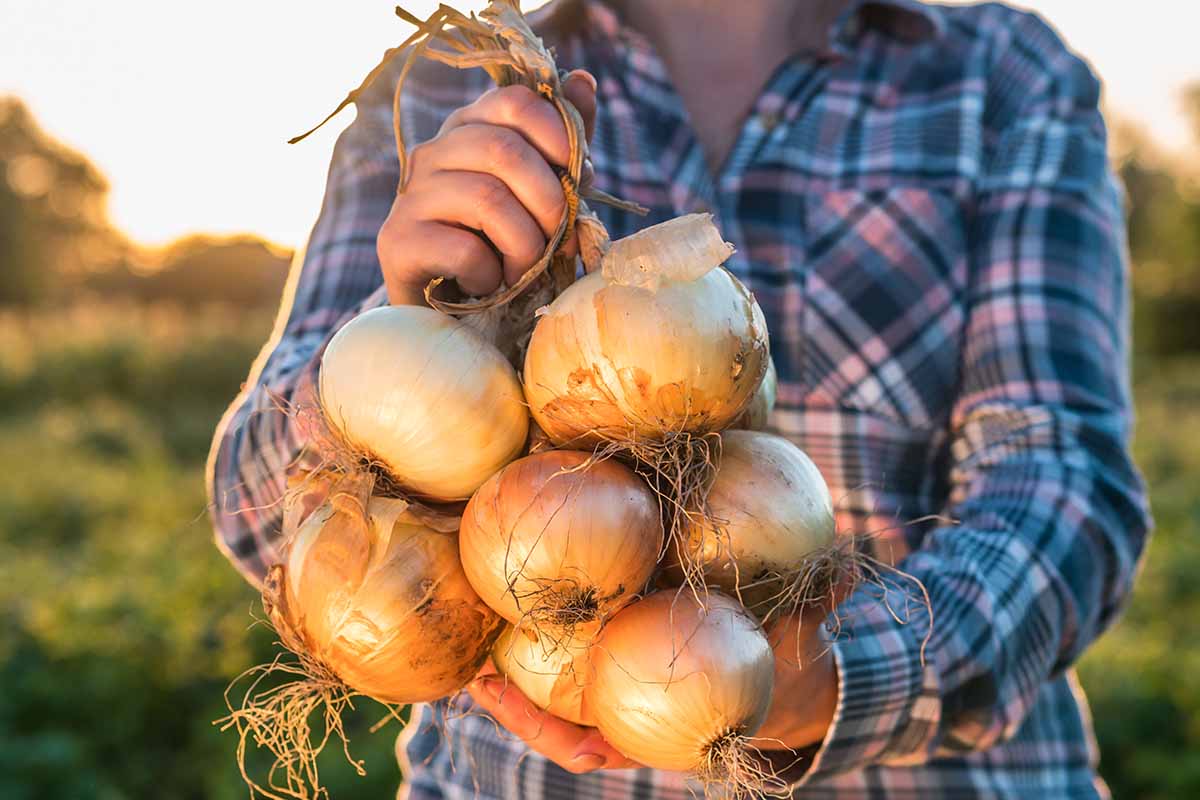
Storage or Bulb Onions
Storage types are also known as “dry onions” because you can cure (or dry) and store them for use over several months, some for up to a year.
These tend to be “long day” varieties that need at least 14 hours of full sun.
If the growing season has a lot of overcast skies or cool temperatures in your region, bulbs won’t grow as fast and may take longer to mature. They’re typically ready in anywhere from 80 to 200 days, depending on the variety.
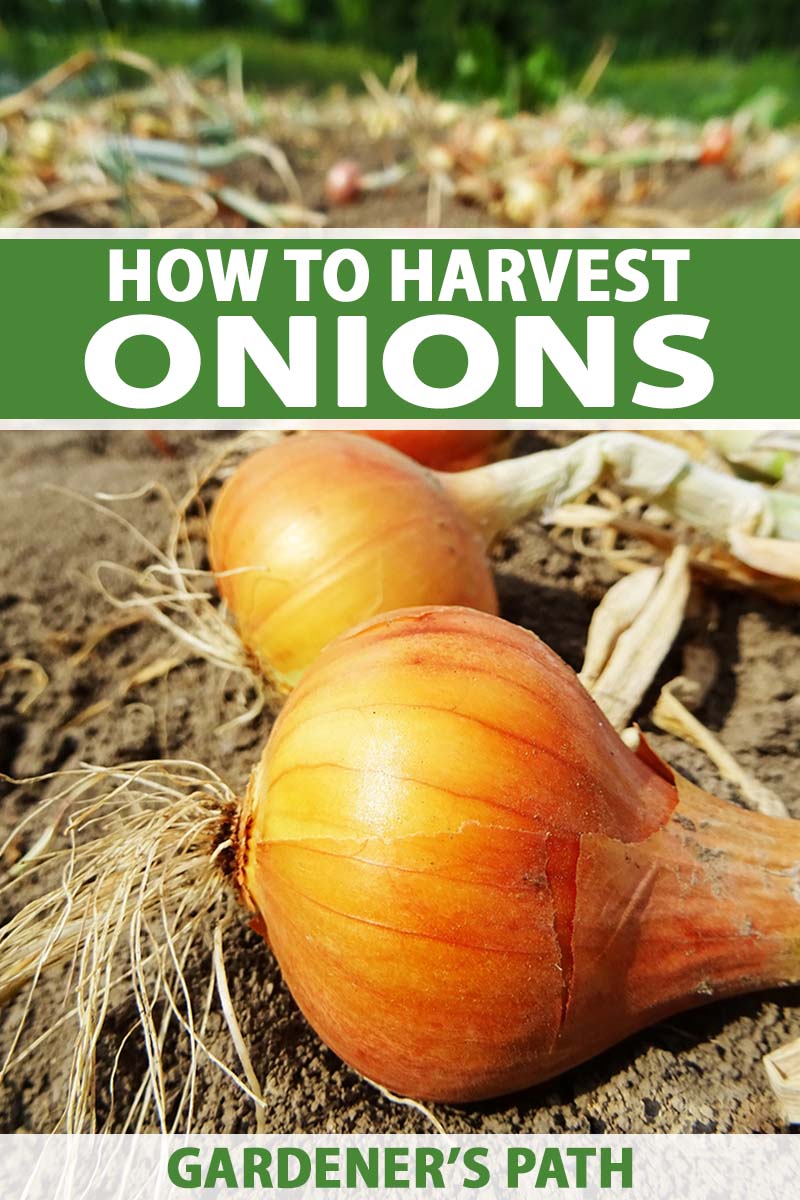
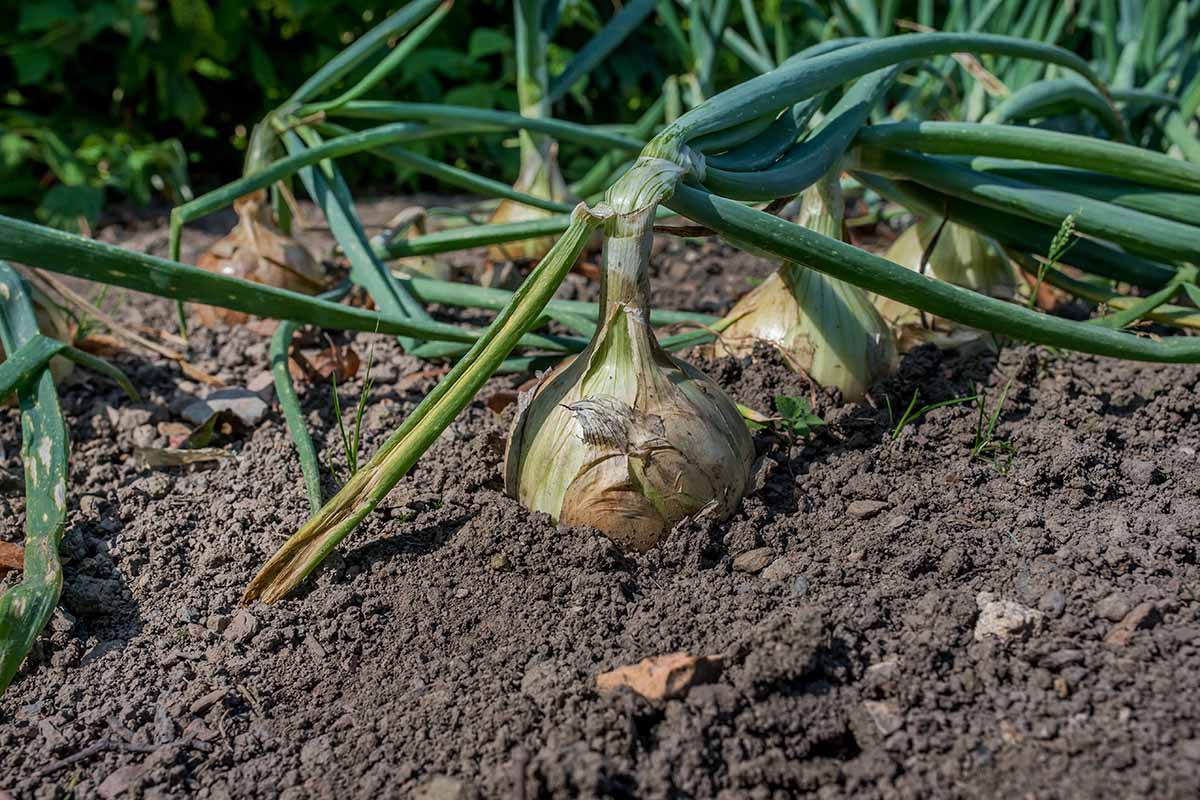
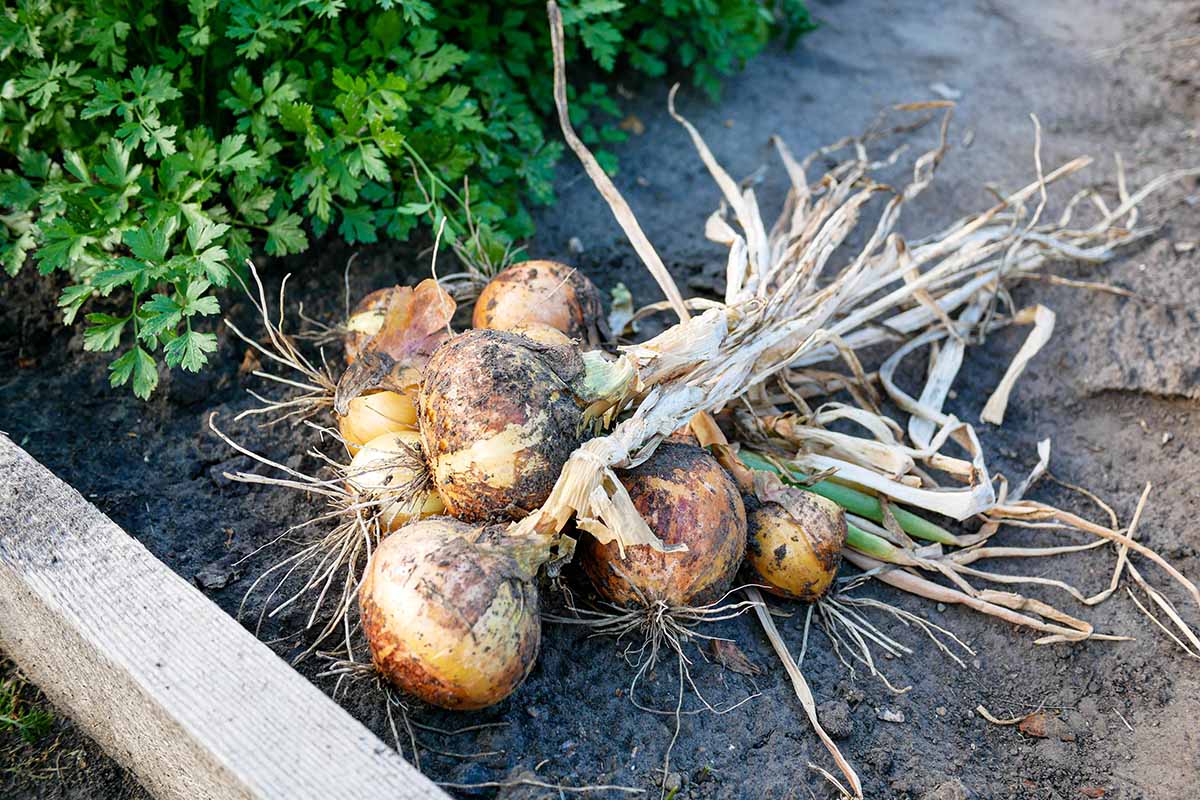
Onions are typically harvested late summer, depending on the variety you grow and when you plant them.
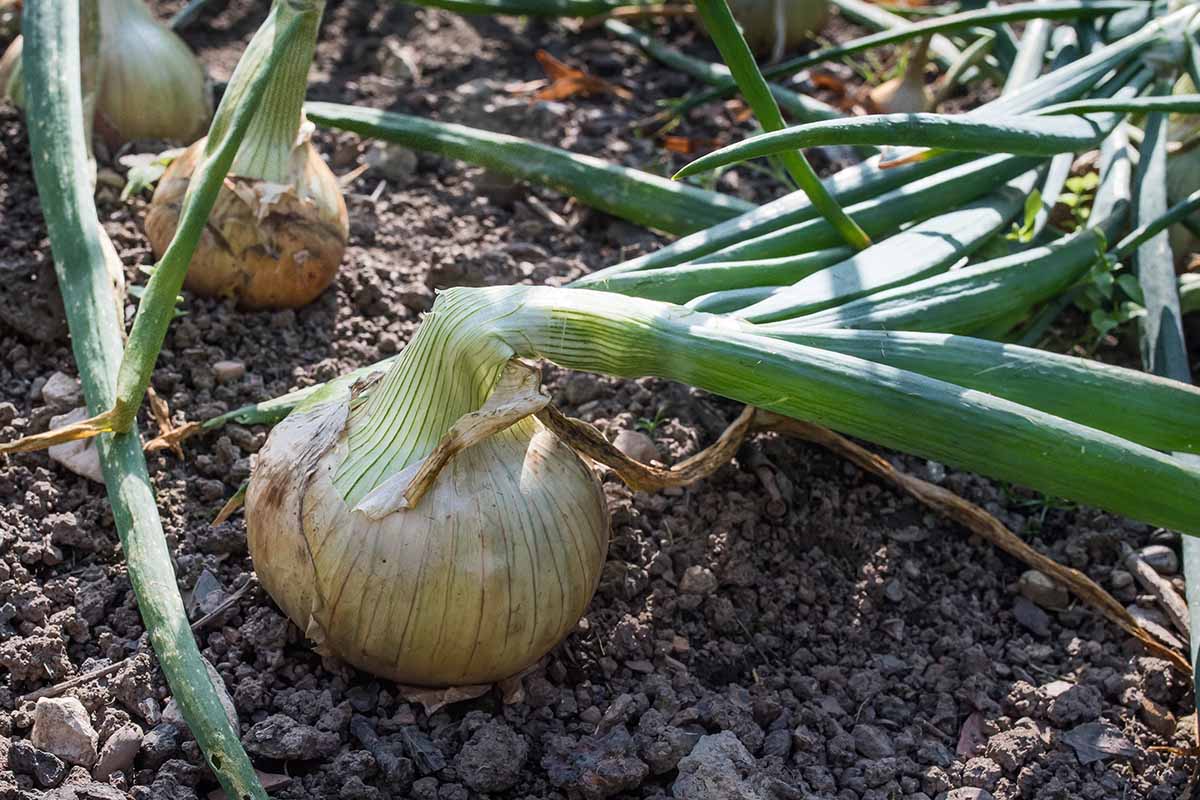
The green “tops” will tell you when the bulbs are ready to gather. They start to turn yellow and weaken over the course of a week or two, eventually falling over.
Some experts recommend starting the harvest when around half of the tops have fallen over; others say to wait until they’re all flat.
Research performed on commercial farms suggests it’s better to wait until 60 to 70 percent of the tops are down for an optimal harvest, with a 30 to 40 percent increase in yield compared to waiting until all the tops fall.
Harvesting too early carries the risk that bulbs may be too high in moisture. This makes curing more difficult and means the bulbs are more likely to rot during storage.
The biggest issue that may affect what day you harvest is the weather. As the foliage turns yellow, you need the soil to start drying out, and then to remain dry until the bulbs are harvested to avoid issues with rot.
Slowly reduce irrigation when the tops change color and watch for rain. If rain is forecast close to your planned harvest day, it’s better to harvest slightly earlier so the bulbs remain dry.
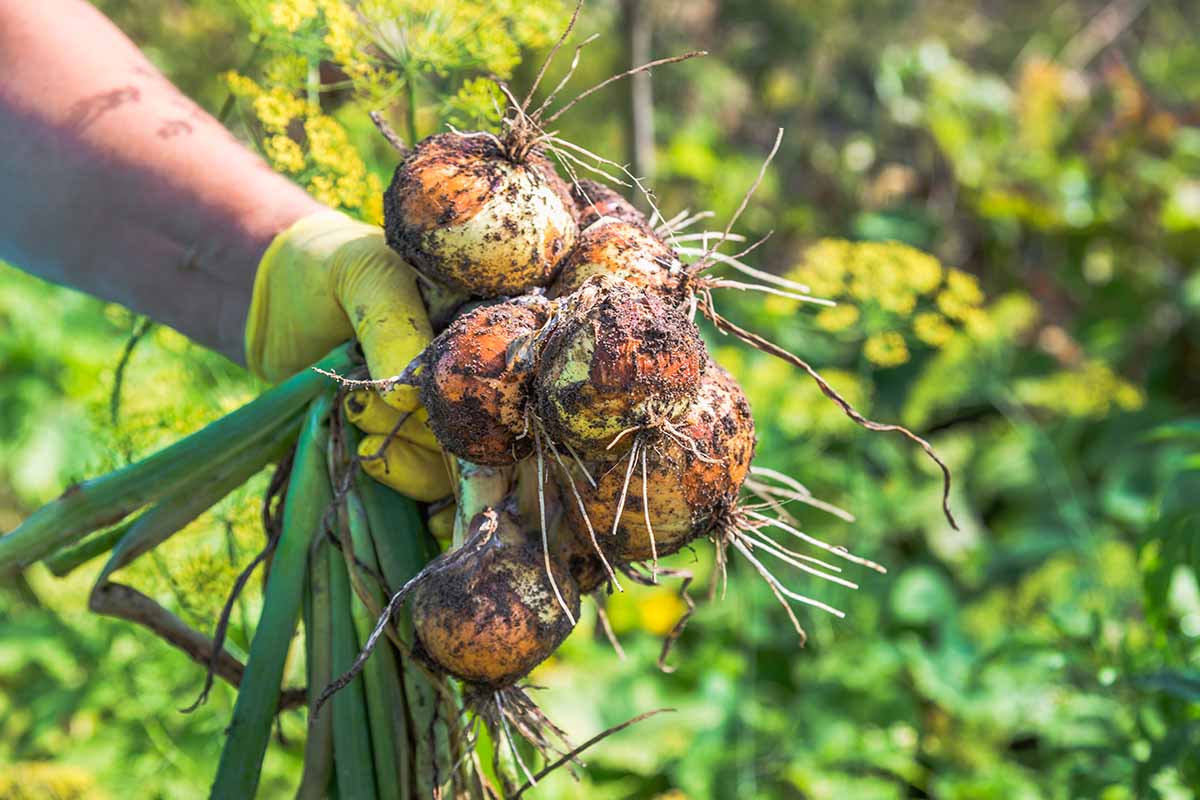
How to Harvest
If you have perfect, crumbly soil, you may be able to simply grasp the tops and pull the bulbs out.
However, as tops dry out, they become weak and may break off when pulled. You need the tops to stay intact at this stage, as they help to prevent any pathogens from moving down into the still-soft green tissue in the neck.
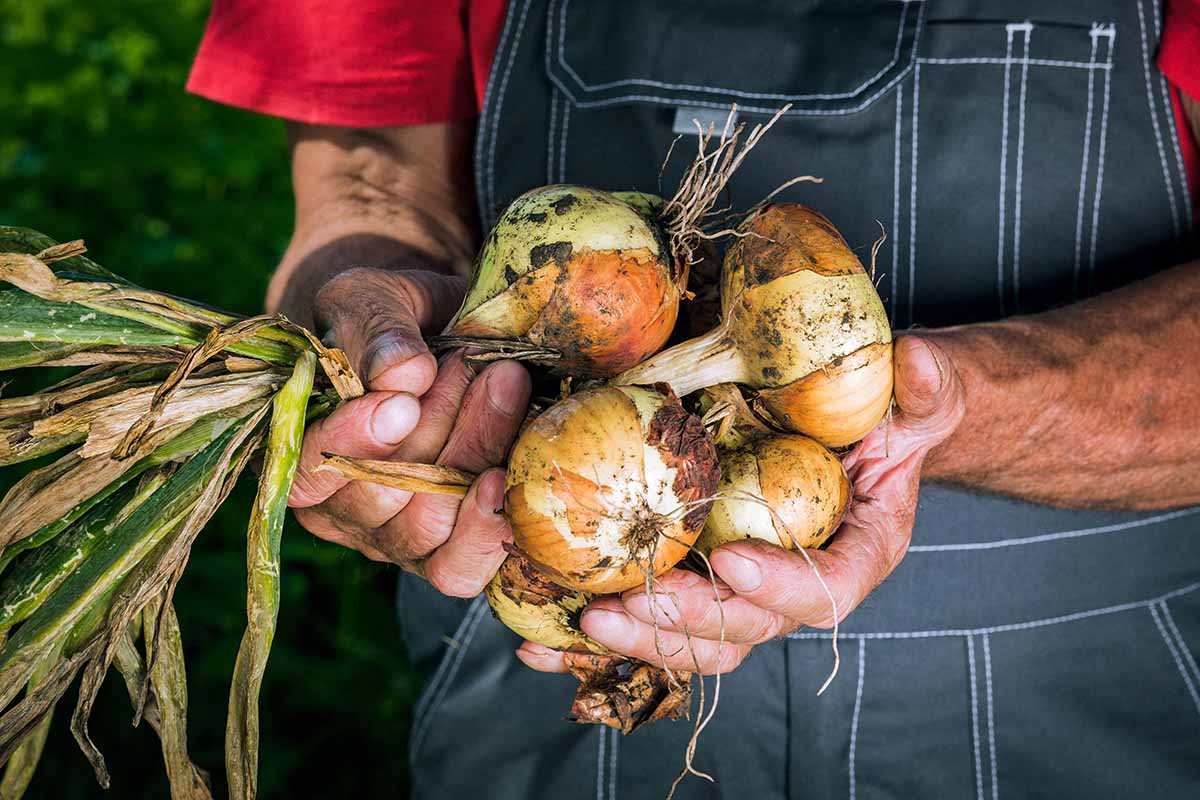
The best option is to use a garden fork, potato digger, or spade to lift the bulbs. Cut through the soil underneath the bulbs, then lever upwards until the onions are above ground level. Shake off any excess soil.
Be careful handling freshly dug bulbs, as even a slight nick or small bruise can encourage rot later on – if any are damaged, use them in cooking straight away instead of storing them.
How to Cure Onions
Curing or drying is important if you want bulbs to store well over a long time.
Onion bulbs are made up of scales that layer over each other to form their oval to round shape. Curing helps prevent rot affecting the neck and inner scales and is responsible for the brown coloring on the outer scales.
If you’re enjoying dry, warm weather, leave the bulbs lying where they fall as you harvest. If it’s dry and not too humid, you can leave them outside for a few days, or for up to a couple of weeks as part of the curing process.
If you’re caught out by a rogue shower, don’t gather them up until they’re dry as handling wet bulbs can spread disease and may damage the outer scales.
If unreliable weather conditions make it too risky to cure outdoors, you can use a well-ventilated shed, garage, porch, greenhouse, hoop house, or spare room. Spread the onions out on mesh, netting, or slatted racks so air can circulate around each bulb.
Don’t dry those that have damaged outer scales or thick necks as they’re likely to rot in storage.
Damaged areas emit moisture which encourages disease, and thick necks are very difficult to dry properly due to their density. In both cases, you can still cook them – just use them immediately.
Onions are dry enough to store when the outer scales are papery, the tops are shriveled, the roots are wiry, and the neck is tight and showing no signs of green. To check the neck is dry right through, roll it between your fingers – the tissue shouldn’t slide.
The neck tissue must have a dry, papery consistency.
Two of the most common problems during storage are Botrytis neck rot (caused primarily by Botrytis aclada and B. allii), and other diseases that may be spread by pathogens that infect slivers of still-green tissue, entering through the neck and causing decay to the inner scales.
However, pathogens can’t move through dry tissue.
Once the crop is dry, check all the bulbs again for soft spots and mold patches. Use any affected ones immediately, along with any that are starting to sprout. The rest can go into storage.
Read more about how to store onions in our guide.
A Note on Curing in a Greenhouse or Hoop House
Greenhouses and hoop houses can be great curing facilities, so long as the temperature stays in the 68 to 86°F range.
If the temperature goes above 90°F, you may see sunscald. The outer scales will look bleached, and the bulb will go soft, creating perfect conditions for pathogens to infect the inner scales.
Remove affected bulbs and lower the temperature – this may mean having all the doors and vents open. Depending on your climate, you may need to cover the greenhouse roof or hoops with shade cloth for best results.
Enjoy Onions Year-Round
Onions are one of the most satisfying crops you can grow. You can easily harvest and keep a year-long supply and use them every day to add zing and aroma to your cooking.
The short amount of time you’ll invest in their harvest, curing, and storage will more than repay you for the rest of the year.
Are you growing onions? Let us know in the comments section below!
And for more information about cultivating alliums in your garden, check out these guides next: