Zea mays var. indentata
If you think dent corn is just boring, bland maize that farmers grind up for their animals to eat, then I have news for you: it’s so much more than that.
Dent corn (Zea mays var. indentata) is what my partner’s abuela grows in a field in Mexico, harvests, dries, and then nixtamalizes and dries again, to turn it into masa harina to make the softest, most flavorful tortillas imaginable.
This maize isn’t usually eaten in its milk stage, like sweet corn. Instead, the dent variety shines as a cornmeal base for a bevy of delicious dishes.

We link to vendors to help you find relevant products. If you buy from one of our links, we may earn a commission.
That packaged stuff from the store doesn’t even compare to fresh, homegrown dent cornmeal.
Are you convinced? Then let’s discuss how to grow this maize from start to finish. We’ll talk more about nixtamalization in the section on recipes and cooking ideas below, so keep reading!
What You’ll Learn
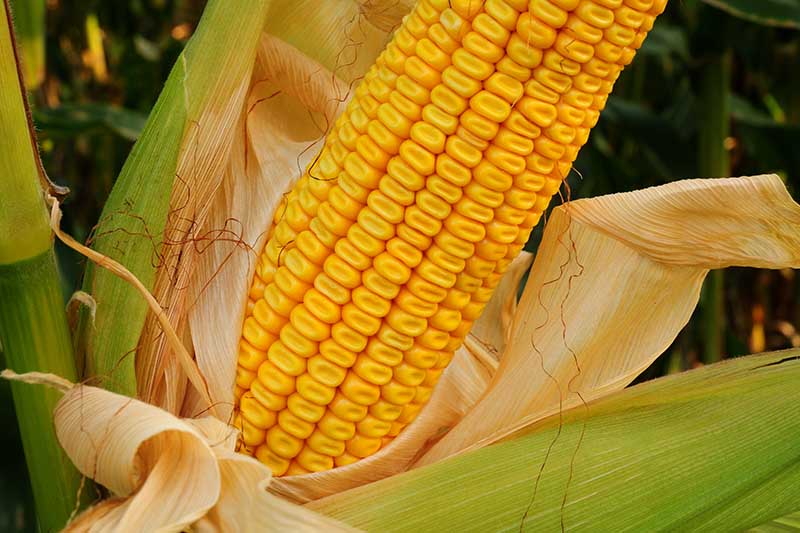
What Is Dent Corn?
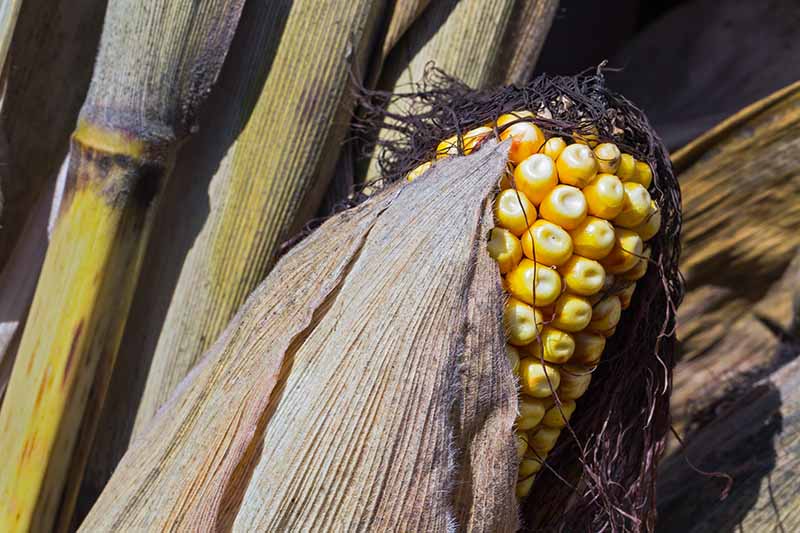
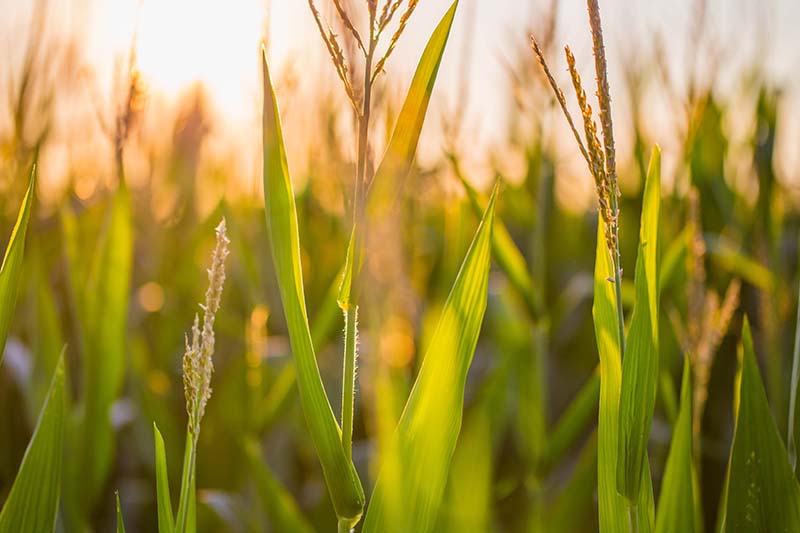
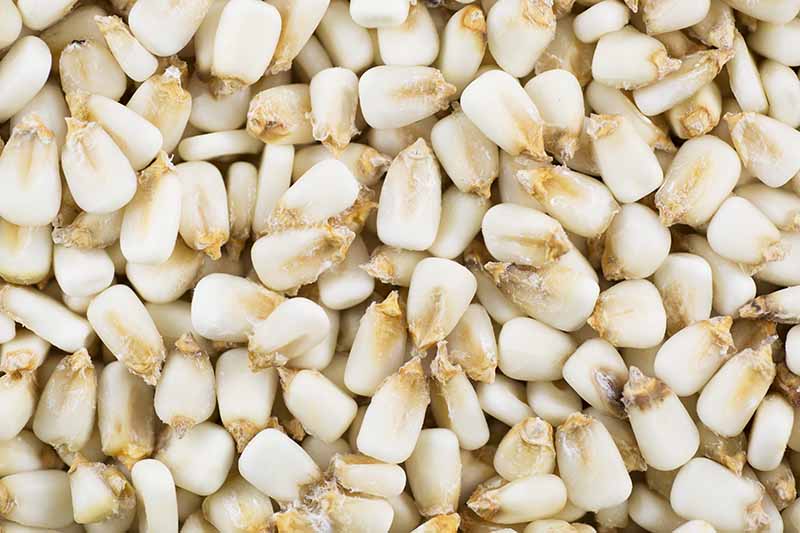
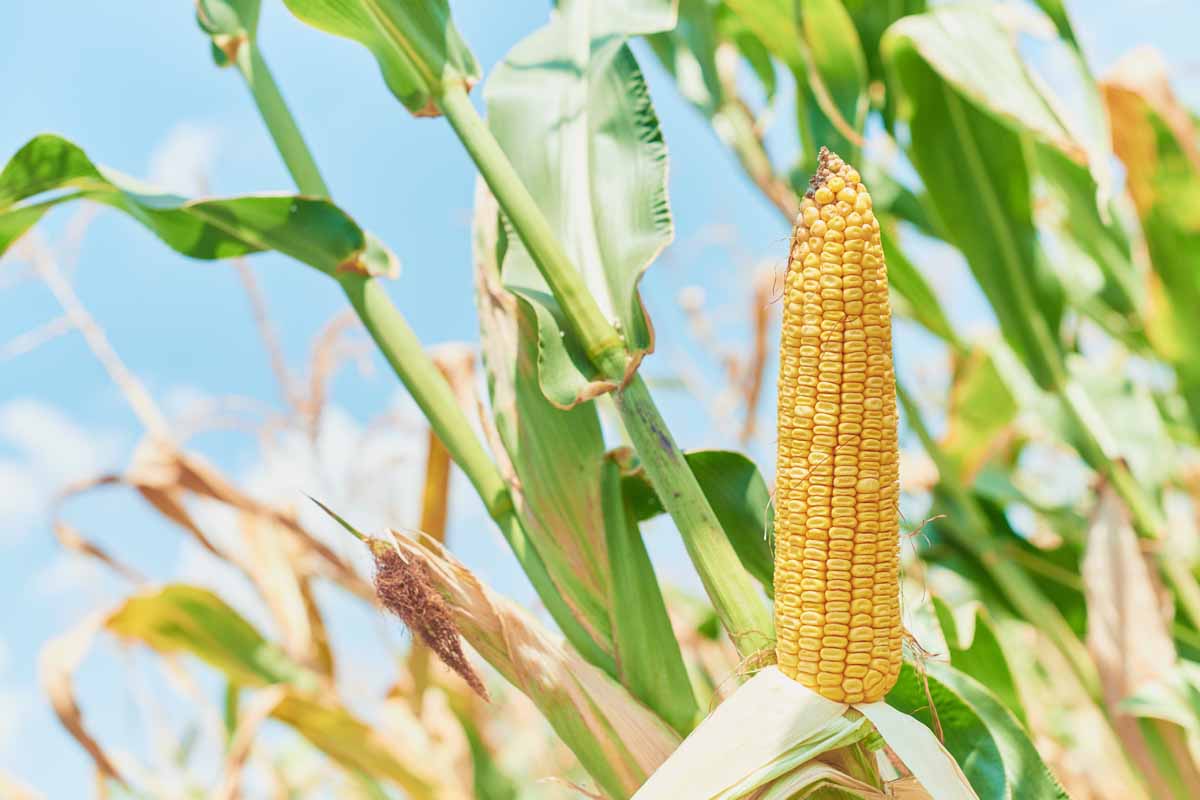
Dent corn is the most commonly grown type of maize in the United States. It’s used for making everything from animal feed to ethanol to cornmeal for our chips. When mature, each kernel has a small dent in the crown.
Also called “field corn,” dent is one of the five main varieties of maize, which also include flint (Z. mays var. indurata), flour (Z. mays var. amylacea), sweet (Z. mays var. saccharata or Z. mays var. rugosa), and popcorn (Z. mays var. everta).
Maize is part of the grass family Poaceae. A whole grain, it’s a good source of carbohydrates, protein, fiber, vitamin A, iron, and zinc.
An annual that thrives in Zones 3 through 10, dent corn grows seven to 14 feet tall and spreads 18 to 48 inches. It thrives in loamy, rich, well-draining soil with a pH of 5.8 to 6.2.
Cultivation and History
We owe a lot to Mesoamerican farmers for cultivating teosinte, an essentially inedible grass, into the corn we know today. In our guide to growing sweet corn, you can learn all about the history of maize.
Indigenous peoples have been growing corn in North America for thousands of years, and non-indigenous farmers later took up the practice of growing it both as a personal food source and a cash crop.
Referred to as “the grain of America,” as part of the war effort in 1918 via widely publicized propaganda, the United States Food Administration actively encouraged citizens to grow their own vegetables and eat corn during World War I as an alternative to wheat.
And since the 1850s, an entire region of the Midwest commonly referred to as the Corn Belt has been famous for growing dent corn and other grains.
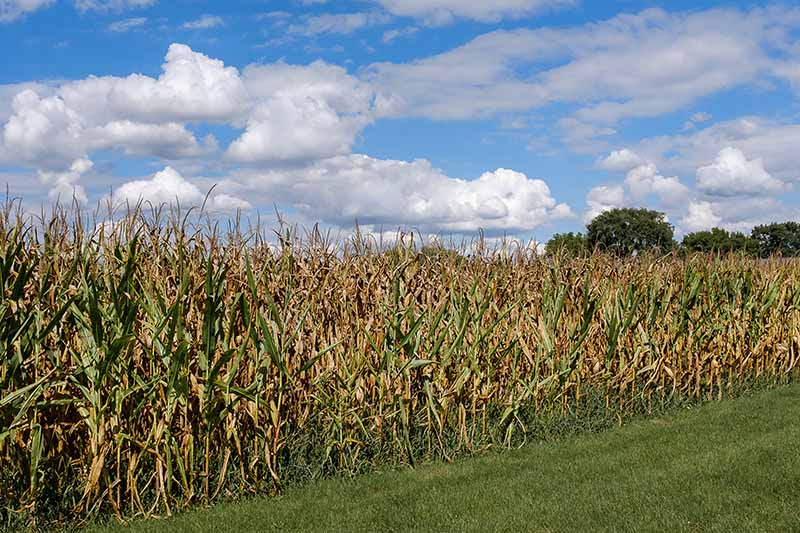
The borders of this region have shifted over time and can vary depending on who is describing them, but it’s generally comprised of Illinois, Indiana, and Iowa, along with parts of Kentucky, Missouri, Nebraska, Ohio, and South Dakota.
Interestingly, according to Toni Tarver, senior technical editor for Food Technology Magazine, sweet corn isn’t commonly grown in these states today.
Instead, Florida and Georgia produce the majority of the sweet stuff we see in grocery stores early in the growing season, while Oregon, Washington, and Wisconsin provide much of our canned and frozen sweet maize.
Thanks to the growing Latinx population, more and more field corn is being used today as food. This news just makes me happy. Give me all the tortillas, folks.
There’s one hangup, though: 92 percent of maize planted commercially in the United States in 2018 was genetically modified, according to an article published in September 2020 by the FDA.
Much of it is used for animal feed, but some is also used in processed food. That’s one of the reasons why growing your own dent maize at home is a fantastic idea: heirloom seeds are non-GMO!
Let’s dig into how you can grow your own crop in your backyard.
Propagation
The best way to propagate dent maize is to direct sow it from seed. But you can also transplant it from starts grown at home or purchased at your local nursery, which is an especially helpful method to propagate corn in areas with short growing seasons.
Next, choose and prepare your planting location. Maize needs full sun – at least six to eight hours of direct sunlight every day – in order to thrive.
The soil should be rich and well-draining, with a pH between 5.8 and 6.2. Amend it with well-rotted manure or compost.
You may want to conduct a soil test as soon as the soil in your chosen planting area thaws. This will help you ensure that the pH is perfect for growing maize.
If it’s not, raise the pH with wood ash or lower it with aluminum sulfate, and check again.
From Seed
Instructions for propagation vary based on whether or not you start your seeds indoors or outdoors.
Outdoor Sowing
Two weeks after your area’s average last frost date, head out to your garden with a soil thermometer. If you don’t have one yet, I recommend this one that’s available from the Home Depot.
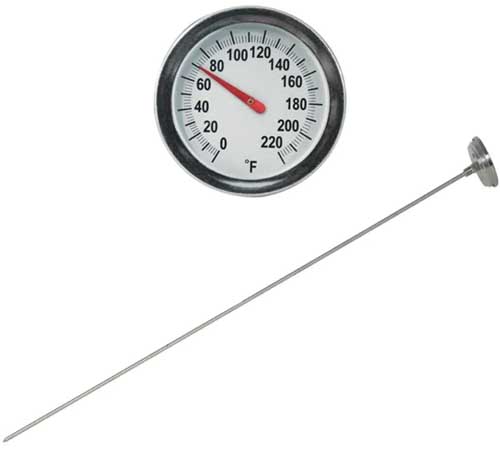
Measure the soil temperature a few times throughout the day. It should stay consistently above 50°F. If it’s colder than that, seeds won’t germinate!
Once your dirt is ready, set your seeds to soak overnight in room temperature water. In the morning, take them out to the garden.
Corn is wind-pollinated. Because of this, the pollen from the tassels is more easily shared with surrounding plants if they’re arranged in a block rather than in rows.
Arrange your maize patch in a six-by-six-foot block or something like it – whatever works for the amount of space you have. Make sure each plant will have at least 12 to 18 inches of space on all sides.
Dig one-inch-deep holes spaced 12 to 18 inches apart, and drop two to three kernels inside each one. Backfill with soil and water thoroughly.
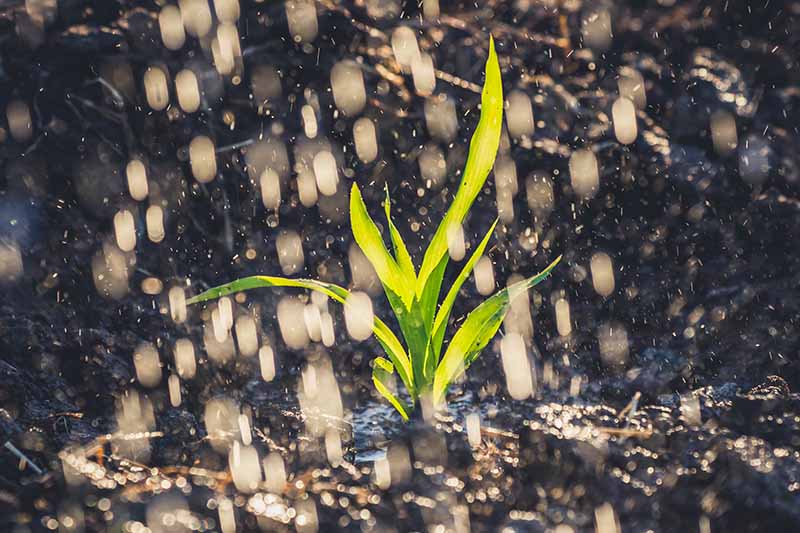
Keep the planting area moist until germination occurs – usually within 10 days to three weeks.
When each plant has two sets of leaves, it’s time to thin the block down. Pinch off the one or two smallest seedlings in each planting space, leaving one strong seedling to keep growing and thriving there.
Indoor Sowing
Start seeds inside at least two weeks before your area’s average last frost date. If you live in Zones 3 or 4 and have an extra-short growing season, start them four weeks before the last frost.
Soak your kernels in lukewarm water overnight before planting.
Add potting mix to a seed starting tray and create one-inch indentations in each cell. Drop two to three soaked kernels inside, backfill, and water. Keep moist until germination occurs.
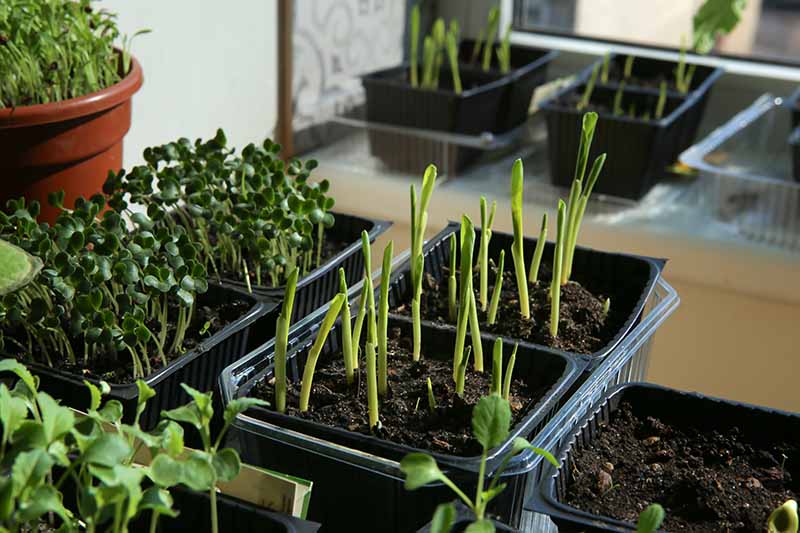
The moment you see green seedlings poking out, set the tray in a sunny windowsill that gets six to eight hours of daily sunlight, or place them under a grow light.
When they have two sets of true leaves, pinch off the smaller seedlings, or tease them apart to transplant multiple seedlings from each cell.
You’re all set to transplant them out to the garden!
Transplanting
Whether you’re ready to plant out your homegrown seedlings or you’ve found starts at a nursery, transplanting them is easy and fun.
Choose a location that gets at least six to eight hours of sun and that has organically rich, well-draining soil. Amend it with well-rotted manure or compost as needed, and then get ready to transplant!
First, mark out a block with spaces that are at least 12 to 18 inches apart on all sides. Then dig holes the same depth and width of the root balls in each of these spaces.
Gently ease each root ball out of its container and set it in a hole.
Backfill with soil, water thoroughly, and presto! Your maize is ready to reap the benefits of the warm, sunny outdoors.
How to Grow
The wind will blow pollen off the tassels and onto the silks. If you want to grow dent and sweet corn or popcorn at the same time, plant them at least 100 yards away from each other.
This will help to prevent unwanted cross-pollination, which can result in sweet dent corn, savory sweet corn, or soft and inedible popcorn.
Try rotating between maize types, planting just one each year to avoid issues with cross-pollination.
Corn needs plenty of nitrogen, phosphorus, and potassium in order to stay healthy, so apply a 10-10-10 NPK fertilizer every two to three weeks, according to package instructions.
Poke your finger one inch down into the soil every few days to make sure it’s moist, or check with a soil moisture meter.
If all you feel is dry, dusty soil, it’s time to water! Generally, maize needs one to two waterings per week. If it rains, you won’t need to water as often.
To help prevent fungal diseases, avoid watering the leaves from above. Instead, water at the base of the plants.
As the maize grows tall, you may need to create small mounds or “hills” around the base of each stalk to help support it.
If your stalks need extra support, drive a wooden stake into the soil between the stalks, and affix two stalks to each stake with gardening twine.
Growing Tips
- Plant different types of corn at least 100 yards away from one another.
- Water once or twice per week, depending on rainfall.
- Every two to three weeks, fertilize with a balanced 10-10-10 NPK fertilizer.
Cultivars to Select
Ready to grow your own tall stalks of field maize? Here are some of our favorite dent varieties to grow in the garden.
All of the varieties described below are non-GMO.
Bloody Butcher
If you’re into spooky corn that’s ideal for fall harvest and Halloween decor, check out ‘Bloody Butcher.’ This grotesquely named dent variety is blood red, of course, and each kernel has that telltale dent in the crown.
Developed in Virginia in 1845, ‘Bloody Butcher’ is the ideal cob to first employ as a Halloween and Thanksgiving decoration, and then grind into masa for your Christmas tamales after the autumn festivities end.
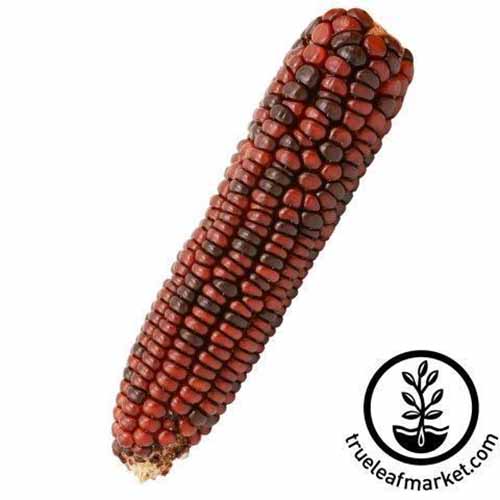
‘Bloody Butcher’ yields two eight- to 12-inch ears per stalk. It matures 110 days after germination, growing 10 to 12 feet tall and spreading about a foot wide.
You can find packages of heirloom seeds available from True Leaf Market.
Earth Tones
Want to grow a variety that glimmers with muted tones of green, blue, gold, rose, and brown? Then ‘Earth Tones’ is the ideal cob for you. Like ‘Bloody Butcher,’ ‘Earth Tones’ makes an excellent autumn decoration.
You can keep the harvested ears on your windowsill forever and gaze adoringly at the pretty kernels, or you can grind the kernels into cornmeal to make the mouthwatering recipes that we’ll talk about in just a moment.
Either way, I won’t judge you. ‘Earth Tones’ is exquisite to look at and delicious to eat, with its wholesome, savory corn flavor.
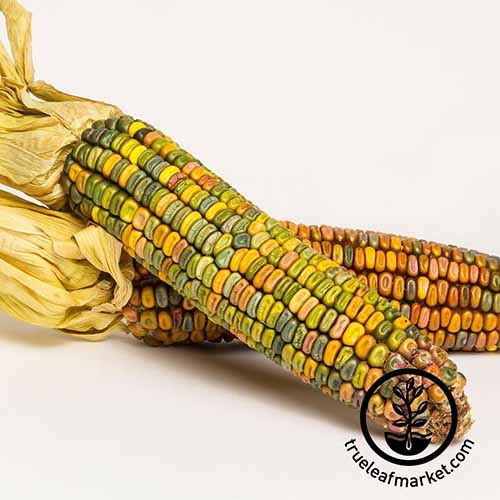
Stalks grow seven to eight feet tall with a spread of about a foot. Maturing 100 days after germination, each plant can produce up to three eight- to 10-inch cobs.
Find your ‘Earth Tones’ seeds from True Leaf Market.
Reid’s Yellow
This heirloom, open-pollinated variety dates all the way back to 1847, when Illinois farmer Robert Reid developed it to produce ears more densely packed with kernels than any existing varieties, making it a more profitable variety of field corn than had ever been seen before.
It even won first prize in a competition at the Chicago World’s Fair in 1893.
Once perhaps the most popular variety, ‘Reid’s Yellow’ is still grown in home gardens and on small farms today.
While improved cultivars have been developed since to suit contemporary farming needs, many commercially grown yellow dent varieties can be traced back to ‘Reid’s Yellow.’
This variety grows a colossal 10 to 14 feet tall, spreads about a foot, and matures in 115 days from germination. Each plant yields one to two ears that are nine to 10 inches long.

The yellow kernels dry exceptionally well and may be ground into a flavorful cornmeal base for all sorts of tasty dishes, from masa to grits to tortillas.
You can find your own ‘Reid’s Yellow’ kernels to grow from MySeeds.co, available via Amazon.
Managing Pests and Disease
While not as susceptible to pests and disease as sweet maize, you’ll want to be on the lookout for corn earworms, cutworms, and gray leaf spot.
Corn earworm (Helicoverpa zea) larvae feed on the silks, which can get in the way of the pollination process. Even worse, they often find their way into already-pollinated ears and munch away on the kernels you were supposed to harvest.
If you see inch-long, brownish-gray caterpillars on the plant, manually remove them and spray with Bonide Tomato and Vegetable Spray, a sulfur and pyrethrin-based product that’s available from Arbico Organics.

Bonide Tomato and Vegetable Spray
Cutworms are inch-long green, blue, gray, or black moth larvae that chop young seedlings in half, killing them. You definitely don’t want them in your garden!
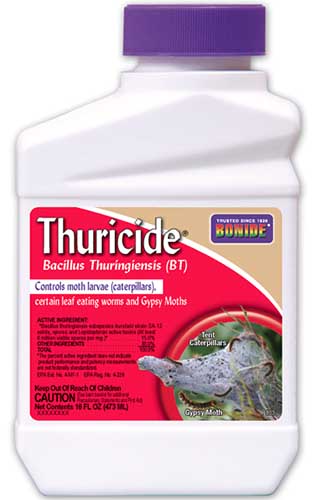
If you notice cutworm damage or see the caterpillars in your corn crop, apply Bonide Thuricide, a Bacillus thuringiensis v. kurstaki (Btk) product that controls moth larvae. It’s available from Arbico Organics.
Gray leaf spot, caused by the fungus Cercospora zeae-maydis, starts as small necrotic dots on maize foliage that develop into brownish-gray lesions.
Gray leaf spot reduces the overall health of the plant and can weaken the vigor of the kernels, as the dead patches of leaves will impede the growth and development of the plant.
If you see these spots – or evidence of other fungal diseases like rust or blight – remove the affected leaves and spray the rest of the plant with copper fungicide.
For more tips on how to keep your maize healthy, check out our guide to keeping your young seedlings from dying.
Harvesting and Preserving
You can technically harvest dent corn at its milk stage and roast it like you would sweet corn, which means harvesting when the kernels leak a milky sap when punctured.
This typically occurs around 70 to 80 days after germination. You can learn more about picking at this stage in our guide to harvesting corn.
But why do that when sweet maize exists for that very purpose?
Instead, try leaving your cobs on the plant for the full 100 to 120 days, until they dry out completely in the field.
The stalks and silks should be brown and crisp to the touch. Break the cobs off the stalks and hang them by the husks to dry completely in a dry, warm area.
After a week or two, shuck the corn with a hand-held thresher.
If a cob is dry enough, the kernels should come right off without gumming up and sticking to the thresher. If your kernels are sticking, continue drying them for another week or two.
Once you’ve got all the kernels removed from the cobs, store them in an airtight container until you’re ready to turn them into cornmeal.
It’s easy to make cornmeal, which is coarse, or corn flour, which is finely ground, in a high-powered blender like a BlendTec or Vitamix.
Put a cup or two of kernels in the blender and grind to your desired consistency, and you’re ready to cook!
Recipes and Cooking Ideas
Before you make any Latin American goods like tortillas or tortilla chips, you need to nixtamalize the corn, which turns it into hominy. The word nixtamal comes from the Nahuatl word “nextli,” which means “ashes,” and “tamalli,” which translates to “maize dough.”
To nixtamalize kernels, you have to soak them in an alkaline solution – like wood ashes, which is what Aztec people traditionally used, or lye mixed with water.
Nixtamalization makes the corn dough that results soft and malleable, separating the hulls and germ from the endosperm. This is ideal for making tortillas.
It also improves the nutritional value of maize. Notably, nixtamalization makes the niacin in the kernels more available for absorption in the body. It also increases the amounts of calcium and protein in the maize.
Best of all, in my opinion, is that it gives the maize that classic corn tortilla flavor that everyone loves. (Or most everybody, anyway!)
A Note of Caution:
Pickling lime, lye, and other alkaline substances like wood ashes are used in this process to create a caustic solution that should be handled with care. Wear hand and eye protection when working with them, and follow package directions carefully.
Here’s a quick breakdown of how to make nixtamal:
- Place half a cup of pickling lime, also called cal (short for calcium hydroxide, which is not the same thing as garden lime, or calcium carbonate), in a quart-sized mason jar.
- Add water until the jar is full an inch from the top, screw the lid tightly on top, and shake vigorously. Let sit overnight at room temperature.
- Add the lime water to a pot and add one pound of dried kernels. Bring to a simmer over low heat and cook for 45 minutes.
- Turn the heat off, cover, and let the kernels soak for eight to 12 hours, adding water as needed to keep the kernels completely covered.
- Drain and rinse well. Under cold water, gently rub the kernels between your palms to remove the hulls. (At this point, you could use them to make hominy grits or pozole.)
- Wet grind the processed grain in your blender; it’ll become wet masa, to which you can add a bit of store bought masa harina, which will absorb some of the moisture. Now you’re tortilla-ready!
You could also grind your own nixtamal, and dry it in a food dehydrator to make masa harina at home.
Read Foodal’s guides to the best grain mills and food dehydrators if you’re in the market for one of these.
I encourage you to try nixtamalization sometime. But you can also use your simple, non-nixtamalized cornmeal to taste the efforts of your maize-growing adventure.
Remember: cornmeal and corn flour that are not nixtamalized have a different flavor and less nutritional value than nixtamalized corn.
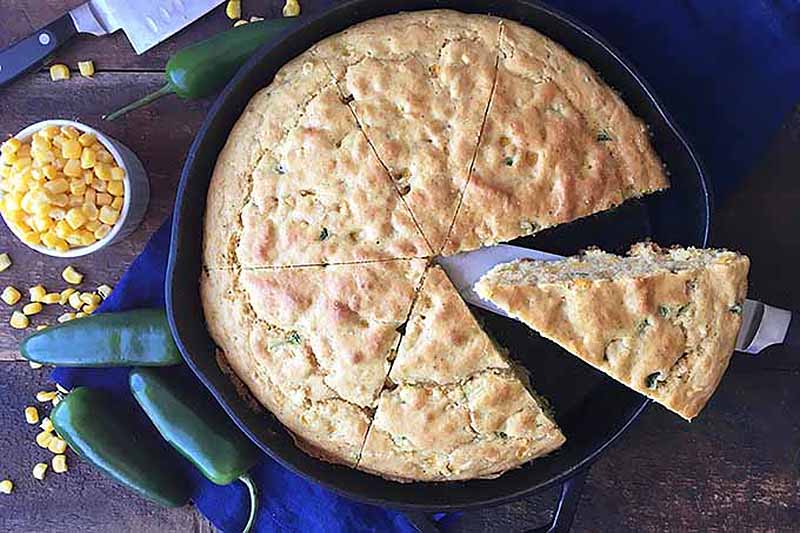
I love making this fluffy, spicy jalapeno skillet cornbread recipe from our sister site, Foodal.

Or pair this triple-corn casserole, also from Foodal, with your favorite hearty entree.

For an immensely flavorful and rewarding entree, make Foodal’s recipe for delicious broiled salmon with mushrooms and grits.
Don’t forget to tell your dinner guests that you grew the maize yourself – in your backyard!
Quick Reference Growing Guide
| Plant Type: | Annual edible cereal grass | Tolerance: | Heat |
| Native to: | Mesoamerica/North America | Maintenance: | Moderate |
| Hardiness (USDA Zone): | 3-10 | Soil Type: | Organically rich, loose |
| Season: | Summer | Soil pH: | 5.8-6.2 |
| Exposure: | Full sun | Soil Drainage: | Well-draining |
| Time to Maturity: | 100-120 days | Companion Planting: | Beans, peas, squash, sunflowers |
| Spacing: | 12-18 inches, depending on variety | Avoid Planting With: | Celery, tomatoes, other types of corn |
| Planting Depth: | 1 inch (seeds), depth of container (transplants) | Family: | Poaceae |
| Height: | 6-14 feet | Genus: | Zea |
| Spread: | 12-18 inches | Species: | Mays |
| Water Needs: | Moderate | Variety: | Indentata |
| Common Pests: | Corn earworms, corn root aphids, cutworms, wireworms | Common Disease: | Anthracnose, gray leaf spot, northern corn leaf blight, rust |
A Maize Meal for All
Now you’re all set to start growing your own savory crop of field maize.
Have you ever grown this grain before? What was your experience? We’d love to hear your questions and stories in the comments section below.
And while we’re on the topic of corn, don’t miss these articles next: