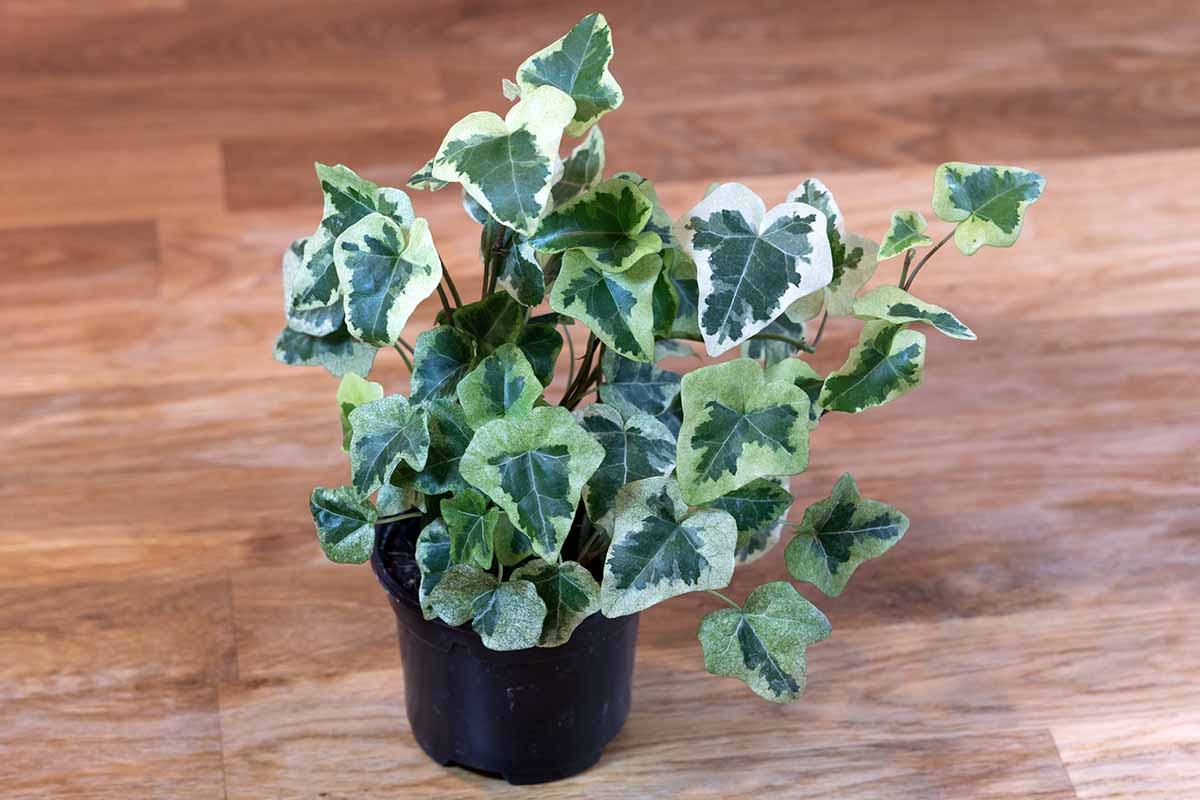
Ivy (Hedera spp.) makes an awesome houseplant. Its trailing vines are an attractive addition to any indoor space and it’s a pretty easy plant to grow.
Instead of paintings, my mother liked to decorate the walls of our living room with ivy. This living art brought nature to our home and brightened our indoor space – a welcome sight during our long Canadian winters.
This climbing plant is also extremely versatile – you can train it into a topiary or allow its trailing vines to cascade over furniture. It does well in low to medium humidity, cool temperatures, and bright indirect light.
We link to vendors to help you find relevant products. If you buy from one of our links, we may earn a commission.
In our guide to growing English ivy (Hedera helix), we discuss how to cultivate these plants in your home.
In this article, we’ll talk about propagation.
Propagating ivy from cuttings is an easy method to produce more plants. There are two ways you can do this – by rooting in medium or in water.
Here’s what we’ll cover:
How to Propagate Ivy Cuttings
Getting Started
Before you take your cuttings and get started on this project, you’ll need to gather your supplies.
You’ll need:
- A healthy plant
- Clean knife, scissors, or shears
- Propagation pots
- Propagation media
- Pencil or dowel
- Rooting hormone (optional)
- Glass jar for rooting in water (if applicable)
Once your cuttings have taken root, you’ll also need potting soil and a container to transplant your new plants into.
Rooting in Media
Rooting in media is the preferred method of propagating cuttings since it is more likely to succeed than rooting in water.
Start by preparing your propagation container and rooting medium. Choose a pot or propagation tray that will fit the desired number of stems.
For example, if you use a four-inch pot, it can hold two cuttings. You will need to make sure the cuttings aren’t crowded or they may end up rotting.
Fill your container with a pre-moistened propagation medium such as a mix of perlite and coarse sand, or a mixture of peat moss with perlite or sand.
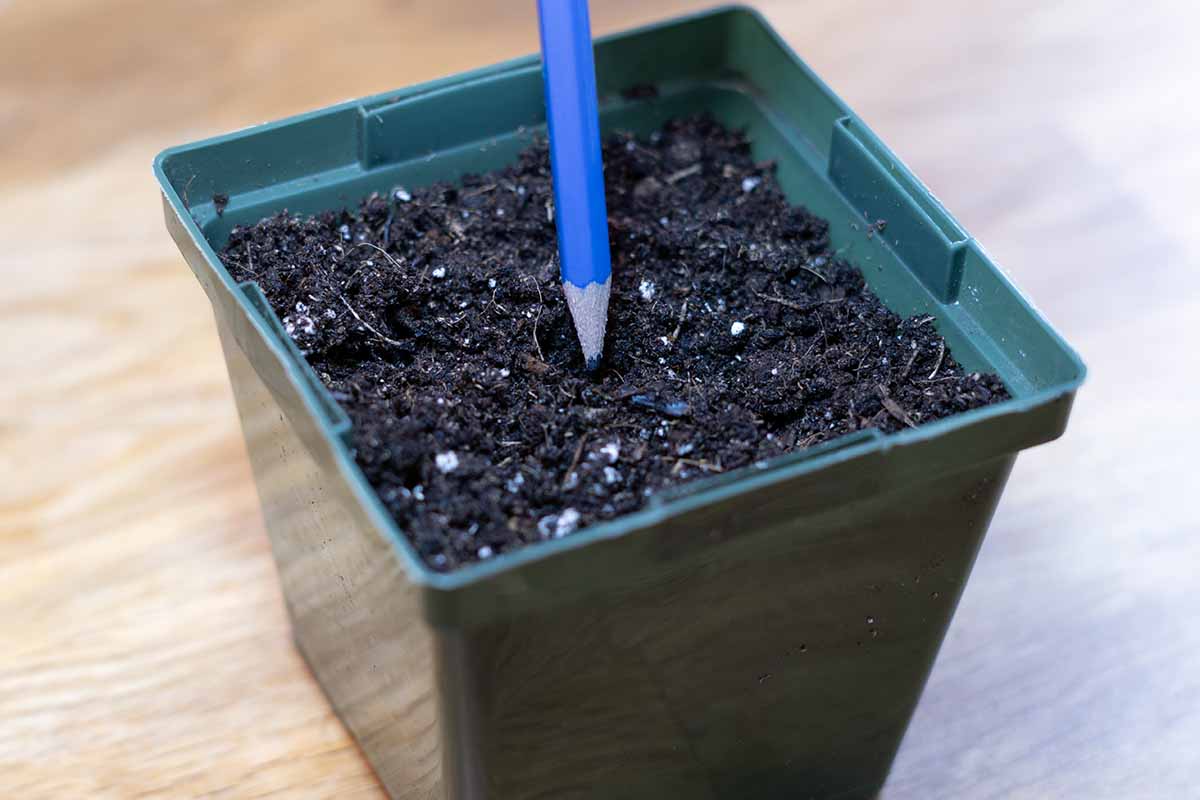
Using a pencil or dowel, make two-inch-deep holes in the rooting medium where your cuttings will be placed.
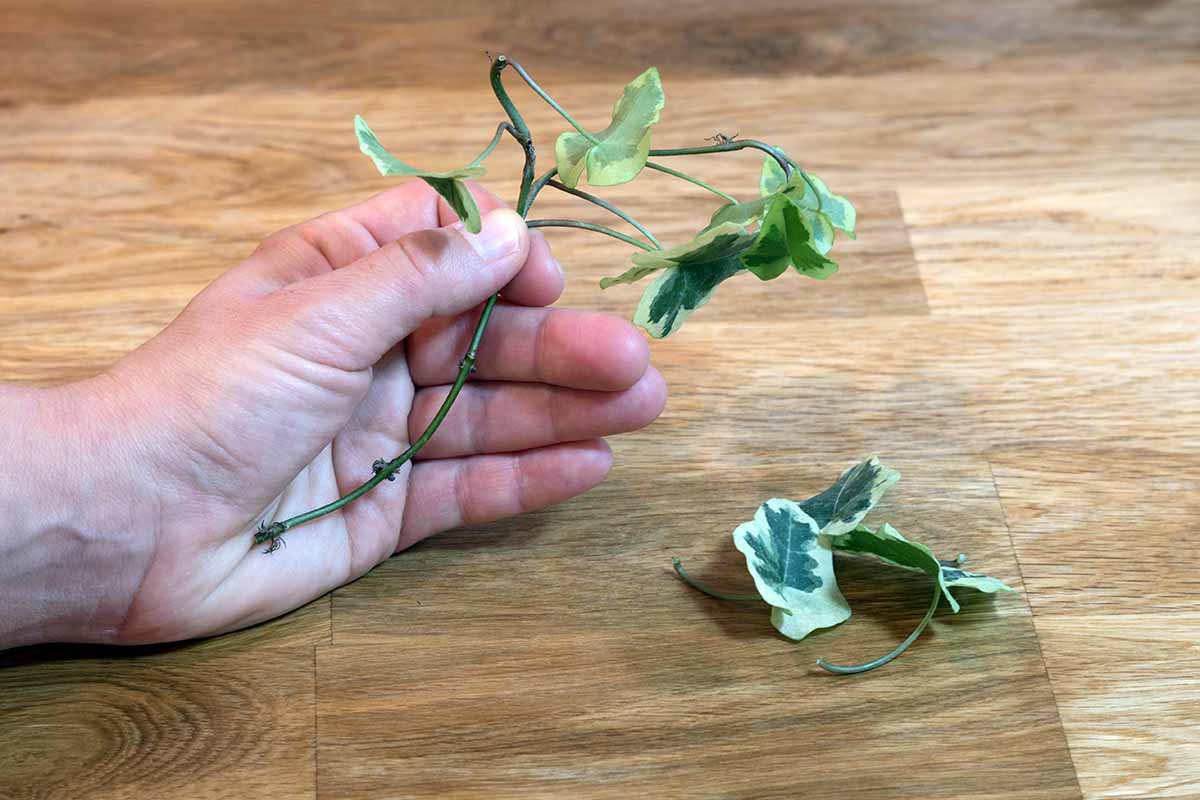
Choose a healthy shoot and look for a leaf node – the place where a leaf attaches to a stem. This is a good location for new roots to form.
Ivy also has aerial roots along its stem close to leaf nodes – these roots help it to climb trees and other structures in nature.
For propagation, stem sections that contain these adventitious roots have an even better chance of rooting than stem sections without them.
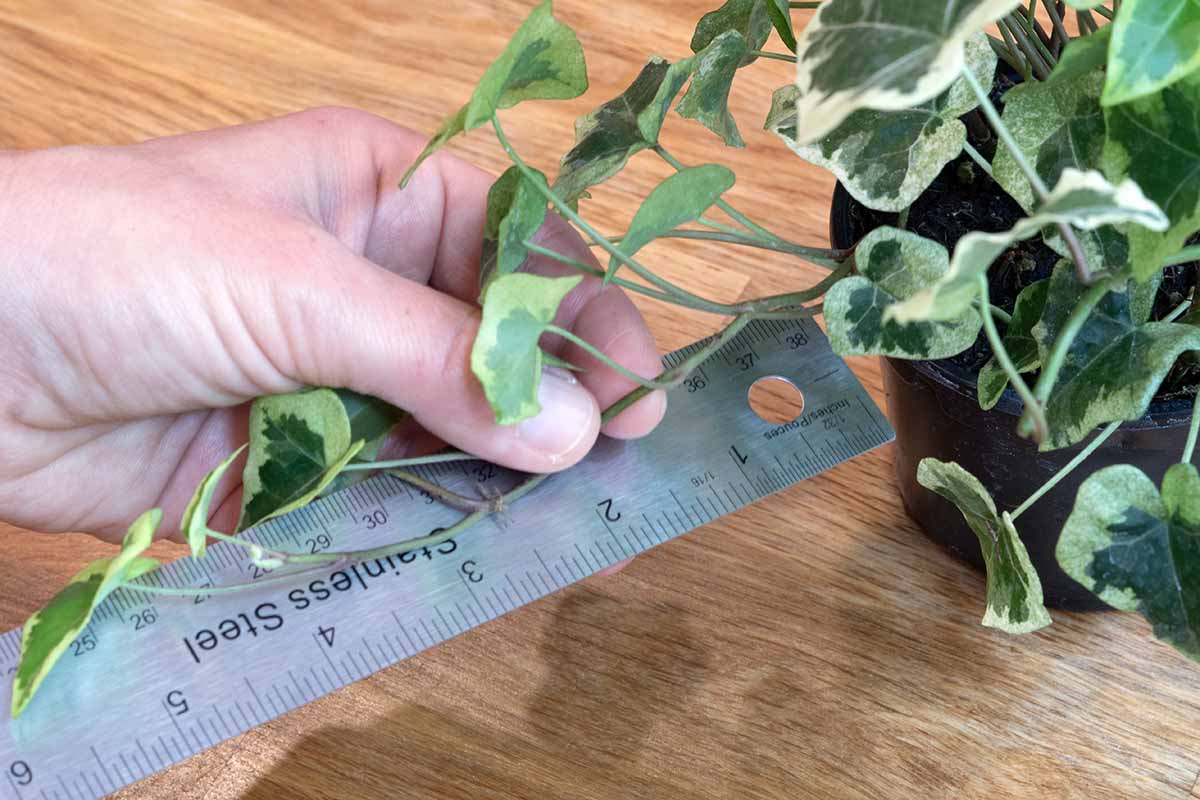
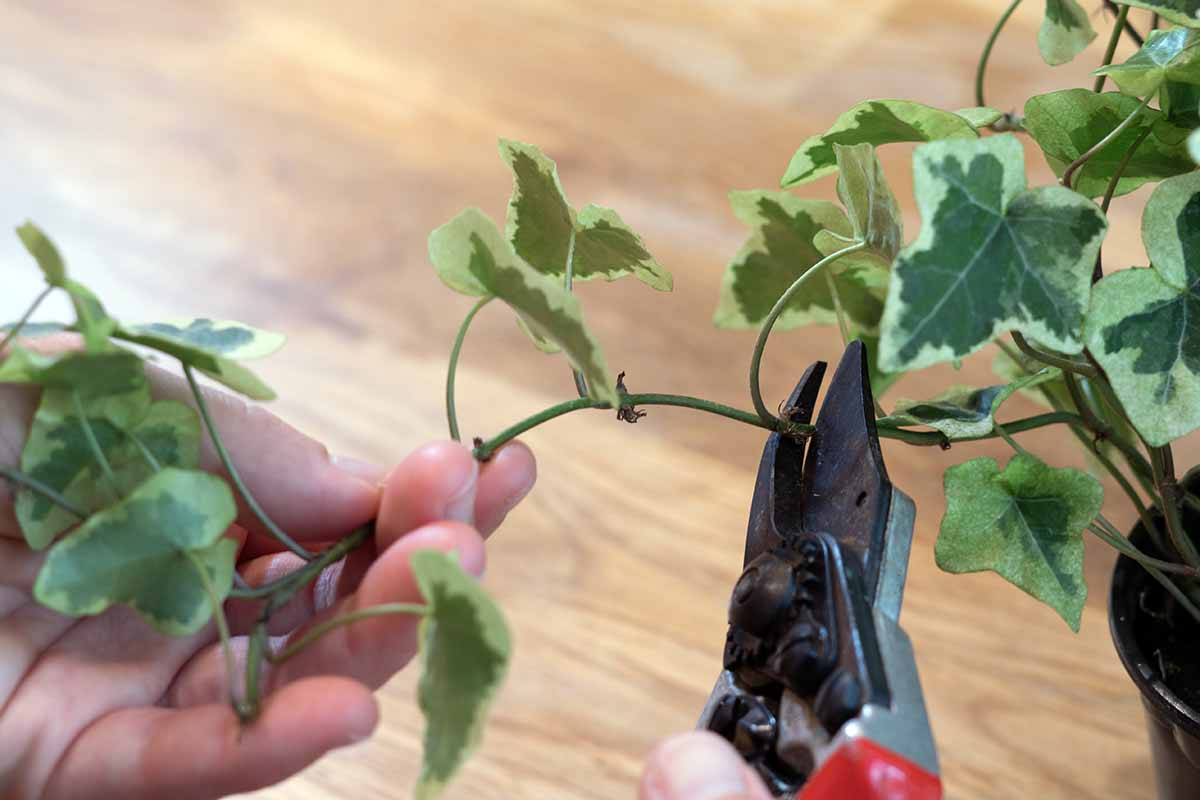
Using a clean knife or other tool, take a four- to six-inch cutting, right below a leaf node.
Cuttings six inches or shorter are ideal because the resulting plant will be bushy rather than leggy. Take off all the leaves from the bottom two inches.
At this point, you can choose whether to use rooting hormone or not. Your chances of success will be greater if you opt to use it.
If using, pour a small amount of rooting hormone powder into a container. Place the bottom inch of the stem in the rooting hormone and swirl it around to coat the base of the stem.
Lightly tap the cutting against the container to get rid of any excess powder.
If you find the powder isn’t sticking to your cutting, you can try wetting the bottom of the stem, tapping to get rid of excess water, then repeating the steps above with rooting powder.
Place your cuttings into the premade holes in the propagation medium, trying not to wipe off the rooting hormone as you do. Gently pat down the soil around the stems so they stay upright.
Keeping your cuttings covered will help decrease water loss. If you use a propagation tray as your rooting container, then you can easily cover it with a plastic dome to keep the environment humid.
If you use a pot, put it in a plastic bag and tie it up or put a plastic bag upside down over your pot.
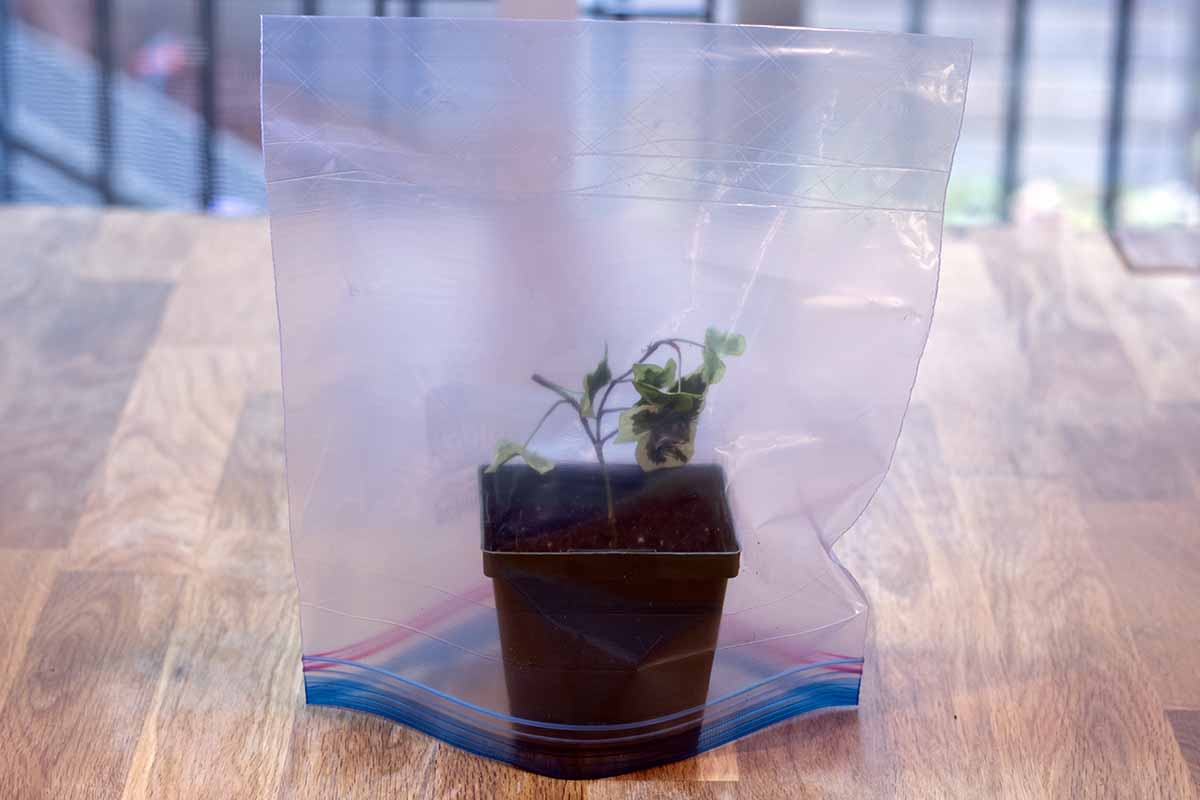
Keep the pots in a location with bright, indirect light and ensure that the soil remains consistently moist.
After six to eight weeks, you can check if your cuttings have rooted by gently tugging them. If they resist, they are rooted!
If you want to be sure, you can try carefully lifting out the plant with a pencil or other tool. There should be a few inch-long roots present before you pot up the cuttings. New leaf development is also an indication that they have rooted.
Potting up your cuttings instead of keeping them in the propagation medium ensures your new plant gets off to the best start.
Choose a small container for each rooted cutting – a four- to five-inch pot should do – with drainage holes.
Fill it with a pre-moistened potting soil that retains water well, make a hole the size of the root ball, and set your plant so that the top of the root ball is an inch below the top of the container. Backfill with soil.
Water the soil until the extra water flows out the bottom of the pot. Then put a saucer under your pot and place it in a sunny spot out of direct light. Now sit back and marvel at your new ivy plant!
Rooting in Water
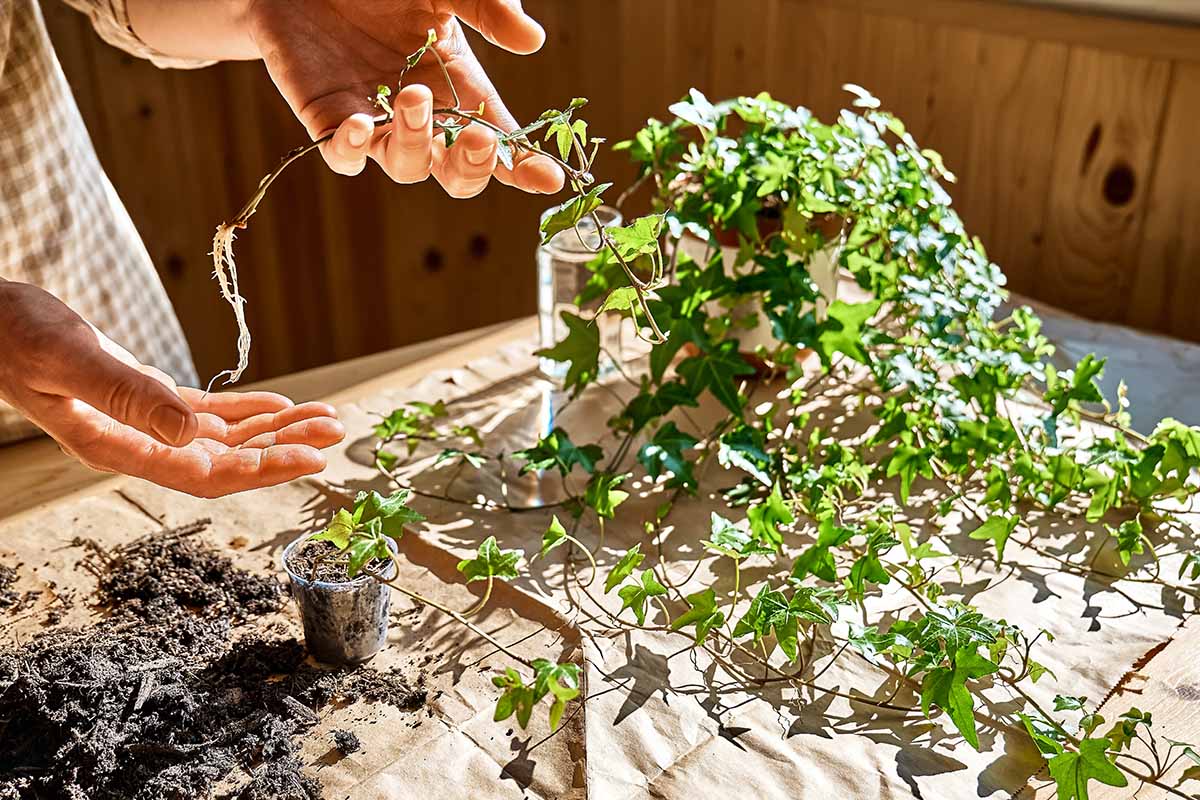
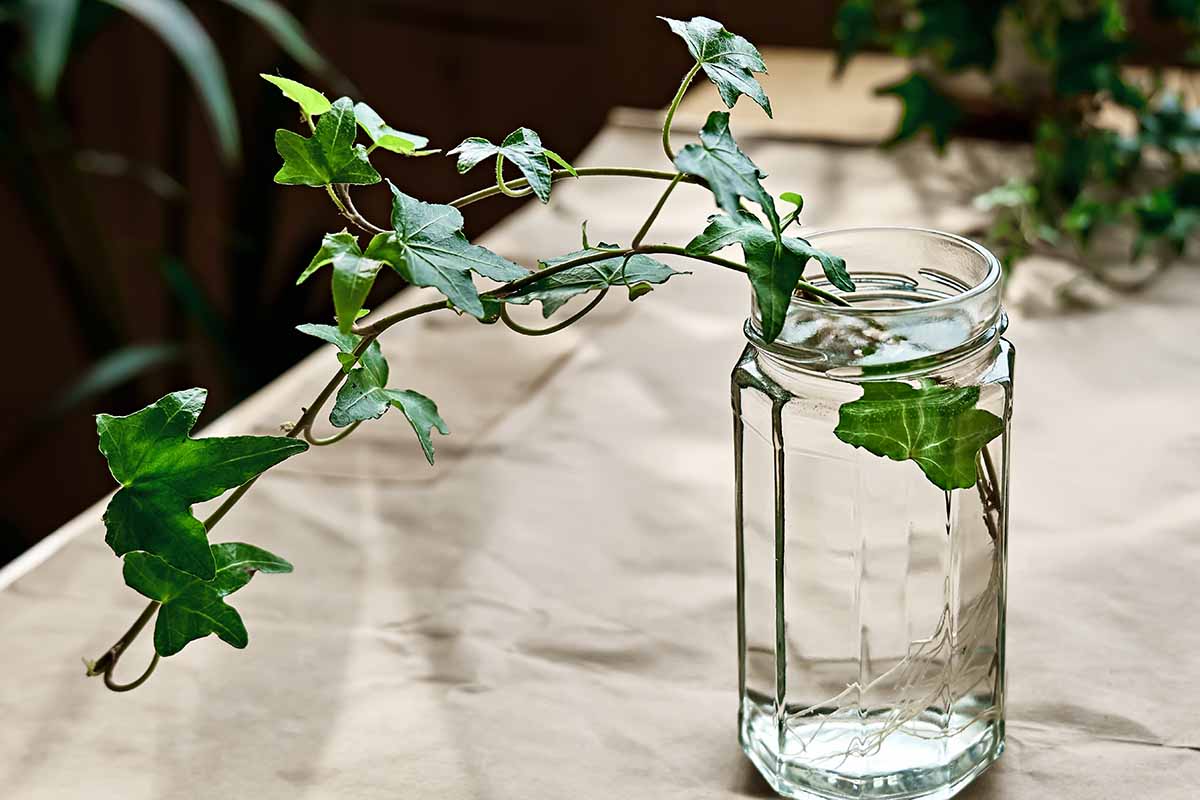
An aesthetically pleasing way to root ivy is in water – a decorative glass vase or even a water glass filled with stems looks beautiful. Plus, you’ll see the new roots forming through the clear glass.
Since they were rooted in water, these cuttings won’t have had time to develop the root hairs they will need to absorb water from soil.
This means they have less chance of survival than those propagated in media. However, it’s still a simple and fun way to create more plants, so it’s definitely worth a try.
With a clean blade take a four- to six-inch cutting measuring from the tip of the stem and cut just below a leaf node.
Leaving at least two or three leaves at the top, remove the rest of the leaves from the bottom three inches of the cutting. No leaves should be in the water or even touching the water.
Then, simply place the stems in three inches of water in a glass or a jar and find a home for them near a north-facing window or in indirect light.
You can put your cuttings together in one container or in individual containers.
There are some beautiful decorative fixtures for propagating in water like this one available via Amazon.

Change the water every few days or when you see it turning cloudy to prevent algae or bacteria buildup.
After a few weeks, you’ll see the new roots forming. Wait until these are about an inch or two long before moving on to the next step.
For the cuttings’ new home, find a pot with drainage holes that is just big enough for the root system – a four- to five-inch container should provide the roots ample room.
Using a pre-moistened water retentive potting soil, fill the pot with potting soil up to an inch below the rim of the container.
Create a hole in the soil, and gently set your rooted cutting inside, ensuring that the top of the root system is level with the soil surface.
Fill in any gaps with the potting soil, firming it down to keep the stem upright and ensure contact between the soil and root system. Water the soil until the water flows out under the bottom of the pot to get rid of any air pockets.
Increase humidity around your plant by covering the pot with a plastic bag, making sure the bag doesn’t interfere with the foliage. After a few days, open the bag slowly – a little more each day – to get the young plant used to the new environment.
After a week or so, remove the bag and set your new ivy plant in a location with bright, indirect light and enjoy!
Worth the Wait
If you want to increase your houseplant collection, propagating ivy cuttings is an easy way to add to your indoor jungle.
Two months may seem like a long time to wait for ivy to root, but rooting in water means you’ll have a beautiful display that is sure to catch the eye in the meantime.

Rooting in medium is simple and sure to give you a strong new plant to enjoy. So either way you choose, it’s worth the wait!
Are you growing ivy? Have you tried propagation? Tell us about it in the comments section below.
And for more information about growing houseplants, check out these guides next:


