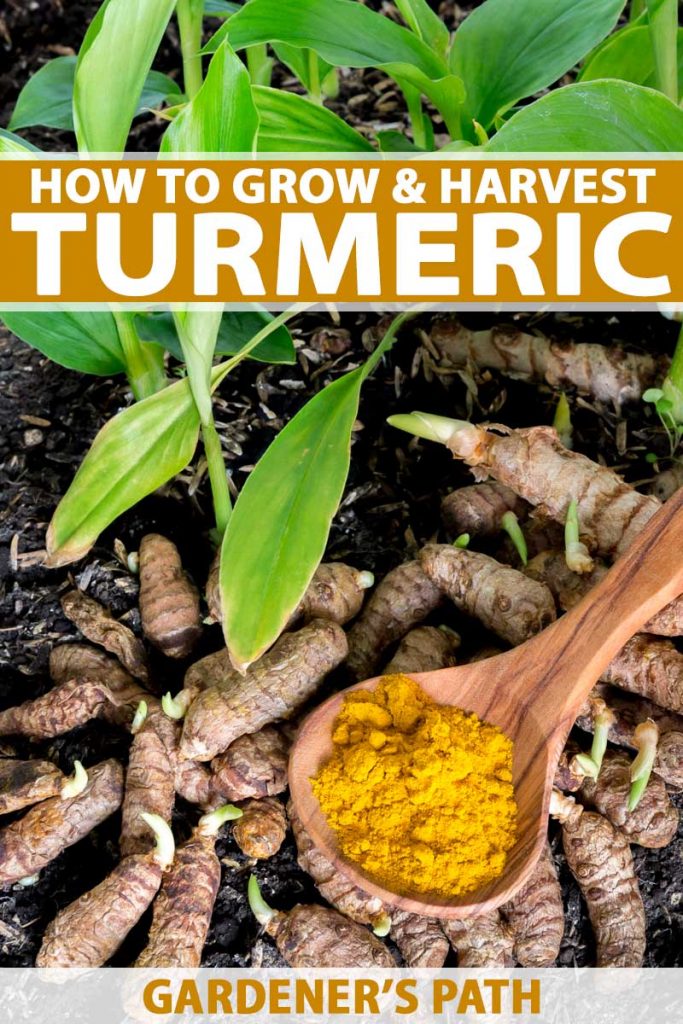
Curcuma longa
If you’ve ever feasted on Indian food, you’ve undoubtedly enjoyed the pungent flavor and golden color of turmeric, Curcuma longa, aka Indian saffron, an herbaceous perennial in the Zingiberaceae family of plants that is related to ginger and cardamom.
A chemical compound called curcumin found in the fleshy rhizomes of this plant is responsible for the bright hue, as well as numerous potential health benefits.
We link to vendors to help you find relevant products. If you buy from one of our links, we may earn a commission.
In this article, you will learn all you need to know to grow, harvest, and use this plant.
What You’ll Learn
Let’s dig in!
Cultivation and History
If you live in USDA Hardiness Zones 8 to 11, you can grow perennial C. longa by planting its fleshy roots as you would ginger or potato.
You may also have success in fringe zones, provided you apply a thin layer of mulch during the dormant winter season, with adequate drainage to inhibit rotting.
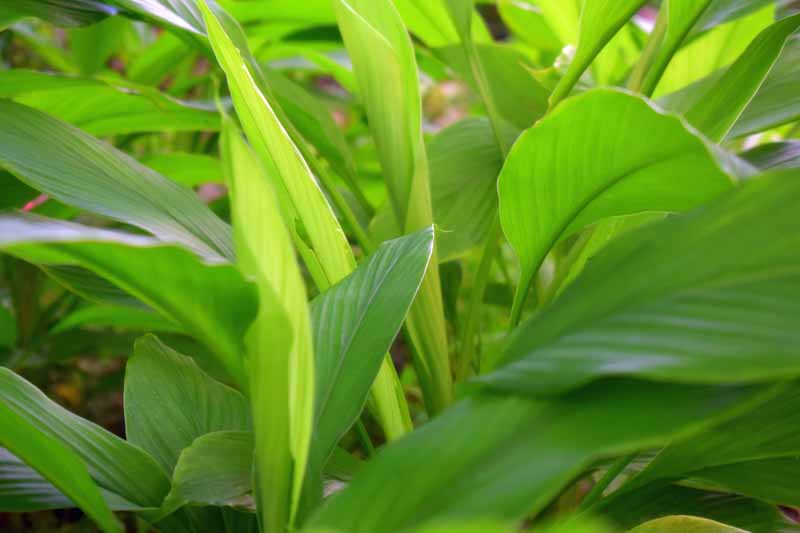
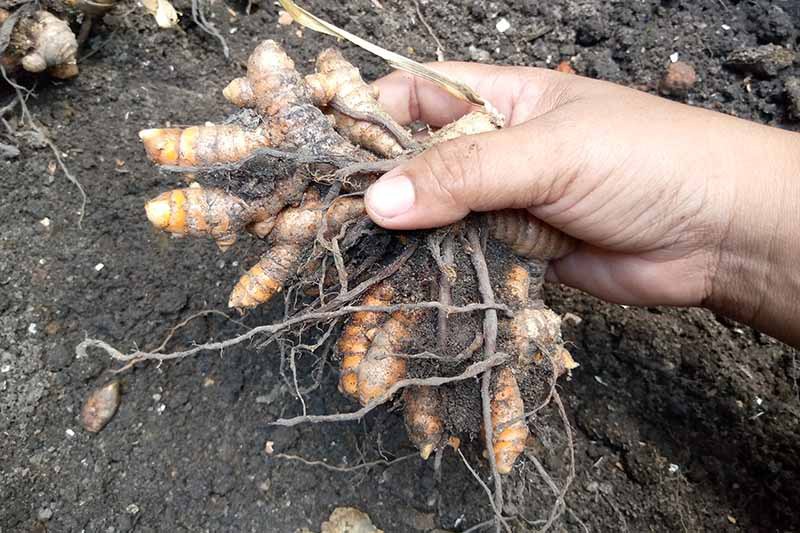
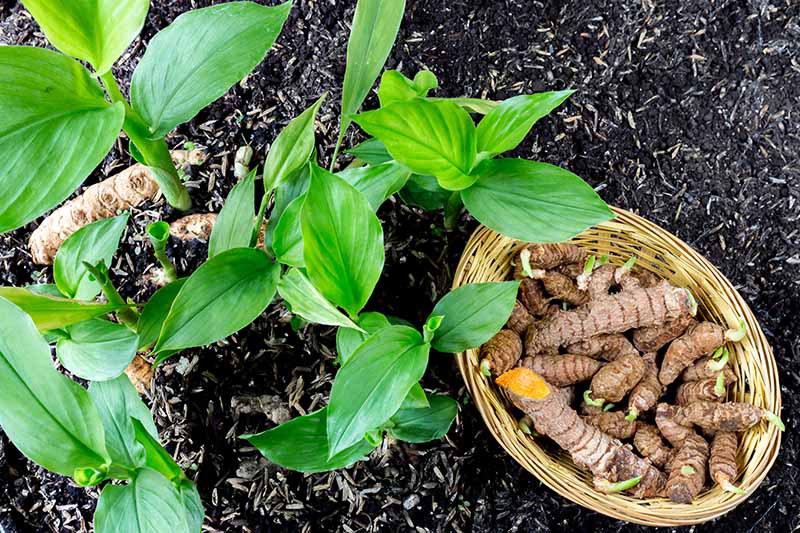
Plants produce foliage clumps about three feet high and wide, while below ground, the rhizomes mature into finger-like tubers.
By July or August, the blossom buds begin to open. The flowers are yellow and appear inside large white bracts that are sometimes tinged with pink.
If grown outside its optimal zones, C. longa performs as an annual, dying off at the season’s end.
In these areas, you can dig up the rhizomes in the fall, remove the foliage, and store them for the winter in a slightly moist medium like sawdust or vermiculite. You can also sprout them indoors during the winter as described in the propagation section that follows.
Turmeric has long been used in Ayurvedic medicine, which dates back thousands of years in India. Today’s cooks and health-conscious consumers join the healers of old in the ongoing demand for C. longa in dry, fresh, paste, and pill forms.
Per the NIH National Center for Complementary and Integrative Health, C. longa may also be known as C. domestica, and there are two additional species they have not evaluated: the wild C. aromatica, and Javanese C. xanthorrhiza.
The NIH also states that preliminary studies show that C. longa may offer health benefits for those suffering from a range of ailments from digestive to inflammatory, but warns that high doses or long-term use may result in digestive upset.
In moderation, turmeric’s fleshy rhizomes, the tubers that grow below the soil, may help us to feel our best, and they definitely jazz up our meals.
When something tastes good, and is good for you, don’t you want to think about growing it in your own backyard? Let’s find out how easy it is!
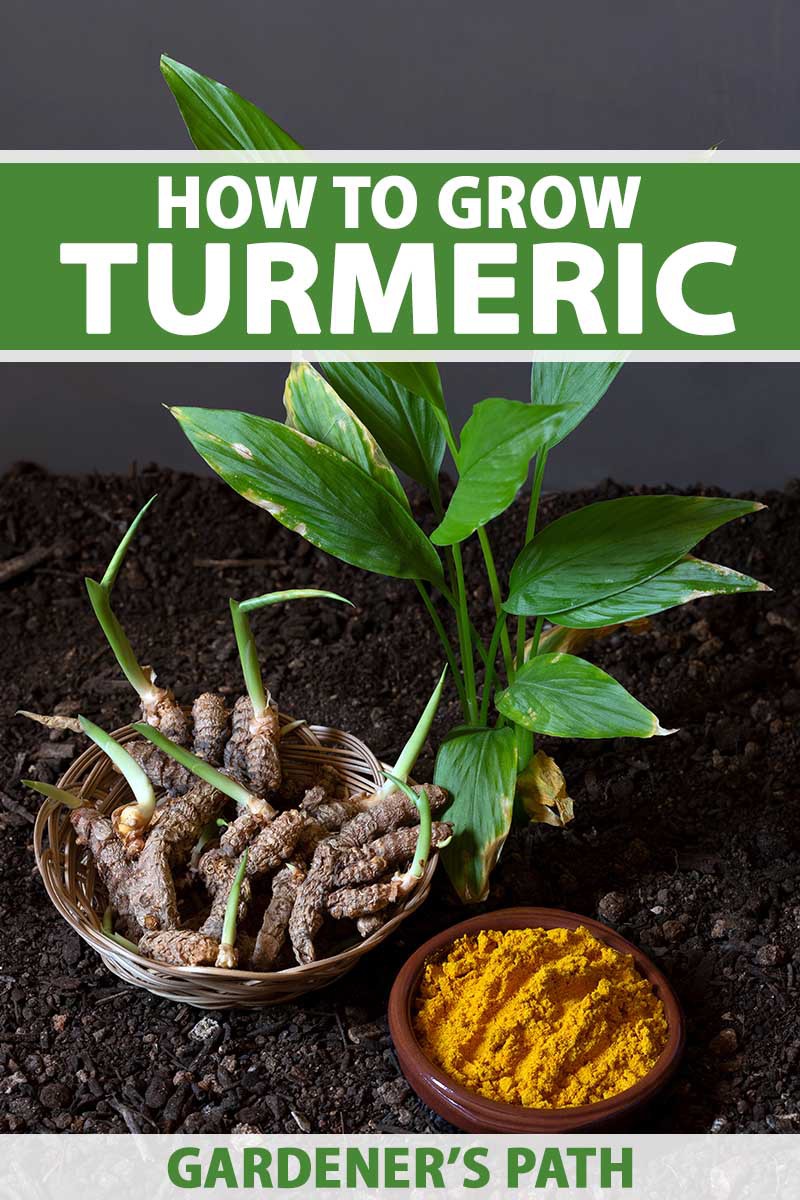
Propagation
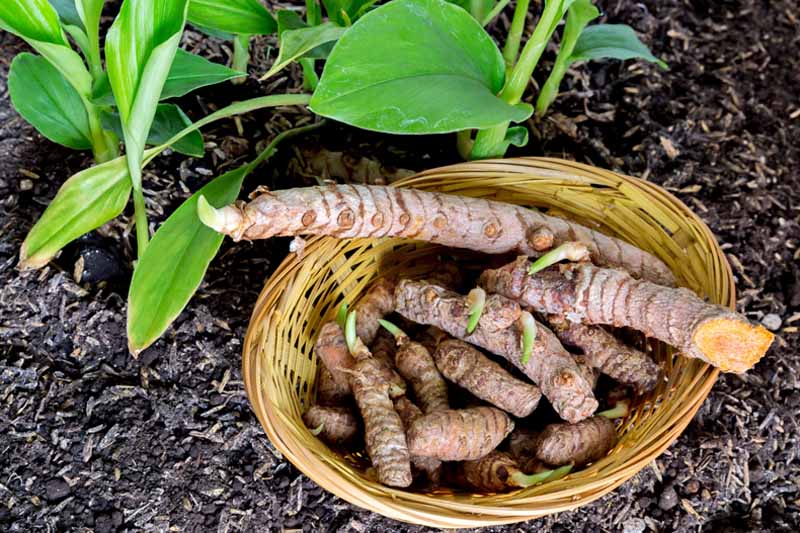
To grow your own C. longa, you’ll need tubers or established plants. You can buy “hands,” which are multi-section tubers, or “fingers,” the individual pieces of a hand, from your local grocer.
However, they may or may not sprout, depending upon whether or not they have been treated with growth retardant.
It is better to buy untreated tubers from a reputable nursery. You are likely to see them listed as “seed rhizomes.”
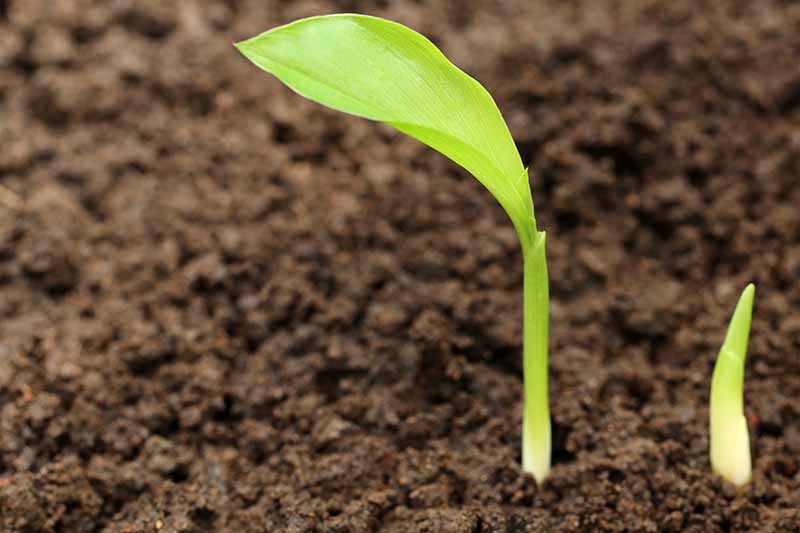
For cultivation as an annual, sprout rhizomes indoors, and set them outside as soon as possible after the last frost date for your area. This will give you a jump-start on the 200 to 300 days it takes for plants to mature.
For best results, start eight to 10 weeks prior to the last average frost date.
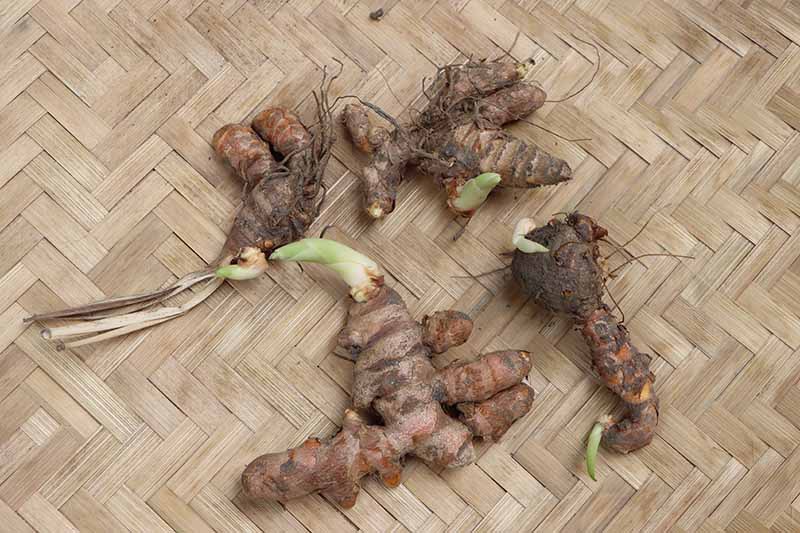
Lay individual “fingers” horizontally in a well-draining seed-starter tray. If they have bumpy protuberances, or have already sprouted, be sure to face the bumps or sprouts upward to speed them along to the sprout stage.
Cover them with two inches of potting medium.
Place the tray on a heat mat to maintain a temperature of 80 to 85°F.
Maintain even moisture, but do not oversaturate.
After the danger of frost has passed, transplant the sprouted fingers to the garden.
Continue to maintain even moisture by providing an inch of water per week in the absence of rain, and possibly more during dry spells.
How to Grow
For garden cultivation, plant in early spring. Choose a location that gets full to part sun, and has loamy, organically-rich soil that drains well.
This is a plant that survives monsoon seasons in its native lands, so it loves humidity and thrives on moisture. However, the soil must drain well, or the roots will rot.
The ideal soil pH is between 4.5 and 7.5. To determine the characteristics of the earth in your landscape, conduct a soil test through your local agricultural extension.
Work the soil to a depth of 8 to 12 inches, until it is crumbly. Amend it as needed with compost to enrich it and improve drainage.
Spread the earth evenly. There is no need to make mounds, or “hill” the soil as with some plants.
Consider installing a drip irrigation system at this time to make it easy to maintain even moisture.
If you haven’t already sprouted your tubers indoors, examine them as we did above.
Find one or more protuberances. Remember, these can be rounded ends, or bumps somewhere mid-root. There may be several of these nubby places on any given piece, and maybe even green sprouts growing out of some of them.
Place the tubers into the ground at a depth of four inches with one or more nubby or sprouted parts facing upward. You may plant either vertically or horizontally.
Space tubers three to four feet apart and cover them with soil.
Water well and maintain an inch of water per week in the absence of rainfall.
Fertilize with a well-balanced, slow-release granular fertilizer to cater to this plant’s heavy feeding habit and need for ample nitrogen.
Because of this plant’s appetites, it is best to avoid planting it near members of the nightshade, or Solanaceae family that includes eggplants, peppers, and tomatoes. They are also voracious feeders that crave nitrogen, and may compete for nutrients.
More suitable companions are beans, cardamom, cilantro, ginger, and peas. The beans and peas are especially good pals, because legumes such as these “fix” nitrogen in the soil, making it readily available to nearby garden plants.
If you are container gardening, keep in mind that growing in pots requires extra vigilance, as they dry out much quicker than the ground. Be sure to plant in pots with ample drainage holes, and water regularly to maintain constant, even moisture.
The diameter of containers should be wide enough to accommodate a three- to four-foot spread, with an added inch or so for room to water. As the roots are shallow, a depth of 18 to 24 inches should suffice.
Growing Tips
- When cultivating C. longa as an annual, get a head start on the long growing season by starting tubers indoors with a heat mat.
- Take care to point protuberances upward to make it easy for sprouts to surface.
- Maintain even moisture from germination to maturity, but avoid oversaturation.
Where to Buy
When shopping for seed rhizomes and plants, look for products that have been bred for superior disease resistance.
When you purchase two, you receive a third as a bonus, or six may be purchased with a significant discount. Shipments originate in the USA. Plants are four to six inches tall.
You might also consider approaching your local healthy foods store manager to determine if the turmeric root stocked is growth-retardant free, and using it for your seed rhizomes.
Managing Pests and Disease
To inhibit pests and disease, start with quality seed rhizomes or plants that have been bred for success.
Plant as advised in full sun to part shade in well-draining, organically-rich soil, and allow space for plants to achieve mature dimensions with good airflow between them.
Some common pests are:
- Grubs
- Leaf Rollers
- Nematodes
- Rhizome Flies
- Rhizome Scale
- Shoot-Boring Caterpillars
- Slugs and Snails
- Thrips
Diseases that may affect this plant include:
- Bacterial Soft Rot
- Bacterial Wilt
- Dry Rot
- Fusarium Rot
- Leaf Blotch
- Leaf Spot
- Pythium
- Rhizome Rot
Reduce the appeal to insects and pathogens by:
Keeping the garden weeded to promote optimal airflow and reduce competition for water.
Avoid both over- and under-watering, as plants that are overly wet or dry are more vulnerable to disease.
Harvesting
In fall, when the foliage begins to wilt and die, it’s time to carefully dig up your plants.
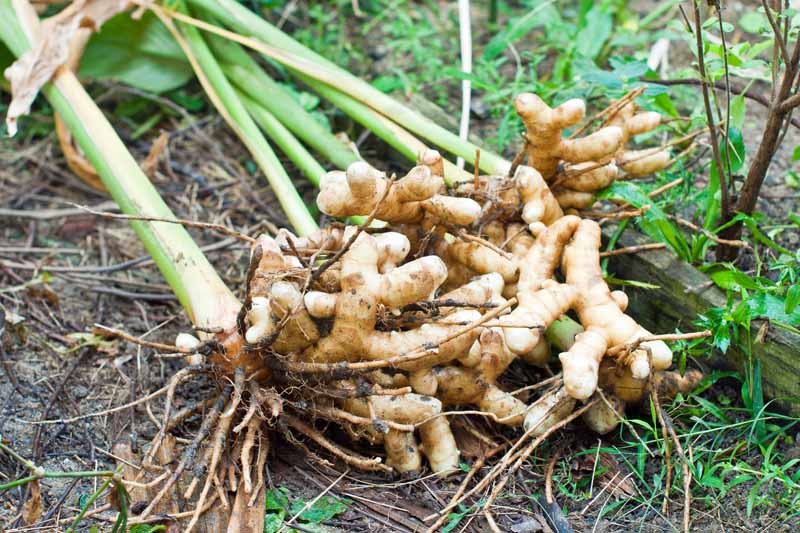
Using a garden fork, work your way around each plant, pushing down with your foot on the fork, and bending the fork back to gradually lift entire plants from the ground.
Cut off the foliage at the crown, where it meets the roots, and discard it.
The remaining rhizomes are your fresh turmeric “hands!”
Preserving
Fresh tubers store well in a mesh bag in the fridge, or an airtight zippered plastic bag in the freezer. Slice or grate them as needed.
Per Deborah J. Benoit, University of Vermont Extension Master Gardener, you can store whole rhizomes in the fridge for up to three months, and cut ones in the freezer for up to six months.
Be sure to save some to plant next growing season.
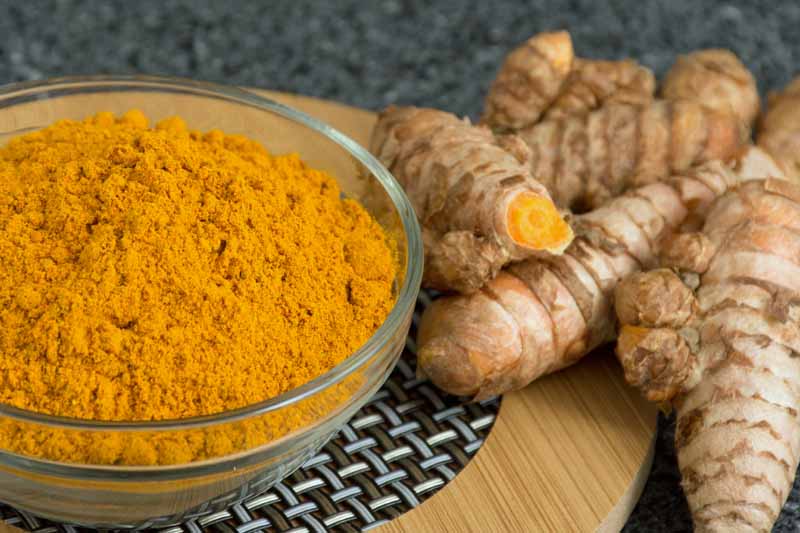
In addition, you may boil, dry, and grind the roots into a fine powder. Wear food-safe gloves and work on a non-stainable surface to avoid dying your skin and counter yellow.
Recipes and Cooking Ideas
Today’s holistic health advocates call turmeric a “superfood,” and recommend consuming it with black pepper, to enhance its absorption and reap its benefits to the greatest degree.
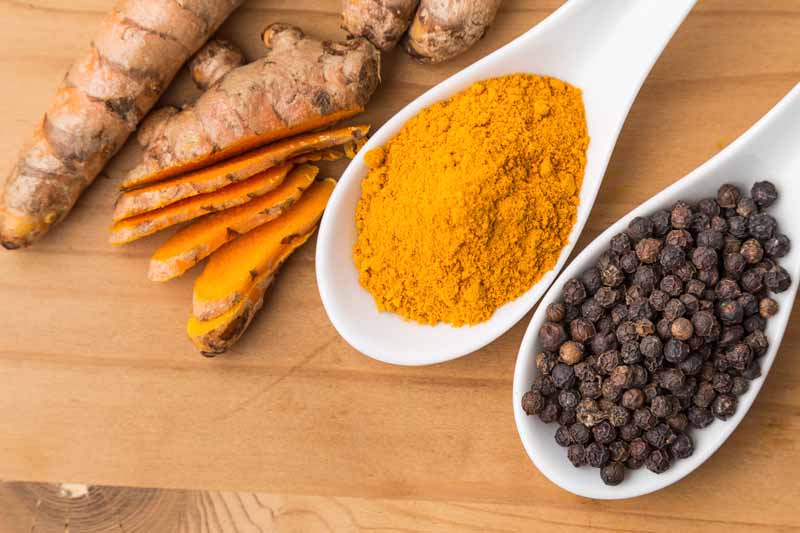
Per the folks at the University of Florida Institute of Food and Agricultural Sciences Gardening Solutions, a one-inch length of fresh turmeric root equals one tablespoon fresh grated, or one teaspoon ground.

The flowers of C. longa are also edible, and the fresh foliage is sometimes wrapped around food for cooking or presentation.
Can you imagine yourself whipping up a batch of curry with fresh turmeric from your garden?
And how about enjoying the cost savings of propagating your next crop from the tubers you harvest this season? Think of the thoughtful gifts you can make by drying and bottling your golden spice for friends and family!
For more on these aspects of turmeric, visit our sister site, Foodal, where you’ll find everything from a guide to kitchen herbs and spices to recipes such as:
Turmeric Red Lentil Soup with Kale
There’s nothing more comforting than a big pot of legumes such as lentils. This particular soup is made using red lentils and is flavored with tasty turmeric and cumin.
Kale adds more nutrients and a pop of color that highlights green against red, making it look as a good as it tastes. We eat with our eyes as much as our tongues and stomachs, after all.

This vegetarian soup is so vibrant and satisfying, your dinner guests will beg for more!
Krishna’s Golden Turmeric Tea
Cinnamon, cardamom, cloves, nutmeg, black pepper, and fresh ginger join fresh turmeric in providing a plethora of antioxidants and micronutrients to your diet with this Indian-inspired tea.
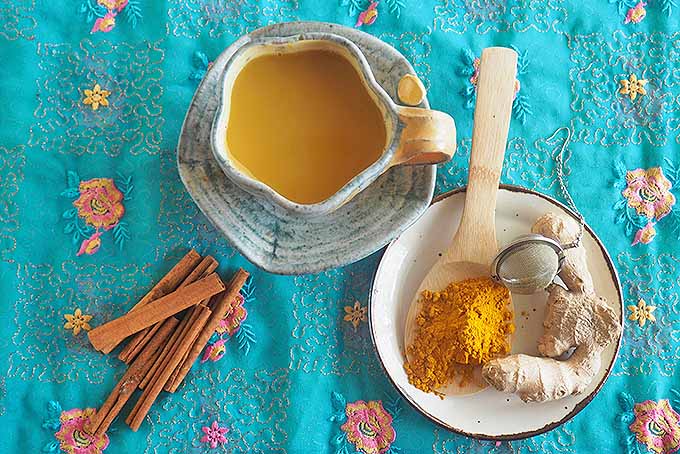
Help prevent disease and maintain good health with this fragrant and delicious spiced beverage.
Get this easy recipe now on Foodal.
And for even more exciting turmeric-flavored recipes, check out all of the delicious offerings on Foodal.
Quick Reference Growing Guide
| Plant Type: | Herbaceous perennial | Flower/Foliage Color: | Pink, white, yellow/green |
| Native to: | South Asia | Maintenance: | Medium |
| Hardiness (USDA Zone): | 8-11 | Soil Type: | Organically rich loam |
| Season: | Mid to late summer | Soil pH: | 4.5-7.5 |
| Exposure: | Full sun to part shade | Soil Drainage: | Well-draining |
| Spacing: | 3-4 feet | Companion Planting: | Beans, cardamom, cilantro, ginger, peas |
| Planting Depth: | 4 inches | Avoid Planting With: | Eggplant, peppers, tomatoes |
| Time to Maturity: | 7-10 months | Order: | Zingiberales |
| Height: | 3-4 feet | Family: | Zingiberaceae |
| Spread: | 3-4 feet | Genus: | Curcuma |
| Water Needs: | Moderate | Species: | Longa |
| Common Pests: | Grubs, leaf rollers, nematodes, rhizome flies, rhizome scale, shoot-boring caterpillars, thrips | Common Diseases: | Bacterial soft rot, bacterial wilt, dry rot, fusarium rot, leaf blotch, leaf spot, pythium, rhizome rot |
A Super Tasty Superfood
If you can provide full sun, organically-rich soil that drains well, and consistent moisture, you are well on your way to cultivating tropical, zesty turmeric in your garden.
And even if you don’t live in its preferred growing zones, you can start seed rhizomes well in advance of the growing season to get a solid jump start on its lengthy path to maturity.
We can’t wait to see how you’ll feature this flavorful spice plant in the garden and on the table this year, so be sure to post your photos in the comments section below.
If you found this guide informative and would like to read more about growing your own herbs and spices, have a look at the following next:


Great article and informaton!
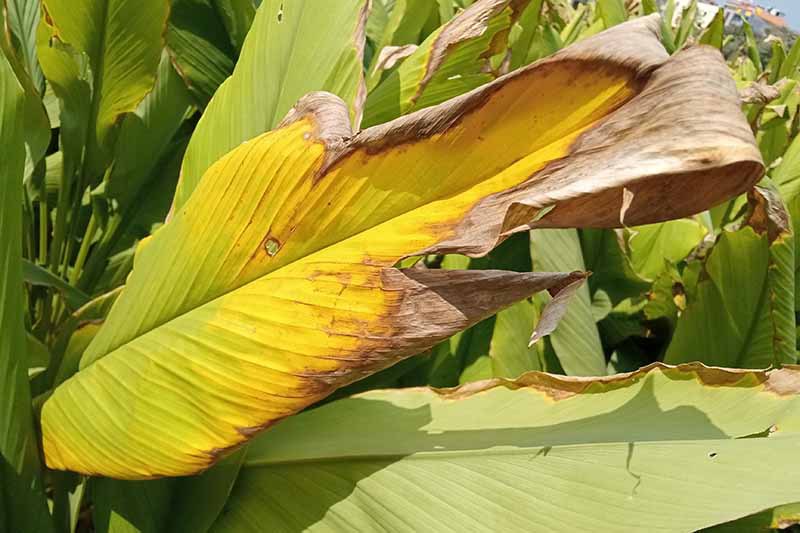
Can you give me some advice? I’ve been growing my own turmeric for a couple of years. But the leaves are very thin, almost opaque, and get dry brown tips/ends on them. The production of roots seems weak. What could be the problem?
Hello Kenneth – When leaf tips turn brown, leaves lack color, and root yields are low, a lack of water may be the problem. If you are in a dry region that lacks humidity, keeping the soil evenly moist, but not oversaturated, is a challenge. It’s also possible that there are nutrient deficiencies in the soil. Amend it with organic matter such as compost if necessary, or fertilize with a food-safe, well-balanced, all-purpose organic fertilizer. If you had said that the leaves have brown spots or blotches, we could consider the possibility of a fungal infection, and you could apply… Read more »
Hi
Great article! I was wondering if you could help? I have lots of something that looks like turmeric but doesn’t smell or taste exactly like the stuff we get from the store. Do you know of anything that is just an ornamental turmeric lookalike?
Do you think it could be galangal, Stacy? Turmeric root has a bright orange color inside, whereas galangal is lighter in color, more like ginger. Also, when you say it doesn’t smell or taste like what you get from the store- are you comparing the fresh root to a fresh store-bought product? Powdered and fresh turmeric do differ quite a bit in taste and appearance (but I assume you know that!). As for ornamental plants that may resemble turmeric, this is going to be difficult to determine without a photo. Where are you gardening, and what does the foliage of… Read more »
Hi I’m new here and with planting and wondering – is it possible to plant the turmeric tube I just bought at a store in the garden at this time in So. Cal? How can I do this please? Thank you so much. God Bless.
Yes, as indicated in the beginning of the article above, you can grow turmeric root purchased at the grocery store and it will grow – as long as it has not been treated with a growth inhibitor.
Even if it was treated with a growth inhibitor it will eventually grow but it can take as long as 7 months. I bought Turmeric from Amazon in early 2021 and planted it indoors in February, It took forever but finally started to grow in August. I live in Tennessee which has freezing winter weather so I had to take it indoors, It lasted until the beginning of February and then it browned and died. I am not sure if that was the natural end if its life cycle or if it died from a lack of light, but the… Read more »
In southern India we also use the turmeric leaves. The leaves are quite fragrant and used to wrap a sweet dish called patoli made with jaggery, coconut and rice.
how long do you boil the turmeric to dry and grind
Hi Kathy –
Turmeric is boiled until it is fork tender. Times vary by the sizes of the rhizomes.
I hav planted turmeric on August. And I need to plant again on this month of October. Is it his the right time to plant?. It is my fist time of planting tumeric
I harvest turmeric for the first time and they came out great with those expected finger like looking rhizomes, but they also came with some extra long roots with some potato like looking balls attached to them. Curious to know what those are. Any idea?
Hi Sheila – Great question! Turmeric is a rhizome, which is root-like, but is actually an underground stem. In addition to rhizomes, turmeric plants also grow what are called adventitious roots, or those that grow naturally from something that is not a root, in this case, a rhizome. They may also grow in response to something that stresses the plant, like drought. The particular type of adventitious roots you see are called nodulose roots, because of the potato-like nodules on their ends. These fleshy growths contain food for the plant. Where the roots attach to the rhizomes is called the… Read more »
I have the same observation last few years. I’m still not able to find any info if those nodulose roots can be used in any way, do you have anything new to add to this? Will be appreciated.
Hello NANI –
The nodulose roots are food storage receptacles that feed the tubers. They contain beneficial bacteria that “fix” nitrogen in the soil, making it available to neighboring plants. You can return the adventitious root nodules to the soil post harvest to obtain any remaining bacterial benefits.
I like to grow turmeric in Ghana in a commercial quantity, can I rely on you for advice?
Our articles are generally geared more towards the home gardener, but we’d be happy to try to answer any questions you may have!
This is my first year for curcumin. I live in Coastal SC, Zone 8. Can I cover with mulch after cutting them back for winter without losing them? Do I feed them when I cut back?
Hi Carol –
Turmeric is winter-hardy in zone 8. You don’t have to cut it back. Let it wither of its own accord and go into winter dormancy. A layer of mulch will help to keep it from getting too dry during the winter. Next spring, rake away the mulch and fertilize.