
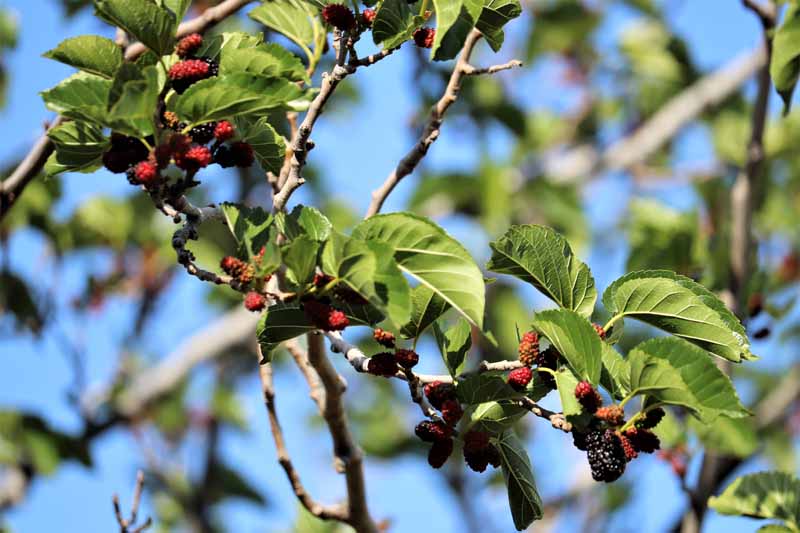
Boysenberries, Rubus ursinus x R. idaeus, are tasty hybrid berries that typically grow best in USDA Hardiness Zones 5-9.
I’m in Zone 4, and it is admittedly audacious of me to to grow them here. But what’s the fun of gardening without a challenge?
Fortunately, with adequate winter care, my boysenberries produce a delicious harvest year after year.
In our guide to growing boysenberries, we cover how to cultivate these shrubs in your garden.
If you’re growing this tasty berry in Zones 4-7, you’ll need to do a few things to prepare it for the winter.

We link to vendors to help you find relevant products. If you buy from one of our links, we may earn a commission.
In this guide, I’ll share everything you need to know.
Here’s what we’ll cover:
What You’ll Learn
Why Are Boysenberries so Delicate?
Here in Alaska, wild roses fill my yard with tender pink blooms every spring, and plump rose hips in midsummer and early fall.
Since boysenberries are members of the rose family, you’d think they might do okay in Alaska’s cold climate.
Raspberries grow prolifically here, too, and boysenberries are a hybrid of blackberries, raspberries, loganberries, and dewberries.
But here’s the thing: Rubus ursinus x R. idaeus is a rare hybrid that nearly failed to thrive altogether as a species early in its history.
It requires full sun, organically rich soil that’s also loose and well-draining, and protection from a variety of diseases and predators.
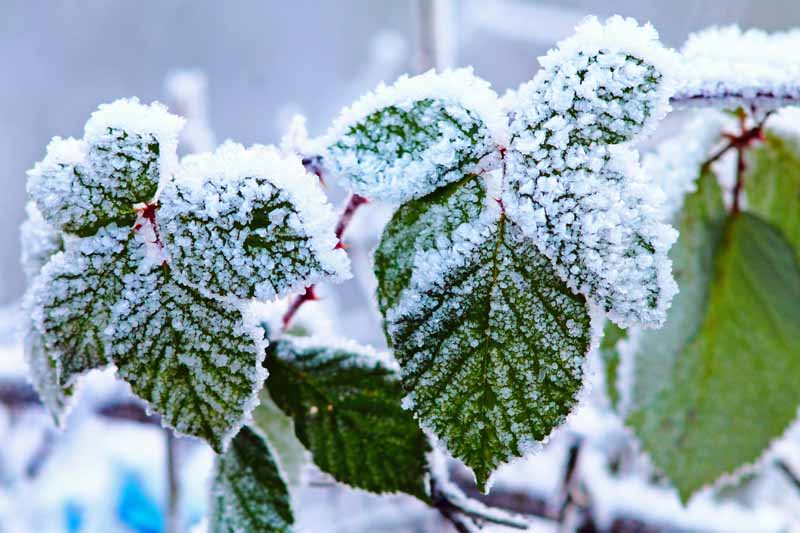
It can withstand some frost, but only if that frost comes after the plant has had a chance to realize that the days are growing shorter and cooler, activating cold acclimation in the plant.
For boysenberries, acclimation can only take them so far.
Here’s how to help them stay warm and healthy during the cold season.
Prune the Canes
An important step in keeping your brambles healthy through the winter is pruning them correctly before the first frost hits.
This is true no matter what growing zone you’re in.
Here’s a quick refresher on the different parts of Rubus ursinus x R. idaeus:
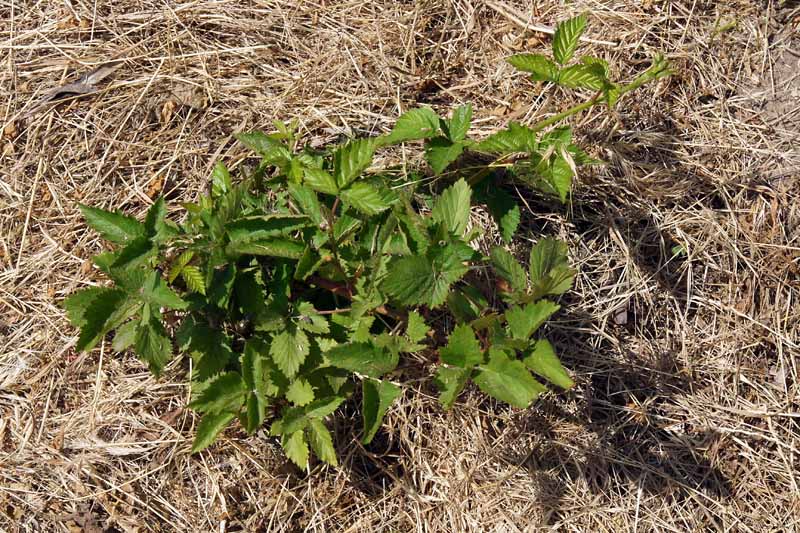
- Boysenberry roots are perennial, and the plant produces new biennial canes every year.
- Primocanes are green first-year canes that produce leaves, but no fruit.
- Floricanes are second-year canes that have acquired brown bark, and produce fruit on green stems called laterals.
You can read more about distinguishing primocanes from floricanes here.
Primocanes spend the winter in dormancy, emerging in the spring as floricanes that will produce delicious berries.
To make sure the plant directs its energy into high-quality berry production, prune the primocanes until there are five to seven of them on each plant. The laterals should be trimmed to 12 inches, or shorter.
Simply use a pair of clean and sharp pruning shears for this task.
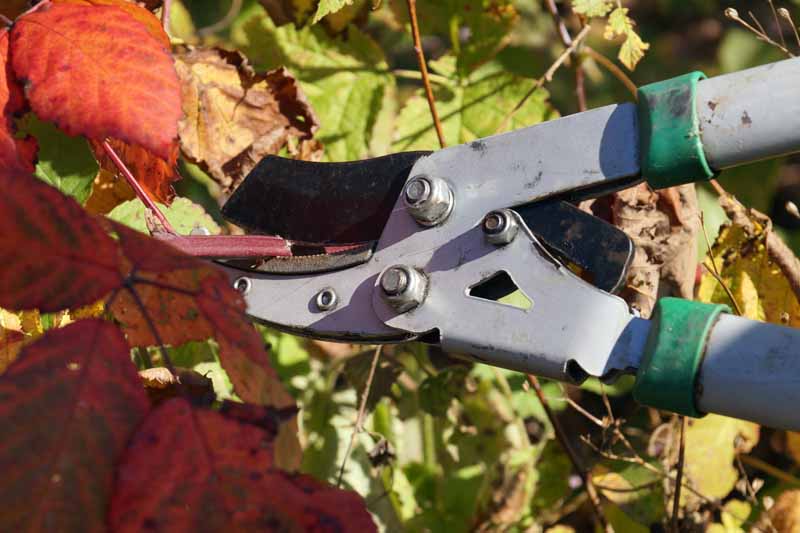
As for the spent floricanes, you can prune them off the plant entirely. They’ve done their work, and leaving them on the plant could increase the chance of disease and decrease fruit production.
The task of pruning can sometimes seem intimidating, but it doesn’t have to be. This gardening task can make a huge difference in the life of your boysenberry, and a well-pruned bramble can remain productive for anywhere from 10 to 30 years.
So be sure to prune your plants as needed in early fall. Don’t delay!
Mulch with Straw
Hands down, the best type of mulch for boysenberry plants is straw. Straw is lightweight, allowing new primocane shoots to grow unhindered in the spring.
Plus, if you live in a place that receives any amount of snow, it falls over the straw like a blanket, acting as the perfect insulation for your plants.
It also helps to temper rain and snowmelt, both of which can displace soil around the roots. At the same time, the straw filters that moisture and locks it into the soil for a healthier plant.
Best of all, the straw breaks down relatively quickly. If you mulch with it each year, your soil will absorb nutrients that keep it rich and healthy.
All you need to do is go to your local animal supply store or nursery to purchase a few straw bales. You’ll want to surround the whole root and cane area with at least eight inches of straw.
Find more tips on mulching with straw here.
Bury the Canes for Extra Warmth
If you live in Zone 4 or 5, you may want to bury the canes at the end of the season so they can be completely covered with straw.
To do this, gently bend the primocanes so they’re touching the ground, and cover them with soil so they stay in place. Since they’re dormant (or about to be), they shouldn’t begin setting down roots.
Cover all the canes with straw, and mark where your boysenberries are growing so you don’t accidentally forget and step on them.
As soon as the soil thaws in the springtime, gently dig the canes back out so they can develop normally rather than growing a new root system in the soil.
Burying the canes might be the extra step that makes all the difference in the survival of your plants.
Keep Predators Away
Mammals often struggle to find food during cold, brutal winters.
Here in Alaska, we rarely see moose in our yard during the summer. But as soon as the leaves fall off the trees, the giant Cervids start wandering into our yard, looking for tender branches to consume.
They might try to eat your boysenberries. Deer might try as well, as will smaller mammals like rabbits and hungry squirrels.
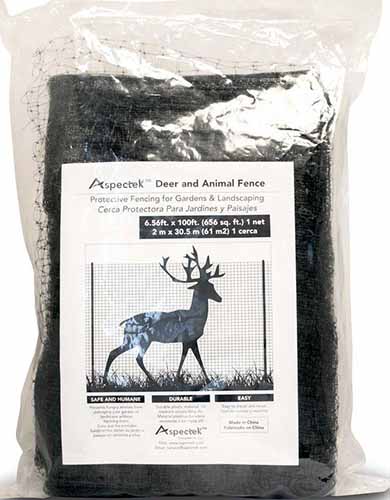
Or, cover your straw-mulched brambles with pest-resistant netting like this product from the Home Depot and use these gardening staples to secure the netting to the ground.
A Juicy Reunion
Putting in a little bit of extra work to tuck your brambles away for the winter will prove to be well worth it once they emerge in the spring, healthy and ready to bear juicy berries.

Tell me, have you ever prepared your brambles for winter? Did your efforts succeed? Let me know in the comments!
And to learn more about growing boysenberries in your garden, check out these guides next:
- How to Propagate Boysenberries
- When and How to Harvest Boysenberries, a Tart Summertime Delight
- The Benefits of Boysenberry: Why You Need this Tart Hybrid in Your Life
© Ask the Experts, LLC. ALL RIGHTS RESERVED. See our TOS for more details. Product photo via Home Depot. Uncredited photos: Shutterstock.