I recently received my first ever boysenberry plant in the mail, and it came in the form of a tissue culture.
It looked like an ordinary seedling you might buy from a nursery. But the owner of the store told me that it had been propagated in a lab.
When you purchase boysenberry plants to set out in your garden, you will usually have an option of a dormant bare root, or a small plant propagated in the nursery by one of four methods: a rooted cutting, tip layering, root division, or micropropagation in a lab setting.

We link to vendors to help you find relevant products. If you buy from one of our links, we may earn a commission.
It got me curious about the best ways to propagate this uncommon plant that can sometimes be hard to find. Fortunately, you don’t need access to a lab, but you do need an existing plant.
And in none of the common propagation methods do you plant boysenberries, Rubus ursinus x. idaeus, from seed.
Why, you might ask?
Because boysenberries are a hybrid bramble – a cross between blackberries, raspberries, dewberries, and loganberries – and growing one from seed won’t produce a true boysenberry.
For this reason, they need to be propagated by a method that produces a clone of the parent plant.
Every single boysenberry plant in the world can be traced back to the original Knott’s Berry Farm berries.
For more on the history and cultivation of this hybrid bramble, check out our main guide to growing boysenberries.
Are you ready to discover the best ways to propagate these sweet, tart berries?
Let’s get started!
What You’ll Learn
Setting the Scene
It can get a little, shall we say, brambly to try to understand how boysenberries produce fruit. I’ll break it down for you quickly and simply.
First, the boysenberry roots and crown are perennial, but the plant sends up new biennial stems every year. In bramble parlance, stems are known as “canes.”
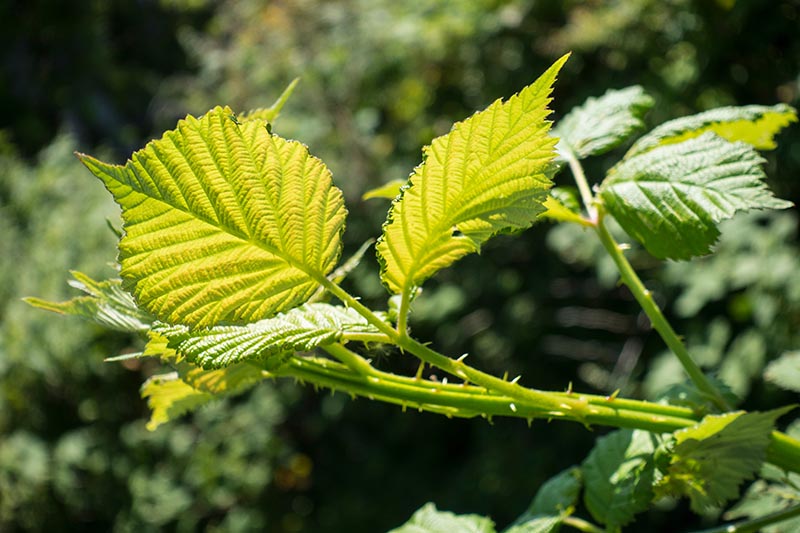
Primocanes are first-year canes. They’re a fresh green color and they don’t bear any fruit, but they do grow leaves.
By the end of the first summer, the tender green skin will give way to brown bark, hardy enough for overwintering.
The plants go dormant during the winter months. In the spring, last year’s primocanes are now in their second summer, and they’re called floricanes. Find more information on primocanes vs floricanes here.
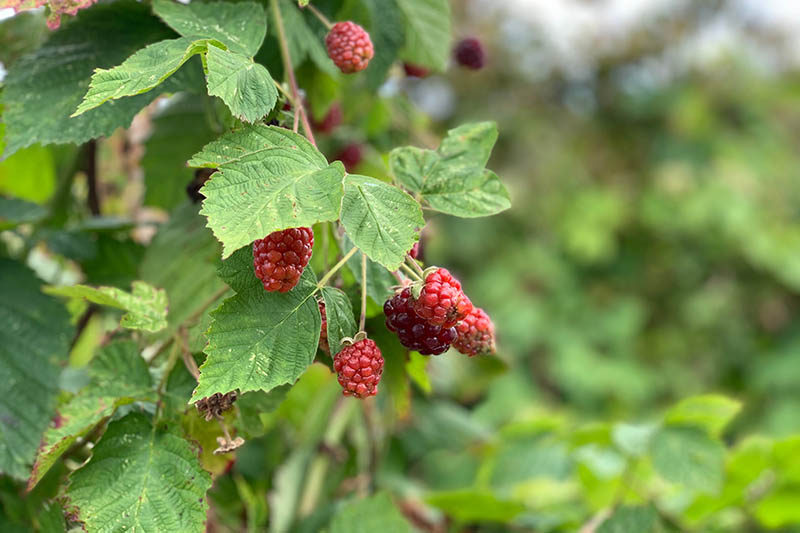
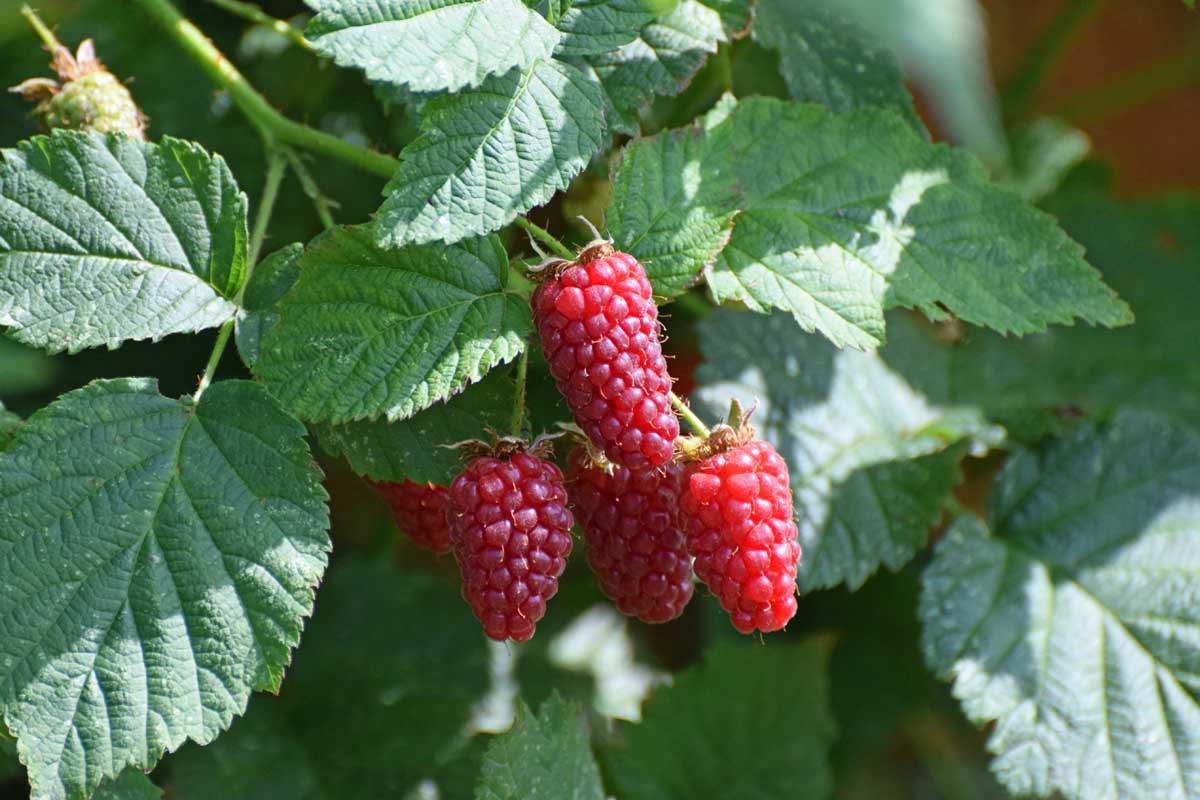
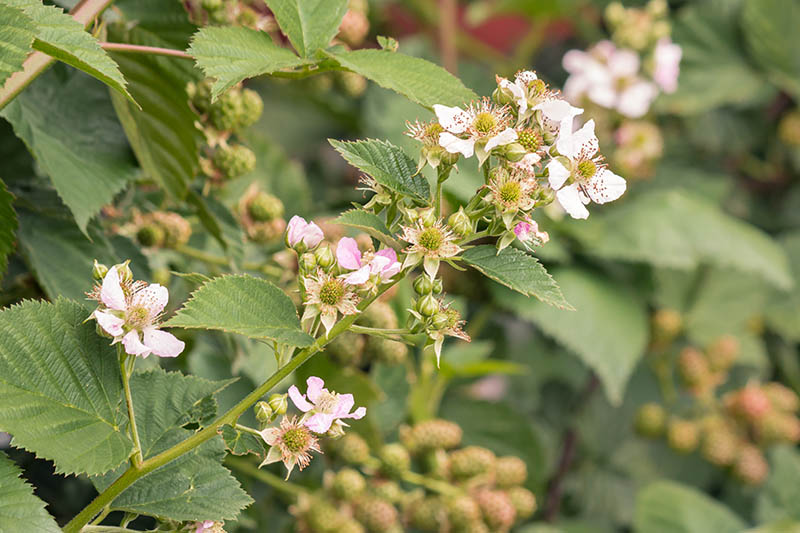
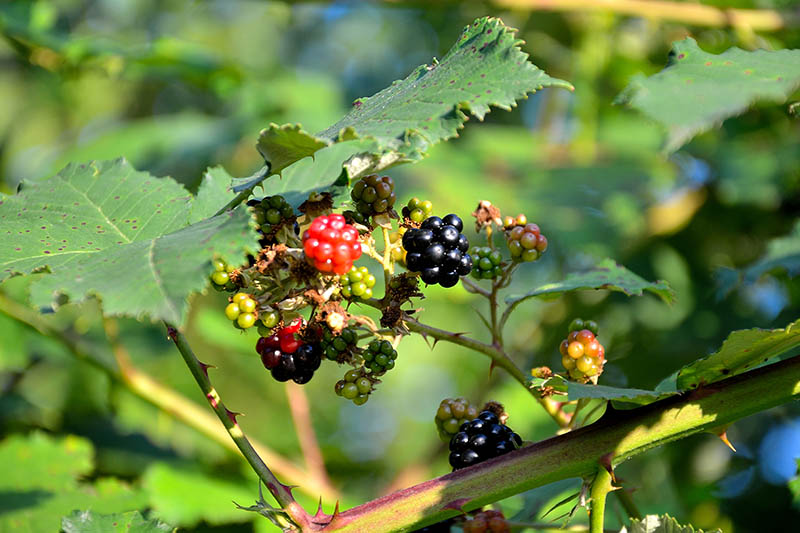
Brown, woody floricanes produce berries on green fruiting stems called laterals.
Seven Ways to Propagate
You can usually find dormant bare root plants available in the late winter or early spring. Transplants are usually available year-round.
I’m going to cover how and when to set out your purchased plants, and then go on to methods of propagating new plants from existing ones.
At the end, I’ll make a brief mention of tissue culture micropropagation, even though it’s not something us home gardeners can attempt!
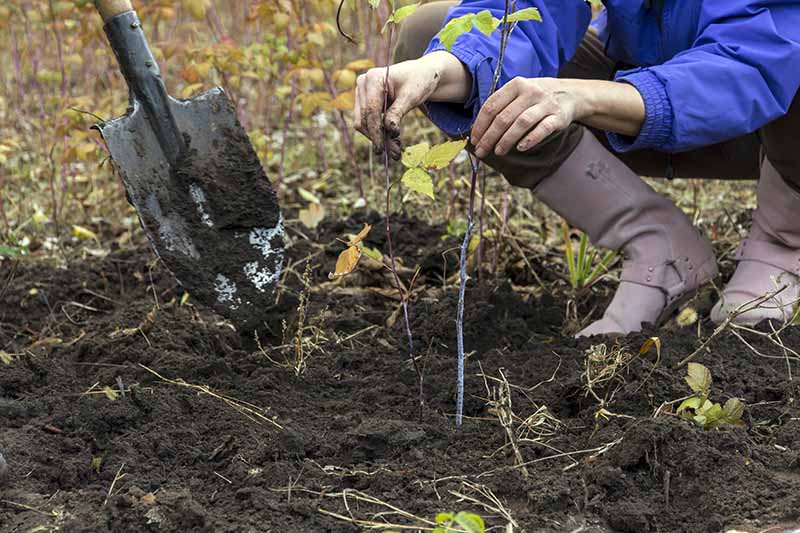
1. Plant a Dormant Bare Root
A bare root is the dormant root of a one- to three-year-old perennial plant that has been dug up during the wintertime. You will expect it to arrive with two or more canes.
The best time to put a dormant bare root plant into the ground is at the tail end of winter, or in early spring, before any new growth has started.

Planting at this time means they’ll come out of dormancy in time to produce a small crop the same summer, although a full crop won’t come until the next year.
It’s best to wait until the following year to harvest fruits, to allow the plant to become established.
If you plant bare roots in the summer, they may not have enough time to fruit that year before going dormant again in the fall.
It’s easy to plant bare roots. All you have to do is find a sunny location in an area with loose, well-draining soil.
Boysenberry plants need six to eight hours of full sun every day, and they hate having wet feet, so be sure to plant in well-draining soil.
Don’t fertilize the area yet, as the high concentration of nutrients could kill your dormant plant. You can, however, add several cups of organic compost to the hole you’ll dig in a moment.
Also, you’ll want to plant the root as soon as possible after purchase. Who knows how long it’s been sitting in the nursery or store, right? It needs a home in the soil!
Remove the root and cane from the packaging and soak the roots in water for about half an hour. This gives them some extra moisture to start with before you plant, and helps to remove any packaging debris.
Next, dig a hole that’s large enough to accommodate the entire root and wide enough to allow a few inches either side.
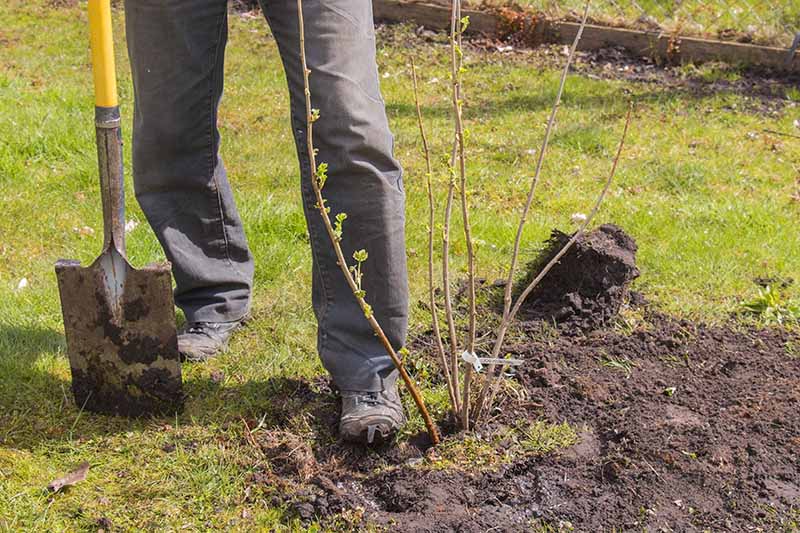
Settle the plant into the hole and tamp the soil back over it in a small mound. Pay attention to where the crown is, where the stem and the roots join, and make sure it is covered, and level with the top of the mound.
You should end up with a shallow trench around the mound of dirt. Add two inches of water to this trench, and you’re done! Green growth should begin to appear within about a month.
2. Transplant a Nursery Start
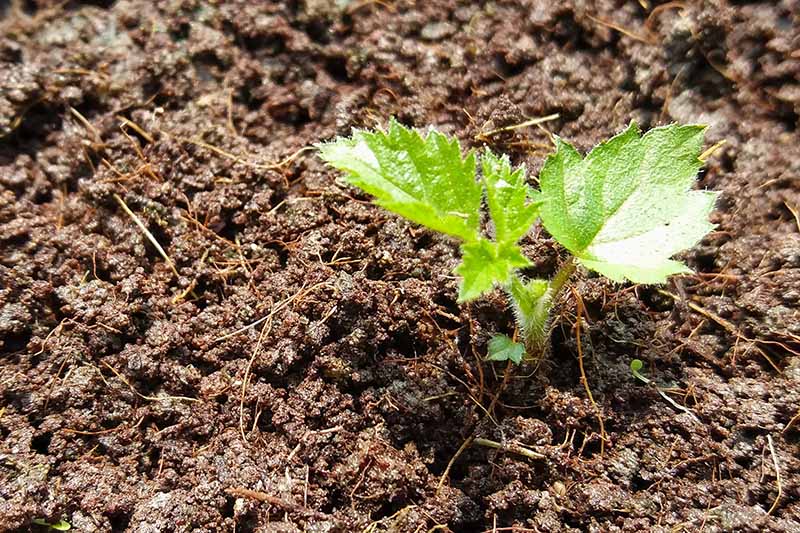
If you pick up a tissue culture, or small plant at your local nursery or order one online, yours will probably look similar to this.

Before you unwrap it, get your planting space ready.
You can transplant boysenberries during any season, but if it’s wintertime or temperatures regularly dip below 45°F at night, you’ll want to keep yours in a container indoors or in a heated greenhouse.
Plants should be transplanted in the spring two weeks after your last average frost date. For summer transplants, select the coolest time of the day to put your new bramble in the garden.
Whether you’re growing in a container or in the ground, you’ll want to first dig a hole the size of the root plug.
In the garden, select a spot that gets six to eight hours of sun per day, but that also provides a few hours of shade during the hottest part of the day.

Since the transplants aren’t dormant plants, you can mix a 20-20-20 NPK fertilizer into the soil, according to package directions, or amend the soil with well-rotted manure or compost.
Gently set the plug or root ball inside the hole, and tamp the soil back over it.
Now, give it an inch or two of water. Voila, you’re done!
3. Rooting a Stem Cutting
If a friend is kind enough to let you take a cutting from her boysenberry plant, you’re in luck.
It’s pretty easy to propagate new plants from cuttings, but you’ll want to take at least two to three cuttings to increase your chances of success.
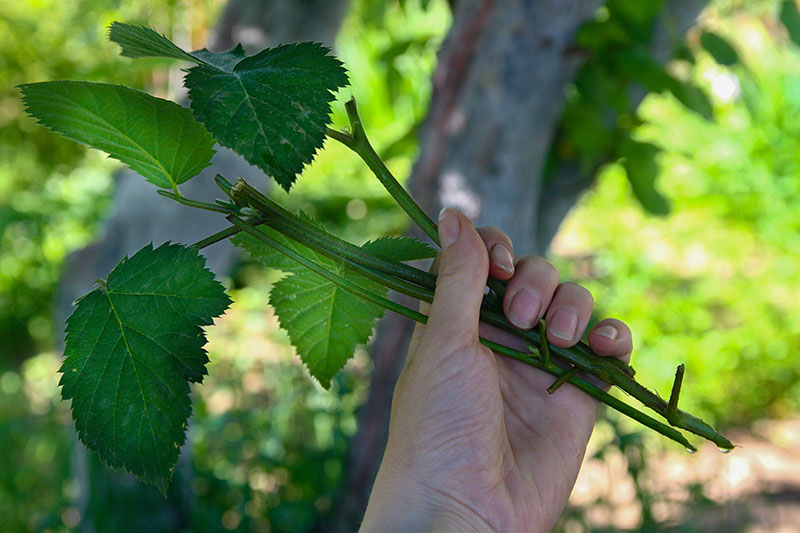
The first thing you’ll need to do is fill several four-inch pots with a soil-free peat moss and perlite mix, or coarse sand.
Now get out a pair of gardening gloves and sharp pruning shears.
Next, find several sturdy green primocanes. Measure about five to seven inches from the tip, and cut at an angle just under a leaf bud.
If you’d like to, you can dip the cut ends in powdered rooting hormone. This may increase your chances of success. Try giving one cutting rooting hormone and leaving the others without it, and see which ones thrive!
Bury the snipped canes in the potting mixture so that two leaf buds are below the soil level and at least two are above the soil line. Water thoroughly and keep moist.
After about a month, the cuttings should be growing new leaves, which will indicate that they’ve rooted.
At this point, you can transplant them into containers or out in the garden, in soil amended with 20-20-20 NPK fertilizer according to package instructions, or amended with well-rotted manure or compost.
4. Root Division
Root cuttings are usually taken in the early spring, when new growth is starting to appear. You want to transplant the new primocanes, not last year’s floricanes.
Find a section of the plant with one or two canes that are between six and 12 inches tall, that look healthy.
Cut straight down through the root and remove the cane, roots, and surrounding soil.
Plant in the same way as you would when transplanting suckers, as described above.
You can also dig up entire plants, and divide them. Just make sure that each division has at least one primocane. Learn more about dividing perennials here.
5. Tip Layering
As trailing vines, boysenberry plants naturally send out runners to self-propagate new plants. But if you want to help the process along (and be able to plant new boysenberries several feet away), or give plants to friends, try tip layering.
It’s extra easy because this method takes advantage of what the plant is already doing naturally to propagate itself.

All you need to do is fill a four-inch container with potting mix – or a larger one, if you wish – and find a long, trailing primocane.
Bury two inches of the tip in the soil, running it parallel to the surface. Give it one to two inches of water once a week, or water more often if it starts to dry out.
Within about a month, you’ll have a newly rooted, vigorous plant in your container! Cut the cane about a foot up the vine from the potted roots, freeing it from the parent.
Replant three to five feet away, or in another section of your yard or garden.
6. Transplant Suckers
If you see young brambles randomly popping up next to your original plant, don’t cut them off!
These are true boysenberries: they’re the product of the original plant root system creating rhizomes to establish new roots just a couple inches away from the parent plant.

Here’s how to transplant the suckers to another area of your garden, where they can thrive and grow into a whole new bush for you to enjoy.
Using a shovel or hand trowel, dig down about three inches away from the shoot or cane that has sprung up near the parent plant.
If there aren’t three inches of space between the sucker and the parent plant, simply dig down in between the two – about three to six inches – until you find the rhizome.
With the shovel or trowel, cut the rhizome, freeing the sucker and its roots from the parent plant.
Carefully dig out the sucker and place it in a bucket filled with water or wet newspaper.
Let the sucker soak for a few minutes while you dig a hole in your desired planting area, which should be at least three or four feet away to provide adequate space for a new plant to grow.
Dig a hole as deep as the root clump you just pulled up. Take the root ball out of the bucket and set it in the new hole.
Tamp the dirt around it and water thoroughly.
Now you have a free new boysenberry plant!
7. Tissue Culture
While tissue culture micropropagation is a fascinating process, it’s hardly a method most gardeners could do at home. Because of this, I won’t explain it in detail.

All you need to know is that it involves petri dishes, HEPA filtered air, sterile conditions, and hormones.
From just one shoot, 400,000 new plants can be produced in one year!

Many of the boysenberry plants sold at nurseries have been propagated this way.
Whichever Way You Propagate, You’ll Be Berry Pleased
No matter how you decide to propagate your boysenberry plants, you’ll end up with delicious fruit to eat that was grown in your own garden or backyard.
Have you ever tried these methods of propagation? Let us know in the comments below!
And for more information about growing boysenberries in your garden, check out the following guides next:
thank you! I am enjoying boysenberries in my garden but want to move some to my allotment where there is more room! :0)
Hi Sue! Thank you for reading and commenting. Boysenberries sure do love their space, don’t they? If you have any questions for how to divide and transplant, let me know! 🙂
I planted boysenberries in a raised bed and after a few earthquakes the soil level has dropped a solid foot. Can I just fill it back up to the top using soil, compost and mulch? I assume I don’t need to worry about rotting the crowns like strawberries since they’ll root along the canes? Any insight would be much appreciated. These are huge beastly brambles that I don’t want to lift if I don’t have to!
Oh my! I’m sorry the earthquake messed up your garden. No fun! You should be able to do what you described. The issue you want to avoid is having the existing canes rot at the base, so you might want to use a lighter material, like straw, around the canes so that they don’t hold as much moisture. But really, you probably don’t have to worry too much because boysenberries love to make more of themselves. I hope this helps!
Thank you for the input! We filled the bottom with rubble to lower soil costs (it’s a huge bed) and I think the earthquakes caused the soil to creep into spaces it wasn’t able to go before. It’s hot and dry here so maintaining moisture is more an an issue than drainage, so it sounds like I should be okay!
That’s a great idea! Oof, I know how expensive it can be to fill a large raised bed, or even one that looks like it shouldn’t be that bad to fill. Rubble at the bottom is excellent for drainage, so water away!
I would like to move my current potted boysenberry plants from California to Wisconsin. It’s has berries in it now. What would be the best way to do so? Was thinking cutting down to barefoot, then replant.
Hi Christine! How large are the pots? When is the move? What are Wisconsin’s laws regarding moving plants? These all have bearing on what the advice will be, so let me know if you can! ????
I have found better succsess when putting cuttings in a cup of water without any rooting hormone and just letting them stay there until I see roots emerge from the plant
Hello sky_cap, thanks for sharing your secret to success. Keep us posted on your rooted boysenberry cuttings if you have the chance.