
How do you harvest an apple?
Does that seem like a dumb question? I mean, you just reach out and grab it off the tree, don’t you?
Actually, there are a few considerations to take into account before you reach out for that lovely autumn fruit.
Particularly if you’re hoping for a crop of crisp, tasty apples, rather than ones that are mouth numbingly tart – or even mealy and tasteless.

We link to vendors to help you find relevant products. If you buy from one of our links, we may earn a commission.
So that your crop is ripened to perfection, you’ll want to know how to tell when exactly your apples are ripe as well as some of the finer points of the actual picking process.
Here’s what I’m going to cover:
What You’ll Learn
Estimating Your Harvest Window
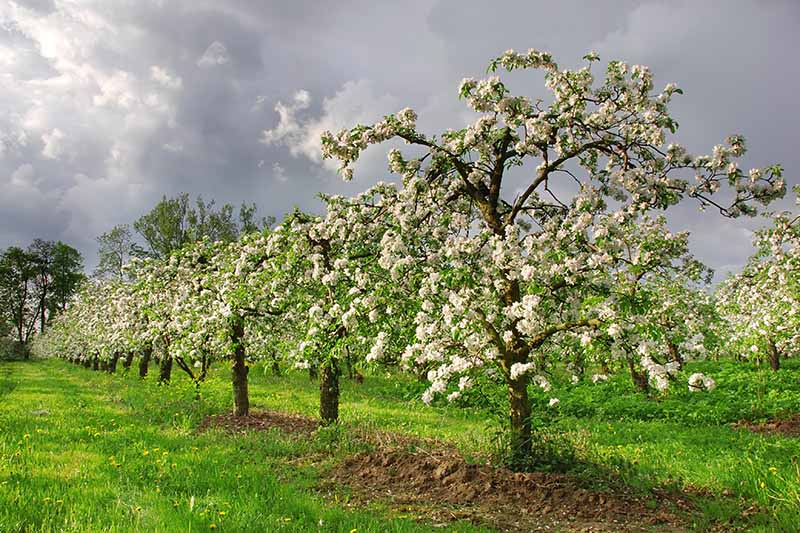
I’m going to explain how to judge ripeness later in the article, but before your trees even set fruit, it will be helpful for you to have a harvest window in mind, a rough estimate of when a particular tree will be ready to pick from.
There are a few things that will influence when your crop will be ready to harvest. Apple harvest times are affected by cultivar ripening times and the year’s weather conditions, as well as crop load.
Let me explain:
Cultivar Ripening Times
Just like the vegetables in your summer garden, different cultivars bear mature fruit at different rates, with some requiring less growing time, and some more.
Some cultivars ripen as early as July in locations with mild climates, with the latest cultivars ripening in October or November. Here’s a general idea of ripening times to keep in mind, along with a few examples:
- Very early cultivars ripen July through August and include such varieties as ‘Lodi,’ ‘Pristine,’ and ‘William’s Pride.’
- Early cultivars ripen August through September, and include ‘Ginger Gold,’ ‘Paulared,’ and ‘Sansa.’
- Midseason cultivars ripen September through October. These include ‘Gala,’ ‘Liberty,’ and ‘McIntosh.’
- Late season cultivars ripen October through November, and include ‘Cameo,’ ‘Fuji,’ ‘Golden Delicious,’ and ‘Granny Smith.’
Please note that the above ripening times may not be accurate for you if you live in a location where spring comes very late.
When you purchase an apple tree, the vendor should provide information on its expected ripening season, letting you know whether your tree is very early, early, midseason, or late.
Write this information in your gardening journal so that you have a handy reference available – especially if you plan to grow your own small orchard.
Once you get to know your tree, you can make notes on actual ripening times, and then refer back to this information in subsequent years.
In addition to this, your local county extension may be able to provide more precise information on when different varieties usually reach maturity in your area.
You can locate your local extension office via the USDA’s National Institute of Food and Agriculture directory.
Weather Conditions
Weather conditions throughout the year can have an effect on when your fruit reach maturity, so this is an additional factor to consider when estimating when your crop will be ready.
If the weather is warmer than usual in spring, summer, or fall, your apples may ripen more quickly than estimates indicate, or than they have in past years.
On the other hand, in years when the weather in a given season or seasons is cooler than average, your crop may be a bit slower to mature. This can create variations in harvest times of a week or more from year to year.
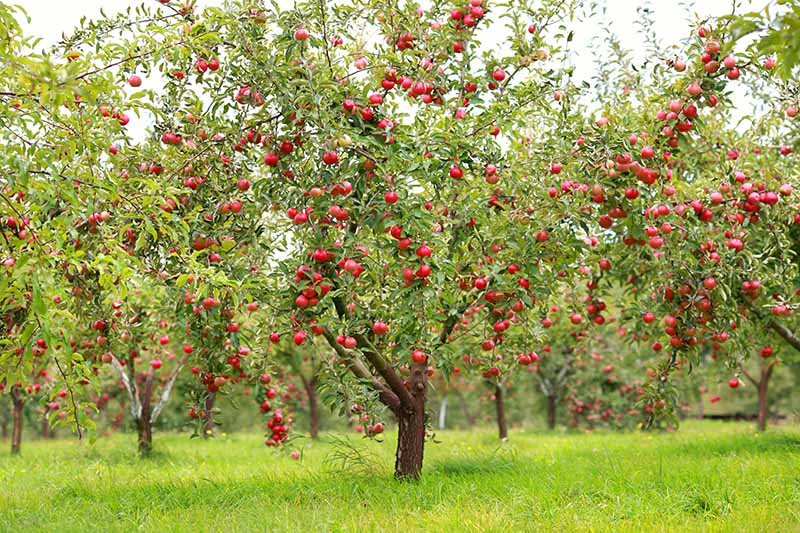
Crop Load
Another factor influencing estimated maturity times is how loaded your tree is, that is to say, whether you have a lot of fruit covering the tree, or if yields are sparse.
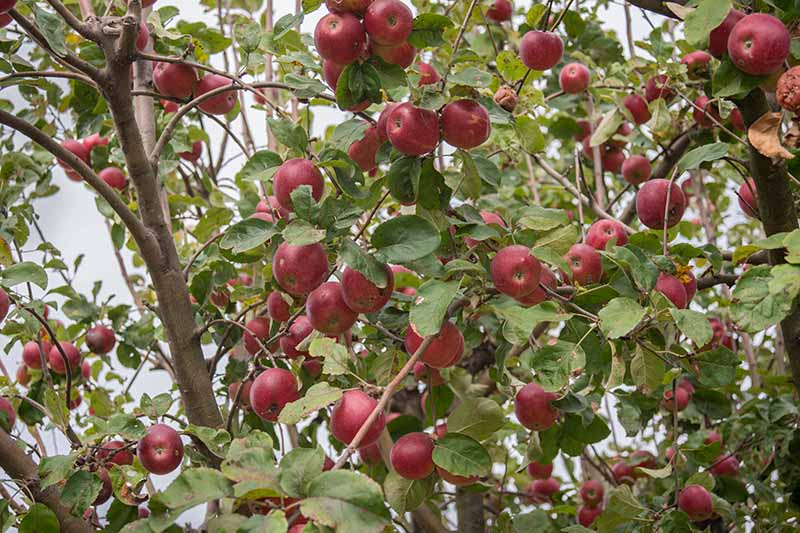
Fruit on trees with a heavy crop load will ripen later since the trees are busy sending resources to more individual apples. With fewer developing fruits, trees with lighter crop loads are able to ripen their apples more quickly.
So have a look at your tree and consider its crop load when trying to estimate your picking time. This information can be particularly helpful when comparing harvest windows from year to year.
Judging Ripeness and Maturity
Before you harvest, you’ll want to know if your apples are ready to eat – but there’s actually a difference between those that are fully ripe and those that are mature.
Ripe apples are sweet and can be eaten straight off the tree, but they won’t hold up as long in storage.
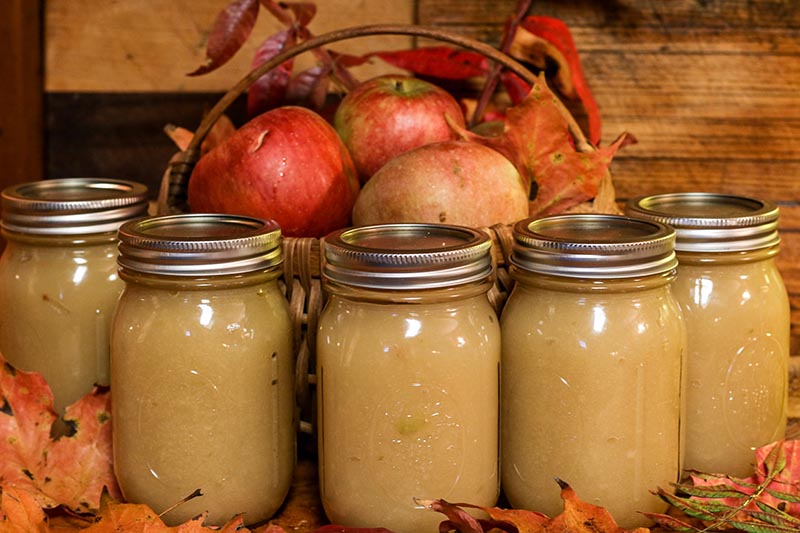
Ripe fruit is sweeter than fruit that is simply mature, and can be used for short term fresh eating, and of course, baking and preserving projects.
Mature fruit, on the other hand, can also be eaten fresh, but they are still just a little underripe. These will have a more tart flavor and a slightly starchier mouthfeel than fully ripe fruit.
Apples will continue to ripen after they are picked and will hold up well for long term storage when stored properly.
When picking your crop, you want the fruit to at least be mature, if not ripe, depending on your intended use. Or you could pick some that are ripe, and some that are just mature, potentially from the very same tree at the same time.
Professional growers start testing their crop for maturity at least two weeks before expected harvest time, examining fruit color, firmness, and starch content. I’ll describe how to judge these factors very shortly.
The pros have a few other tricks up their sleeve, since getting large crops to market is at stake, such as starch iodine testing.
But in this article, I’m going to focus on testing that is easily available to the home grower with nothing more than your senses of sight, touch, and taste.
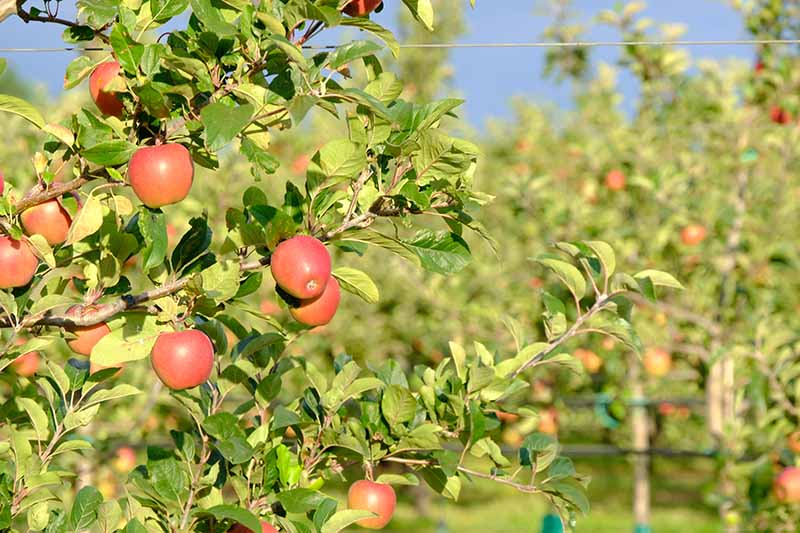
Fruit usually doesn’t mature at the same rate all over a tree. It will mature first on the southern side of your tree, so start there when testing your fruit for maturity.
Another thing to keep in mind is that there is an optimal harvest window which lasts between a week and ten days, more or less, so it’s important to be attentive to your trees and be ready to start evaluating ripeness as soon as possible.
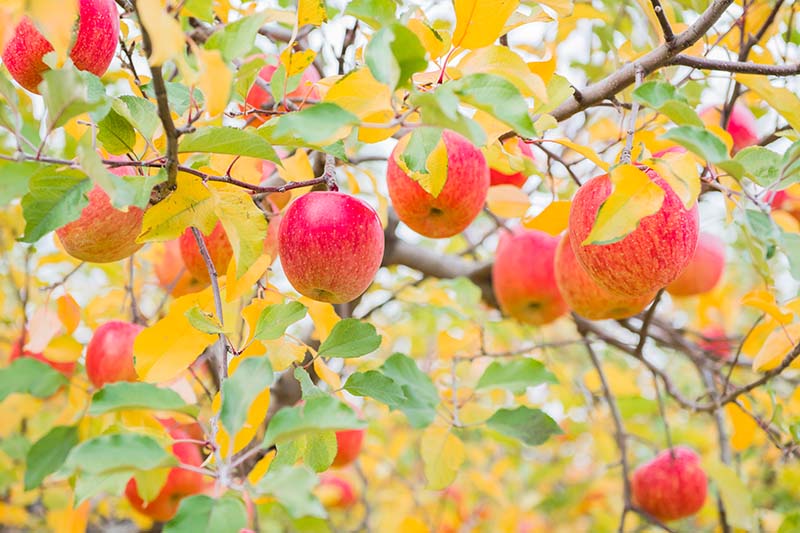
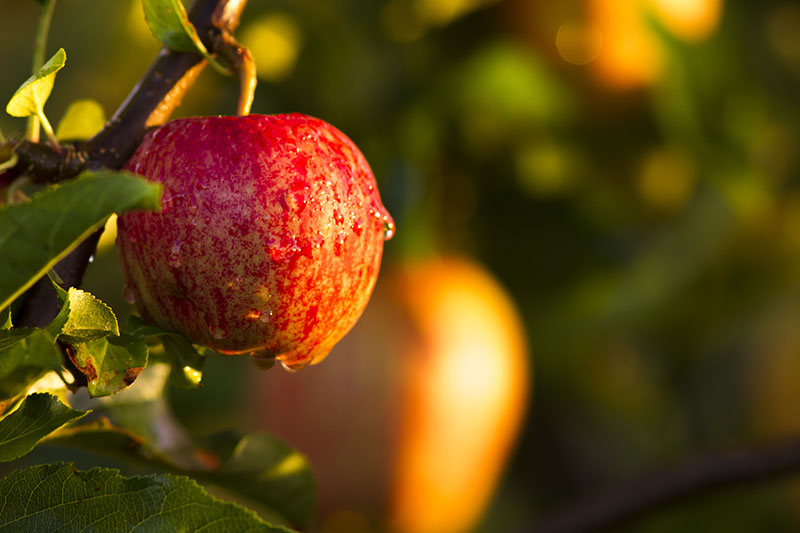
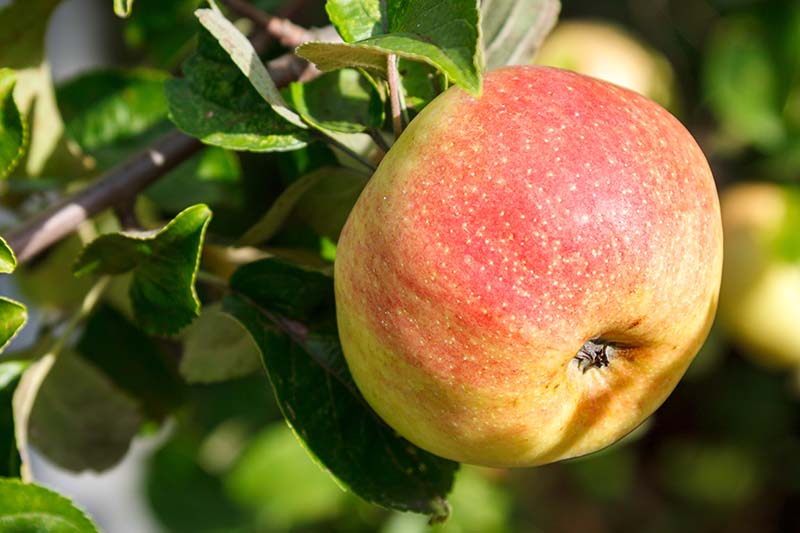
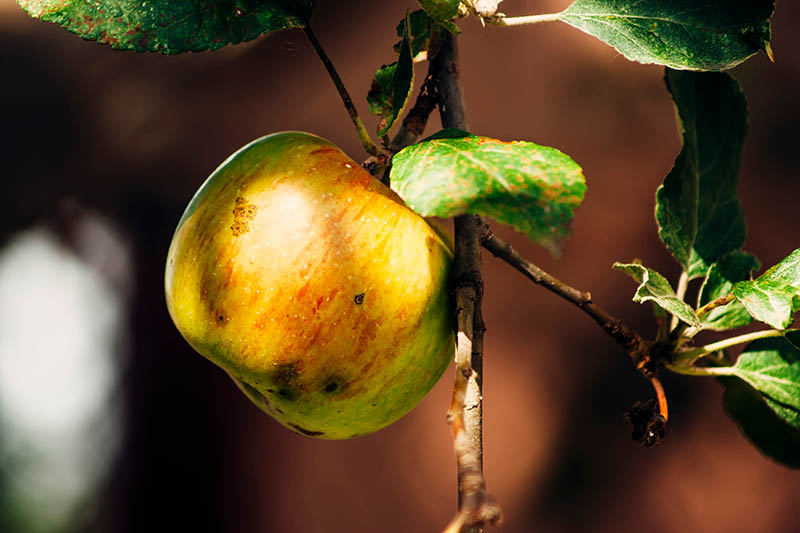
Background Color
While your vision is not the only sense you should use when judging your crop for maturity, it is an excellent place to start.
Inspect one of the apples on your tree. Does it have a mix of green and red coloring on its skin?
If you ignore the red areas of the skin, the remaining color is the background color. When many cultivars mature, their background color changes from green to yellowish green or golden.
For solid red cultivars, you may be able to see a background color on the shaded side of the fruit, since red pigments are more concentrated in areas of the skin that are exposed to the sun.
While this test does not work easily for all cultivars, particularly those that are still green when ripe, it is relevant for many of them and is a good place to start.
If apples are overripe, their skins will take on a dull appearance.
However, as with our fellow humans, it’s important not to judge your apples solely on the color of their skin. ‘Red Delicious,’ for instance, can turn red before reaching full maturity.
Keep reading to learn what steps to take next!
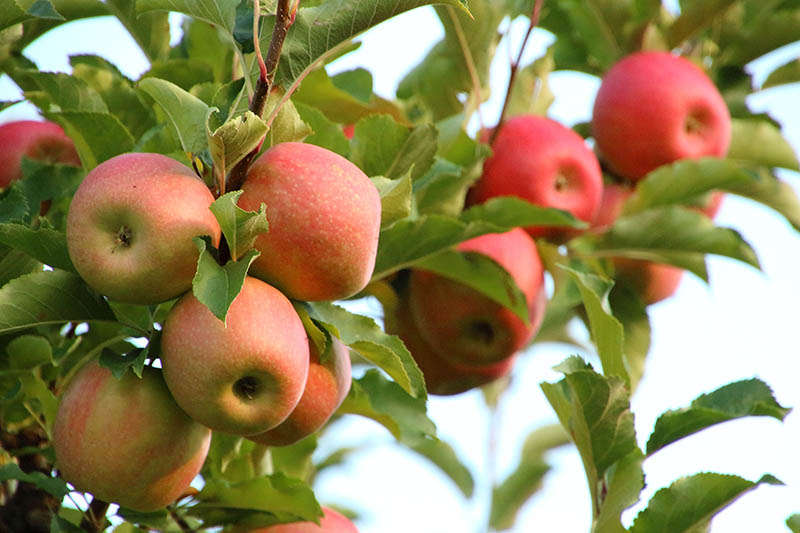
Firmness
Your next step in deciding if your apples are ready to pick is to use your hands: feel one or two.
Mature fruit should feel firm when handled, but not rock hard.
Firmness may be difficult to judge until you get to the taste test. If you’re not sure if the fruit feels too hard or not, wait until the taste test step to make your final decision.
On the other end of the spectrum, apples that are soft when squeezed are overripe, and should be picked and used immediately. If they have become too ripe to eat, they can be composted.
Stem Test
If your apples look like they are the right color and they are firm, now it’s time for a stem test.
Choose an apple on the southern side of your tree and rotate it gently.
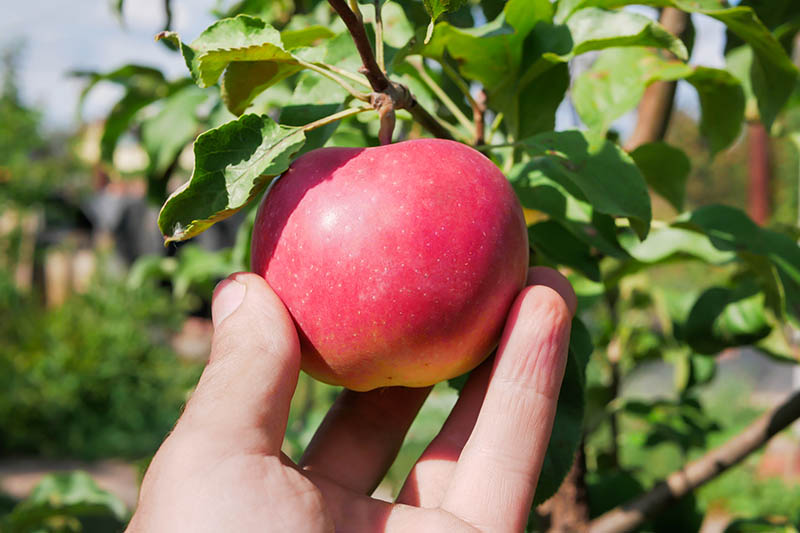
Does it come off easily, or does it resist?
Fruits that are mature should detach easily from the tree.
If the apple does not come off without forcing it, your crop is not ready yet.
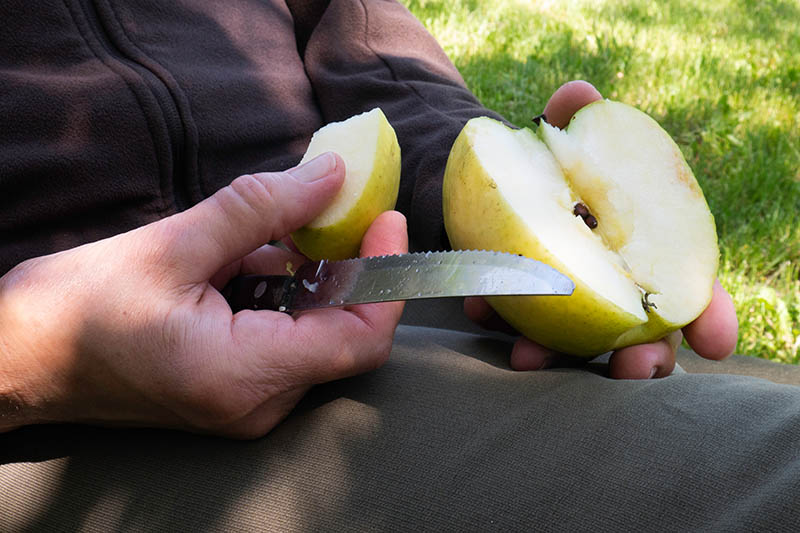
Flesh Color
If you now have a fruit in your hand that has successfully passed its background color, firmness, and stem tests, get ready to slice it in half.
You can also inspect flesh color to judge maturity by picking one and cutting it open.
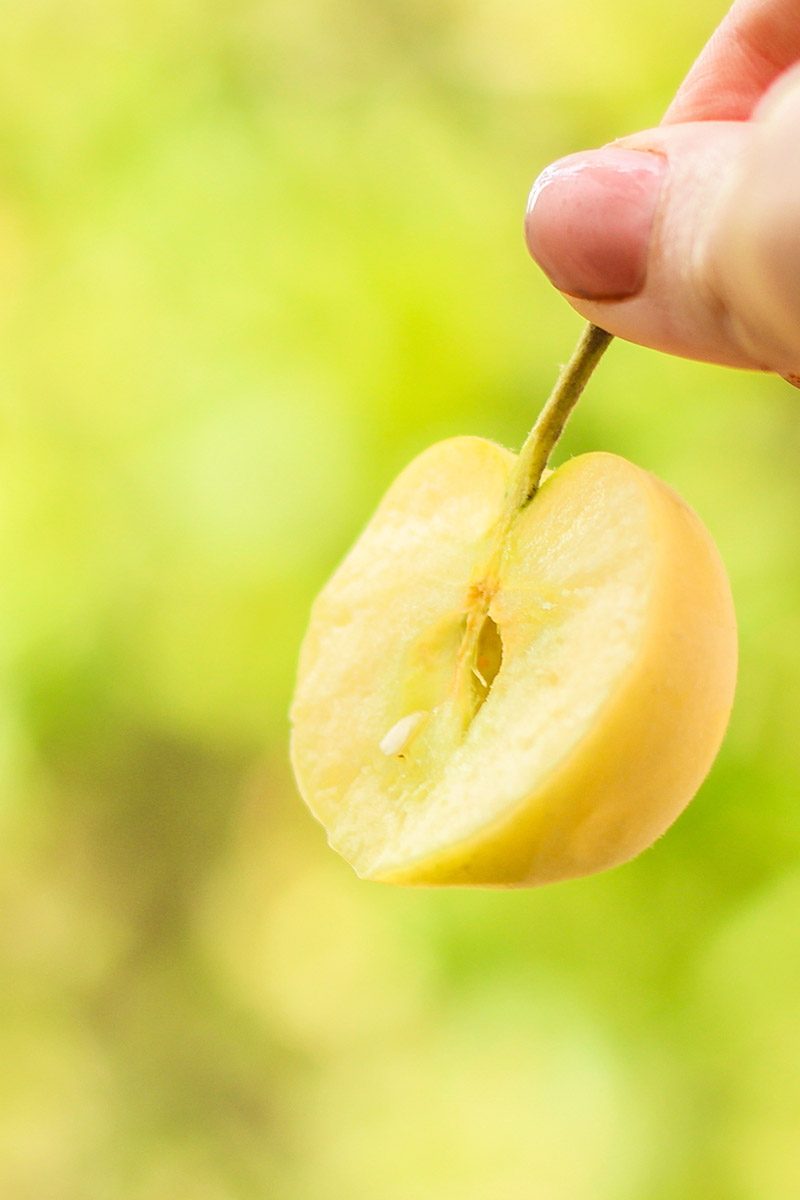
Apples that are not quite mature will have a greenish cast to their flesh. If the flesh has a greenish tint, come back and do another test in a few days.
Mature apples, on the other hand, will have flesh that looks white in color in many cases, or that has a yellowish cast.
Taste Test
Now comes the fun part – it’s time to use your sense of taste to look for the telltale flavor of your chosen cultivars, to indicate maturity or ripeness.
Take a bite out of the fruit you just picked.
Here’s your second chance to evaluate firmness. If it’s too hard to bite into, your harvest is not ready to pick.
If it passes the firmness test, the next question to ask yourself is: does it make your mouth pucker? If so, they are still a bit immature.
Immature fruit are not only tart, but they are also astringent, giving your mouth that puckery feeling. They also have a texture that can make you feel like you have cotton in your mouth.
A mature apple should feel crisp in your mouth instead of cottony.
Along with being crisp, mature apples will be slightly starchy, but you should find the taste pleasant, in contrast with the starchiness of those that are immature.
When these fruits mature, their starches turn into sugars. So if you’ve got all starch and no sweetness, they need more time on the tree.
On the other hand, if the flavor you experience is quite sweet, it is past maturity, and is now ripe and ready to enjoy for fresh eating.
If your apple seems like it’s at the right state of maturity or ripeness, pick a few more and taste test them as well before harvesting from the entire tree.
Fruit doesn’t always ripen all at once – the side that gets the most sun will ripen more quickly – so you may need to harvest your crop in batches over a week or so.
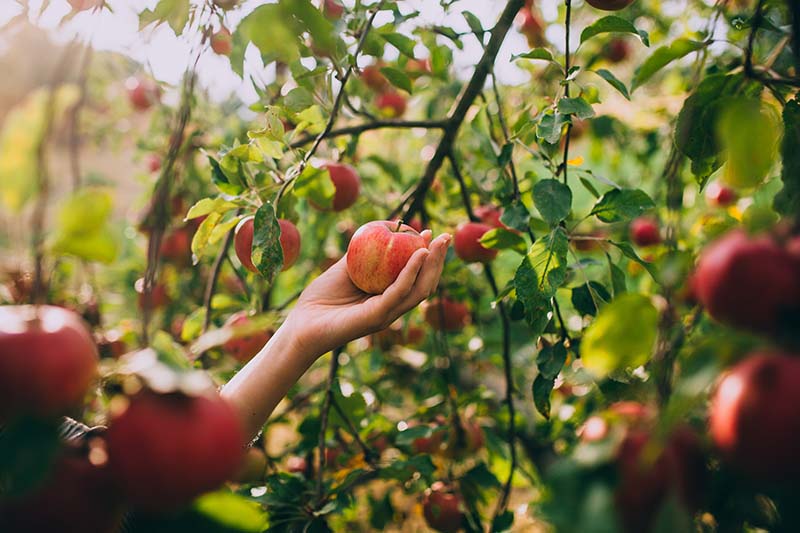
Picking Time
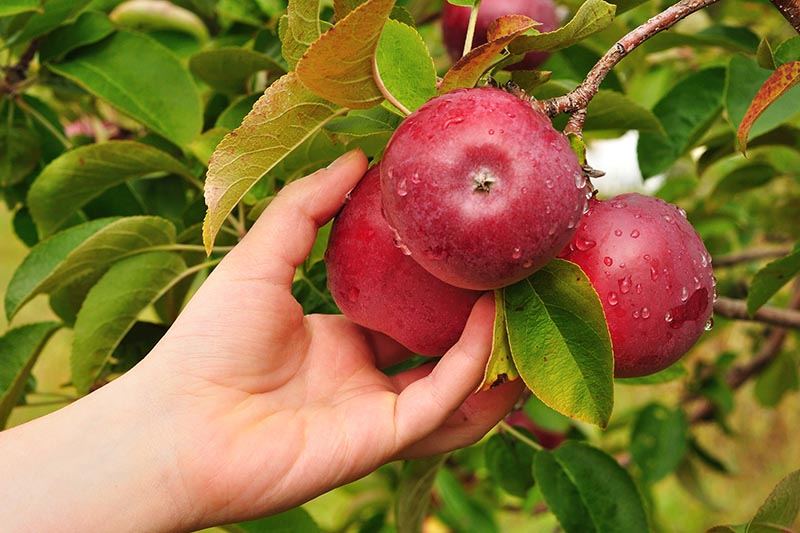
Once your crop is mature or ripe, depending on your preference, it’s time to get picking!
Take an apple in your hand and twist it gently to remove it from the tree. Make sure this a gentle process, so that you are detaching the apple and its stem from the tree without yanking twigs off of the tree in the process.
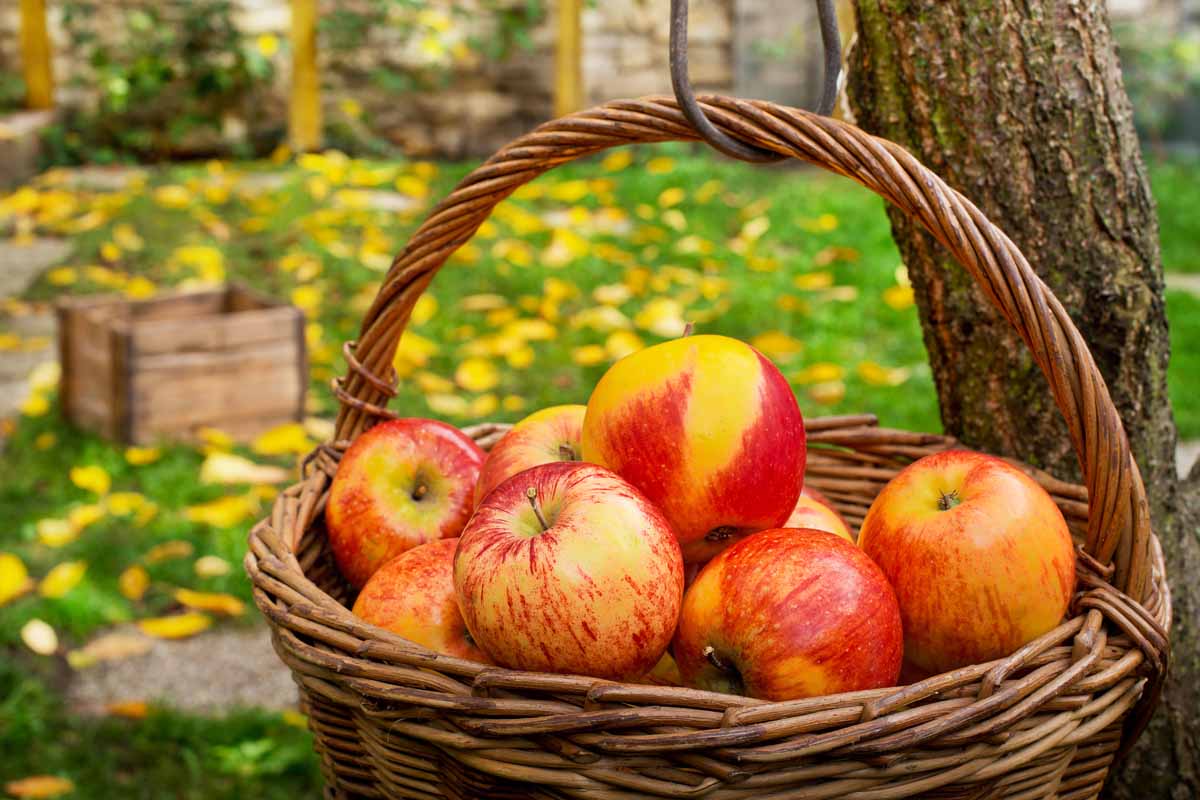
Again, gently place your crop in a bowl, basket, box, or bag as you harvest. I use stainless steel bowls, shallow cardboard boxes, or reusable plastic grocery bags to harvest from my fruit trees, depending on the quantity.
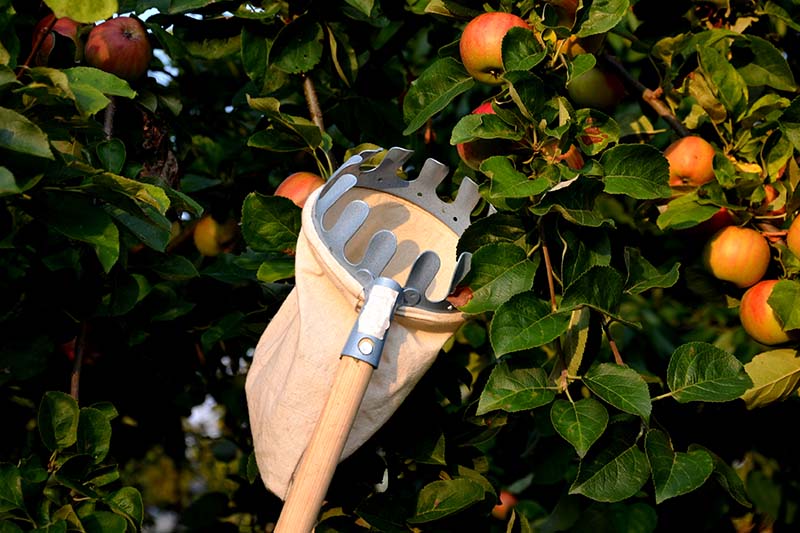
There are harvesting bags available for purchase that will help make the process even easier – you can sling one over your shoulder or across your body and drop your harvest right into the bag.

This harvesting and gathering bag, available at Lehman’s, is particularly well-designed.
It’s made out of waxed canvas and has a long strap so you can wear it across your body. Another especially nice feature is that you can unload your harvest from the bottom of the bag.
If your tree is large in stature, you may need the help of a ladder to reach the fruit that’s hanging from its highest branches.
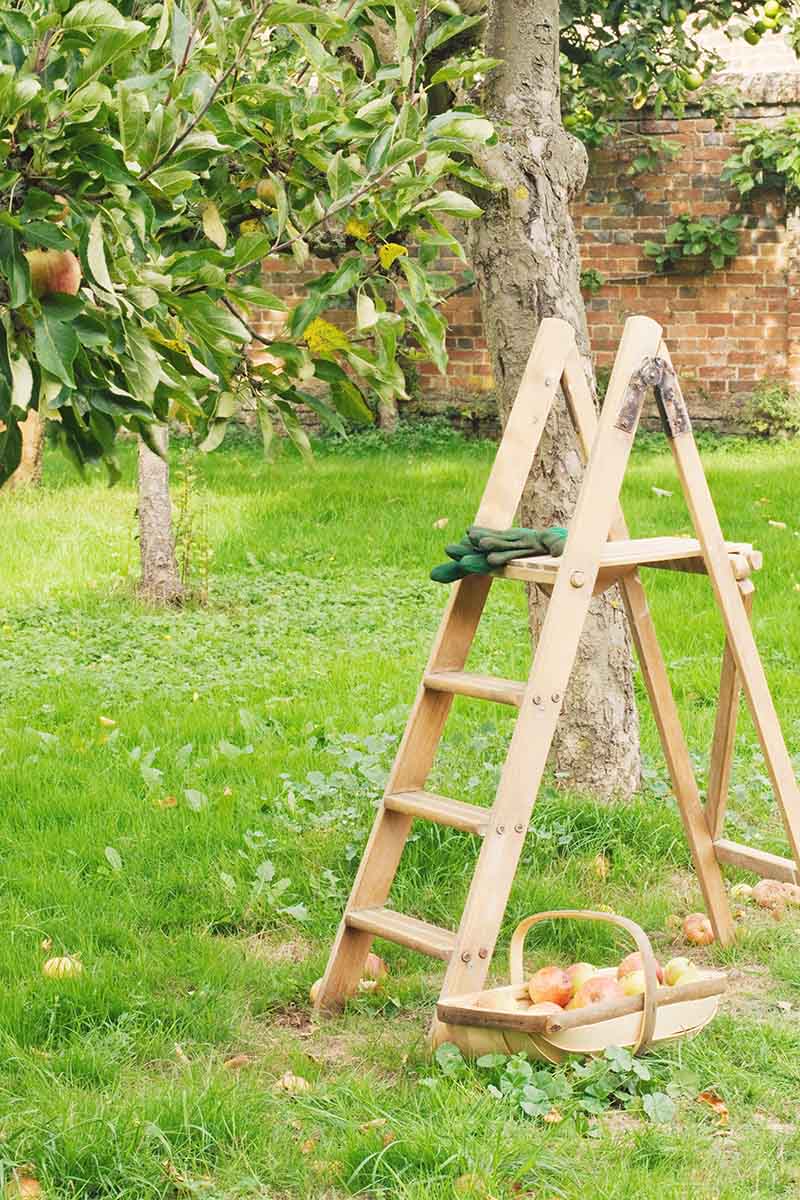
This is where that long-strapped harvesting bag is going to come in handy.
You can sling it across your body, climb up the ladder, and hold on with one hand, while picking apples and dropping them into your bag with the other hand.
Of course, as with any use of a ladder, a good safety measure is to have a second person steadying the ladder when you climb up – and possibly preparing to catch you if you fall – in case you lose your balance. Hey, it happens to the best of us!
Alternatively, you may want to try out a fruit picker tool to use while safely on the ground.
Some fruit picker tools have telescoping poles, allowing you to adjust them to reach different heights, such as this stainless-steel fruit picker from Best Fire, available via Amazon.
Stainless Steel Fruit Picker Tool
While picking apples, take care not to bruise or damage them, which will cause them to spoil more quickly.
Only unblemished fruit should be stored for long periods of time. To learn more about the best ways to store apples, read our article.
Any apples that aren’t suitable for storage can be eaten fresh, processed into juice or preserves, dehydrated, or added to baked goods. Store them in the crisper drawer of your refrigerator until you’re ready to eat or process them.
Troubleshooting
Now that you know the ideal way in which your apple harvest should happen, it’s good to be prepared for cases when it doesn’t go exactly as planned, such as when fruit falls prematurely or before you have time to pick it, or in case of frost hitting your crop before harvest.
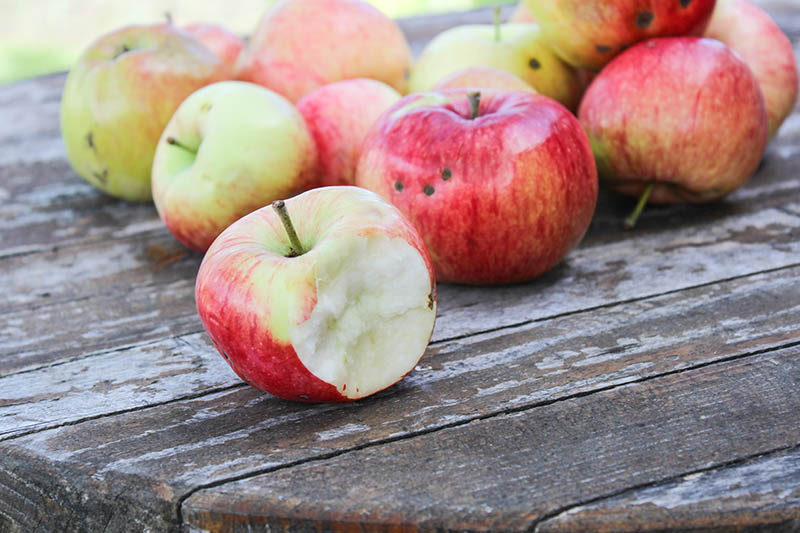
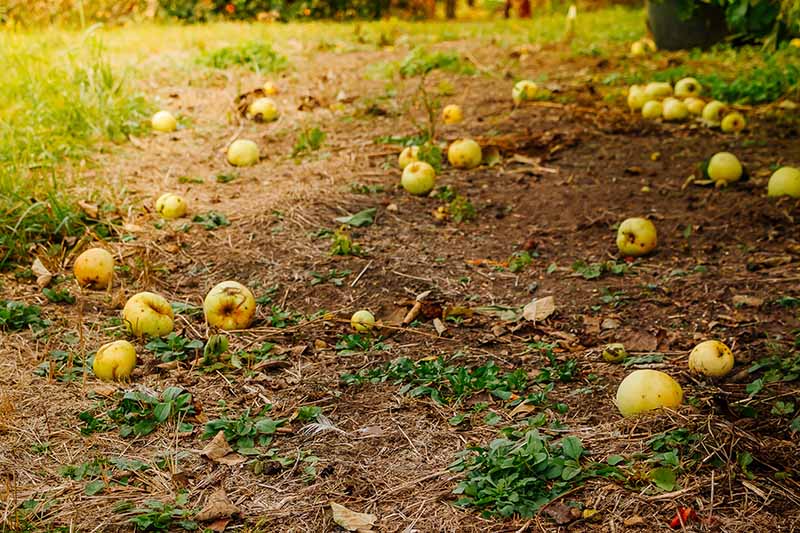
Fallen Apples
While apples falling off the tree is often an indication of full ripeness, there are other reasons why they might drop from the tree prematurely, such as an infestation by codling moths.
Immature apples are unpalatable and will cause your mouth to pucker if you try eating them. These won’t continue to ripen after picking.
Instead of using mine for food, I feed them to my sheep and donkeys as treats – they don’t seem to mind the astringent flavor.
These immature fruits can also be composted.
When I find mature apples on the ground, on the other hand, I sort through them and salvage any that are in good shape to use in the kitchen.
I cut out any damaged portions and use the rest for baking projects, or transforming into preserves.
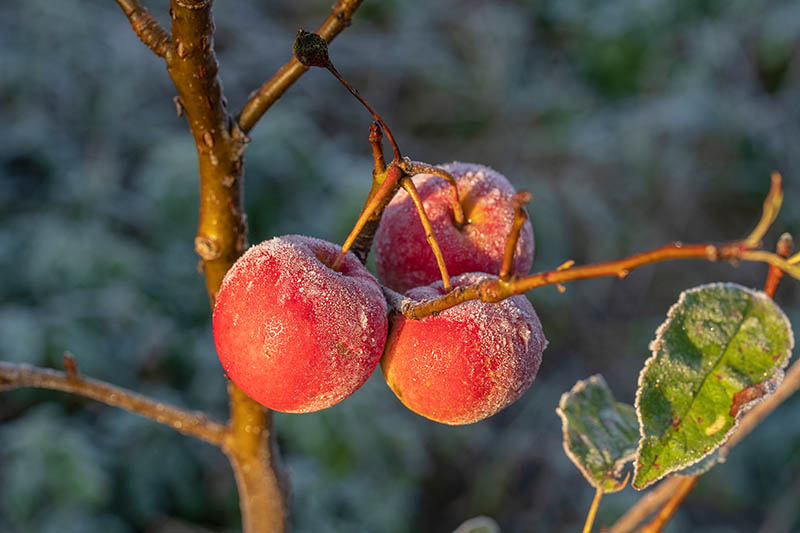
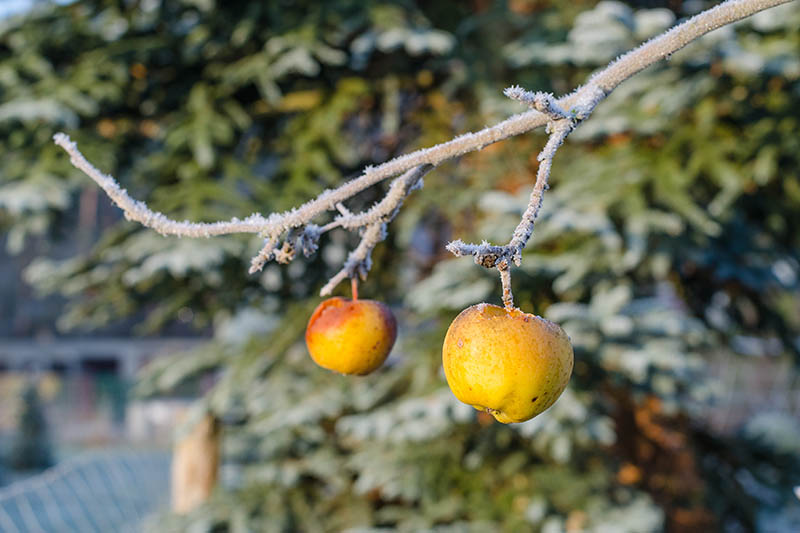
Frost and Freeze
So what do you do if your apples are still on the tree but they haven’t matured yet, and freezing temperatures are on the way?
Apples can handle some light frost since they don’t freeze until temperatures drop to 29°F.
If they are still not quite ripe when a light frost is on the way, leave them on the tree to allow them to continue ripening.
However, if a hard freeze is in the weather forecast with temperatures dropping to 29°F or below, there is a risk that your crop will be damaged.
If your crop is mature, pick as much of it as possible prior to a hard freeze.
However, if the weather forecast predicts low temperatures right at 29°F, look at the hourly forecast. If the weather is likely to only dip briefly to that temperature, your crop may be able to withstand it. It is prolonged exposure at or below this temperature that causes damage.
In my location in the arid Intermountain West, the coldest overnight temperatures are usually in the morning right before sunrise, and they don’t last very long before the sun starts to warm things back up.
If you find yourself in a similar situation with your apple crop, and it’s at risk of a very brief exposure to 29°F weather, you may want to leave your fruit on the tree to continue maturing.
If your crop gets hit by a hard frost when it is at maturity or full ripeness, the fruit may be salvageable.
Wait until the air temperatures warm back up before harvesting the fruit. Because ice crystals can form within the apples and damage their cells, they will not hold up to storage and should be used as quickly as possible.
These fruits may be best put to use in applesauce or some similar preparation where the texture isn’t such an important consideration.
If you miss out on your apple harvest year after year because of hard frosts, you probably have a variety that is too slow to mature for your climate.
To ensure that your crop has enough time to reach maturity, pick a variety better suited to your location.
A good place to find suggestions on varieties for your specific location is at your local county extension office.
Sweet for the Picking
Since there are quite a few details to remember before you get busy picking, here’s a quick review:
Start with a good idea of when your crop should be ready. Check the estimated ripening time for your cultivar, take the weather into account, and consider your crop load.
When you’re ready to test an apple for maturity, examine the color of both the skin and the flesh, give it a squeeze, do a stem test, and finally, let your taste buds be the final judge.
Now that you know how to manage your apple harvest, you’ll have a sweet bounty that’s ready to eat, bake with, and put up for the winter. That’s what I call living the good life!
Have you ever experienced any unusual challenges with harvesting your apples? Let us know in the comments below!
And for more information about growing apples in your garden, check out these guides next: