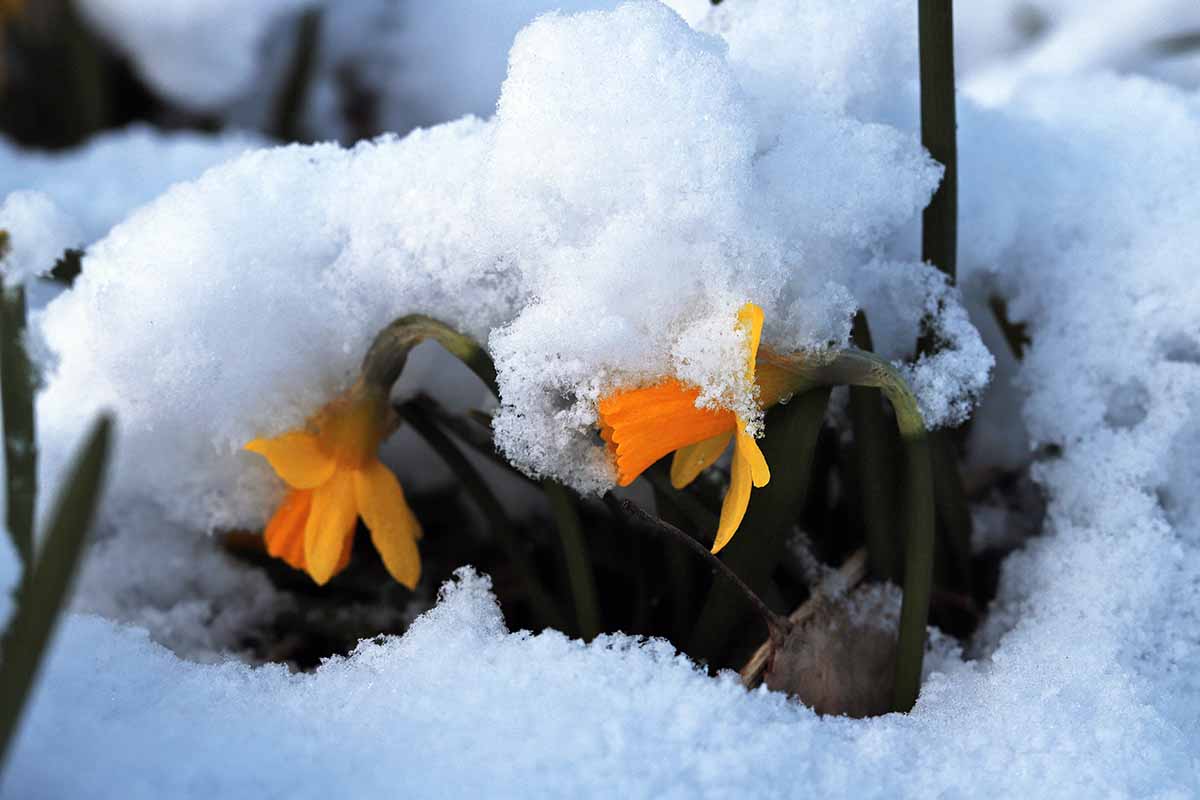
Daffodil (Narcissus spp.) bulbs are hardy in cold weather and easily survive freezing winters in the ground – but there are those situations when you may want to lift your bulbs and store them until it’s time to replant.
We link to vendors to help you find relevant products. If you buy from one of our links, we may earn a commission.
For example, if your garden is in an area warmer than Zone 9 and beyond their hardiness range, they’ll need several weeks of artificial cold treatment in the refrigerator to bloom again.
Or perhaps you have an overgrown clump that needs dividing, or you simply want to reuse their growing spot, adding fresh color from bedding plants or summer flowers.
Whatever your reasons, it’s easy to dig up, cure, and store bulbs so they’ll bloom again next year!
Here’s what you’ll find up ahead:
What You’ll Learn
How and When to Lift Daffodil Bulbs
For strong, vibrant bulbs with an abundance of flowers, it’s important to allow the long, strappy leaves to mature, turn yellow, and die off in their own time.

Cutting back the green foliage robs the bulbs of vital energy collected through photosynthesis, which is needed for them to grow large and healthy so that they will survive dormancy.
For the best results, deadhead faded flowers promptly to concentrate energy into the bulbs.
The dying foliage can look a little messy, but it’s short-lived as it typically dies off about six weeks after they finish flowering.
Once the foliage is brown and dry, cut it away at soil level.
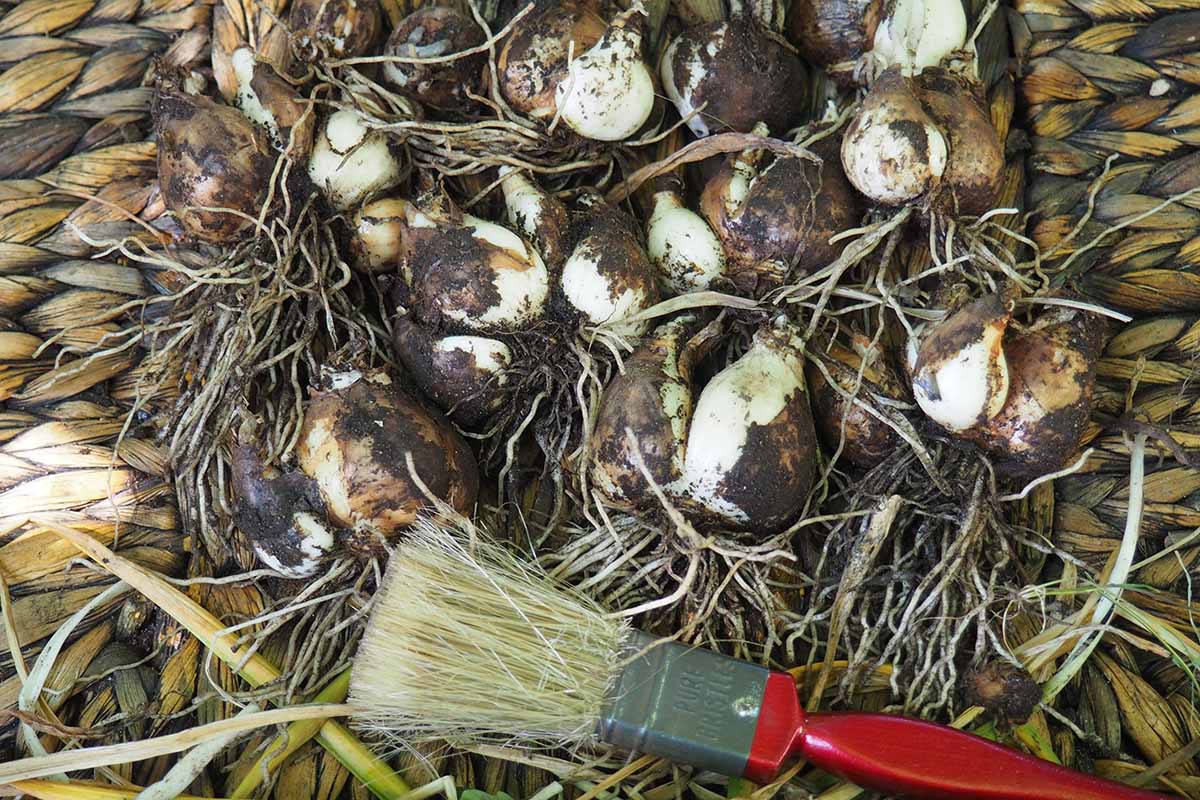
To lift, use a spade or trowel inserted several inches away from the bulbs to carefully lift a large clump of bulbs and soil – taking a generous margin of soil helps to prevent accidental bulb damage.
Shake the clump and use your fingers to crumble away the soil. Gently pull the bulbs apart.
Lay them in a warm, dry location out of direct sunlight for a few hours to dry the surfaces.
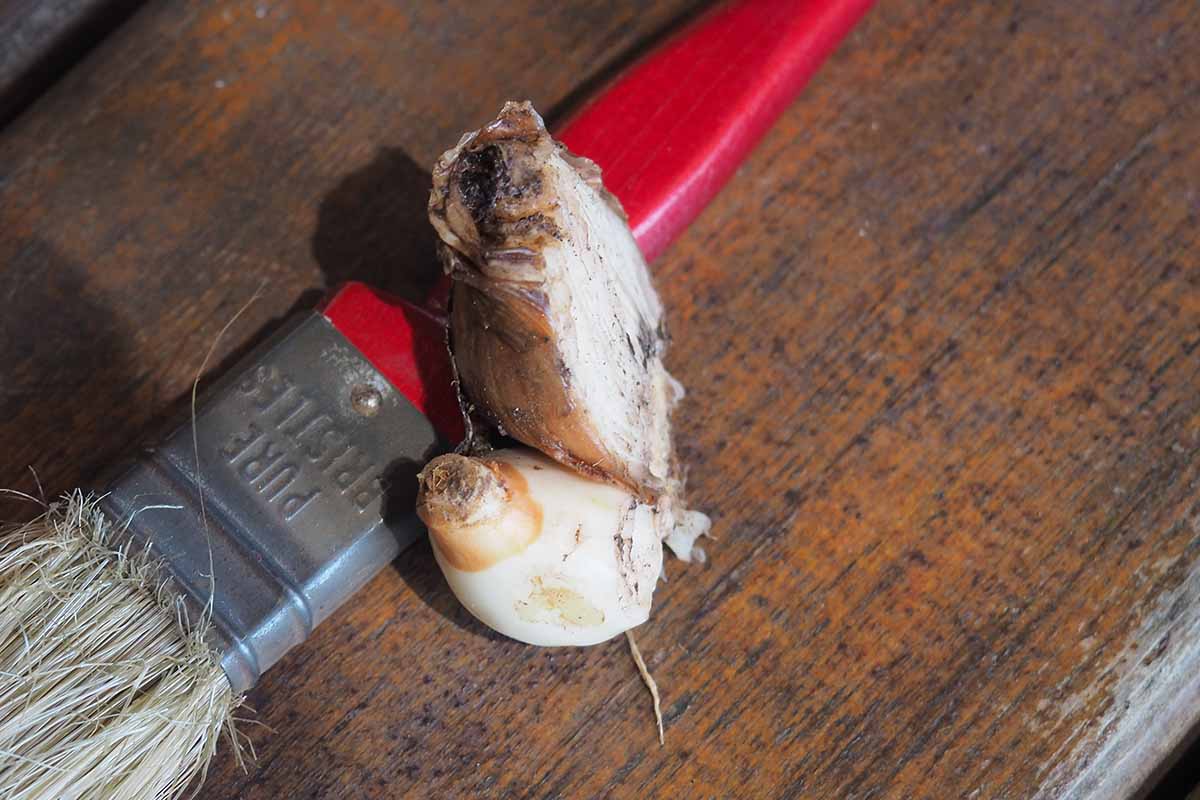
Once they’re dry to touch, brush away any remaining soil with your fingers or a soft brush, taking care to retain the brown, papery covering (the tunic) and discarding any stock that’s damaged, moldy, or soft.
Trim the roots close to the basal plate with clean, sharp scissors or garden shears. Trimming the roots helps to prevent early growth while still in storage.
Bulbs can be dug up any time after the foliage is dead and prior to the ground freezing.
But if you need to give them an artificial cold spell in the fridge, allow up to 14 weeks of chill time before replanting in fall.
Cure Before Storage
Before storing, it’s helpful to cure them for about a week.
Curing is useful for removing excess moisture, which extends a bulb’s storage life and helps to prevent issues like bacterial rot and mold.
To cure, lay them on a large, flat piece of cardboard, a screen, or a tray in a single layer. Place in a warm, dry location out of direct sunlight and with good air circulation.
For even drying, rotate the bulbs 90 degrees every day for a week and then place them in storage.
How to Store
Once the bulbs are cured, it’s helpful to sprinkle them with a natural fungicide like garden sulfur to further inhibit disease and pests.
You can find Bonide Sulfur Plant Fungicide in one- or four-pound options at Arbico Organics.
If you’re storing multiple types, be sure to note each cultivar’s name on the containers.
For short term storage of up to six weeks, place them in a mesh/net bag or open-weave basket or bin in a cool, dry location away from drafts and heat sources.
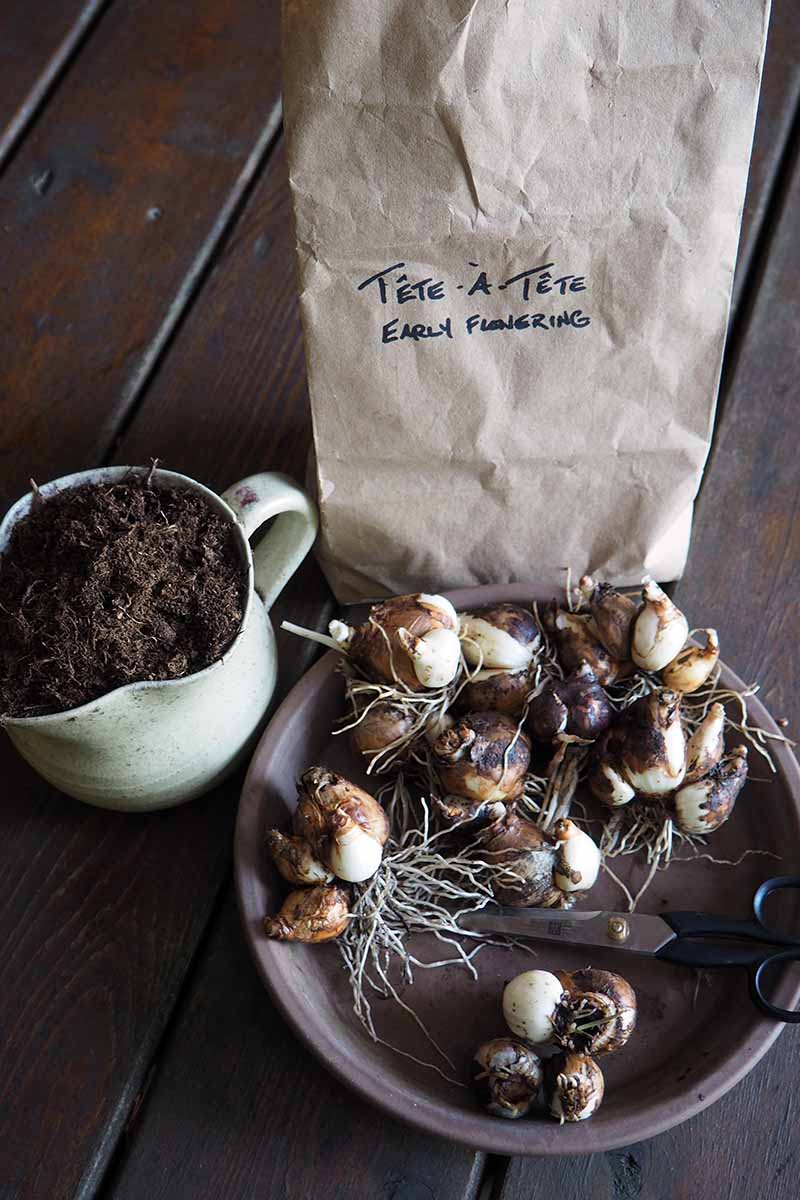
If they’re going to be stored for several months, place them in a paper bag, basket, or bin, nestled so they’re not touching into some coconut coir, peat moss, or sawdust from untreated lumber – the packing material creates a little buffer and helps to prevent the bulbs from drying out too much.
Close the bags loosely and leave lids off of bins to prevent condensation. Place them in a cool, dark, and dry location like a cellar, garage, or shed.
The ideal temperature range for storage is 55 to 65°F, but they can take temperatures as low as 40°F.
Before planting, check them again and discard any that have gone soft or moldy.
Time to Chill Out
If your bulbs don’t receive an adequate number of chill hours outdoors – at least 10 to 14 weeks in temperatures ranging from 35 to 45°F – they can chill in the refrigerator before planting.
Daffodils are fall-planted, sown from early September to mid-December, depending on your region.
To figure out when to start chilling, determine your planting date, then count backwards to decide when your bulb stock should start its cold spell.
Chill bulbs in a peat-lined paper bag in the crisper drawer away from foods, particularly fruits, which emit ethylene gas that can be harmful to flower production.
Once they have chilled for at least 10 weeks, plant them as outlined in our guide on how to grow and care for daffodils.
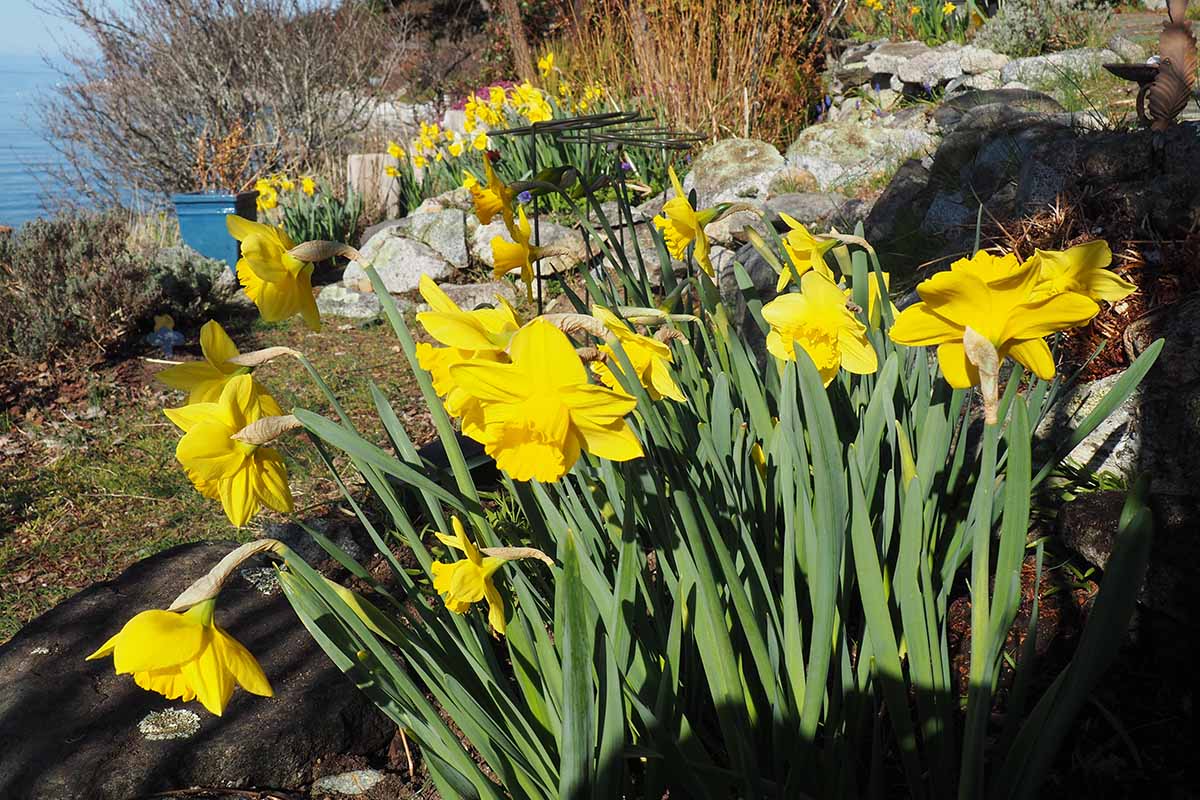
Abundant, Healthy Flowers
Easy-care perennials, there are times when you need to lift your narcissus – and knowing how to dig, cure, and store daffodil bulbs ensures an abundance of healthy flowers next year!
Remember to wait for the foliage to die back for plump, vibrant bulbs.
After carefully lifting, cure them for up to a week to remove excess moisture that can cause problems in storage.
Then tuck them away for a rest period in a cool, dark, and dry spot until it’s time to chill them artificially or replant in fall.
When you need to lift your bulbs, take these few easy steps after flowering and you’ll love the results come spring!
Have you tried this technique? Did it work for you, or do you have tips to share? Feel free to leave us a message in the comments – we love hearing from you!
For more narcissus know-how, add these guides to your reading list next:


I stored daffodil bulbs in the garage and noticed they are started to sprout and send out roots. It’s only January! What do I do with them?
Hi Kris, if your bulbs are sprouting and rooting, they’re coming out of dormancy. If the ground in your garden can be easily worked, they can be planted out. However, if the ground is still frozen and your bulbs need longer storage, the best thing to do is to put them back into dormancy. To do this, they need a cold, not cool, location. The temperatures in your garage seem too warm right now, so I suggest popping them into the back of the refrigerator. Wrap them carefully in newspaper before placing in the fridge, away from ethelene-emitting fruit. Take… Read more »