When you first see that spindly-looking bare root rose, you’re probably asking yourself how it’s going to go from that sad-looking pile of sticks to a big, robust bush.
It’s not hard. All you need are some basic garden tools and a little know-how. We can’t supply you with the shovels, but we can definitely help with the knowledge.
We link to vendors to help you find relevant products. If you buy from one of our links, we may earn a commission.
Coming up, here’s what we’ll cover so that you can be fully prepared to turn your bare root rose into a large, beautiful bush.
What You’ll Learn
Ready to work some garden magic? Let’s dig in!
What Are Bare Root Roses?
Before we begin, let’s make sure that we’re all on the same page. Basically, bare root roses are Rosa plants that have their roots exposed.
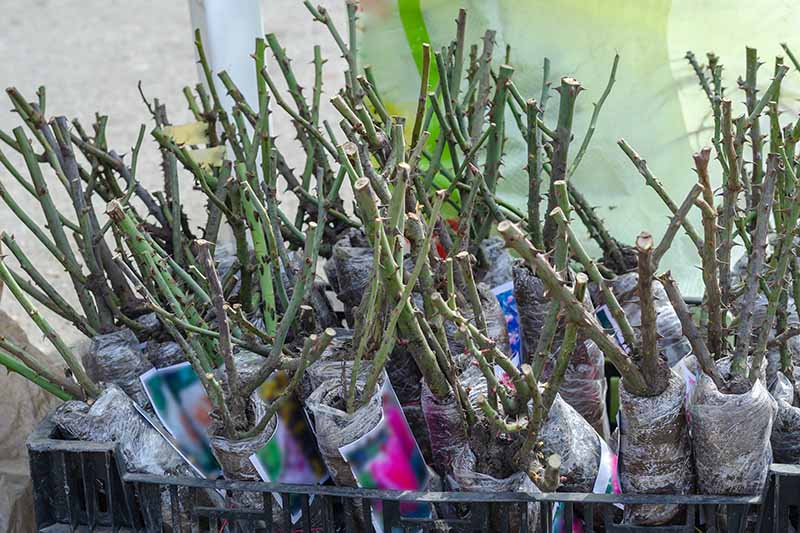
Unlike the plants you see at the nursery that have green foliage and maybe even some blossoms, bare roots are dormant and only have a few stumpy canes emerging from the roots, which aren’t covered in any soil.
Some are wrapped in plastic or cardboard, while others are stored in sawdust or shredded paper. Sometimes you’ll just see them in heaps at farmers markets or wholesale markets.
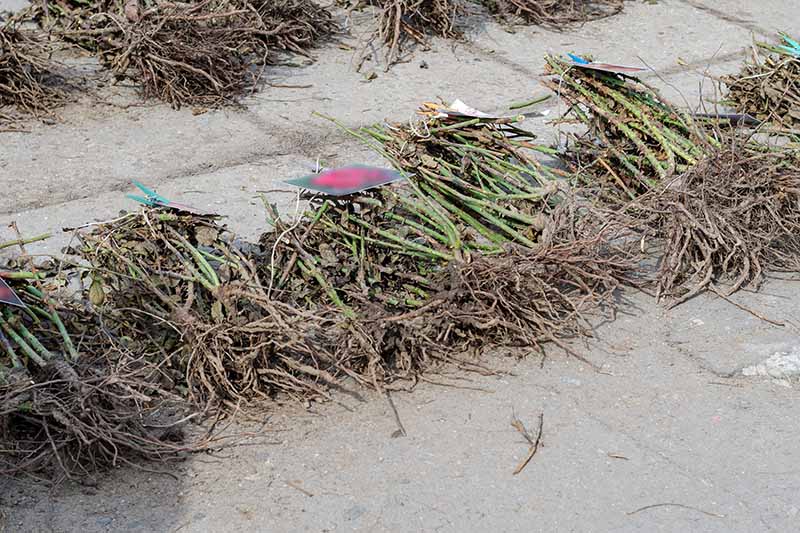
The thing they all have in common is that they’re dormant and the roots aren’t in soil.
Lots of experts say they think bare roots transplant better than live specimens because they don’t suffer from as much transplant shock.
They also have a larger root system than most containerized plants, and they usually cost less.
When to Plant
While you can transplant potted shrubs in the spring or fall, bare roots should only be set out in the spring, unless you live in USDA Hardiness Zones 8 or above, in which case you can also put them in the ground in mid to late winter.
Most of the time sellers only stock bare roots during the winter and spring, so it’s the only time you can get your hands on them anyway.
You need to wait until after the danger of frost has passed in your area. If your area never freezes, plant any time in mid to late winter or early spring.
What to Look For
If you order a bare root rose online, you get what you get. You can’t examine it in advance to make sure it’s healthy. Make sure that wherever you order, they have a good return policy, just in case you aren’t happy.
For instance, online retailer Nature Hills Nursery sells a wide range of lovely roses.
Although they don’t list the grading (more on that below), Nature Hills Nursery do guarantee their plants and will replace them if they arrive damaged or sick. They’ll even replace it if you care for it properly and it dies within the first year.
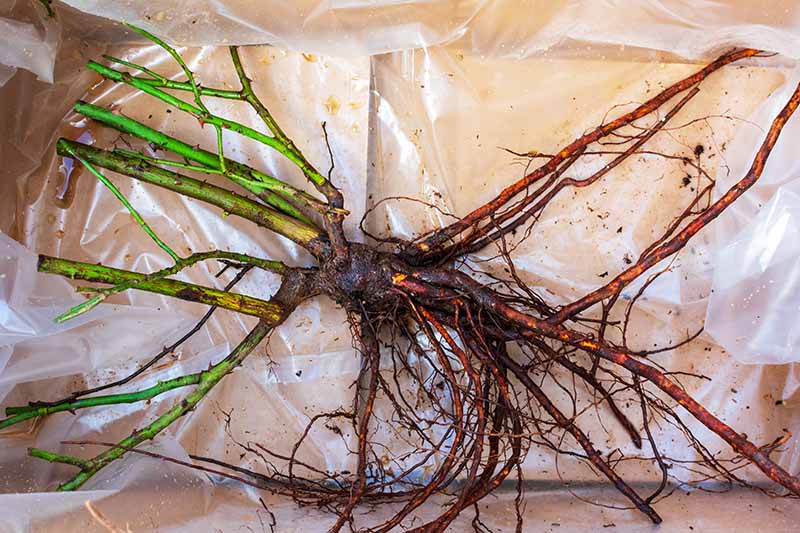
If you can examine them in person at the store, here is what to look for:
The ones that you may find in big home supply stores are often lower quality than those purchased directly from specialists, nurseries, or rose breeders, and they may carry diseases. That’s why I recommend heading to a local nursery, if possible.
Look for Grade 1 plants, a designation which will appear on the label. Grade 1.5 or 2 are of inferior quality, though they’re usually much more affordable.
The trade-off is that they may take longer to become established, or they might be sickly. They might also have a less substantial root system.
Don’t select one that has any new growth starting. You want a plant that is still totally dormant.
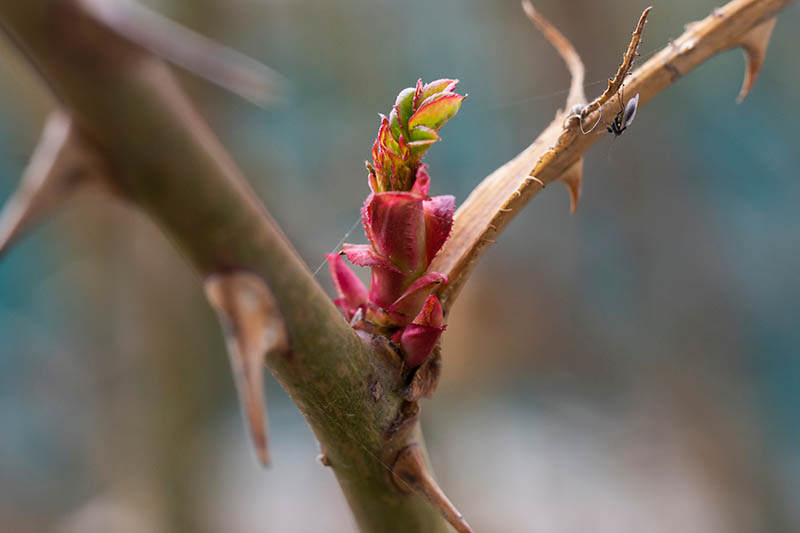
Ideally it should have three to five canes. The canes should be plump and green. Brown or black canes are sick or dead.
The roots should also feel firm and plump. You don’t want anything that feels dry or completely dense.
The graft union should be firm and the same color as the rest of the stem. A graft union that is light and has a cork-like texture is likely diseased.
If there is mold or mildew on the plant or its packaging, or if it smells a bit funky, move on.
Once you bring your bare root rose home, make sure that the roots don’t dry out at any point. If it is in plastic packaging, check every day to make sure there is moisture inside.
Mist if necessary. You can also store the plant upright in a container of water, but change the water every day, and don’t do this for more than a week.
You can also heap some soil over them to help keep them moist prior to planting.
How to Prepare
Remove the bare root rose from its packaging, if necessary, and give it a good examination. Prune away any dead or damaged roots. Anything that is black or brittle and dry should be removed.
Soak the roots up to the bud union or base of the crown for at least six and up to 24 hours. This helps the plant emerge from dormancy and get ready to grow by adding moisture.
If you want to soak for more than 24 hours, be sure to change the water each day. Don’t soak for more than a week, as mentioned above.
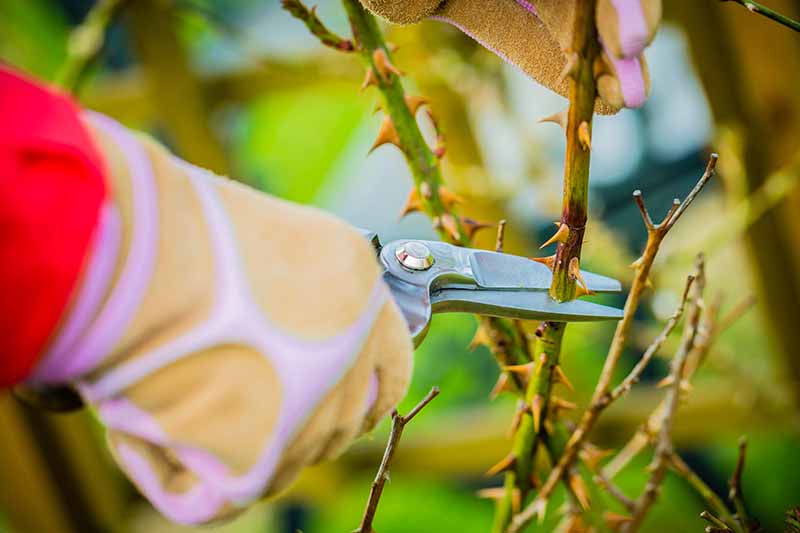
Shorten canes so that they are about six inches long and have three to five buds each. If you have more than five canes, remove the smallest ones until you have just that many.
Don’t prune back noisettes or hybrid teas (or any sports of these). A hard prune can result in reversion, which is when a grafted plant reverts back to display the characteristics of the rootstock.
How to Plant in the Ground
As with any plant, make sure you choose a spot that fulfills its sun requirements. Some roses need eight hours or more, but some do well in partial sun or even partial shade. Be sure to check and see what your particular type needs.
Found the right spot? Now dig a hole.
The minimum is to dig a hole about two feet wide and deep, but I’ll be honest: There’s no such thing as digging too large of a hole with roses. The more you can enrich the soil and improve aeration, the better.
If I was allowed to offer just one piece of advice to someone planting a bare root rose, it would be to dig as big a hole as possible and fill it with rich, loamy, well-draining soil (unless you are naturally blessed with perfect soil, in which case, you can ignore this part).
If you aren’t sure what it takes to create the right soil for roses, head to our beginner’s growing guide for more details.
If you have more than one plant, be sure to space them according to the grower’s guidelines.
Heap soil in the base of the hole to create a small cone shape that is about the height of a baseball. This cone acts as a support for the roots as you fill the hole, so that they won’t be pressed into a weird shape that encourages them to grow up or sideways rather than down and out.
Lower it into place and spread the roots out over the cone that you made.
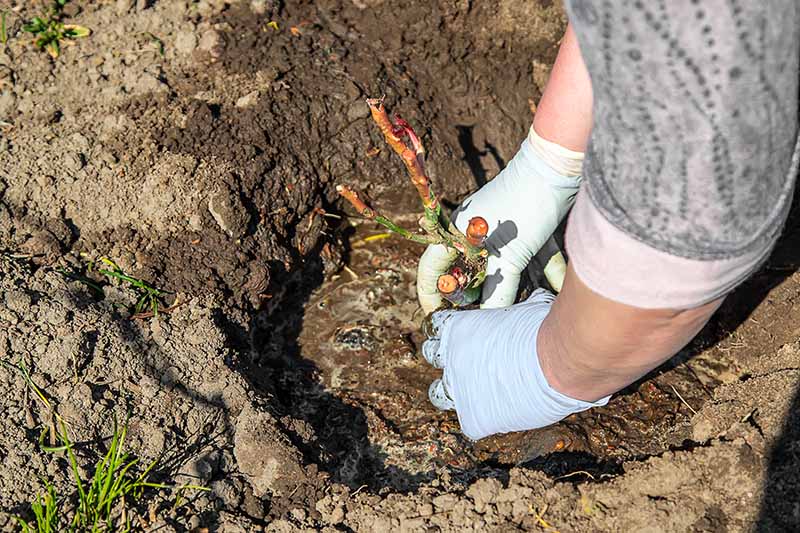
Fill the hole with soil halfway and give the earth a good soak.
Let the water drain, and fill the rest of the hole with soil. Water again. If the soil level drops as the water causes things to settle, add more soil until you have the right level.
What’s the right level? The graft union is the spot where the rootstock and scion meet. This needs to be buried below the soil or at soil level, depending on your climate.
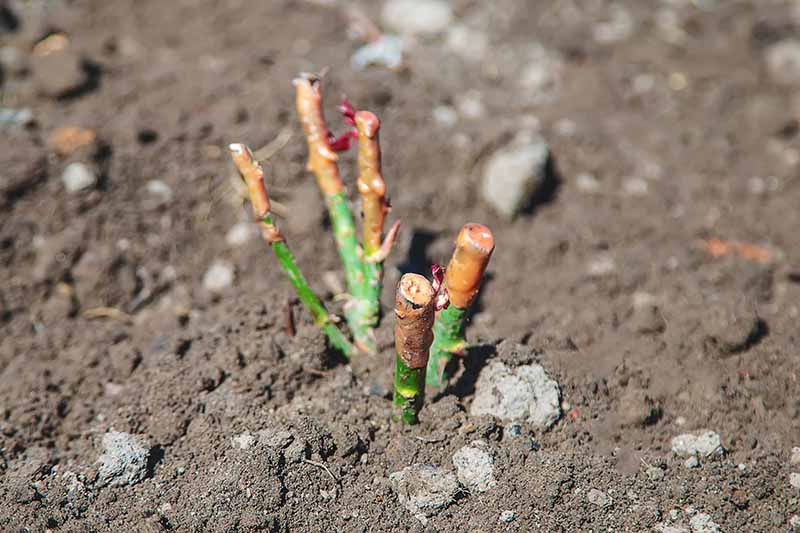
In Zones 6 and below, bury the union by about two inches.
In Zones 7 and above, place it just above the soil line.
If you have an own-root plant (one that wasn’t grafted), just set it in the ground so the soil hits the spot where the canes emerge from the roots.
After it is in the ground, heap soil or mulch such as compost over the canes so that they are nearly covered.
This serves two purposes. One, it prevents the canes from drying out. Two, it helps limit the number of suckers that emerge from the rootstock.
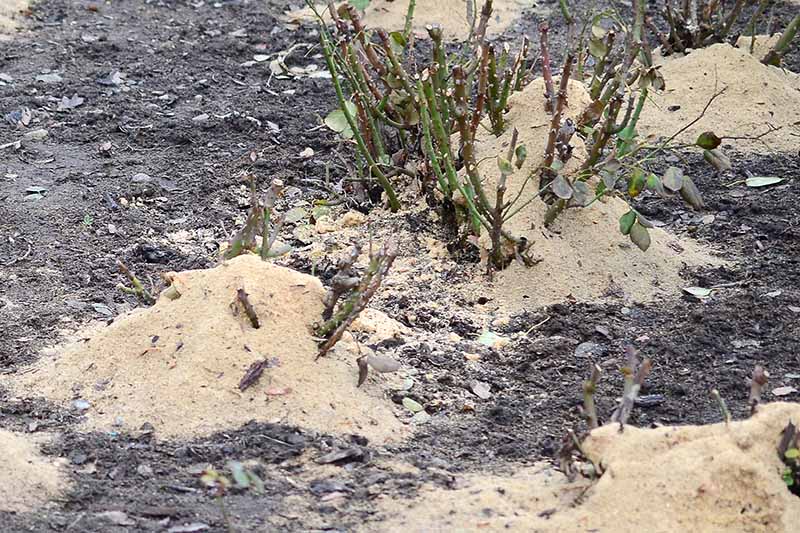
Water in the center of the mound every few days; it will look like a little volcano. You don’t want the mound to dry out completely at any point, but it shouldn’t ever be soggy, either.
Within a few weeks, you should start to see new foliage forming, and the shrub should blossom in its first year. If it doesn’t send up new growth, it’s dead.
As soon as you see new growth, remove the excess mulch from around the canes.
Don’t fertilize until about six weeks after planting. From there, caring for your new plant is exactly the same as with any other rose.
Tips for Planting in Containers
If you purchase your bare roots when the weather isn’t right for planting, you can start them in containers. There are numerous advantages to this.
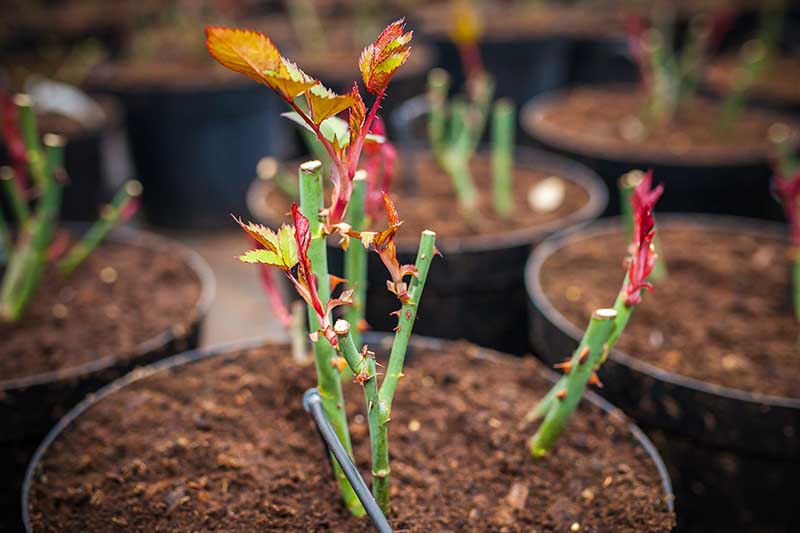
First, you can move the plants around to find the best microclimate in your yard as the season progresses.
There are also fewer potential problems with competition from other plants, and you can create the perfect soil conditions more easily.
Mix equal parts perlite and potting soil. Fill the base of a five- or seven-gallon container and heap a small cone at the base as you would if planting in the ground. After prepping it, place it in the container and fill in around it with soil.
If the plant was grafted, the graft union should be just above the soil. Own-root plants should be buried to the base of where the canes meet.
Put the container in a spot with the right amount of sun. You might need to bring it indoors if you have a late freeze.
Keep the soil moist but not wet, and don’t fertilize. After about six months, the roots should be sufficiently large enough to be transplanted. I usually wait until fall to put them into the ground.
Find more tips on growing potted roses here.
Turn Bare Roots Into Beautiful Blossoms
I know this sounds like a lot of fuss, as if roses didn’t have a reputation for being difficult already, but the truth is that most bare roots are just waiting for the chance to burst forth.
Place them right side up in soil with enough sun exposure and water, and you’re pretty much guaranteed success.
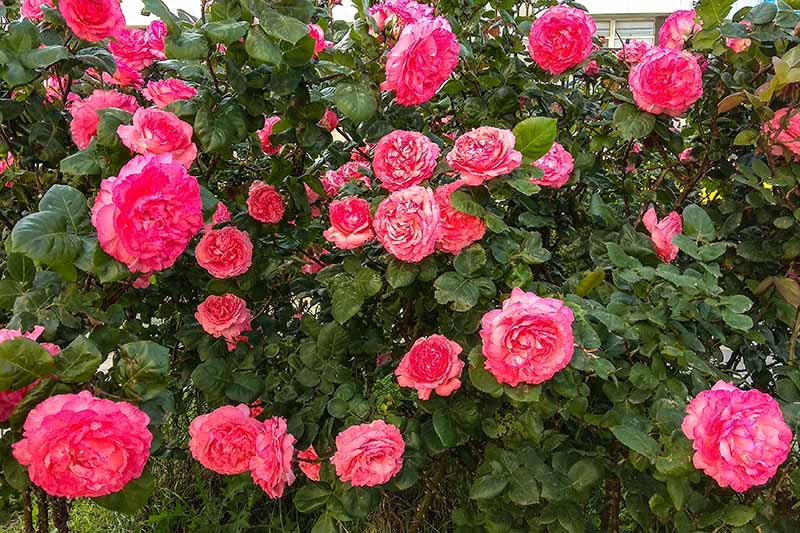
The tips I’ve shared here will help to give your plant the best start in life, and you’ll be enjoying those lovely blossoms – and more of them – in no time at all.
Once things are all settled, come back and tell us how it went in the comments section below.
And for more information about growing roses in your garden, check out more planting tips here or peruse these helpful guides next:


Thank you for this brilliant advice. I’m a new grower of bare root roses and your help and advice will help me immensely.
So glad we could help! Enjoy your new roses.
I am so gratiful for your roses” advices.
Thank you very much.
So glad we could help!
I am new to growing roses and got bare root that have reddish leaves on them. The ground is not yet ready for them. How can I give them best chance to grow?
The reddish leaves are probably just young leaves. Many species have red foliage when it’s young. Just keep the plant watered and outside in a sunny spot until you’re ready to put it in the ground. Then, for info on caring for roses, check out our guide.