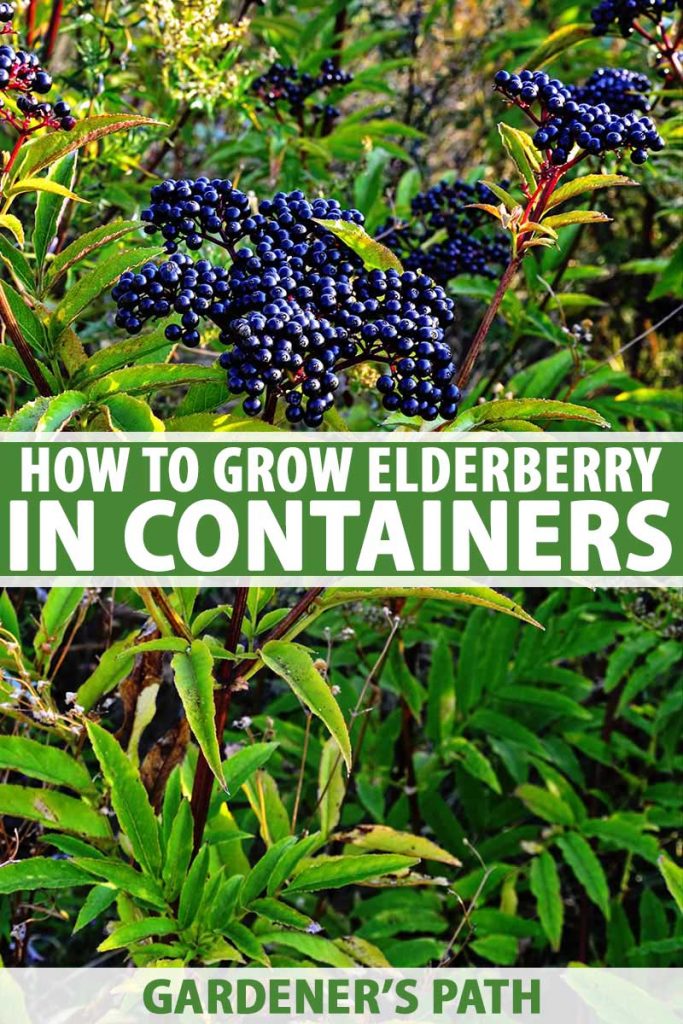
The only thing more marvelous than enjoying a homegrown harvest of berries picked at their peak ripeness is when those fruits are of a variety that’s difficult to find in the store.
That’s why I love growing currants, gooseberries, and my all-time favorite: elderberries.
It isn’t just the fact that they taste delicious, but there’s something so satisfying about growing a plant that popular culture has recently rediscovered, to the point of obsession.
But what if you don’t have room in your garden for an elderberry bush? Never fear, these plants lend themselves well to container growing, as long as you keep a few tips in mind.
We link to vendors to help you find relevant products. If you buy from one of our links, we may earn a commission.
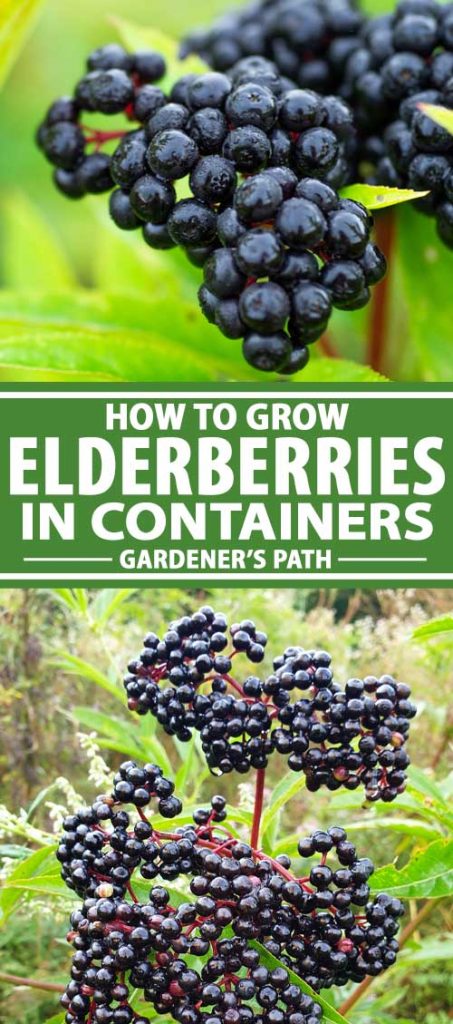
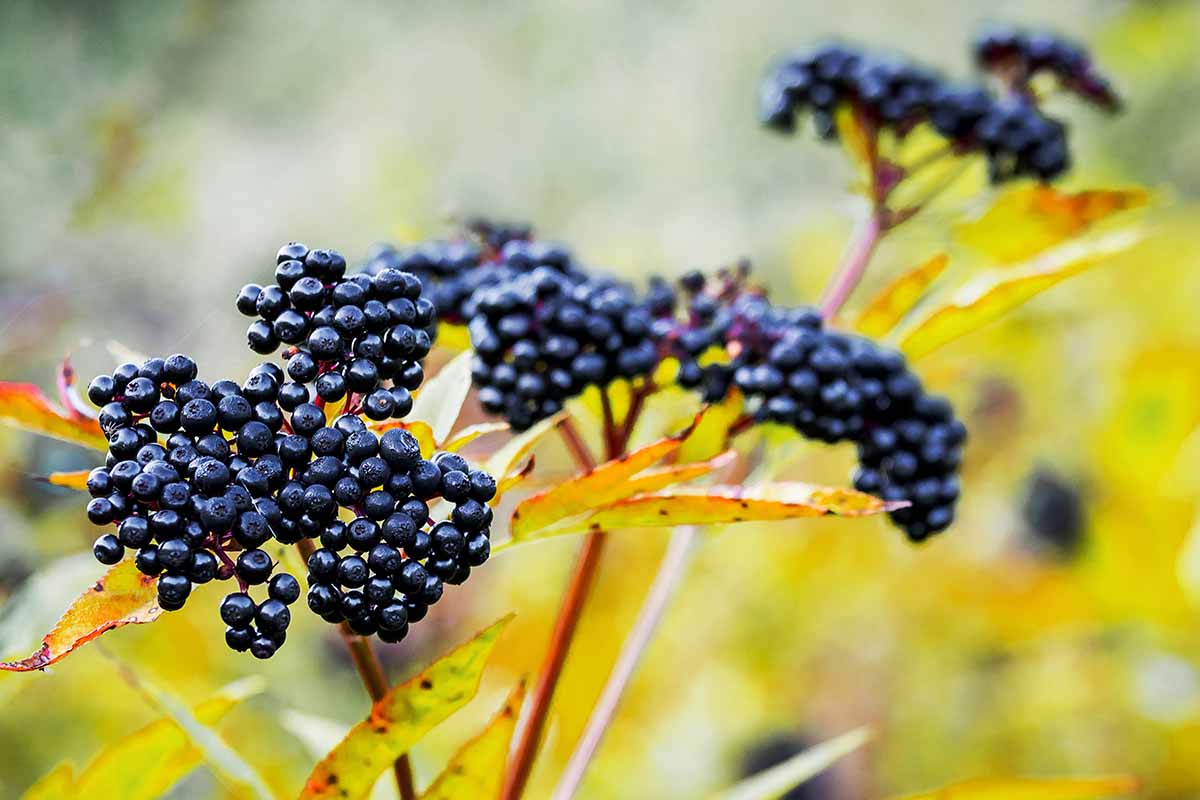
Beyond the tasty berries, the flowers are also edible and smell delightful, which makes this an attractive plant to have around in the garden or on the patio.
Our guide to growing elderberries has all you need to cultivate these shrubs in your landscape. But if you are lacking space – grow them in pots instead!
Curious about how to get started growing your elderberry in a container? Let’s dive in!
What You’ll Learn
Why Grow Elderberries in a Container?
First, let’s consider why you might want to grow elderberries in the first place.
These shrubs aren’t as common in home gardens as some of the more popular edible berries, and I think that’s a shame.
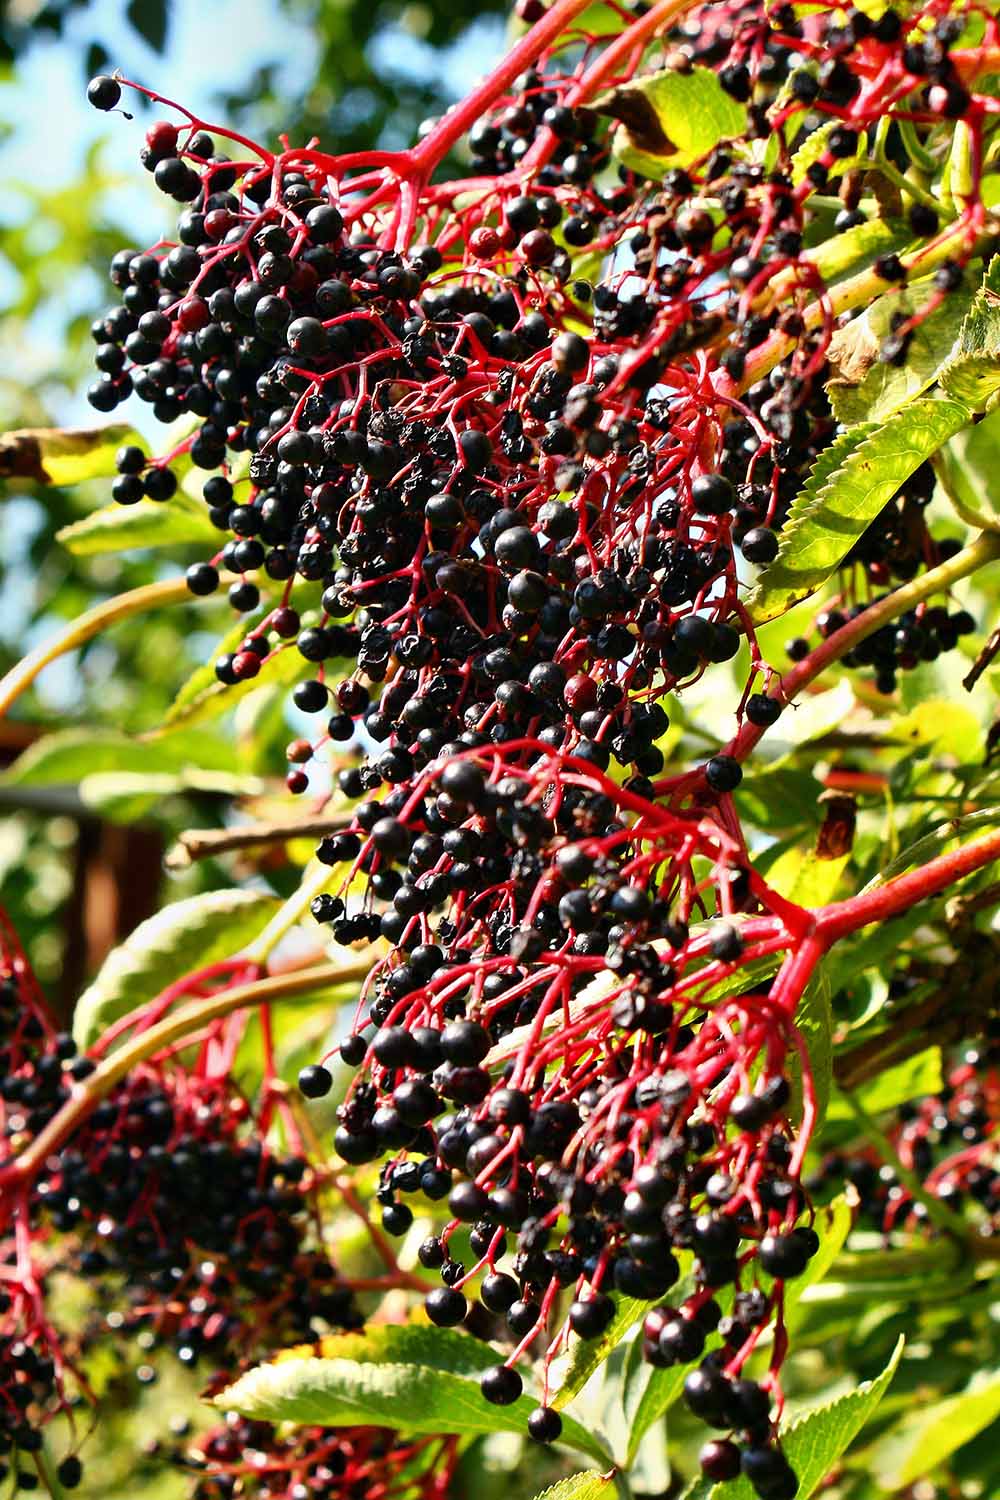
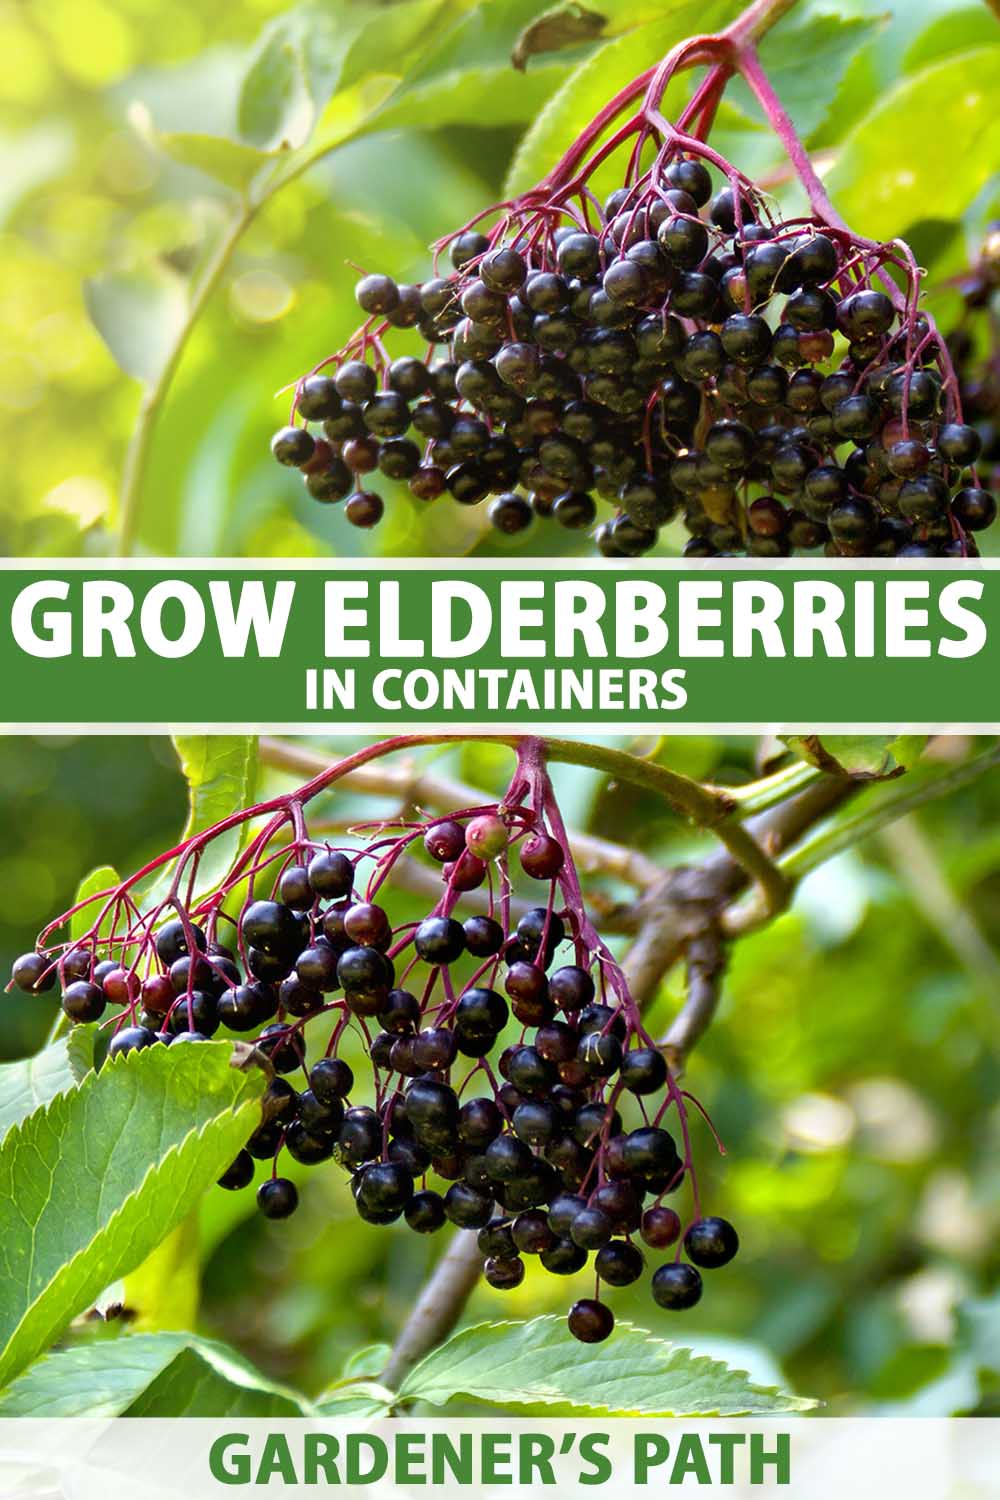
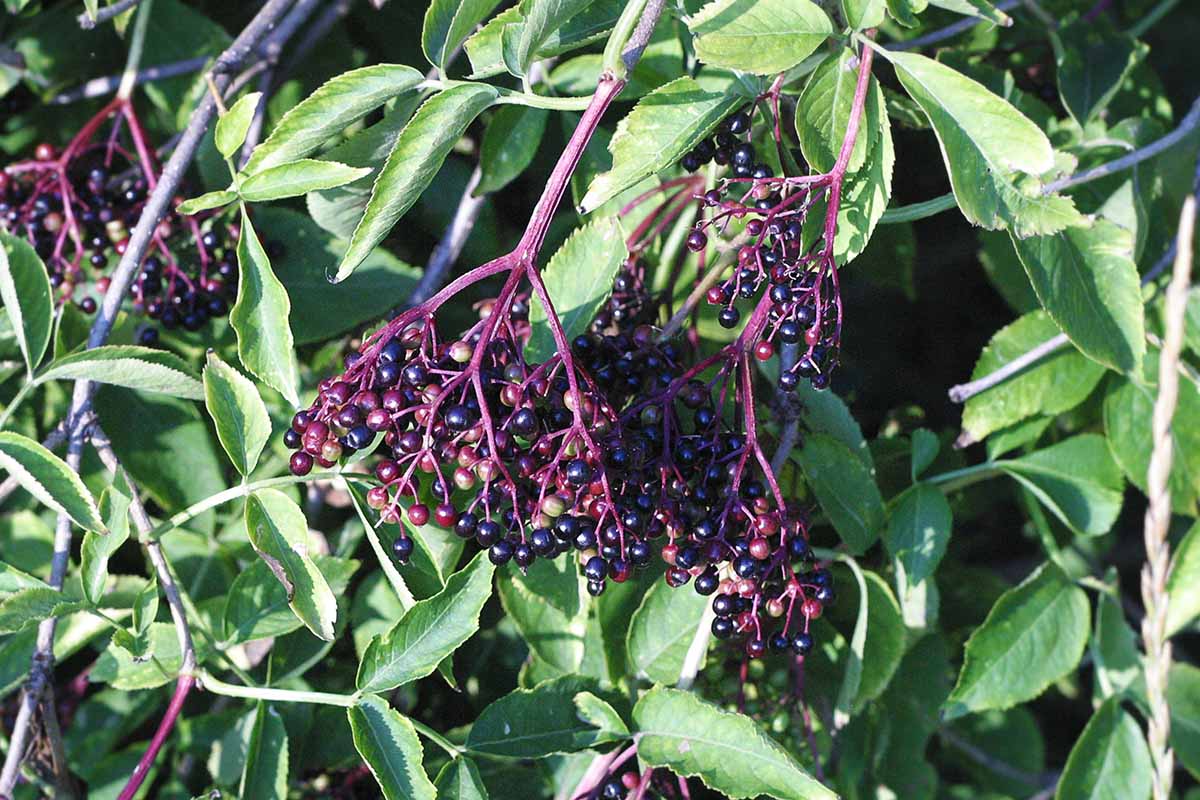
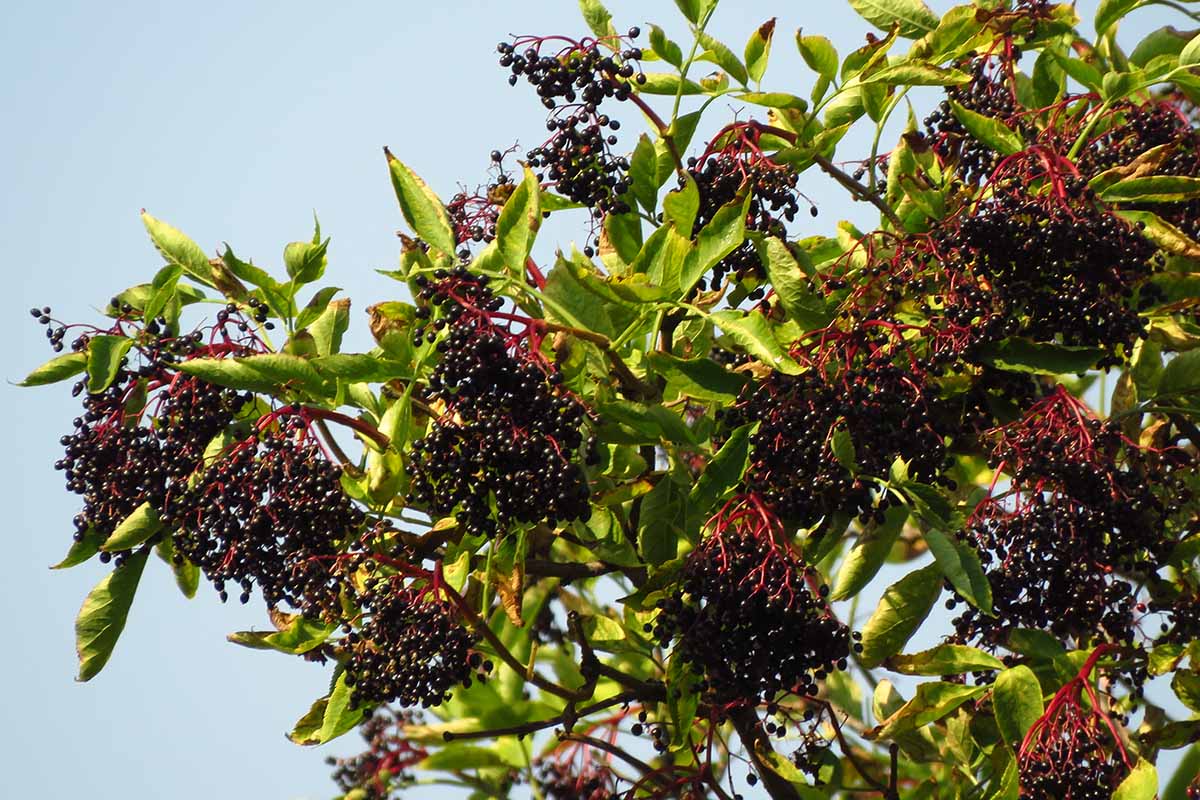
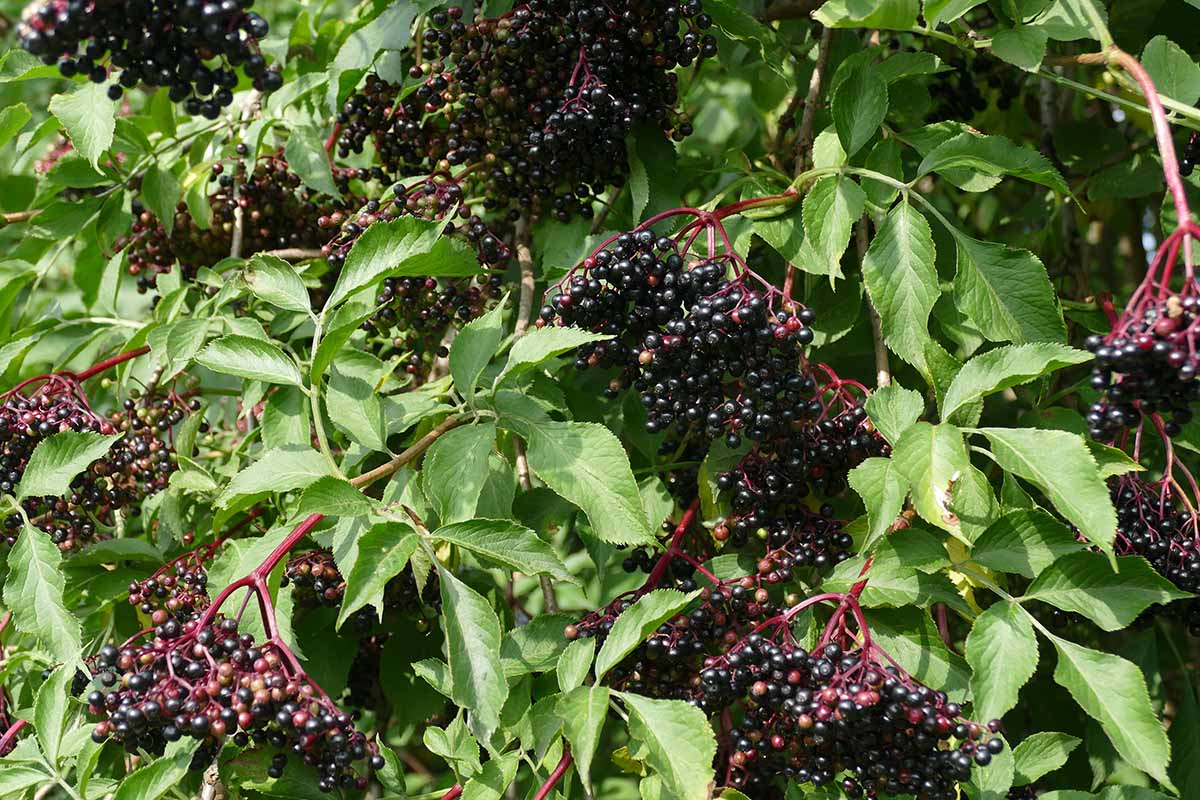
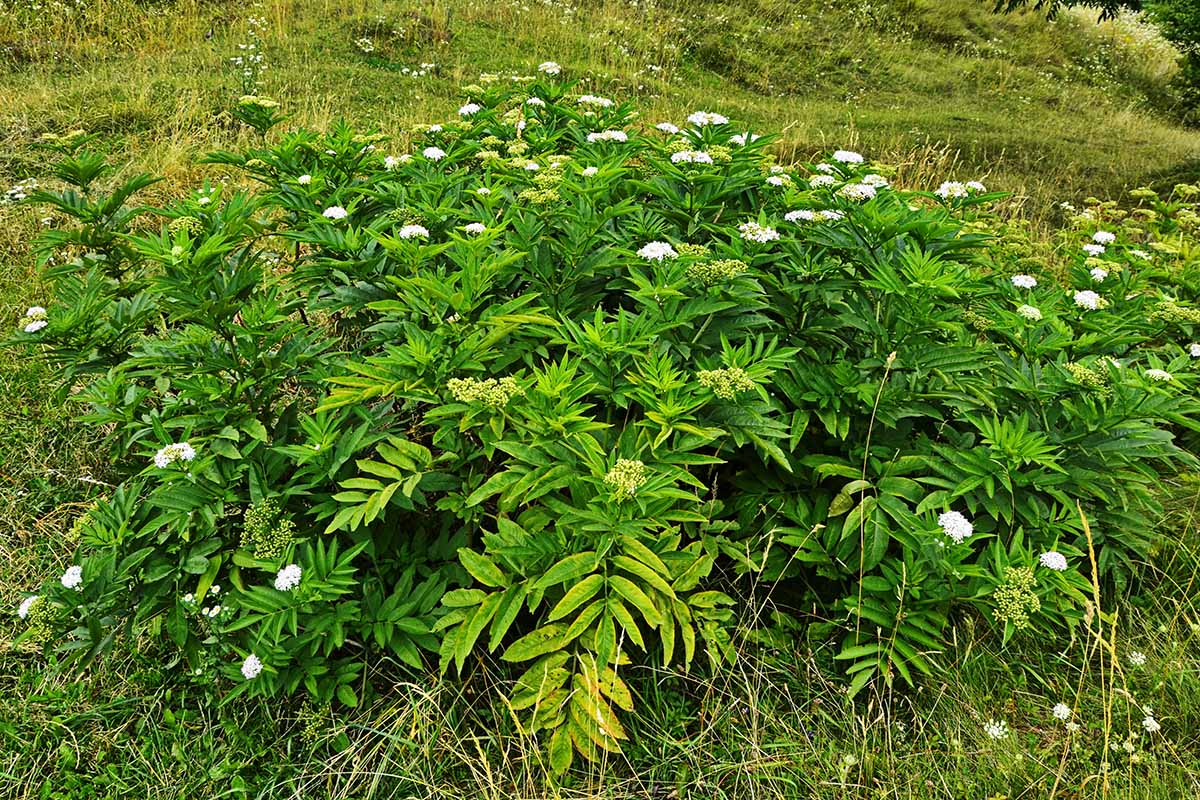
They are the ultimate multipurpose plant, providing multi-season interest in the garden with their feathery foliage, clusters of white or pink flowers, and berries in shades of purple, red, or blue.
Even if you don’t plan to cook the berries or make your own home remedies, elderberry shrubs make a lovely ornamental addition to outdoor spaces.
The flowers can be snipped and placed in vases to freshen up your home, and some varieties can be used to flavor cordial, tea, or wine.
The berries are delicious when used in baking or made into jam – but should not be eaten raw, as the seeds are toxic and can cause digestive issues.
Why grow them in containers? Though elderberries have shallow roots, these shrubs are fast growers that spread via suckers, so planting them in pots is a smart way to keep them in check.
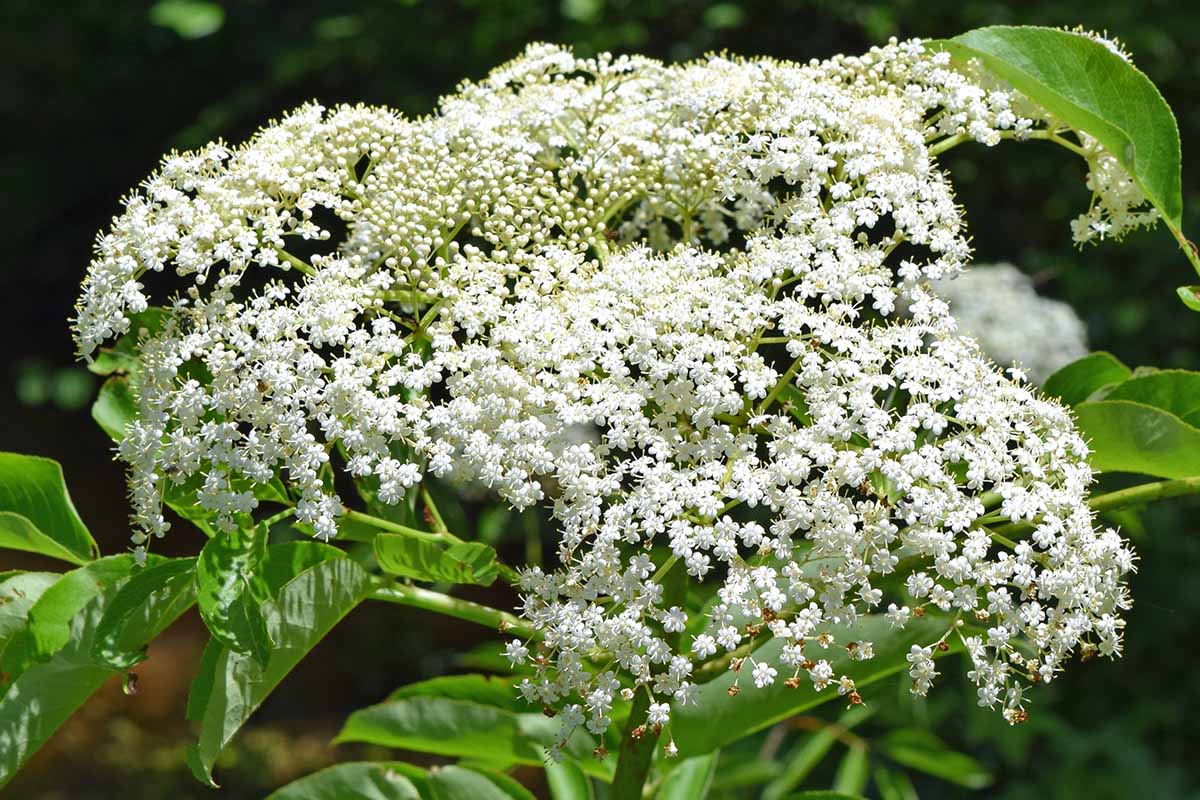
Plus, the blossoms smell heavenly – like a handful of summer. They have a floral, creamy, honey-like scent that can fill an area, and attract a host of beneficial insects to the garden.
I like to bring that scent close so I can enjoy it frequently, right on my patio.
Elderberry used to be classified as part of the Caprifoliaceae, or honeysuckle family – maybe because the flowers smell so nice.
They were reclassified in 1994 as part of the Adoxaceae family, which includes viburnums.
Depending on the variety, these plants thrive in USDA Hardiness Zones 3 to 9. The Mexican or blue elderberry is suitable for growers in Zones 6 to 10.
Choosing the Right Container
Elderberry plants need a fairly sizable container to thrive. For best results, you need to pick one that is at least 24 inches wide and 20 inches deep.
This plant has shallow roots, so it’s more important that your container be wide than deep.
A wide container allows the roots to develop and spread out to support and feed the plant.
Allowing the roots to spread also provides a more stable base, and will help to prevent the shrub from falling over.
Most varieties have a free-form, bushy growth habit, and can often grow to be as wide as they are tall.
Coupled with the shallow root system, if the planter is not big enough, your container-grown elderberry can easily tip over – especially in windy locations.
Always check the expected mature height and spread of the variety you intend to plant, and choose the size of your container accordingly.
That said, bigger is better. A large container with a heavy base will keep your plant stable as it matures.
A heavy-duty planter made out of cement or rock is a smart choice to prevent tipping. You can learn more about the pros and cons of different container materials here.
Large containers are often not recommended for plants with a small root structure, but elderberry likes moist soil with good drainage.
Soil dries out much more quickly in containers, and a large pot can hold more moisture without leaving the roots standing in water, which can cause root rot.
Because the container needs to be so large, I like to place mine on a wheeled base. That way, if sun conditions change or we have a particularly harsh winter, I can move my plant around.
Trust me, you don’t want to try lifting a container of this size that’s full of soil.
Preparing Your Container
First things first:
If your container doesn’t have several large drainage holes, you’ll need to make some.
This plant needs well-draining soil, because standing water can lead to root rot. Aim for at least five holes in a 24-inch-wide container.
Fill your chosen container with an organically rich potting soil. Choose a potting mix that has added perlite, vermiculite, sand, or peat moss to help with drainage.
Alternatively, you can also combine 70 percent perlite and 30 percent peat moss, and add this mixture to your potting soil.
Use a ratio of one part perlite and peat moss mixture to three parts potting soil.
How to Grow
The US native species, Sambucus canadensis, thrives in shade or part shade, with about four hours of sun per day being ideal.
Most other elderberry species prefer a full to part sun location, and will fruit better in full sun. Aim for six hours or more of direct sunlight per day.
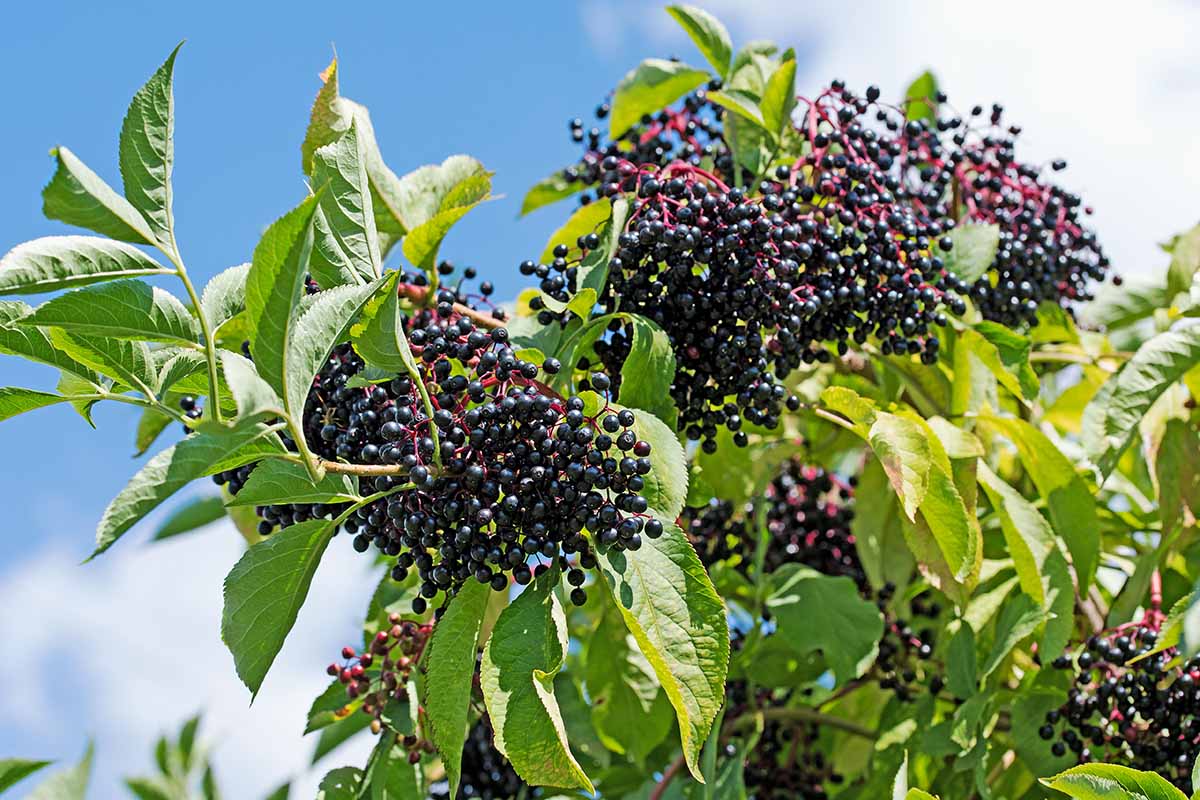
Keep in mind when choosing a spot that ripe elderberries are highly pigmented and can be used to dye cloth, which means they may stain your cement walkways and patio flagstones.
Most – but not all – varieties are self-pollinating, but you can plant two together within 50 feet of each other to improve your harvest.
You also want to place your plants in an area where they are protected from wind to prevent your container from tipping over.
Starting elderberries from seed is a time-consuming process, but you can buy seedlings or bare root plants from garden centers and nurseries.
You can also transplant suckers from existing plants, or propagate stem cuttings.
To transplant nursery seedlings, dig a hole in the soil in your container to the same depth as the pot it is currently in.
Water the plant, then place it in the hole, and tamp the soil down gently before watering it in well.
Container Care
Perhaps the biggest challenge in growing elderberries and particularly those in containers, is that they need a lot of moisture.
Soil in containers dries out more quickly than garden soil, so I use drip irrigation to keep my plants happy.
You’ll also want to add an inch or two of mulch such as grass clippings, leaves, newspaper, or compost to help retain moisture.
Give plants at least an inch of water each week from the time they start blooming in spring until the berries have finished.
If you notice the top inch of soil is dry between waterings, increase the amount or frequency of your irrigation.
During the winter months, the plant will be dormant and only occasional watering is needed, to ensure the soil does not dry out completely.
When you’re growing in a container, aggressive growers like elderberries will need pruning to keep them in a compact, bushy shape.
Pruning is essential, or you’ll end up with an elderberry shrub that doesn’t fruit as vigorously as it used to, and it will rapidly outgrow its container home.
This is a job you’ll want to do in late winter or early spring before new growth starts, starting in the third year of growth.
From the second year onward, fertilize in early spring with a balanced 10-10-10 (NPK) fertilizer according to packet instructions.
Regular fertilization is especially important for plants grown in containers, as the roots are unable to spread in search of nutrients, and regular watering will flush them from the soil.
Learn more about how to fertilize your elderberry here.
In the winter, protect the roots from freezing temperatures by adding a two-inch layer of mulch to the top of the soil, and wrap the container in blankets or burlap.
Many types of elderberries grow best in Zones 3 to 8, all of which experience winter freezing.
Since container-grown plant roots are more exposed to the elements, they can use a little extra protection.
Cultivars to Select
There are four species of elderberry that you’ll commonly find in container gardens:
- S.nigra (Black)
- S. racemosa (Red)
- S. mexicana or S. nigra var. caerulea (Mexican or blue)
- S. canadensis (North American native)
For more choices, check out our favorite elderberry varieties. Here are a few cultivars suitable for growing in containers:
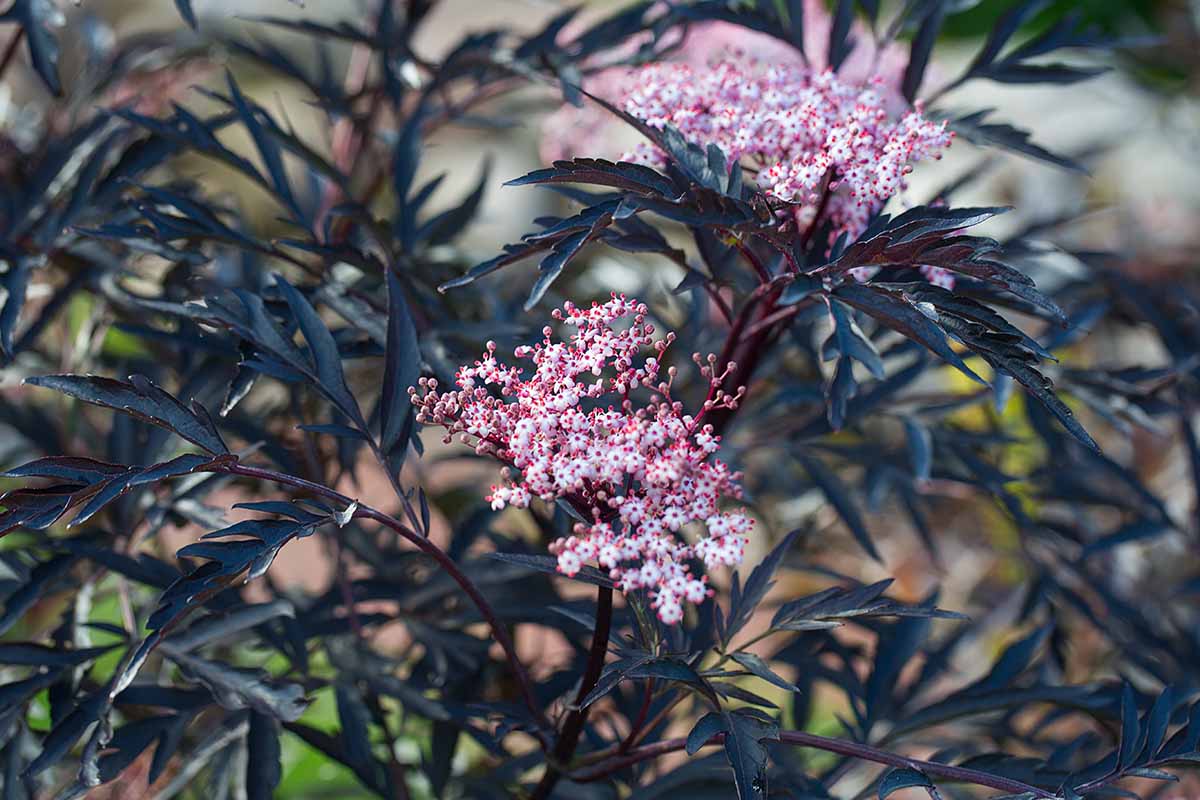
Black Beauty®
First introduced to the US from Europe in 2004 by Proven Winners, Black Beauty® is a cultivar of S. nigra.
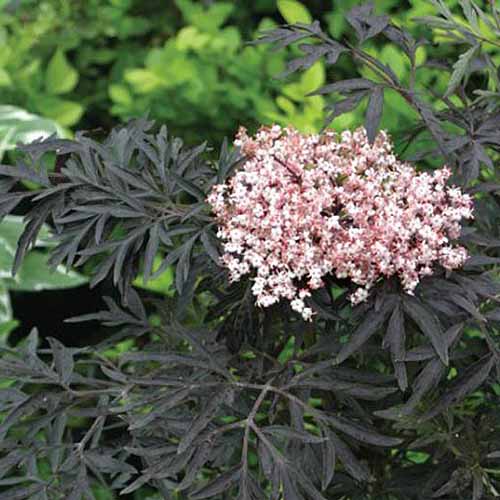
It has lance-shaped, dark purple leaves and delicate pink blossoms with a sweet, floral-lemony fragrance.
Suitable for Zones 4 to 7, it grows in a compact form, with a mature height of six feet. Prune regularly after the third year to maintain a short, bushy shrub.
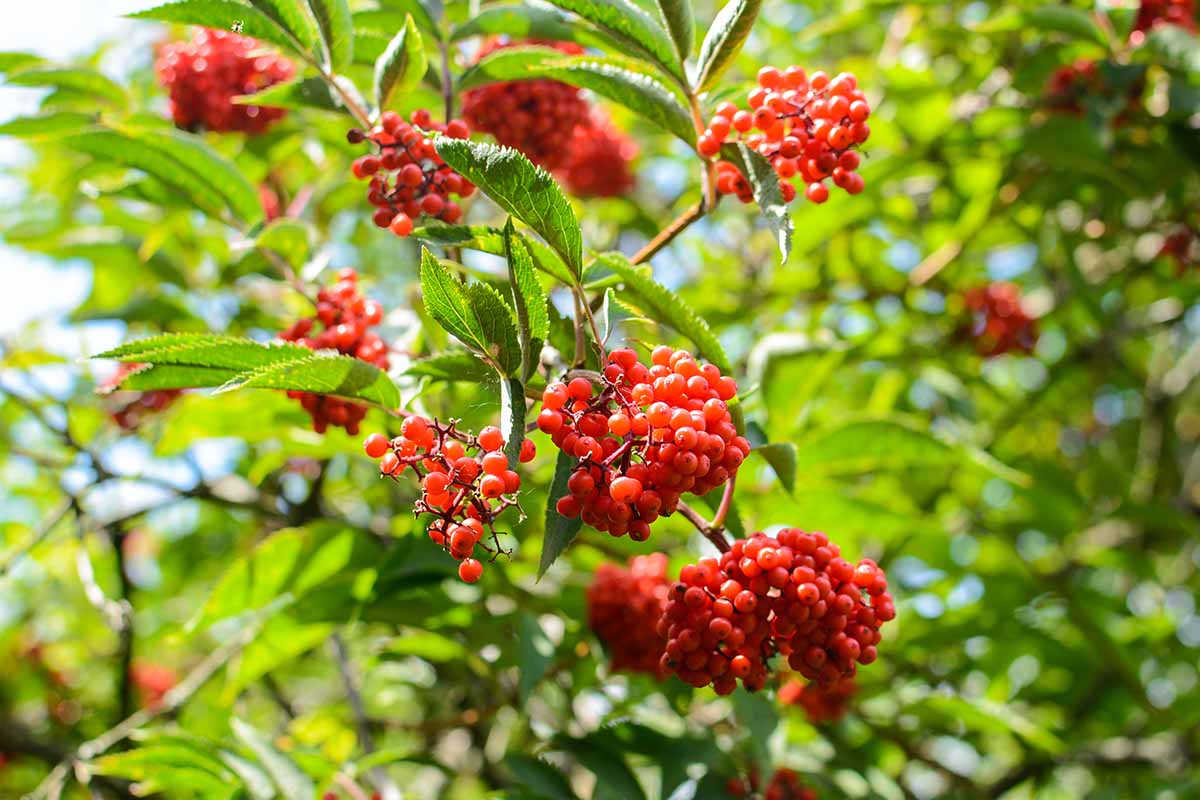
In the fall, dark berries appear – provided you’ve got another variety, such as Black Lace® (described below) nearby.
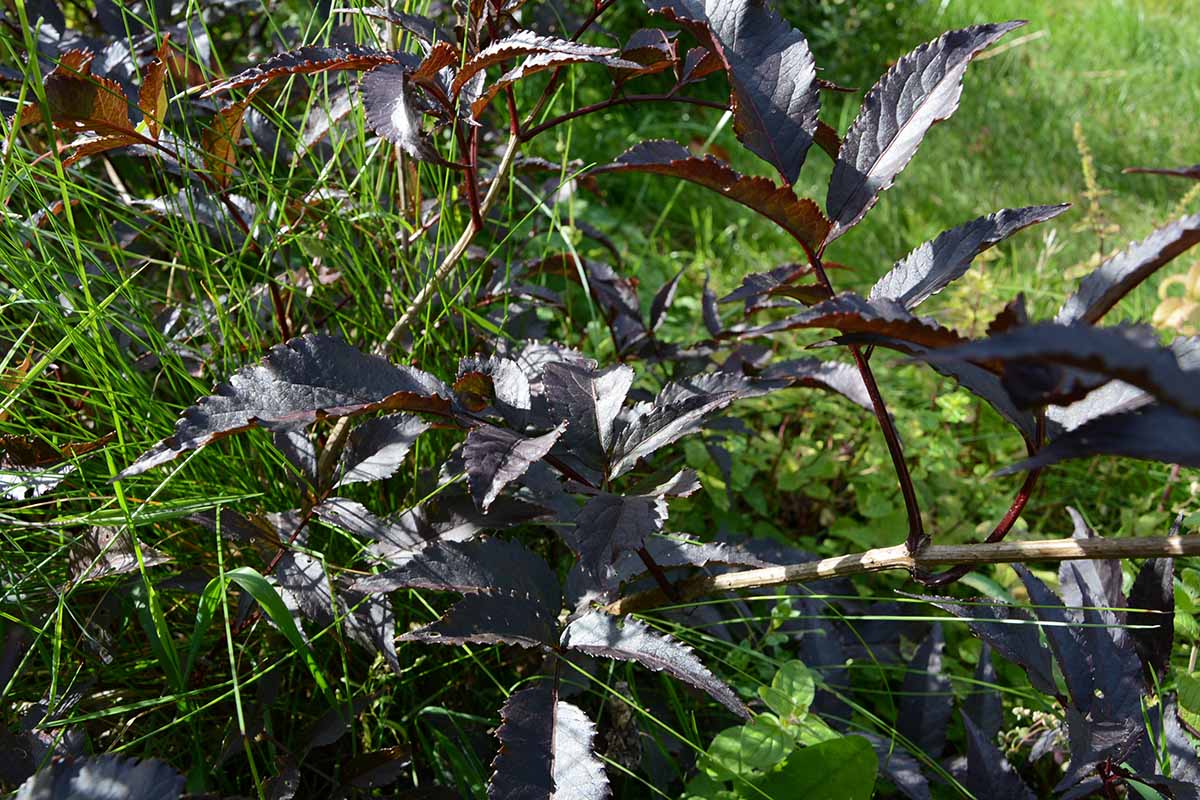
Black Lace®
S. nigra Black Lace® is a real beauty, with delicate, dark reddish-purple lacy leaves and light pink blooms.
This cultivar is suited to gardens in Zones 4 to 7, and makes a perfect cross-pollinating companion for Black Beauty®.
S. nigra is often called the European elderberry. This particular cultivar was developed in England in the 1980s, and was introduced to the US market by Proven Winners.
If allowed to, it’ll top out at eight feet tall, but it responds well to pruning if you want to maintain a compact, bushy form.
The dark foliage, especially when contrasted with the delicate pink flowers in springtime, makes a bold statement on your patio or as a feature planting.
Glossy black berries will ripen in the fall, provided there is another variety with a similar bloom time and of the same species located close by for cross-pollination.
You can find 18- to 24-month-old plants in quart-sized or #3 containers at Nature Hills Nursery.
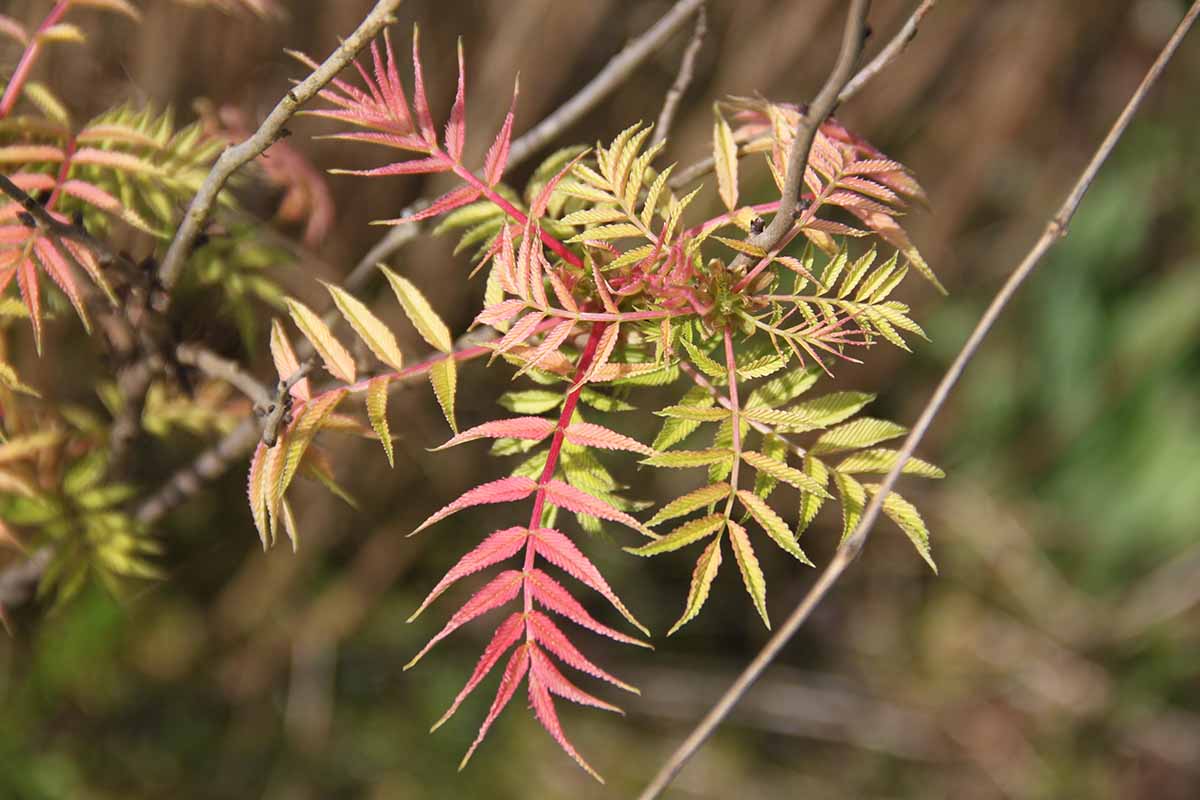
Lemony Lace®
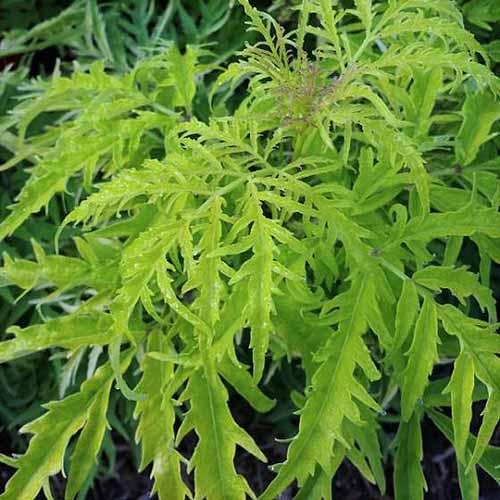
S. racemosa Lemony Lace® is a compact, dwarf cultivar that has bright yellow-green lacy foliage, and produces delicate white blooms in springtime.
With its more upright growth habit, Lemony Lace® is perfect for smaller spaces, with a mature height of just three to four feet tall.
The ornamental red berries are not edible, but will provide a source of autumn sustenance for local songbirds.
Suitable for growers in Zones 3 to 7, you can find plants available in #2 or #3 containers at Nature Hills Nursery.
Tapiro
Tapiro is the common name of the Mexican species, S. mexicana. It is native to western North America, from Oregon through Mexico.
It has green foliage, and delicate yellow or cream-colored flowers give way to clusters of light purple or blue berries in the fall.
Once established, it is drought tolerant. This makes it ideal for container growing, since it won’t suffer if you forget to water.
It does, however, need protection from freezing temperatures below -5°F.
Tapiro grows well in Zones 6 to 10 and reaches a mature size of only four feet tall and wide – just right for a container.
Dwarf Elderberry
Dwarf elderberry, S. ebulus, also known as dwarf elder, danewort, dane weed, and dane blood, is native to southern and central Europe and has naturalized in the eastern US.
It grows rapidly to a mature size of three feet tall and wide. It is suitable for growers in Zones 4 to 8, and features pretty white flowers with crimson edges in the spring.
This self-fertile species produces large clusters of reddish-purple fruit.
Pests and Disease
Elderberries face a few pests and diseases, though plants are usually untroubled.
The best way to prevent your container-grown plants from contracting disease is to start with healthy transplants.
Maintain good airflow by pruning regularly, and provide adequate water and well-draining soil.
Pests that you might see include elder shoot borer or thrips, as well as the usual suspects like aphids and mealybugs.
Problems like leaf spot, thread blight, and powdery mildew generally indicate a lack of airflow or excessive humidity.
Although they like moist soil, if the roots become waterlogged, elderberries may suffer from root rot.
Root rot causes leaves to turn yellow or red, and roots may have black or brown lesions. If your plant has root rot, it’s toast. Pull it and start again.
Pots of Berry Bliss
With the delicate beauty of the intensely-scented flowers that look heavenly in bouquets, and the fruit that can be used medicinally or in cooking, elderberries are a delight to have in the garden.
If you don’t have room in your garden beds, don’t despair.
These can be grown in a container where you can enjoy all that the plant has to offer on your porch, patio, or even on a sunny balcony.
Have you tried growing elderberries in containers? Are you tempted to try? Let us know in the comments below, and feel free to upload a picture or two!
For more information about growing and using elderberries, you’ll need these guides next:
I just planted an elderberry tree in a large container on my balcony. It is only about a foot tall now. I’m excited to watch it grow. This article was very helpful. Thanks!
Glad we were able to help! Good luck with it, they are such wonderful plants.
When is the best time to plant elderberries in pots?
As with elderberries in the ground, you should plant ones in pots in the early spring after the danger of frost has passed. You can also start them indoors a few weeks before the last frost and then move the container outdoors.
Hi Kristine, loved your article on Elder. We have two varieties growing in our garden – Black Beauty and Black Lace. Both flower and produce heaps of berries. Can you tell me if with both these varieties, it’s safe to use their flowers for making wine and the berries to make cordials? Many thanks. Jo.
Hello Jo, glad our article was helpful! Both ‘Black Beauty’ and ‘Black Lace’ are edible – the flowers and the berries. They pollinate each other, as well, so no wonder you are getting a large number of flowers and berries! Enjoy them!
I do have my Elderberries in large pots at the time. They are doing well. I also have smaller ones that need to be repotted into larger pots. I have recently found wild elderberries around my area. I will attempt to get some cuttings to see if they can start. I am so glad that I came across this information. Thank you.
Happy we could help. Definitely come back and share if your wild elderberry cuttings take off.
You mentioned elderberry makes great pies and jam. Can you post those? I have never been successful getting it to set. I always end up using it for pancake syrup. Which is wonderful still. Thanks
I’ve found the secret to making the pie set is lots of cornstarch. I always end up using more than I think I need and more than the recipe suggests. Sometimes twice as much! For my own recipe, I use four cups berries, one cup sugar, five tbsp cornstarch, and lemon juice to taste (usually ends up being about 2 tsp). For jam-making, the key is to boil the mashed berries for as long as you need to bring the jam to the right consistency. As long as you keep stirring the berries, you can boil them as long as… Read more »
Hi Kristine! Thanks for a good read! Very well informed, can I ask your opinion on which variety produces the sweetest scent or most fragrant flower? Thank you.
Hello! I haven’t had the good luck to smell all of them, but of those I’ve sampled, Sambucus canadensis ‘Adams’ has never failed to impress. It’s sweet and intensely fragrant. I always know it’s blooming nearby because I can smell it even before I see the blossoms. Definitely worth checking out.
We purchased 3 elderberry plants and I am happy I came across this article. We wanted to place them in large, wooden boxes and didn’t know how large we need them.
One question, we live in zone 5, would these freeze in containers? Thank you! This article was excellent!
Hello! A very broad rule of thumb is to treat a potted plant outdoors as though it’s in a Zone below where you live. So, for instance, since you are in Zone 5, assume that your elderberries are growing in Zone 4 conditions. Many elderberries are hardy to Zone 4, so depending on which cultivars you purchased, your plants should be fine. However, if you have cultivars that are hardy to Zone 5, you might want to give them a little extra protection in the winter. You can use burlap, old blankets, or you can even purchase products made for… Read more »