I bet you can’t guess how many known varieties of edible mint there are.
Go ahead, count the Mentha species you know.
Including apple mint, spearmint, and watermint, there are about 24 species and numerous natural and cultivated hybrids to choose from! And all of these have a vast array of uses – calling them versatile is an understatement.
We link to vendors to help you find relevant products. If you buy from one of our links, we may earn a commission.
They’re also super easy to grow, sometimes overtaking a large portion of your garden. But when is the best time to plant mint, and how do you begin if you plan to start with seeds?
If you need a refresher on how to grow mint in your garden, check out our guide.
In this guide, we’ll cover seed propagation.
No matter what variety you are growing, the basic instructions are the same. Note that some popular Mentha hybrids such as peppermint and chocolate mint are sterile so they can’t be grown from seed.
Here’s what we’ll cover:
What You’ll Learn
A large part of figuring out the planting process is understanding your regional temperatures.
While Mentha plants are generally cold hardy, young seedlings are in danger of damage from harsh winter weather in some regions.
When to Plant Mint
In USDA Hardiness Zones 4 to 9, the best time to add this perennial herb to your yard or garden is in the spring, after the danger of frost has passed. This can be done by starting seeds indoors or outdoors, in the ground or in containers.

About two months before the last predicted frost date for your area, sow seeds indoors for later transplanting.
Starting outdoors usually means waiting until the danger of frost has passed. But in areas where frost isn’t a concern, you can plan to sow seeds outdoors when temperatures are consistently at least 55°F.
If you live in an area that doesn’t experience cold winters, you might consider sowing in the fall as temperatures begin to cool a bit.
Mint can also be grown indoors year-round. We cover this in a separate guide. (coming soon!)
Starting Seeds Indoors
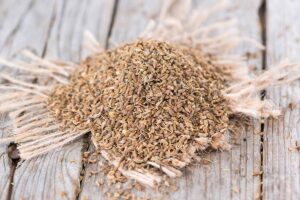
Whether you’ve gathered your own or purchased a packet you’ll find that the seeds are teeny-tiny – only about one-eighth of an inch long.
You may want to use a sowing aid, such as this seed sower that’s available from Burpee.
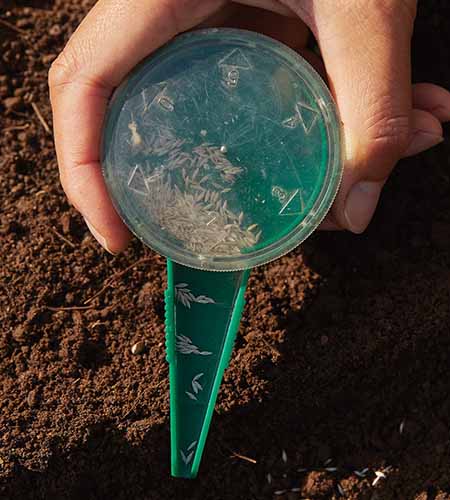
A device like this can help to prevent a large number of seeds from pooling too densely in one place.
Begin by filling a plug tray, such as this one from True Leaf Market, with potting soil or a mix of two parts compost to one part perlite. Fill the cells to the brim and soak the soil well but allow it to drain before planting.
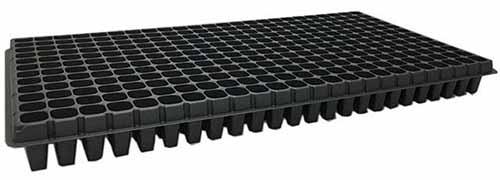
If watering compacts the soil more than about a quarter inch below the rim of the cells, refill with a bit more until they’re level again.
Use your sowing device or carefully sprinkle two to three seeds by hand per cell, directly on the surface of the potting medium. Don’t cover them – they need light to germinate.
Place the tray on a heat mat and keep it set to about 60°F.
Keep the tray in an area where it will receive direct sunlight or use a grow light for at least six hours per day. If the substrate begins to feel dry on the surface, use a sprayer to gently mist just until it’s moist again.
You should see signs of germination in about two weeks. If more than one seedling pops up in each cell, you can pluck or snip out the less vigorous grower when the plants have one set of true leaves.
Seedlings will be ready to transplant in about eight to 10 weeks when they have developed at least two sets of true leaves.
Be sure to harden them off by slowly introducing your young plants to the outdoors for a few hours at a time until they’re fully acclimated.
Sowing in Containers
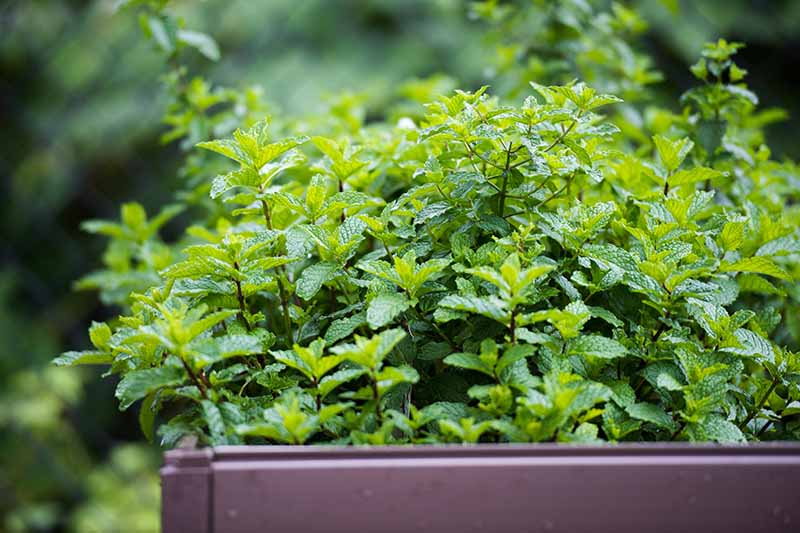
If you plan to keep your herbs indoors or somewhere close by, such as on the patio where they’ll be within reach while you’re cooking, a container could be the best planting option.
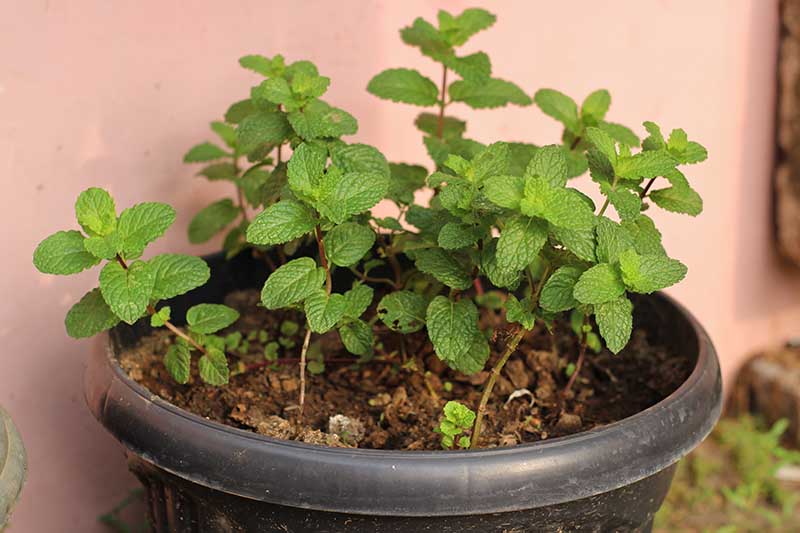
Container planting also reduces the danger of extreme temperature lows because the pot can be moved to a sheltered area, and this also helps to prevent creepers like mint from taking over the lawn or garden.
Begin with a four- to six-inch pot with drainage holes in the bottom.
Fill it to about three-quarters to one inch below the rim with potting soil, or use a homemade mixture of two parts compost to one part perlite. Soak the soil well prior to planting and allow excess moisture to drain. Backfill any lost depth as it settles.
Using your sowing device or a pinch of two to three seeds, scatter them about two to three inches apart. Place the pot in a sunny location or under a grow light for at least six hours per day.
Use a spray bottle to water when the planting medium feels slightly dry to the touch.
Once the seedlings appear, snip or pinch out the weaker ones until only one or two remain.
After about six to eight months, you’ll likely need to repot to a larger container as mint is a vigorous grower! If stems are appearing near the edge of the pot, or you see roots peeking from the drainage holes below, it’s time for a size up.
Sowing Seeds Outdoors
After the average last frost date has passed for your area, choose a patch of ground in either full sun or partial shade. While rich soil is preferred, most types of mint produce the best flavor in “leaner” soil, which is not nutrient-dense.

Lean soil may be somewhat lacking in organic material, but most types generally have enough nitrogen, potassium, and phosphorus to keep Mentha plants happy.
If the soil in your garden is heavy clay or mostly sand you should amend it before planting. For comprehensive information on getting to know your soil and how to address deficiencies, see our guide.
It’s easiest to water the ground prior to planting to avoid seed displacement. Moisten, but do not drench the soil.
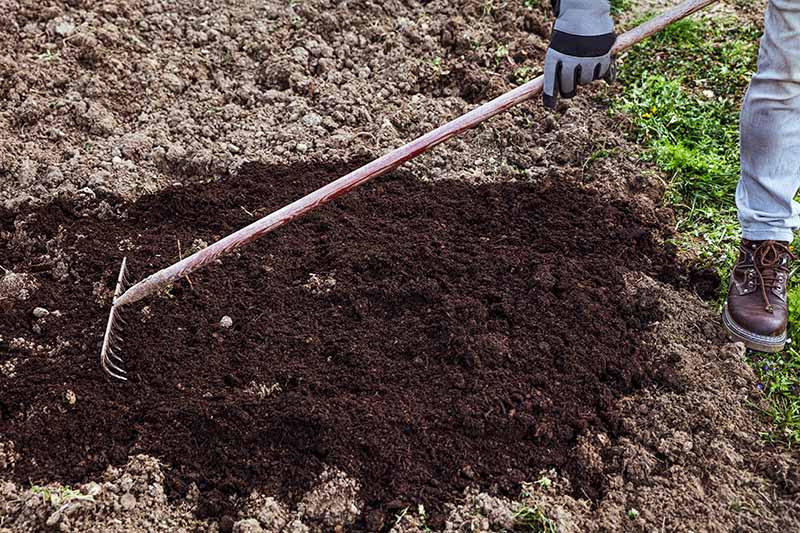
Use a rake to prepare the surface for sowing. Scatter seeds lightly over the ground or use a sowing device.
Add a shallow dusting of vermiculite or sand to anchor them in place and leave them uncovered – don’t press them in.
You can use a row cover that allows for light penetration for protection prior to germination if you’re concerned about rain washing them away.
Once the seeds germinate, you can typically eyeball the distance between them or bring a ruler for more precise measurements.
Pluck out any seedlings that have sprouted between the recommended 12- to 18-inch spacing so they don’t become overcrowded.
Thinning helps to improve air circulation between plants to prevent the spread of some types of diseases, and pest infestations.
Transplanting
After the danger of frost has passed and your seedlings have been hardened off, choose a site that receives six to eight hours of direct sunlight per day. Partial shade through part of the day is also fine for growing mint.
Dig a hole as deep and wide as the pot and leave about 12 to 18 inches of space between each hole. Gently free the root ball from the pot and place it in the ground, pressing carefully to seat it, and backfill with soil.
Water in well. During periods of active growth after the first year, pinch out the tops to encourage a bushier shape as this herb is a creeper that can become long and lanky.
From the second year forward, keep an eye out for the development of buds at the end of the stems. You can pinch these off to prevent the plant from going to seed.
A Hint About Mint
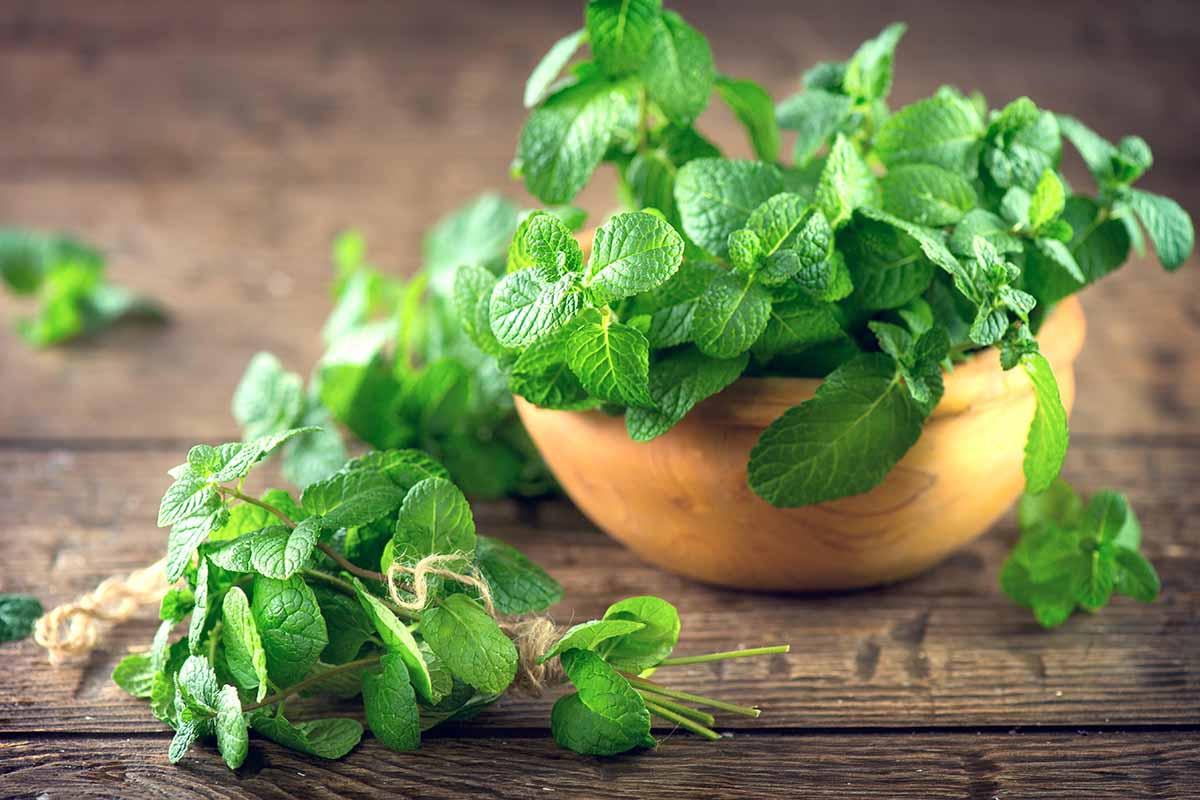
Whether you’re using it to deter pests, planning to pinch sprigs to add to meals, or just enjoy the aroma of it drifting over your garden as you tread on the leaves, keep a close eye on that minty patch.
It can easily creep into unwelcome territory and become invasive, spreading by rhizomes underground.
You might consider planting it in a container instead, but if you do add it to your yard or garden, you’ll surely have more than enough in no time for any use you have in mind.
What’s your favorite way to use mint? Let us know in the comments section below!
And for more information on growing mint in your garden, check out these guides next:
when planting mint indoors from seeds, i read putting saran wrap over the planters and using a heat pad and a lamp helps them to germinate. How long should i keep the pots covered with saran wrap? its been 2 weeks and i have 6 pots, all of which have tiny leaves that are starting to spring up. How long should I use the heat pad? Thank you
We’re so glad to hear germination was successful! Heating pads should typically be turned off as soon as the seeds germinate, and moisture domes or plastic coverings to retain humidity can also be removed as soon as seeds sprout.
Where do I find mint seeds that are for sale?
Hi John, you can find some spearmint seeds available at Eden Brothers, otherwise check with your local plant nursery.