Imagine breaking free from the hustle and bustle of a typical Tuesday morning, where you find yourself surrounded by the impatient crowd on a busy corner of Main Street.
Instead of rushing to the grocery store or your go-to hot beverage dealer, picture a different scenario: stepping into your own backyard, where the means to make a delightful cup of rich, aromatic “coffee” awaits you.
The best part? This drink doesn’t contain a single coffee bean, and it can be yours with just a few simple steps. Curious yet?

We link to vendors to help you find relevant products. If you buy from one of our links, we may earn a commission.
Let me introduce you to a favorite plant of mine, chicory! With its vibrant leaves and distinctively bitter flavor, chicory has secured a special place in various culinary traditions across the globe.
But chicory offers more than just versatile leaves for salads and cooked dishes. Its roots conceal a secret – a hidden treasure trove brimming with flavor and nutritional benefits, waiting to be unearthed.
In this article, we will explore the art of harvesting this plant, discovering the optimal techniques and perfect timing to unearth both its robust roots and delectable leaves.
Here’s what we’ll uncover in this article:
What You’ll Learn
Which Chicory Is Which?
Navigating the world of chicory can be a bit perplexing, as there are various plants that bear the same common name.

Belgian endive (Cichorium intybus var. foliosum), curly endive (C. endivia), and radicchio (C. intybus var. radicchio) are all members of the same genus, and several of these are varieties of the same parent species, C. intybus, that many may have heard of.
While these various plants share certain characteristics, in this article, we will focus specifically on C. intybus or common chicory, a species that is widely cultivated and cherished for its leaves and roots.
Learn more about growing your own common chicory in our guide.
When to Harvest
Timing is imperative when it comes to harvesting this versatile herb.
The best time to harvest is before the plant reveals its dazzling flowers. Your chicory should be ready to harvest in 120 days max after sowing seed.
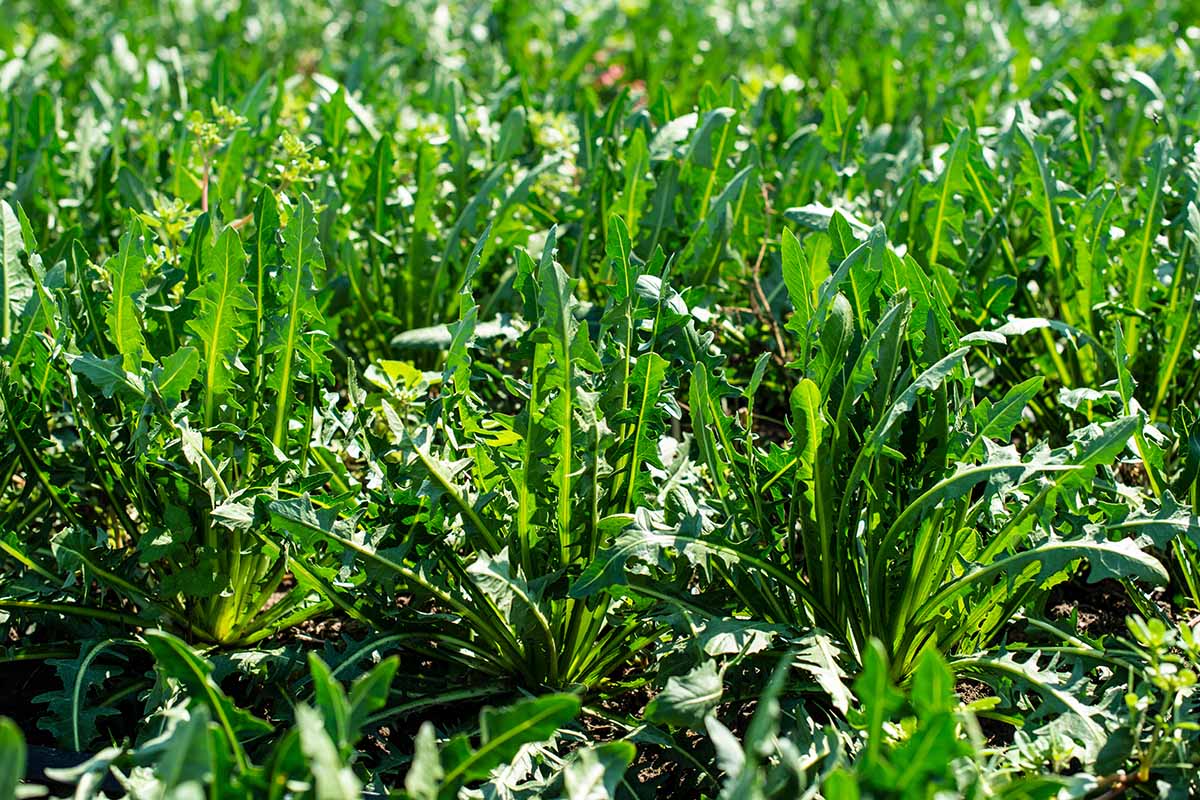
This biennial herb devotes its first year to building robust roots and lush foliage, reserving its flowering phase for the second year.
Savvy growers agree that the highest quality and flavor can be found in the fall of the first year though some wait until early spring the next year, just before those captivating blooms emerge.
Older roots tend to be woody and bitter if harvested beyond fall in the first year of growth, but waiting until cooler temperatures arrive in fall to pick the roots gives them time to develop more fully, becoming more flavorful.
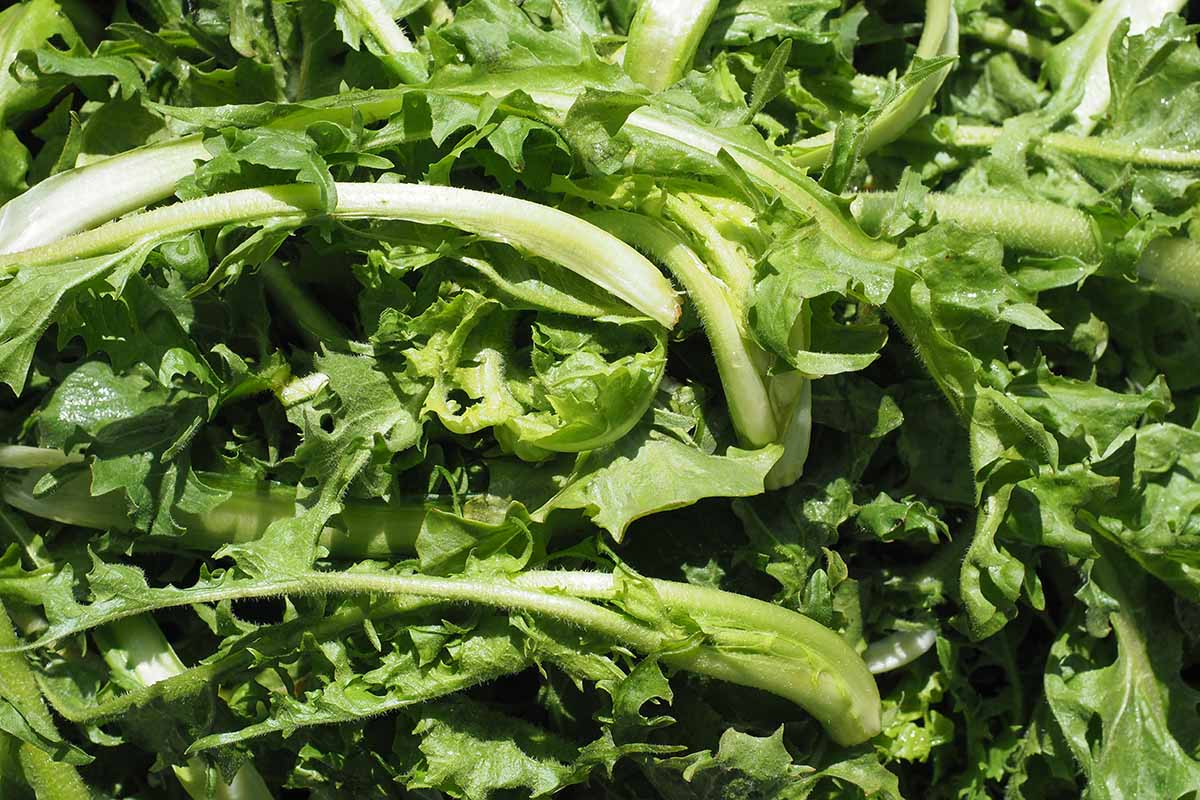
Leaf Harvesting
When leaves reach maturity, the time has come to reap the rewards of your efforts. You have a couple of options, depending on your preference.
One approach is to opt to pick the whole plant. Gently pull it from the ground, ensuring that the roots come along with the foliage.
The leaves are typically mature when they reach a height of 12 to 18 inches, though many gardeners choose to pick them at a smaller size.
Take care to delicately coax the root out of the soil using a hand trowel, minimizing any potential damage. Once the plant is removed, make a clean cut about two inches above the roots to separate the leaves from the rest of the plant.
Alternatively, using an “eat as you grow” approach by selectively trimming the tender leaves in the spring when they reach a length of six to eight inches offers a delectable culinary experience and the promise of future harvests.
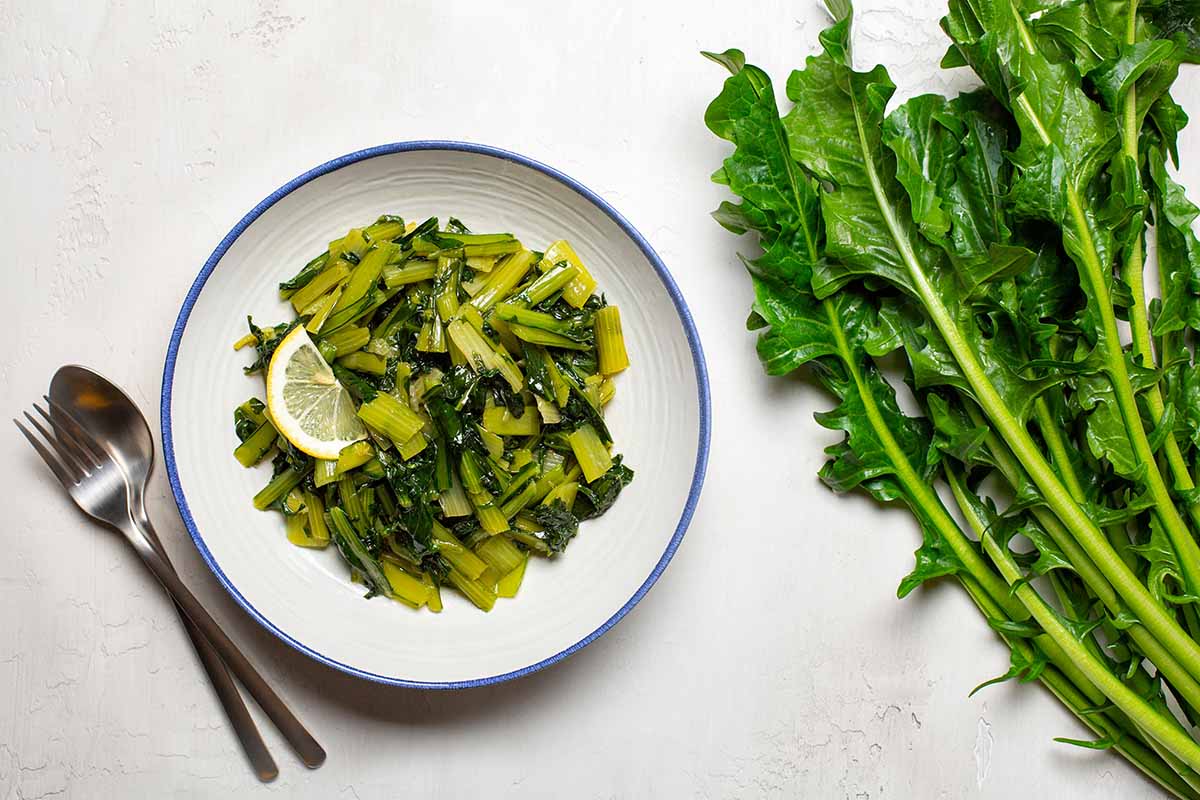
It’s important to note that the leaves remain edible throughout the growing season, but they tend to become more bitter as they grow. You can reduce the bitterness of mature leaves by boiling them.
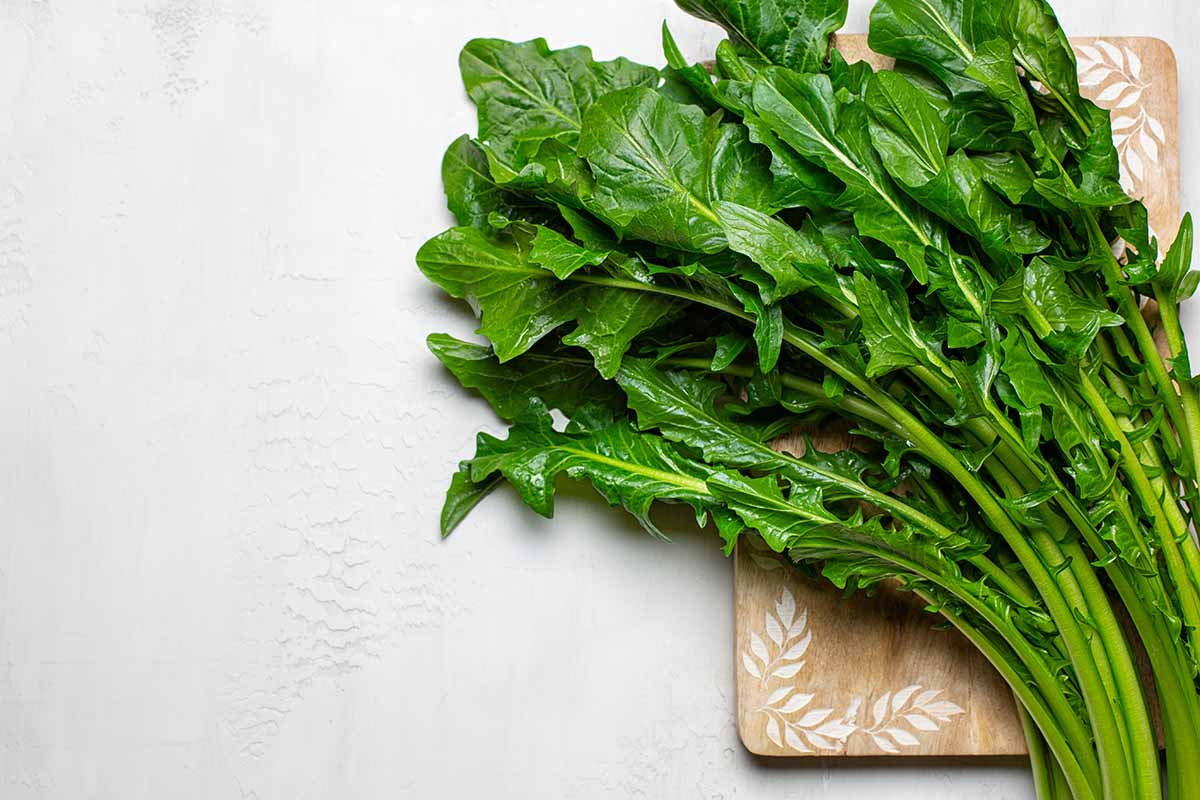
Once you’ve gathered your leaves, it’s time for a thorough washing. Rinse them twice under running water using a sieve, removing any unwanted debris such as grass or withered leaves.
Allow the leaves to drain by lightly shaking the sieve to remove excess water, and then let them rest on paper towels or a bowl to complete the draining process.
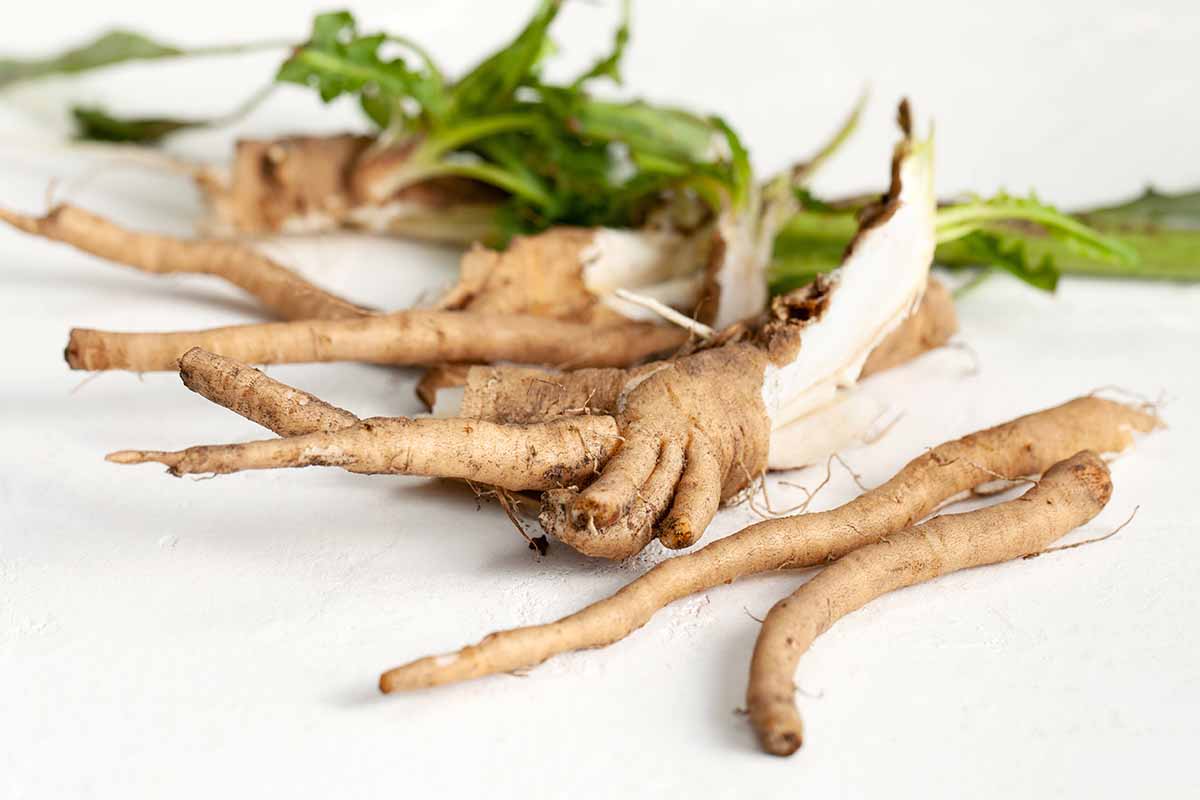
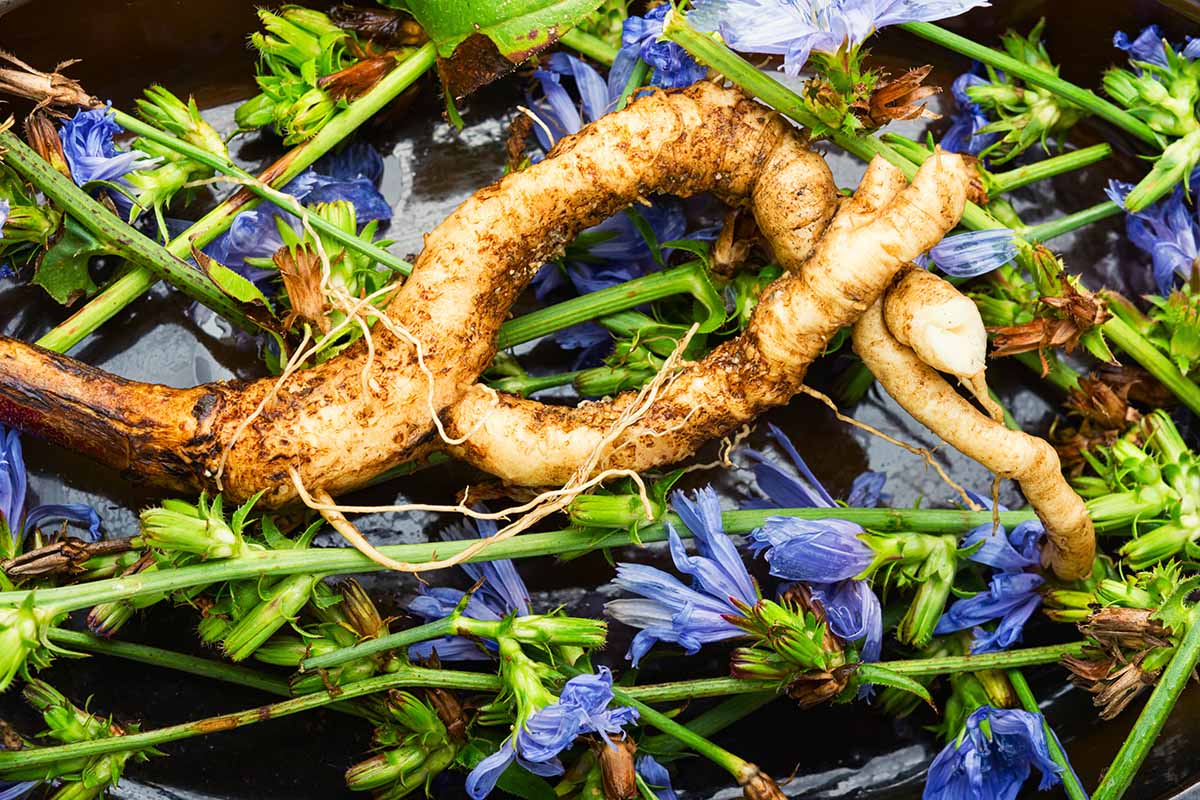
Root Harvesting
To ensure that your harvesting efforts are well-rewarded, it’s wise to uproot a generous amount of chicory at once.
Just like carrots, chicory produces an impressive taproot that can be pulled out by hand with the help of a spade or shovel.
Start by clearing the area around the plant of any obstacles.
Chicory roots can spread widely, so begin digging approximately six to eight inches away from the plant’s base. Insert the spade or shovel at this distance, angling it away from the plant to protect the roots.
Insert it to a depth of about four to six inches below the soil surface. Gently work around the plant, gradually loosening the soil. To extract the root, firmly grasp the stem with gloved hands and pull it steadily from the ground.
If you encounter resistance, use the spade or shovel carefully by applying gentle and steady upward force, lifting up the root and leveraging it out.
If needed, gently hose off any tangled roots and separate them from the verdant greens and sturdy stalks. You can use your fingers or a hand trowel to gently tease roots apart.
Bring your precious haul to the kitchen and equip yourself with a trusty brush, a potato scrubber, or even a fresh scouring pad, and give those roots a vigorous scrubbing.
Every stubborn speck of dirt must be banished from their rugged exteriors. Be prepared for a challenge, as these roots are tough and delightfully uneven.
Use your vegetable peeler to shred the chicory into the smallest, most uniform pieces possible.
You might encounter fibrous bits or tiny fragments that resist your peeler’s charm. If that’s the case, you can chop them up with a knife.
The ultimate goal is to cut it into the smallest, evenly sized pieces before the grand finale of dehydration.
Preservation and Storage
Drying the leaves can be a delightful process that takes us back out into the fresh air.
You can choose a cozy spot like a balcony, veranda, or a covered area. Keep them out of direct sun as this can cause them to lose flavor and color.
Lay the chicory leaves in a single layer on a clean, flat surface, such as a drying rack or a baking sheet lined with parchment paper.
Ensure that the leaves are not stacked on top of each other, as this can lead to uneven drying and possible clumping. There’s no need to turn them while they’re drying, but there is no harm in doing so if you prefer.
After a couple of weeks, the once-green leaves will become dry and brittle, and they’re ready for use or storage. Fully dried, the leaves will crumble easily.
If you prefer a faster method, an electric dehydrator can be used with gentle temperatures up to about 115°F (45°C).
Fresh leaves may also be stored in plastic bags in the refrigerator for up to 10 days.
Want to keep your fresh leaves for longer? Freezing this herb is another practical way to preserve it, for up to three months.
Cut the rinsed leaves into halves or quarters for easier handling. Next, blanch the chicory in boiling water for a maximum of 90 seconds, then transfer it to ice-cold water for another 60 seconds to halt the cooking process. After blanching, pat the chicory dry to remove excess moisture.
Place the blanched and dried chicory into labeled, thick freezer bags, removing as much air as possible before sealing them and transfer the bags to the freezer for storage.
With these simple steps, you’ll have a convenient supply of frozen chicory ready for use whenever you need it.
Frozen chicory adds convenience to your cooking routine. To prepare it, simply simmer the frozen greens in boiling water for three to four minutes until they’re thawed and fully cooked.
Pair them with butter or a sauce for a tasty side dish in minutes, or defrost them in the fridge overnight to add to other recipes.
While frozen greens are versatile and they can be used in many recipes, note that they’re not suitable for cold salads due to changes in texture.
When it comes to drying the roots naturally, you will follow the same process as you would for drying the leaves, laying them out in an area with good air circulation and avoiding direct sunlight.
In about two weeks, the dried roots will be ready for use. Dried roots will have a light brown color on the outside and a yellowish tint inside.
Alternatively, use a dehydrator set to no more than 105°F (40°C).

Finally, let’s talk about making a coffee substitute. Chicory root is often used as a coffee substitute with a rich, coffee-like taste when roasted. It’s also associated with numerous health benefits.
Its earthy, slightly bitter flavor profile and potential digestive benefits have earned it a dedicated following among individuals looking to enjoy the sensory pleasures of coffee without the stimulating effects of caffeine.
After shredding the roots or cutting them into small pieces, roast them at 300°F in a single layer on a baking sheet until they turn dark brown. This can take anywhere from 45 minutes to an hour and 30 minutes.
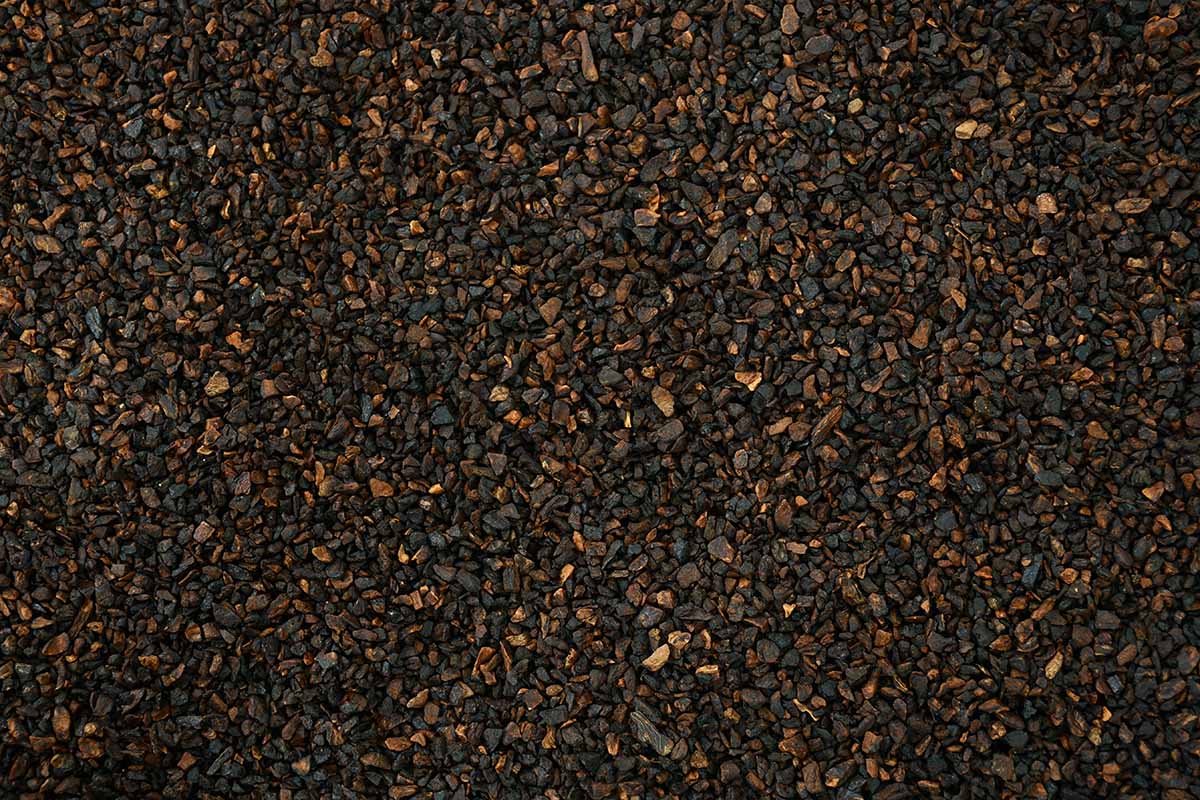
Keep an eye on them, turning them occasionally for even drying. Once you smell that coffee-like aroma, they’re ready to be taken out. Allow the roasted roots to cool on the baking sheet.
Once they’ve cooled down, store in a cool, dark place in an airtight container to preserve their flavor. Crush the roasted roots like coffee beans, brew to your desired strength, and enjoy your very own locally sourced “coffee.”
As for fresh roots, they can be kept in the fridge at 38 to 42°F for several months until you’re ready to use them.
Read more about common chicory health benefits and uses in our guide.
Enjoy the Harvest
As you head out on your harvesting journey, you’re equipped with the knowledge and techniques to unlock the full potential of this incredible herb.
Whether you’re savoring the crispness of freshly picked leaves or indulging in the rich aroma of roasted roots, the rewards of your efforts are just a harvest away.
Maybe one day you will skip the cafe line and head to the garden instead, planning for a robust cup of morning “coffee” – sans caffeine – or a calming cup to wind down at the end of the day.
Let chicory inspire your culinary adventures. Explore new recipes, experiment with flavors, and let your creativity flourish.
Have any experience with picking your own chicory? Let us in on your tips and tricks in the comments below. We would love to hear about your harvesting and storing methods as well as your recipes.
Interested in different kinds of tasty chicory relatives? Read these articles next: