Arnica spp.
Arnica is a genus that includes around 40 species – 27 of which are found in the mountains of the northwestern US and Canada.
The well-known species, A. montana, is a native of northern and central Europe, while other species are native to North America and Siberia.
A. montana has long been known for its medicinal qualities – specifically in relieving inflammation and pain, as well as helping to heal bruises, sprains, and wounds, and acting as an antiseptic.

We link to vendors to help you find relevant products. If you buy from one of our links, we may earn a commission.
Other species are also known for their healing properties, including the North American native A. chamissonis.
The climate crisis, changes in land use, and unsustainable harvesting of wild arnica has put some species at risk – including the commonly garden-grown species A. chamissonis – all the more reason to make a home for this herb in your garden!
In this guide, you’ll find everything you need to know about growing arnica.
What You’ll Learn
Let’s begin by digging a little deeper into the botany and background of this significant plant.
What Is Arnica?
Arnica is part of the Asteraceae family, also known as the sunflower or daisy family.
A very winter-hardy perennial found in Zones 2 to 9, its natural habitat is composed of acidic, rocky soils in alpine regions, woodlands, and high pastures.
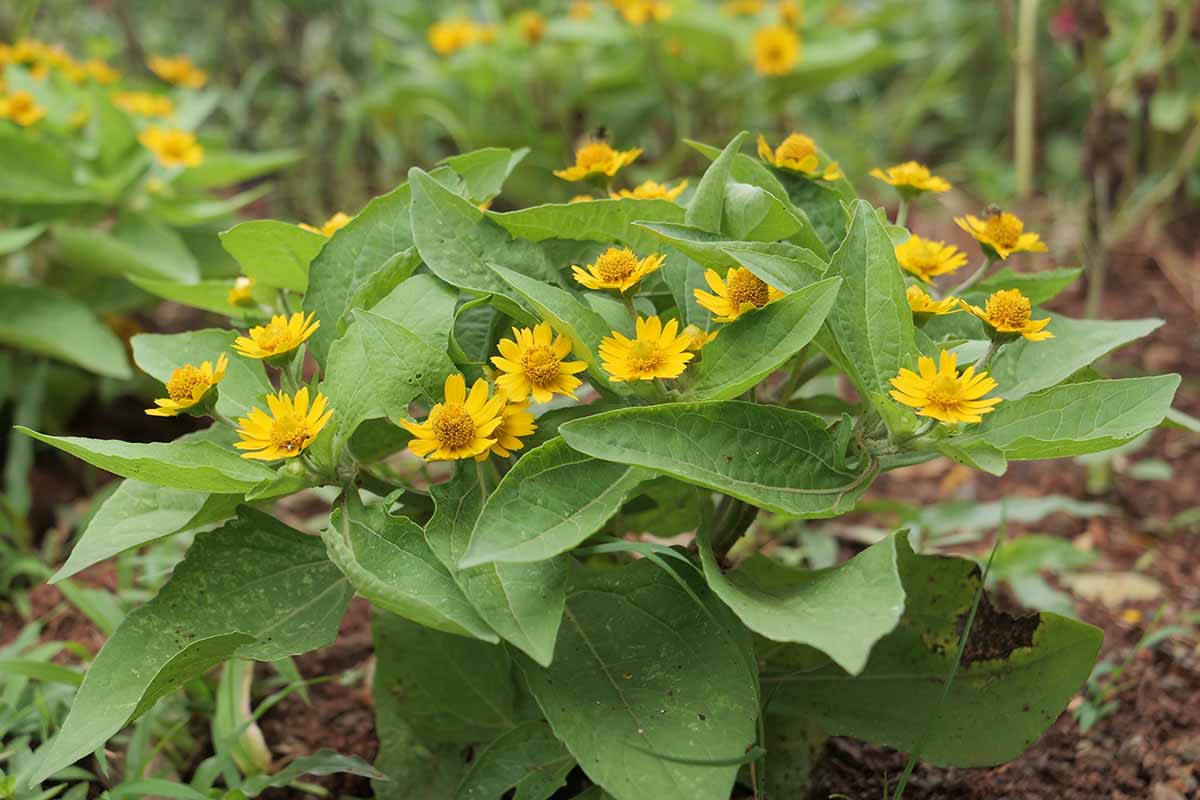
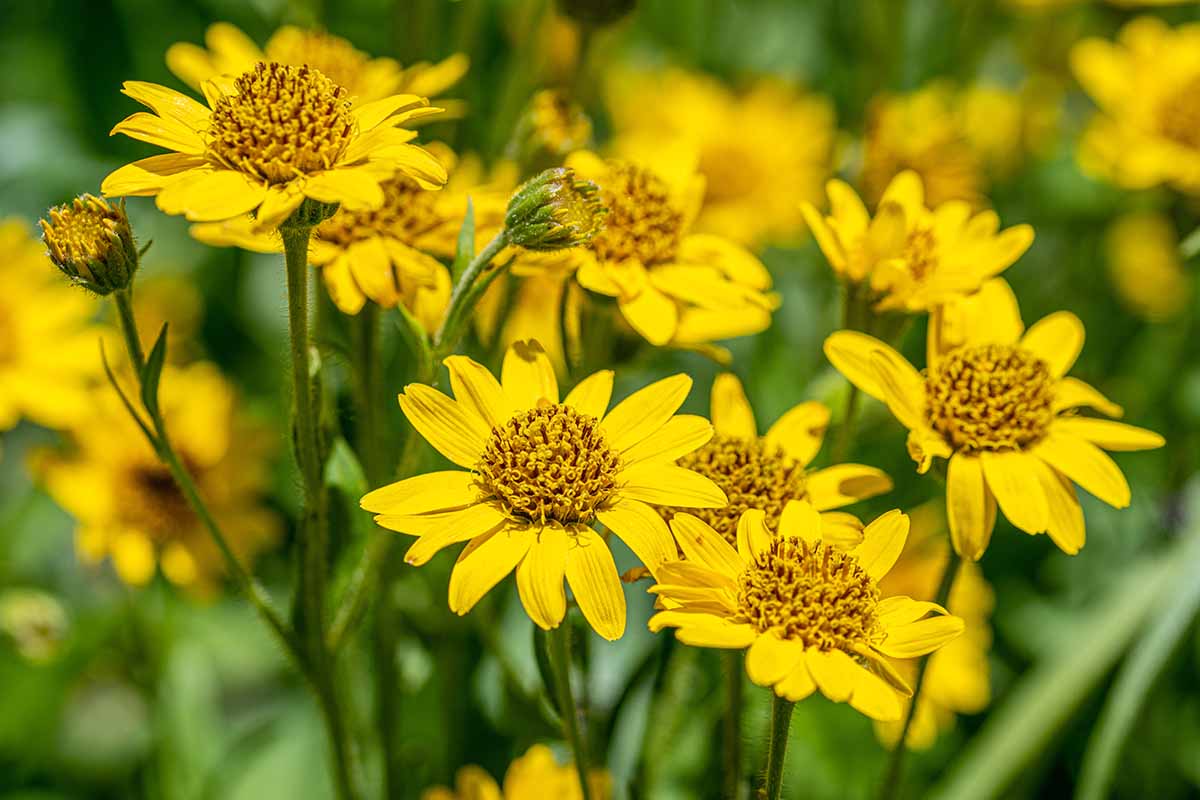
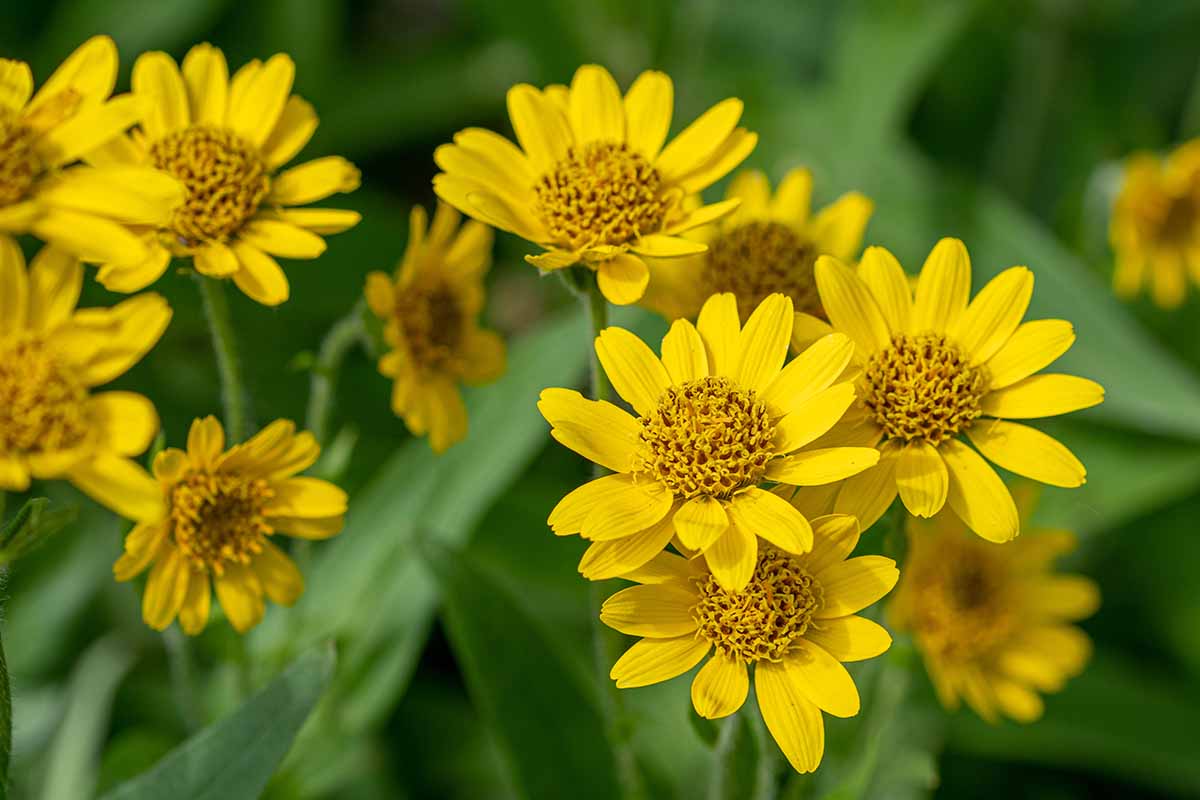
These plants grow to about one to two feet tall, and have light green oval-shaped leaves. Their foliage and stems tend to be hairy.
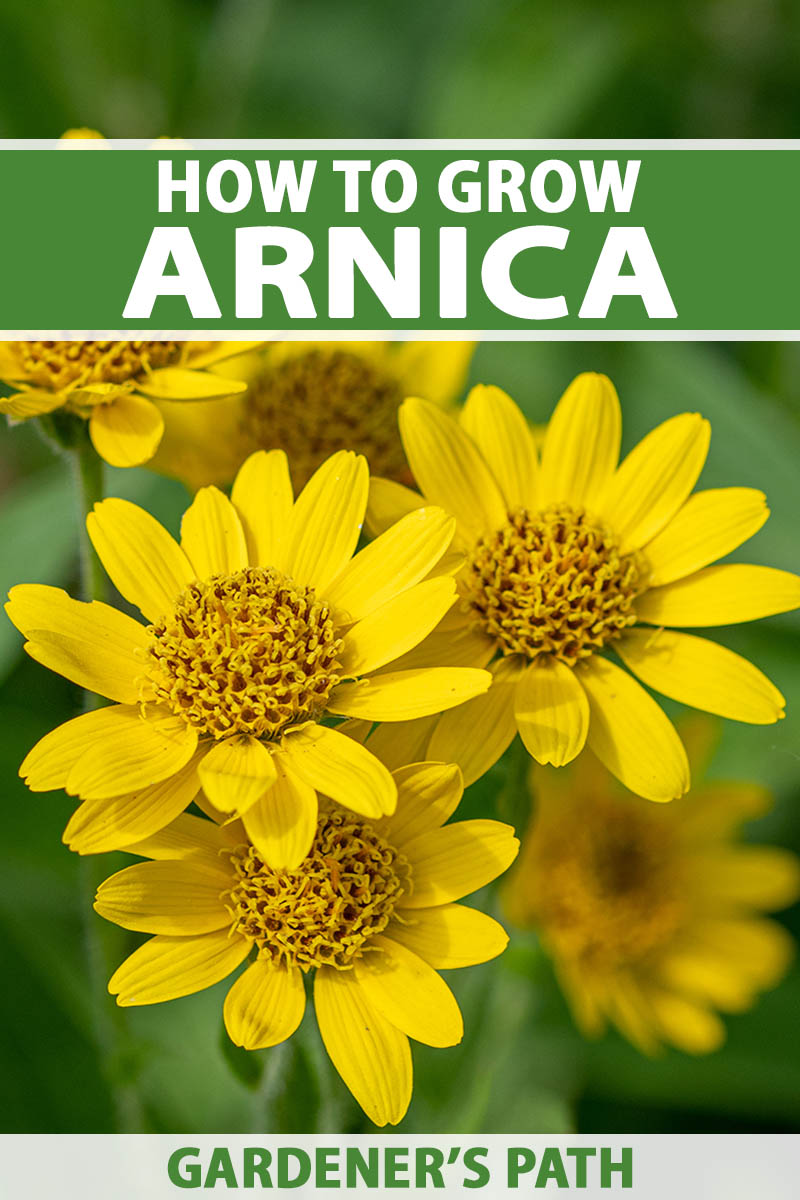
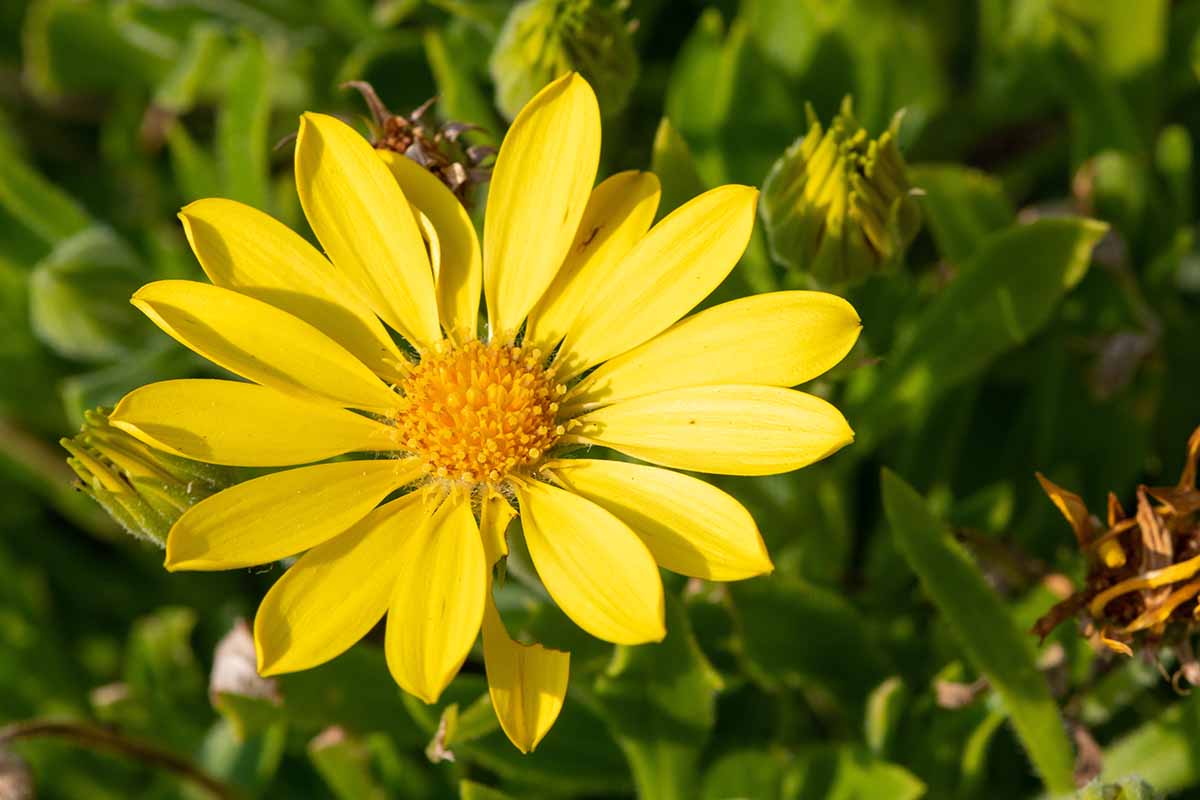
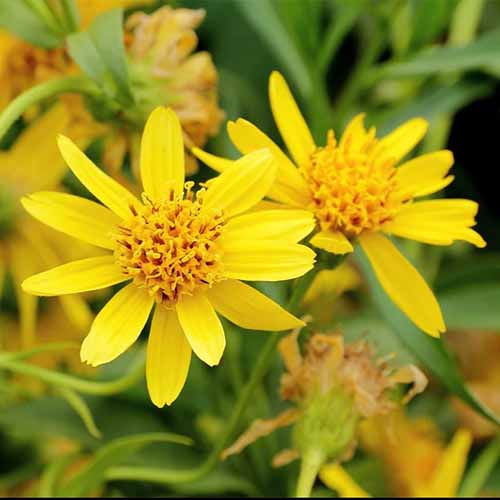
The flowers are bright orange-yellow, daisy-like, and one to three inches wide. The flowers bloom continuously throughout summer from May to August, and even into early fall in some locations.
The fragrant blooms attract pollinators including a number of species of bees, butterflies, moths, and flies.
Many species have underground rhizomes, which enable them to quickly spread and fill in the surrounding spaces.
Cultivation and History
Arnica has some fun common names – leopard’s bane, wolf’s bane, mountain snuff, and mountain tobacco. The latter is a reference to the historical use of the leaves as a tobacco substitute.
This group of perennials has a long history of medicinal use dating back to the 16th century. Today, arnica is used in tinctures, salves, and creams.
However, it’s important to note that arnica extracts should not be applied to broken skin. And while it is helpful for many people, some individuals may experience topical dermatitis.
Also, be aware that this herb should only be used externally and should not be ingested as it can be potentially toxic.
Today, Romania produces most of the world’s wild-harvested arnica, and Germany is the largest importer.
Arnica Propagation
Once you have a mature arnica plant, dividing it is a simple way to produce more plants.
Starting plants from seed is possible too, it just takes a little more time. I will cover both propagation methods so you can choose what will work best for you.
From Seed
Seeds don’t remain viable for a long time, so using fresh seed is a good idea.
Stratify the seeds by placing them in the refrigerator in a plastic baggie filled with peat moss for at least two weeks and up to 12 weeks.
If you want to start seeds indoors, prepare a seed tray with moist potting mix. These seeds require light to germinate, so sow them on the surface or just barely covered with potting soil.
Set the seed tray in a warm spot with bright, indirect light.
Germination is slow – seeds will germinate in three to four weeks. Wait until the seedlings are three to four inches tall and the roots are well-developed to transplant them into the garden.
You can also sow seeds outdoors in early fall and allow the winter months to take care of the cold-stratification process. Alternatively, sow stratified seed in spring after all danger of frost has passed.
From Divisions
Arnica is easily multiplied by dividing a mature plant in early spring or late fall after its second or third year of growth.
To do this, water your plant well one or two days before you plan to divide.
Prepare the place where the new divisions will go by digging a hole a little wider than required for the roots and deep enough for the crown to be flush with the surface of the soil.
Cut the stems and foliage so they’re six inches from the ground. Dig around all sides of the plant as well as underneath. Lift the clump and shake off any loose soil.
Make sure your division includes a section of rhizome and a few stems with leaves. Take a look at the clump of rhizomes and if any are damaged by insects or disease, cut those off.
Plant your new division by keeping the rhizome just visible above the soil level. Water in well.
How to Grow Arnica
In the wild, arnica grows in part shade to full sun, but for the best flowering, aim for a full sun location.
This herb thrives in loamy or sandy soil, with a pH of 5.5 to 7.5.
You will need to keep the soil slightly moist – these plants don’t tolerate drought.
Aim for a happy medium – moist soil that’s not waterlogged and not bone dry. It should feel like a well-wrung-out sponge at all times.
If you live in a windy area, you may need to stake your plants so they don’t fall over.
Give your plants a small amount of fertilizer with a low nitrogen concentration annually in spring.
Growing Tips
- Grow in full sun.
- Provide loamy or sandy soil with a pH of 5.5 to 7.5.
- Maintain even moisture.
Maintenance
Once it is well-established, arnica will not need much care, though if you don’t want it spreading to the rest of your garden, you’ll need to cut it back.
The roots have a tendency to spread so make sure to plant it somewhere where this isn’t a problem. Despite this tendency, arnica does not compete well with weeds, so keep them in check around the growing area.
To keep flowers blooming continuously all summer, deadhead any wilted flowers.
Divide the plants during the spring or fall every few years to maintain the plant’s vigor and keep it looking great.
Come fall, you can cut back the dead or dying foliage to keep the garden looking tidy, but this isn’t essential.
Arnica Species and Cultivars to Select
You may have to look around a bit for arnica seeds, but specialty medicinal or herbal seed suppliers will likely carry them.
A. montana ‘Arbo’ is the only commercially recognized cultivar, and it can be found from specialty seed suppliers. It was developed in the 1980s in Germany.
A. chamissonis, the North American native, is a popular species that is said to be easier to grow in the US than its European cousin.
You can find A. chamissonis seeds available from Earthbeat Seeds.
Managing Pests and Disease
Although arnica is not affected by many pests or diseases, it is more susceptible under conditions of high humidity and waterlogged soil.
Here’s what to watch out for when growing this perennial:
Pests
There aren’t many pests that will go after your plants – but snails are one to look out for.
Snails
Arnica is a snail favorite – and they can do some serious damage to your plants by munching on the leaves, and leaving irregular, smooth-edged holes behind.
A sure sign of snails as the culprit is the shiny mucous trail left on the leaves.
If snails do become a problem, there are various methods of control available to you.
Picking them off by hand can be quite effective – albeit time-consuming. Draw the snails into the open by watering your plants and the surrounding area in the late afternoon.
When it’s dark, use a flashlight to find them – squeamish pickers are advised to wear gloves!
Check for snails daily, and be thorough – they’ll likely be hiding in the arnica plants! When you start to notice fewer snails, weekly hand-picking should be enough to manage them.
Another method is to trap and drown snails in a liquid. Beer is a popular choice, but sugar water with yeast added also works.
To trap snails this way, place the liquid in a bowl that they can’t crawl out of – a few inches of liquid should do. Bury the container so the top is level with the soil.
These traps only work within a few feet radius so you may need a few traps if your arnica patch is large. Empty and refill your traps every few days.
If your plants are in a planting bed, you may want to try a barrier made of copper. The slime that snails produce reacts with the copper, disrupting their nervous systems with a kind of electric shock.
To build a copper barrier, you can easily either wrap copper foil or tape around your planting box. This will work until the copper becomes tarnished. Clean it with vinegar and it should work again.
A longer-term solution is to build a vertical copper screen. It doesn’t need to be tall – one inch above the soil and one or two inches buried beneath the soil is enough to prevent them from getting in.
Chemical controls can be used alongside the cultural controls described above. Iron phosphate baits are a safer option for use around kids and animals.
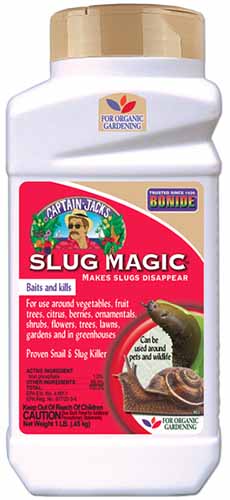
A good choice is Slug Magic, available from Arbico Organics.
Sprinkle the bait in areas where snails are damaging your arnica, but not on the plant itself. Lightly water the bait to encourage feeding.
You can learn more about how to deal with slugs and snails in our guide.
Disease
One disease to watch out for when growing arnica is crown rot. Keep reading to find out how to approach this problem if it strikes.
Crown Rot
Crown rot is caused by soilborne pathogens. Unfortunately, it usually results in needing to remove the diseased plant from the garden.
The initial symptom you will notice is wilting. The leaves may also turn yellow and eventually die.
Some parts of the rhizome that survive the disease may eventually regrow, but will likely continue to show some signs of infection.
With crown rot, prevention is your best option. Avoid overwatering, and plant in well-draining soil, amending at planting time if necessary.
If your garden soil doesn’t drain well, then consider growing your arnica in raised beds.
Harvesting
If your arnica plant is healthy, it may provide you with a small harvest in its first season. However, it will take two or three years before you see a substantial harvest.
In the eastern United States and Canada, arnica begins flowering in late June and continues all summer long. In the western US and Canada, it may even continue flowering into early fall.
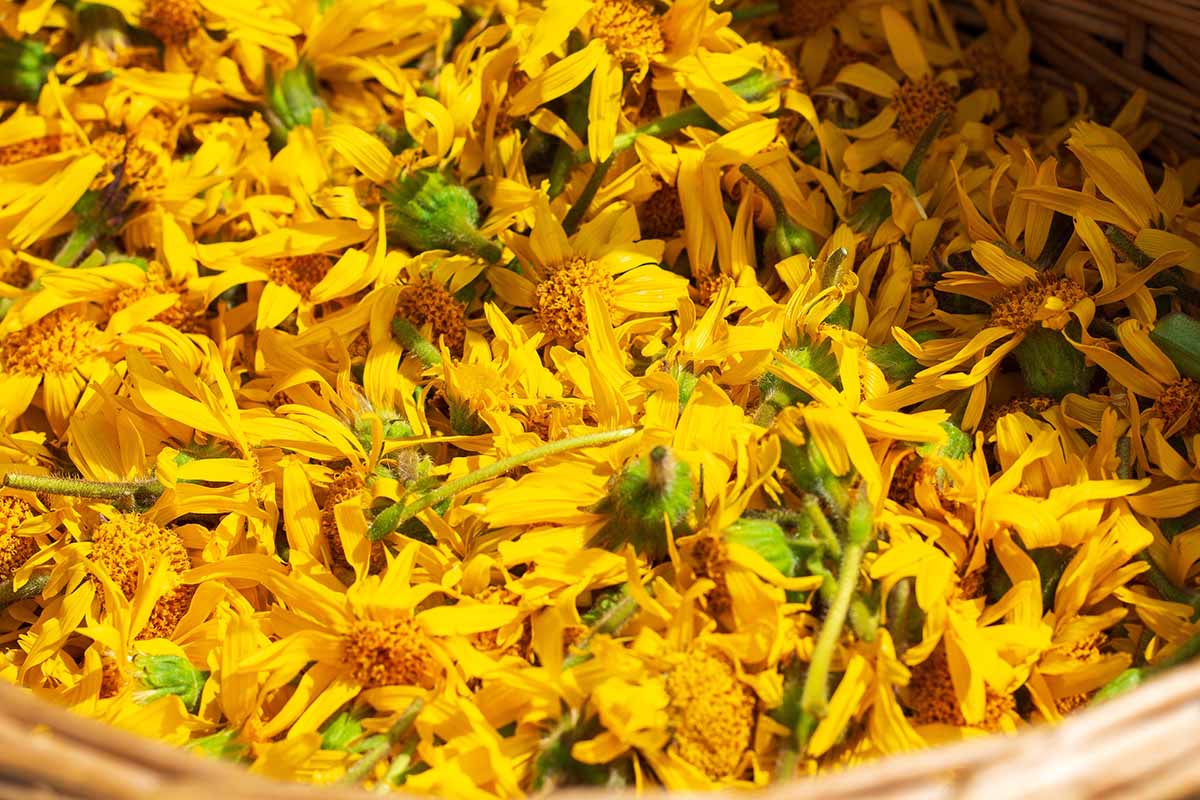
Arnica flowers are easily harvested by hand. Simply pull each flower head from the stem – I love the satisfying pop! sound it makes.
Harvest the flowers when they’re fully opened. You may want to wear gloves because the stems are scratchy. The best time of day to pick is a sunny morning after any dew has evaporated.
This herb has a staggered blooming period which means you’ll need to harvest the flowers continually, every three or four days during peak blooming.
Best Uses for Arnica
Arnica can be used in creams and other topical applications.
Remember that no part of the plant should be ingested – it should only be used externally, with the exception of homeopathic medicines which come in extremely diluted doses.
You can preserve the herb by drying the flowers. To do this, place blossoms in a single layer on a drying rack or paper-lined tray in a warm location with temperatures of at least 70°F, out of direct sunlight and with good airflow.
If you’re using an electric dehydrator, the temperature should remain around 100°F and no more than 113 °F (45°C) to maintain the active components.
Once they are dry, the blossoms will look puffy and as if they’ve gone to seed – this is totally normal!
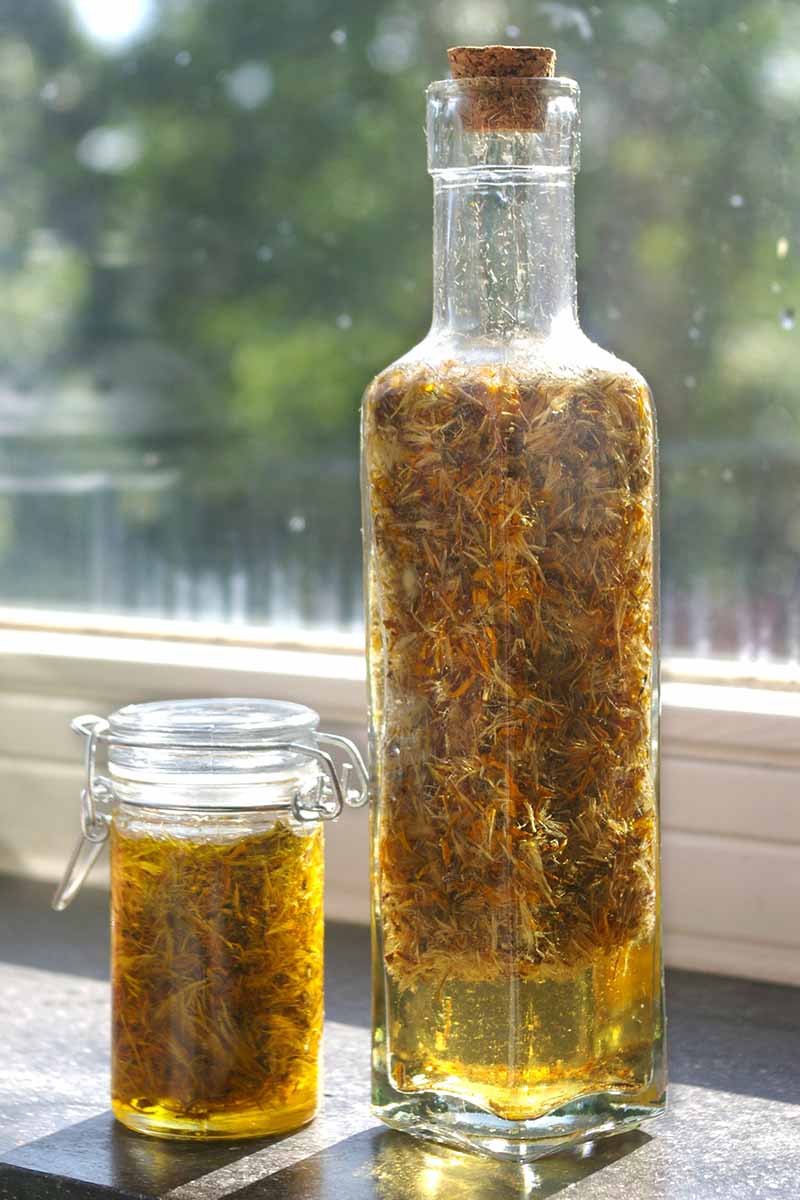
You can use the flowers to make a tincture. Start by filling a glass bottle with a tight-fitting lid about one-third full of blossoms. Next, add rubbing alcohol to the jar until the flowers are covered, and close the lid.
Keep the tincture on a windowsill for a minimum of four weeks to infuse. Strain, discard the flowers, and store the tincture in a glass jar in a cool, dark location.
Use it sparingly to soothe aching muscles.
Quick Reference Growing Guide
| Plant Type: | Herbaceous perennial | Growth Rate: | Fast |
| Native To: | Central Europe, North America, Siberia | Water Needs: | Moderate |
| Hardiness (USDA Zone): | 2-9 | Tolerance: | Poor soil, shade |
| Season: | Spring, summer, fall | Maintenance: | Low |
| Exposure: | Full sun | Soil Type: | Loamy, sandy |
| Time to Maturity: | 1-3 years | Soil pH: | 5.5-7.5 |
| Spacing: | 6 inches | Soil Drainage: | Well-draining |
| Planting Depth: | 1/4 inch (seeds), depth of root ball (transplanting) | Attracts: | Bees, butterflies, flies, moths |
| Height: | 1-2 feet | Companion Planting: | Rhodiola, yarrow |
| Spread: | 1.5-3 feet | Family: | Asteraceae |
| Growth Rate: | Moderate | Genus: | Arnica |
| Common Pests and Diseases: | Snails; crown rot | Species: | Angustifolia, chamissonis, cordifolia, montana |
Nature’s Remedy
A beautiful flower with a sunny disposition, arnica doubles as a healing agent for your medicine cabinet.
Growing arnica provides food and habitat for pollinators and helps preserve some of the endangered species. Try growing some in your garden to enjoy its many benefits!
Do you have any useful tips about growing arnica? Let us know in the comments below!
And for more information about growing medicinal plants in your garden, check out these guides next: