Your landscape may be breathtaking when the sun is out, but if you want it to have razzle-dazzle at all hours of the day, then you’ll need to break out some outdoor lights.
Why bother to brighten your garden at night? Well, even though it’s typically out-of-doors, a garden is essentially an extra room, an additional living space that’s quite enjoyable to be in.
We link to vendors to help you find relevant products. If you buy from one of our links, we may earn a commission.
So naturally, you’d want to spend as much time in it as possible – even after dark. But the moon can only gleam so much, and it’s hard to appreciate what you can’t see.
If you’ve ever perused your options online or walked down the lighting aisle at a garden center or home improvement store, then you know that there are many different ways to provide outdoor illumination.
Figuring out your wants and needs beforehand will help you to save a lot of time and effort.
This guide breaks down seven essential aspects of lighting that are worth contemplating before you purchase fixtures and bulbs.
After working your way through this list, you’ll have your requirements and preferences figured out, whether you opt to hire a professional or go the DIY route for installation.
7 Lighting Factors to Consider
1. Purpose and Budget
There are many reasons to light your landscape after the sun goes down.
Need to illuminate stairs and paths so that folks don’t trip or step into your garden beds? Trying to provide ambiance for late-night patio parties or nocturnal lawn games? Want to accentuate particularly glorious plants well into the evening?
If you want to increase security, you should opt for motion-activated fixtures that flood an area with bright light the second they’re triggered.
For entertaining guests, you’ll probably want lights that are as aesthetic as they are functional.
To emphasize particular garden specimens, you’ll want to keep your fixtures inconspicuous – your lit plants should be stealing the show, not the lights themselves.
Knowing the “whys” of your illumination endeavors will drive the rest of your decision-making. So they’re well worth figuring out first.
It also goes without saying that you probably shouldn’t buy what you can’t pay for, so it’s really important to ask yourself, “How much am I able and willing to spend?” And there are many costs to consider.
First, you have the actual bulbs and fixtures themselves. Then, you’ve got tool or labor costs, whether you’re buying your own equipment for DIY installation or hiring outside help.
It also can’t hurt to set aside cash for potential repairs, either, taking warranties and average lifespan of your selected products into consideration.
Finally, you have utilities. Those will have a never-ending cost attached as well, unless you go with a renewable energy source such as solar, wind, or someone with strong quads pedaling a bicycle generator.
You could go the inexpensive route with small battery-operated or solar lights, whereas a vast network of underground electrical wiring can set you back a pretty penny.
It all depends on your goals and finances!
2. Bulb Type
In this arena, you have not one, not two, but five different bulb types to choose from: LED, CFL, halogen, HID, and incandescent. Today, LED lights are typically the most common.
LED
Also known as light-emitting diodes, LED bulbs are the most durable and energy-efficient bulbs on our list, meaning they’re the least likely to break and use the fewest amount of watts of energy.
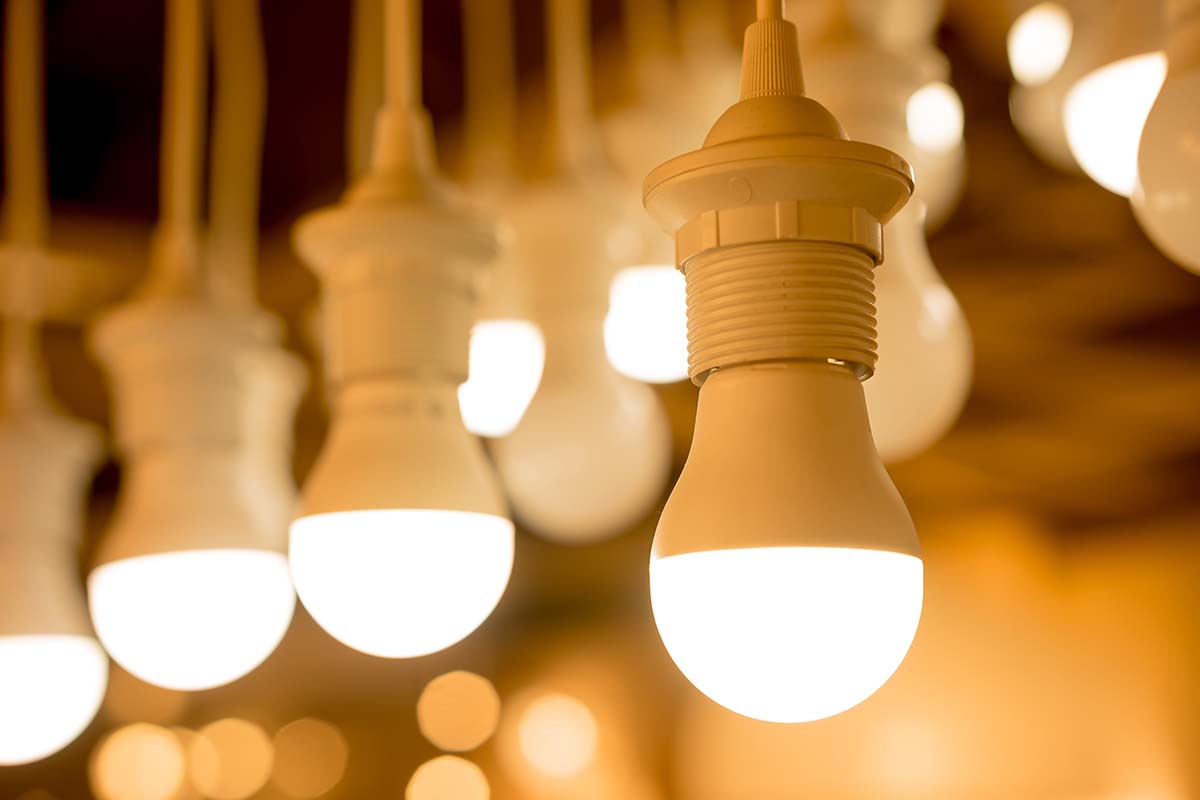
They also last the longest, with the most enduring models able to last as long as 100,000 hours before needing replacement.
Available in many different brightness levels, colors, and bulb shapes, LED bulbs have steadily increased in popularity since they came onto the scene.
They’re usually expensive up front, but given their longevity, durability, and energy efficiency, buying them is economically savvy in the long run.
CFL
You know those bulbs with a coiled tube rather than the stereotypical “I have an idea!” bulb shape?
Those are compact fluorescent lamps, which function the same as their longer, more tubular fluorescent cousins, only in a smaller package.
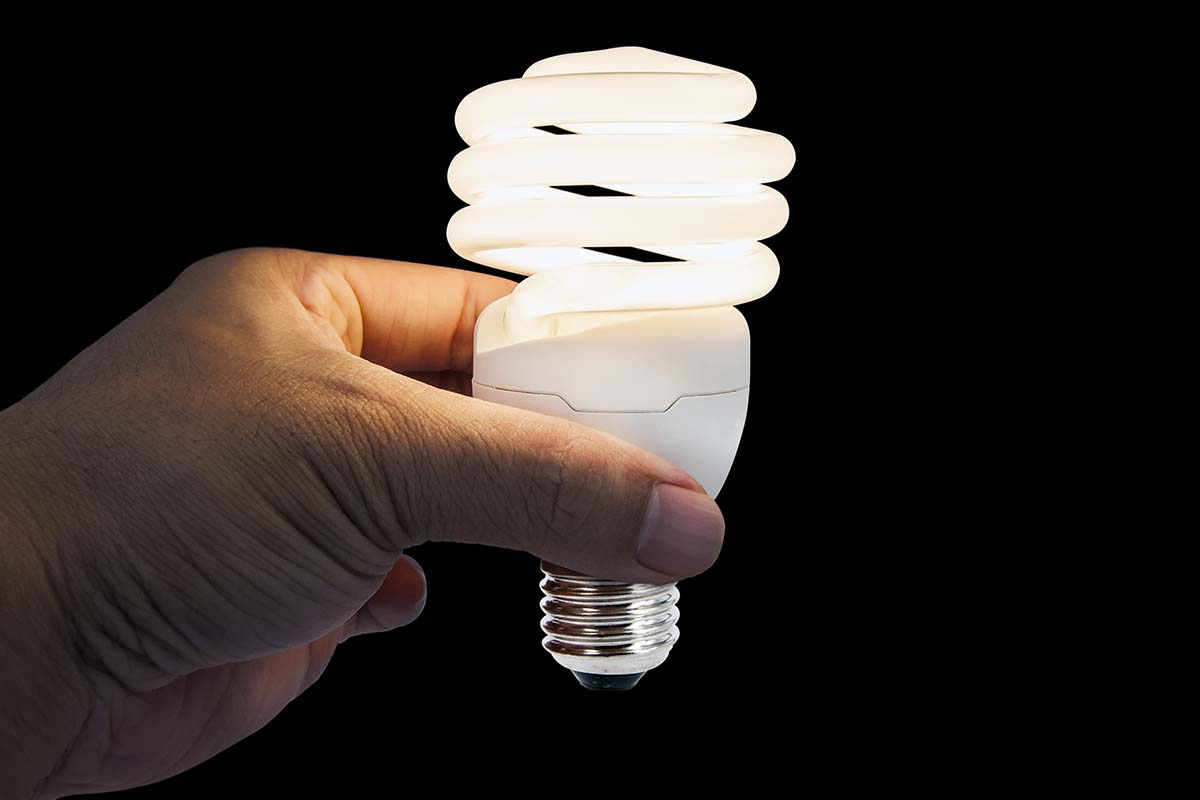
CFL bulbs can produce the same amount of illumination as your standard incandescent bulbs, but require less energy to do so.
However, their distinctively coiled shape isn’t the most aesthetic choice for fixtures with visible bulbs.
They can also become hot with use, and the mercury within their tubes can make disposal difficult and pose a toxic risk if the bulbs break.
Halogen
Halogen bulbs have a similar aesthetic to your standard incandescent bulbs, but are basically an upgrade in every way: brighter, more efficient, and longer lasting, with a more compact size overall.
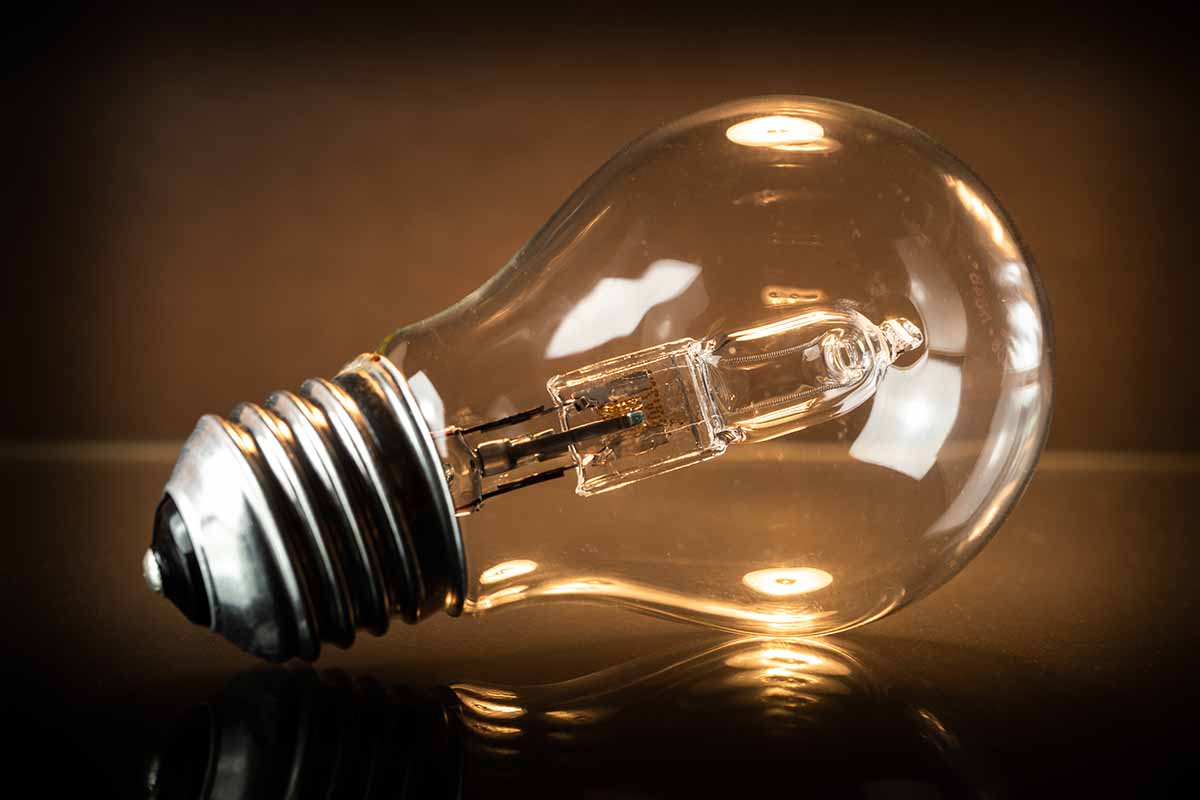
I suppose this does come with giving off a higher amount of heat, but whaddaya gonna do?
I’ll tell you one thing you should probably do: wear gloves during installation.
If the oils from your hand collect on the bulb, it could cause that bulb to explosively burst once its operating temperature becomes high enough.
HID
The brightest, most powerful bulbs on our list, high-intensity discharge bulbs certainly live up to their name.
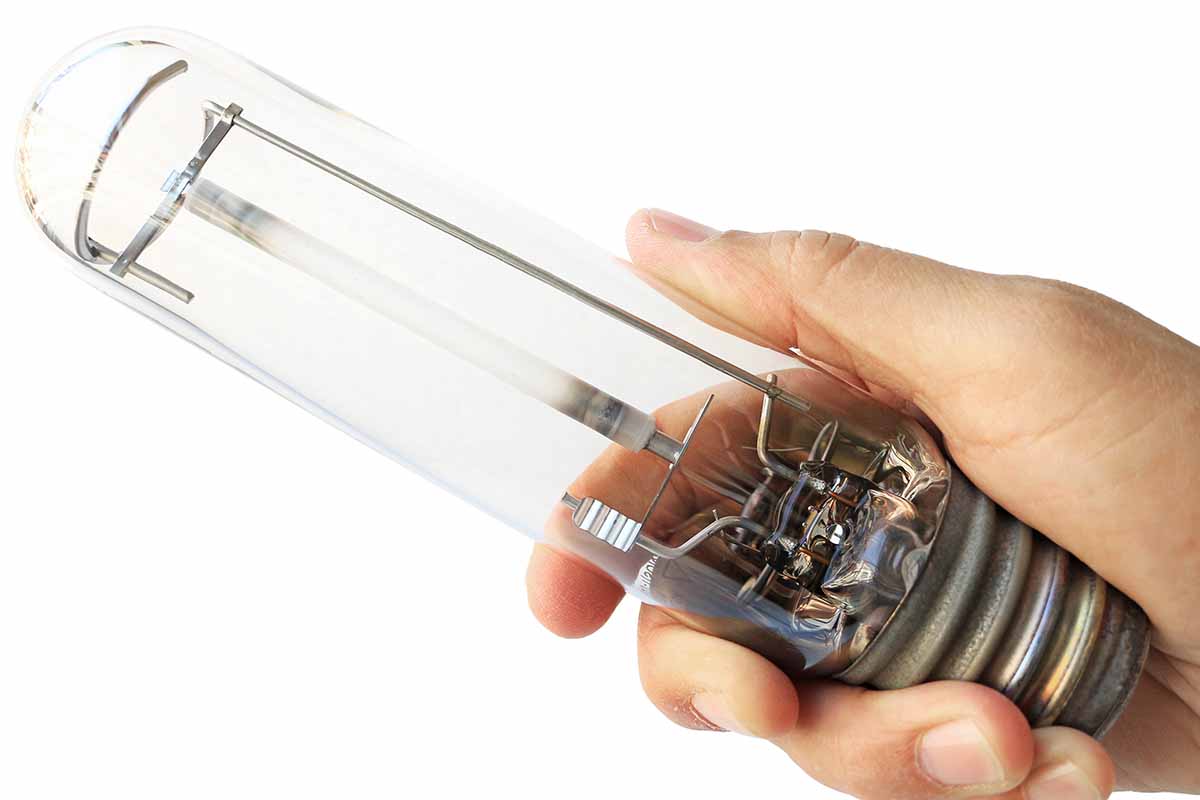
Capable of illuminating large areas with a strong brightness, HID bulbs may be too powerful for your purposes.
But if you have a large swath of real estate that needs lighting, they’re just what the doctor ordered. Plus, HIDs are more energy efficient than CFLs and incandescents!
Make sure to use gloves during installation if you do opt to use them, since they burn hot enough to react with skin oils.
There will also be similar disposal hassles and health risks as with CFLs if they happen to break, since HIDs also contain mercury.
Incandescent
Incandescent bulbs are your typical light bulbs – cheap, common, and a breeze to replace. But that’s about all they’ve got going for them.

Incandescents use energy inefficiently, burn out quickly, and shouldn’t be exposed to outdoor elements such as rain or snow.
Not to mention that the glass of an incandescent bulb becomes dark and sooty as the tungsten within evaporates, which isn’t the best look.
3. Temperature and Color
Bulb type aside, the standard colors cast are mostly white, and can be described as having a warm, neutral, or cool “temperature.”
These temperatures are measured in degrees Kelvin – if a metal object is heated to a particular number of degrees Kelvin, the metal will actually take on that corresponding color!
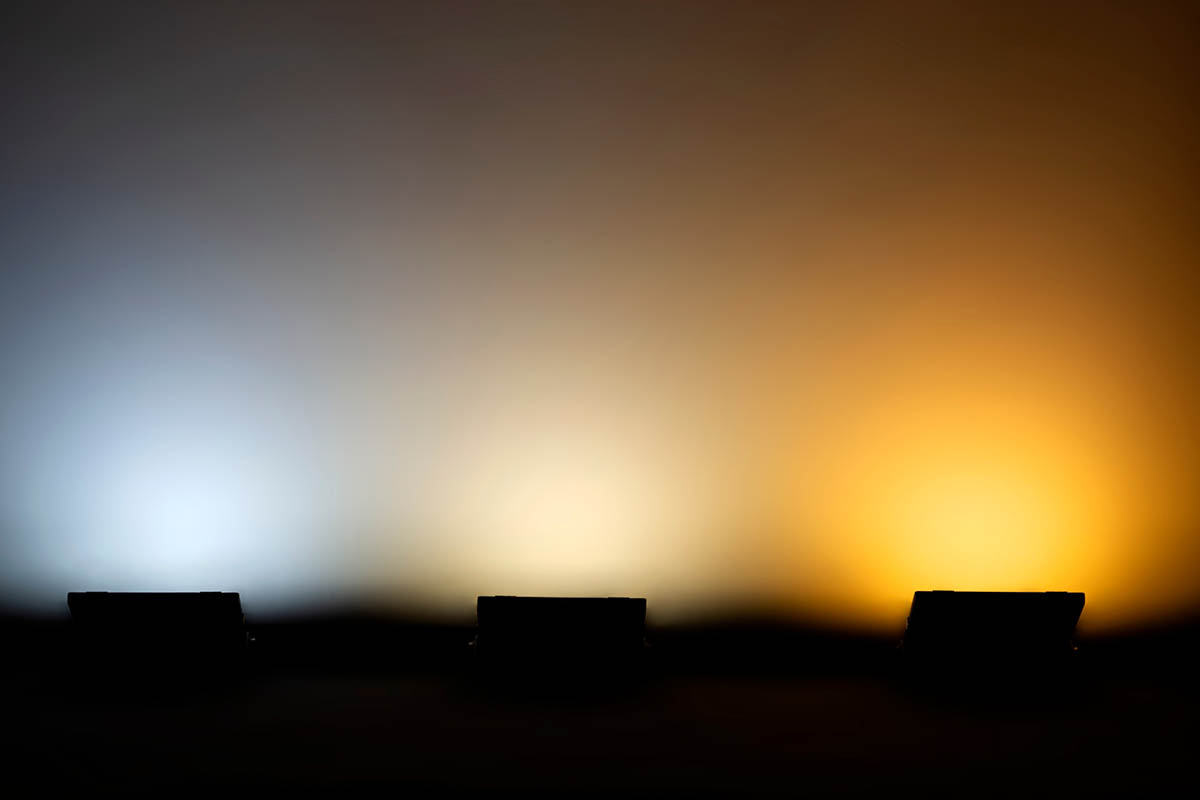
Warm lights (up to 3000°K) have a golden-yellow glow to them, neutral ones (3000 to 4500°K) are entirely white, and cool lights (4500°K and beyond) have a bluish tint.
The higher the Kelvins, the cooler the light temperature.
But what if you want to go beyond variations of white and really let your eyes “taste the rainbow?”
For a late-night landscaper, color psychology provides valuable info on how different colors affect mood. It’s a bit subjective, but here’s a generalized summary of the main palettes:
- Reds signify strength, passion, and danger. They amp us up by raising blood pressure, speeding up metabolism, and increasing breathing rate.
- Yellows are happy, warm, and cheerful. Pure yellow really grabs your attention, but too much can be off-putting.
- Blues represent peace, stability, and tranquility. They have a calming effect that’s the inverse of how reds make us feel.
- Oranges are energetic, joyful, and enthusiastic. They have a tropical association that makes them a great pairing with beach plants such as palms.
- Greens symbolize nature, fertility, and freshness. Like blues, greens are also mellowing, with the associated physiological effects.
- Purples represent power, nobility, and dignity. They can create a mysterious and magical vibe.
- Pinks represent gentleness, romance, and vulnerability. Worthy hues for illuminating heart-shaped leaves, methinks?
- Browns signify resilience, security, and seriousness. They’re also very earthy hues, obviously.
If you want to cast a particular color that’s not just a warm, cool, or neutral white, then you’ll have to utilize colored bulbs, lenses, or filters.
In the case of LEDs, look for RGB options – these can produce practically any color!
4. Beam Effect
For the purposes of this guide, considering “beam effect” is basically asking yourself, “Where do I want the beam to go and how bright do I want it?”
Beam intensity is dependent on power, beam width and direction are usually adjusted with the choice of fixture or housing, and different combinations of these factors yield various effects.
Let’s examine some of these effects:
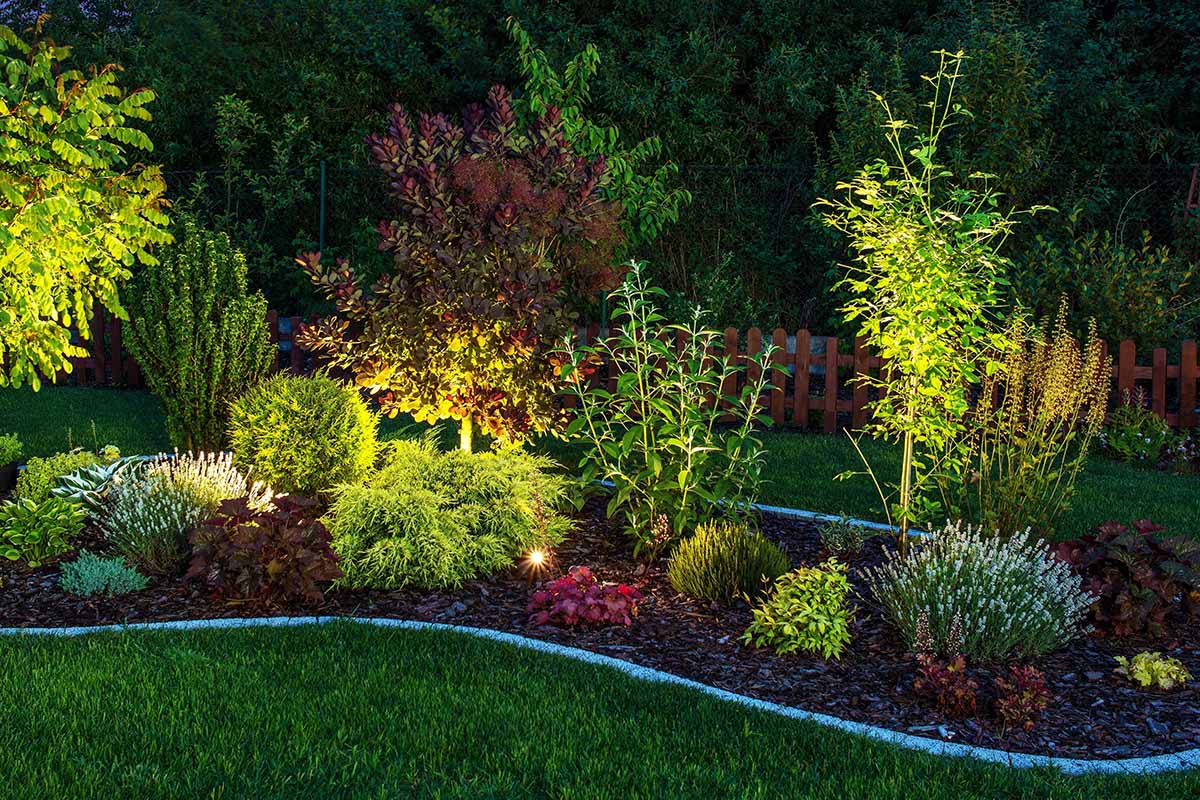
Uplighting entails placing your light source in front of and below the subject, which casts light all the way up its face. If you want to accentuate something tall in your landscape like a tree, pillar, wall, or statue, then uplighting will create that aesthetic of significance you’re after.

The opposite of uplighting is downlighting, which involves illuminating a subject from above instead of below. This puts emphasis on features lower to the ground, such as benches, planters, or stones.
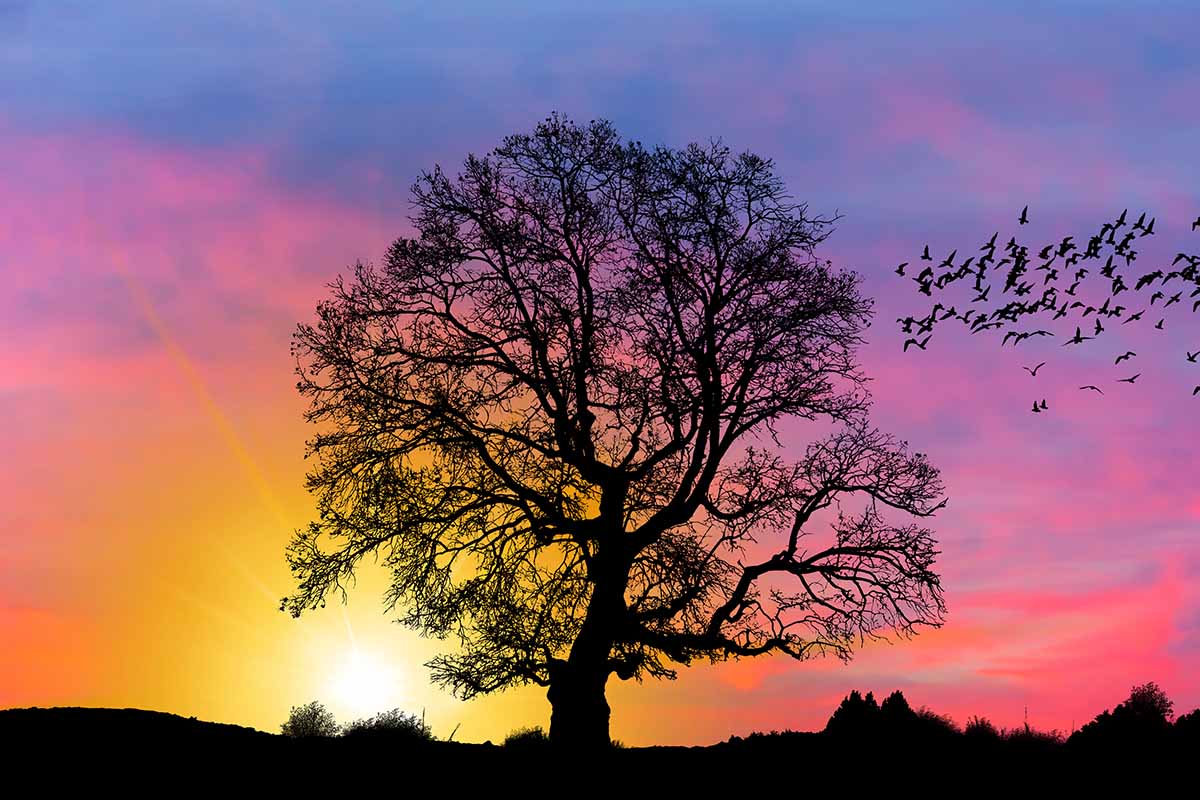
When you put a light source behind a subject, that’s called silhouetting, which is really nice for emphasizing an impressive outline like an unusual tree habit or a well-pruned topiary.
Shadowing does something kinda similar, but projects light onto a subject to cast shadows on a backdrop such as a wall or sidewalk.
These shadows are large and have more warped proportions than the actual object, which creates powerful moods and interesting shapes.
If you illuminate an object from two directions, that’s cross lighting. Double the illumination, double the visual emphasis.
For even more of that emphasis, try wash lighting, which is where you effectively bathe something in brightness. The light still comes from the front of a subject, but hits it more head-on rather than running up its surface.
Moon lighting essentially pulls off what the moon does and casts a broad beam down on a large area from above, which provides a soft, soothing ambiance. To pull this off, you should place the fixture on a roof or high branch.
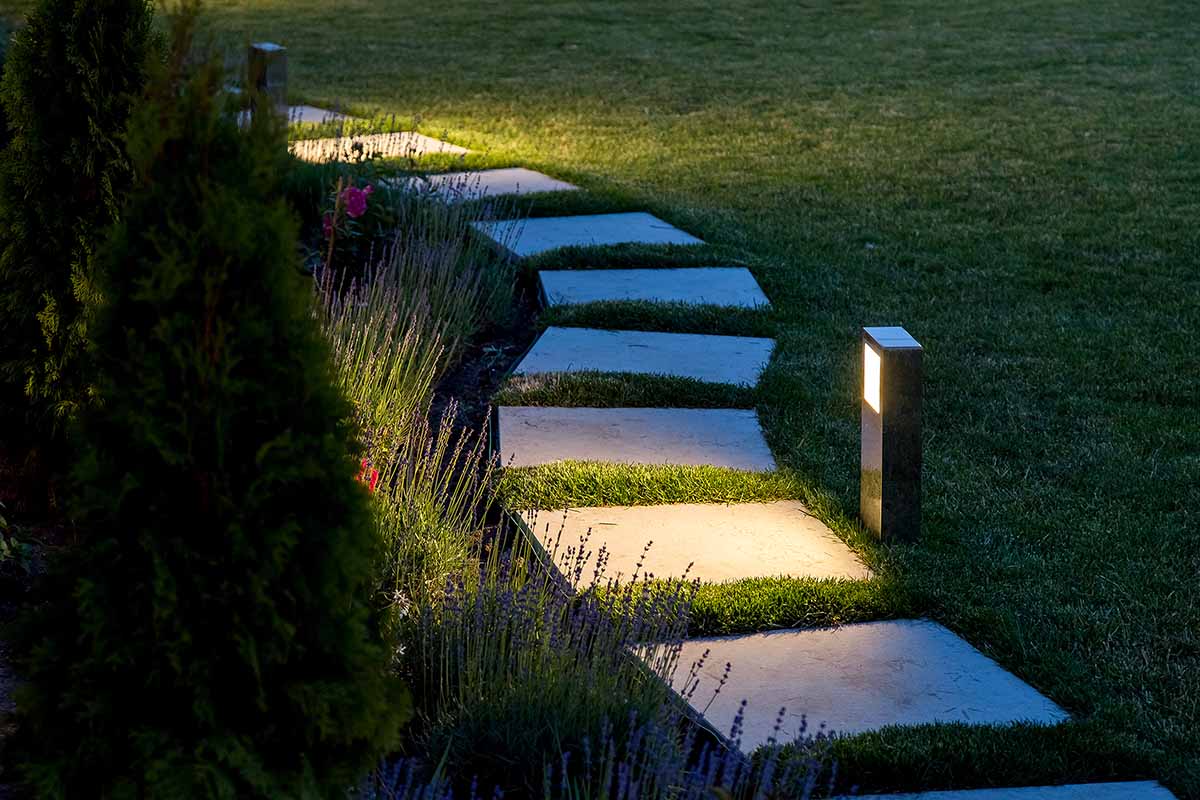
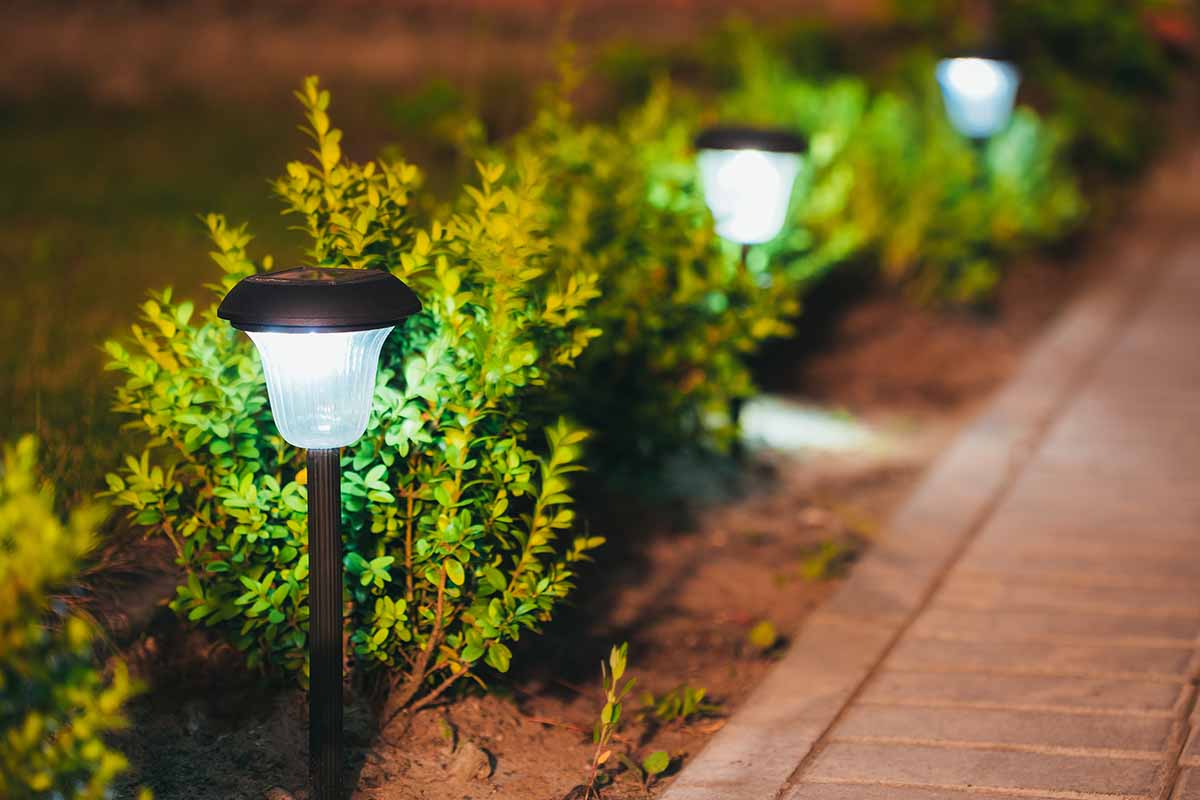
Step or path lighting is mostly about safety – its aim is solely to point out walkways, and is usually done with small, weak fixtures so that the gleam doesn’t “leak” and take emphasis away from the walkway. When done right, it can definitely look pretty.
Any of these effects can be doubled in aesthetic awesomeness if there’s a body of water nearby to reflect them. If the winds cause a slight ripple, then those reflections become pleasantly distorted.
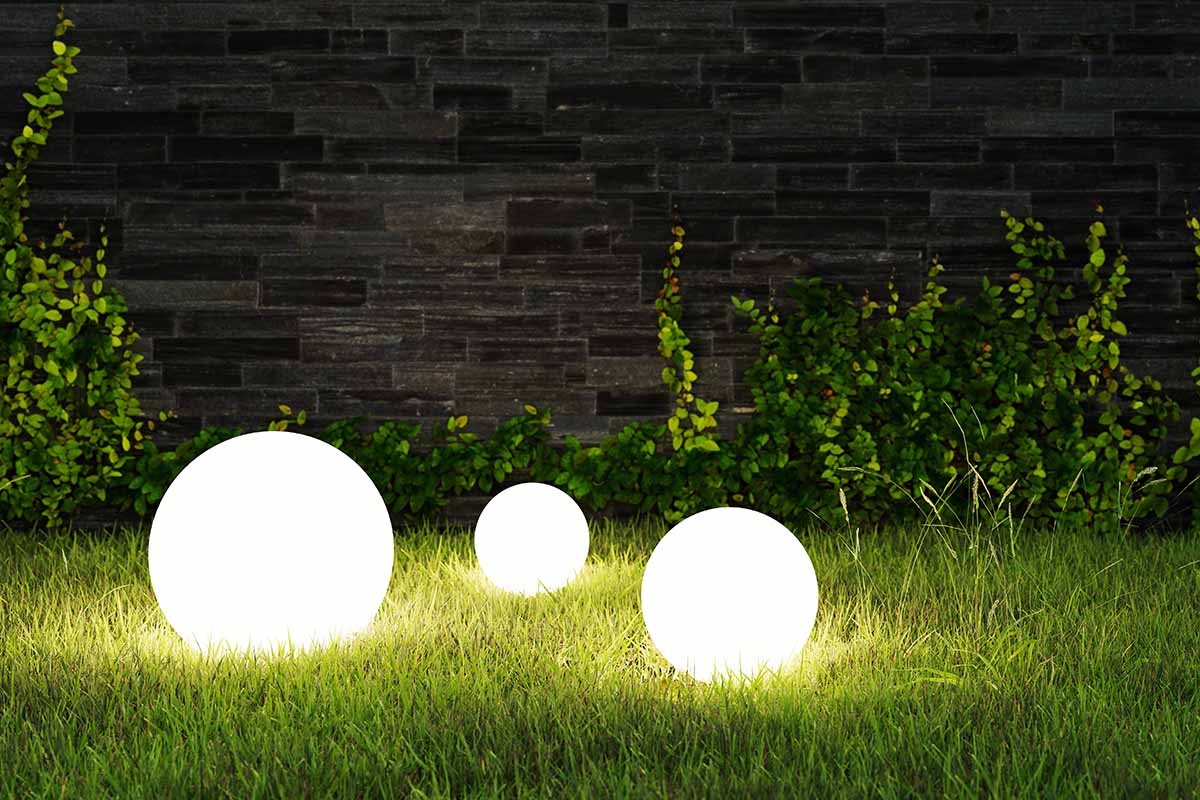
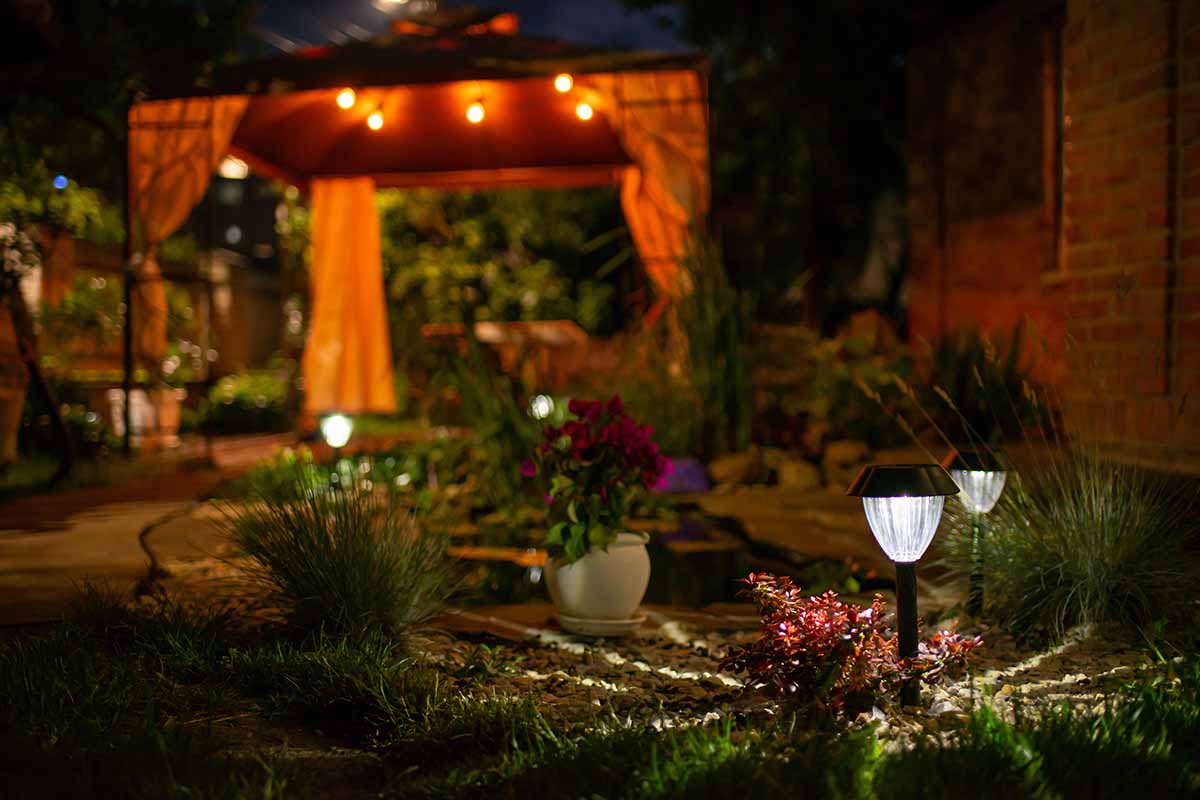
And of course, certain fixtures can be a point of visual interest themselves, such as string lights and lampposts.
5. Fixture Type
Chances are, you probably don’t want to leave out naked bulbs by themselves, but rather, house them in something that’s both functional and aesthetic!
Besides your standard lamps, lanterns, pendant lights, and other fixtures that you’d adorn a patio or gazebo with, here are some more landscape-specific fixtures:
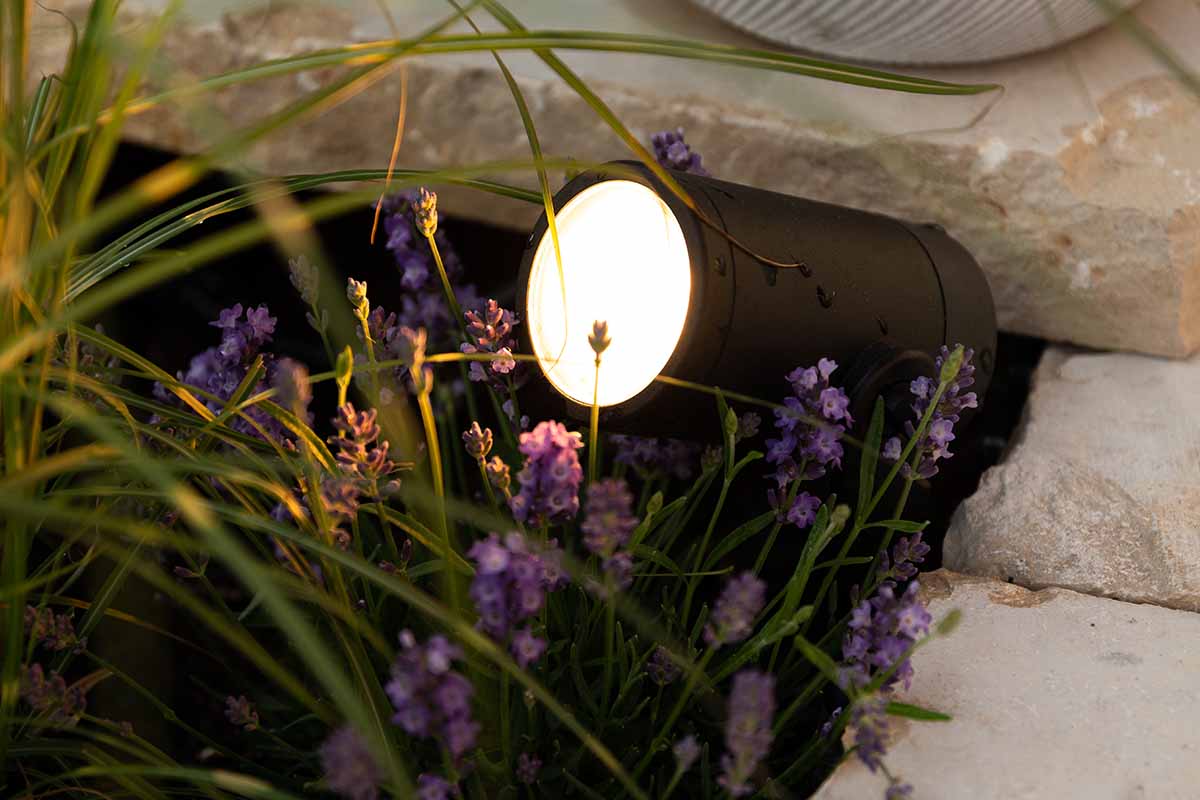
Spotlights and floodlights are used for those effects which require focused, narrow beams – think shrunken-down versions of the Bat-Signal (sans bat-symbol, of course). Usually, these have a particular lens that may or may not be bordered by a thin paneling.
Since they’re mostly submerged in the ground, well lights are very much an out-of-the-way option. Along with being near-impossible to stumble over, this helps to keep the focus on the beam and its effect, rather than the fixture itself.
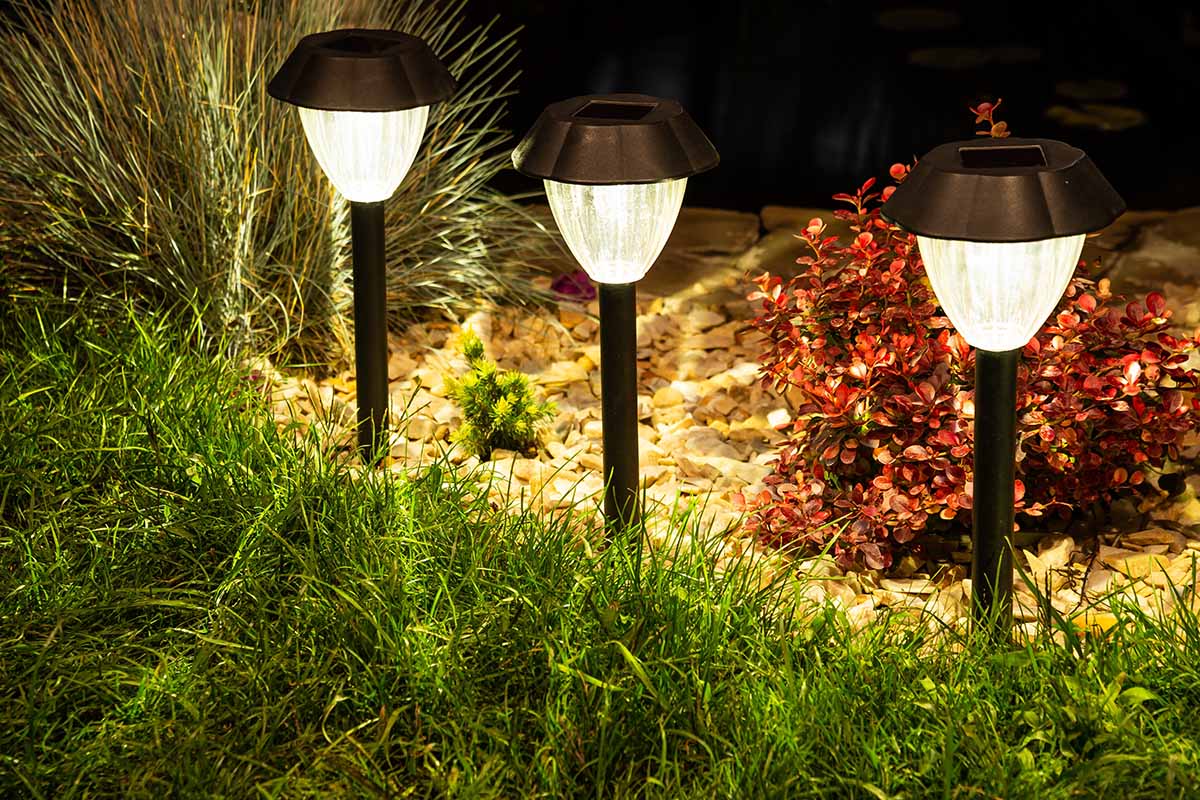
Pathway and area lights are relatively tall, in-ground fixtures that can illuminate a walkway or garden zone while being quite aesthetic themselves – especially when they’re placed sporadically or arranged in a gentle curve rather than a straight line like an airport runway.
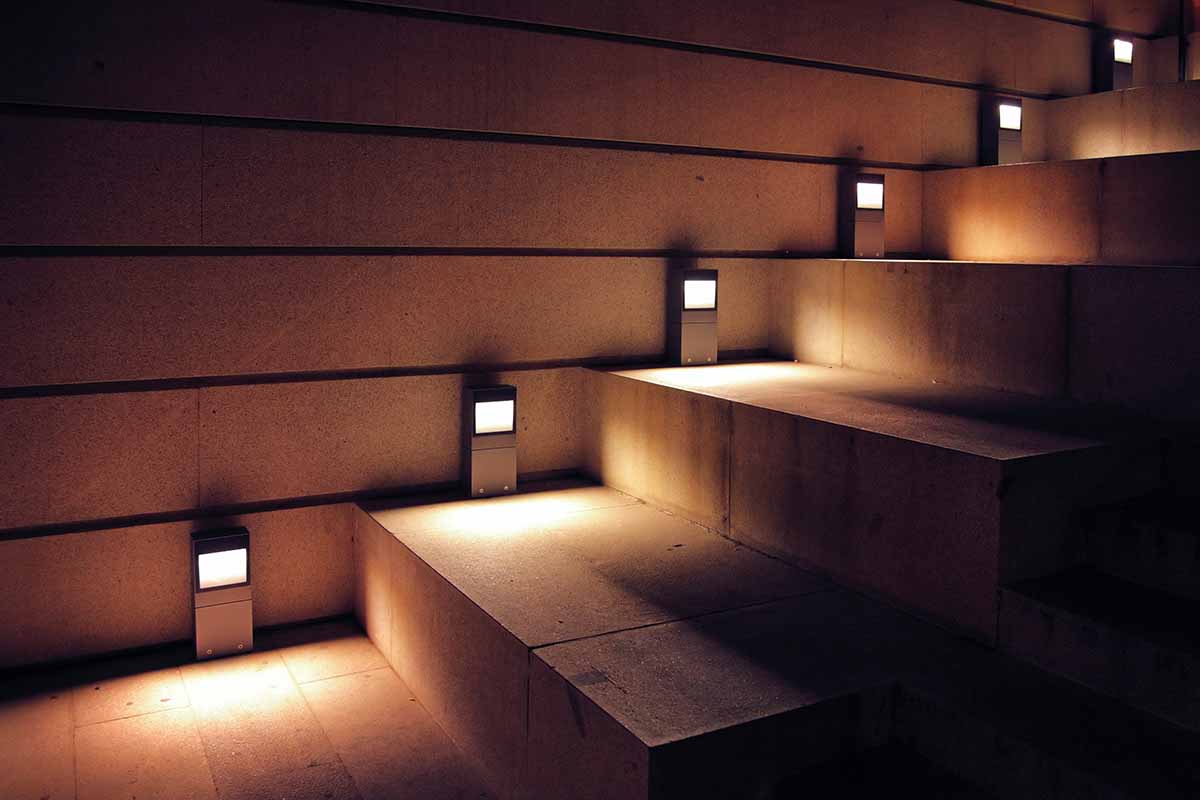
Small, thin, and very handy for eliminating tripping hazards, step lights are especially helpful when placed either towards each step’s edge, or a couple inches above every step on an adjacent wall.
Submerged lights are pretty self-explanatory. When placed underwater, they can transform an otherwise dark pond or stream into a well-lit watery decoration. Use them to emphasize moving water, rather than flooding the whole waterway with photons.
Fixtures can come in various materials, colors, and architectural styles, so be sure to browse with your goal “look” or “theme” in mind. But above all else, make sure your choice of fixture is rated to weather the elements that they’ll be coming up against!
And here’s a guiding principle that’ll help you with your fixture placement: less is more, in both fixture amount and visibility. There needs to be a touch of subtlety with your installation.
It’s important to keep up your garden’s natural aesthetic, and nothing says “artificial” like too many conspicuous fixtures. Plus, a bit of darkness in certain locations has a beauty all its own.
6. Power Source
To loosely paraphrase the German Eurodance group Snap!, “you’ve got the power!” Or you’ll have to, if you wanna keep the illumination going until dawn.
For our purposes, there are three main ways to provide power – and there’s no rule that says you have to use just one!
Running Electricity
This can be as simple as plugging a fixture into an extension cord rated for outdoors use, or as involved as running long electrical wires underground.

Extension cords are quick to set up and easily modifiable, but above-ground cords are conspicuous, especially if they’re brightly colored.
Plus, extension cords usually aren’t rated for long-term exposure to the elements – they’re mostly meant for short-term use.
Running wires underground takes a lot more time and digging, whether you do it yourself or hire someone else.
Plus, it’s a pain if you ever have to make changes. But hidden power lines are certainly more aesthetic than a large rubber cord snaking through your flower beds.
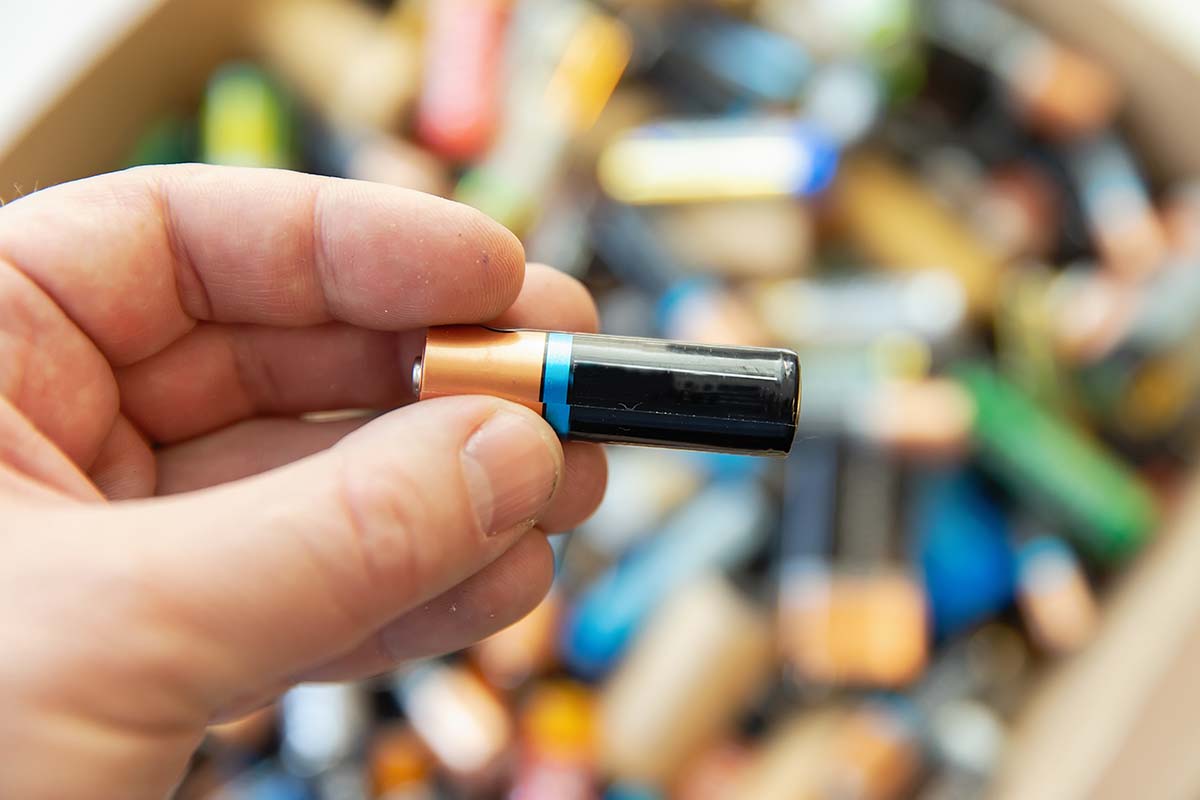
Batteries
Whether they’re in a nearby battery box or held in the fixtures themselves, batteries are handy for when you need electricity that’s independent from a central power source.
Have a single subject to illuminate in the back corner of your yard? Then battery power will save you from having to run wiring across or beneath your landscape.
The downside of batteries is that they’ll eventually need replacing or recharging. They’ll also need to be rated for and protected from the elements.
Solar
If you’re looking for power, why not set up solar panels to utilize that brightly burning ball of gas in the sky?
Although they can have high up-front costs, solar units are environmentally friendly, free to power, easy to install, and a breeze to move.
They’re also a smart solution if you don’t have a wired electricity source for your garden or if you have a very large garden that cables may not span.
However, since they need the sun’s rays to work, the panels will have to be placed somewhere unobstructed from the sun, and their surfaces will have to be kept clear of dirt, leaves, snow, and other bits of garden detritus.
Since solar lights often come with their own built-in panels, this can definitely affect where you place them.
In addition, clear skies aren’t always consistently available, which means inconsistent power.
And even if the sun is shining brightly, electric sources of energy are better for fueling especially bright lighting.
So in short, solar can work wonderfully if you have an open space that consistently receives the sun’s rays.
But for cloudy regions or landscape spaces that are more shaded, you may want to go purely electric instead.
7. Activation Type
So you’ve got lights, but how are you gonna activate ’em?
To start, you’ve got your basic switches, levers, buttons, knobs, and so on. Add dimming capabilities on top and you’re golden.
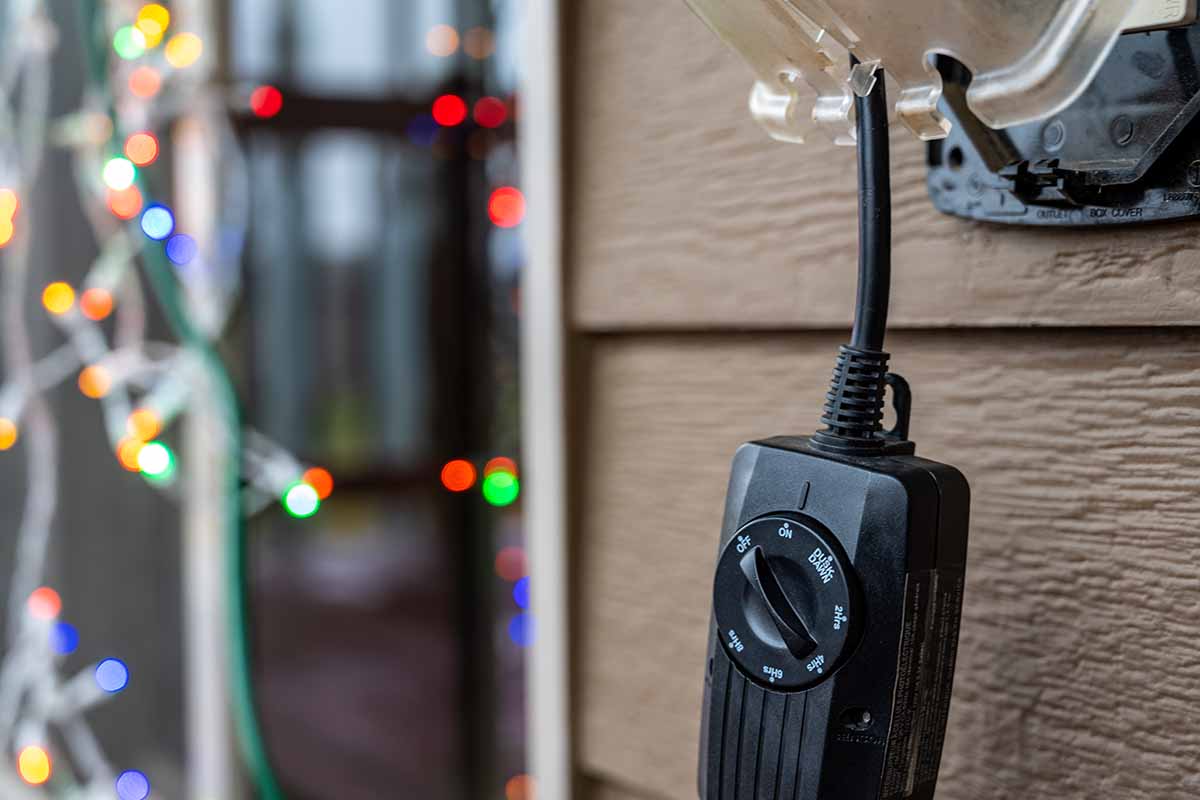
If you want your fixtures to turn on and off like clockwork, opt for a timer.
Whether it’s a manual unit that you place in an accessible location or an electronic system with an app for your smartphone, it’s very easy to make adjustments.
Don’t want to make adjustments according to your own schedule? Go with photocell sensors, which turn lights off and on when it’s daytime or nighttime.
No need to make timing tweaks as the seasons change, it’s all automatic!
You could even play around with motion sensors, if you’d like. Great for security, but they can be lacking for nighttime scenery and gatherings, unless folks are moving around somewhat frequently.
Let There Be Light!
Hopefully, you’ve found this guide rather “illuminating.”
Now that you’ve got this base of know-how, you’re ready to turn your garden into a 24/7 spectacle. It’s sure to be “lit,” as the kids say.
Questions, comments, tips of your own to share? The comments section awaits your thoughts.
Need more tips for spicing up the look of your garden with hardscape elements? Give these guides on garden design a read:
My wife and I have been looking into getting some lights for our garden soon so this article was perfect. I like that you talk about the importance of keeping the light subtle. In my experience, having bad lighting in the garden can make it look worse than before so it’s important the placements are strategic and subtle. We’ll have to keep this in mind, thanks for sharing!
Thanks for reading, Derek! We’re so glad this information was useful in your gardening endeavors. 🙂