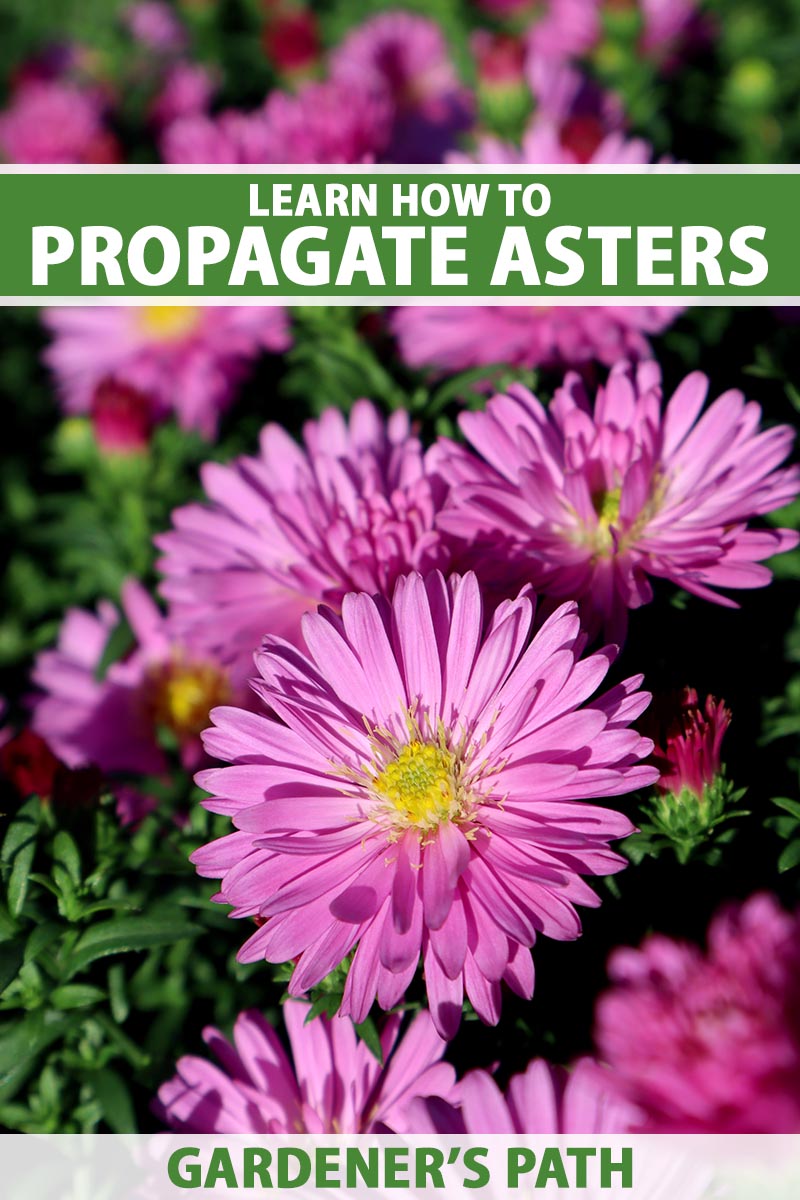
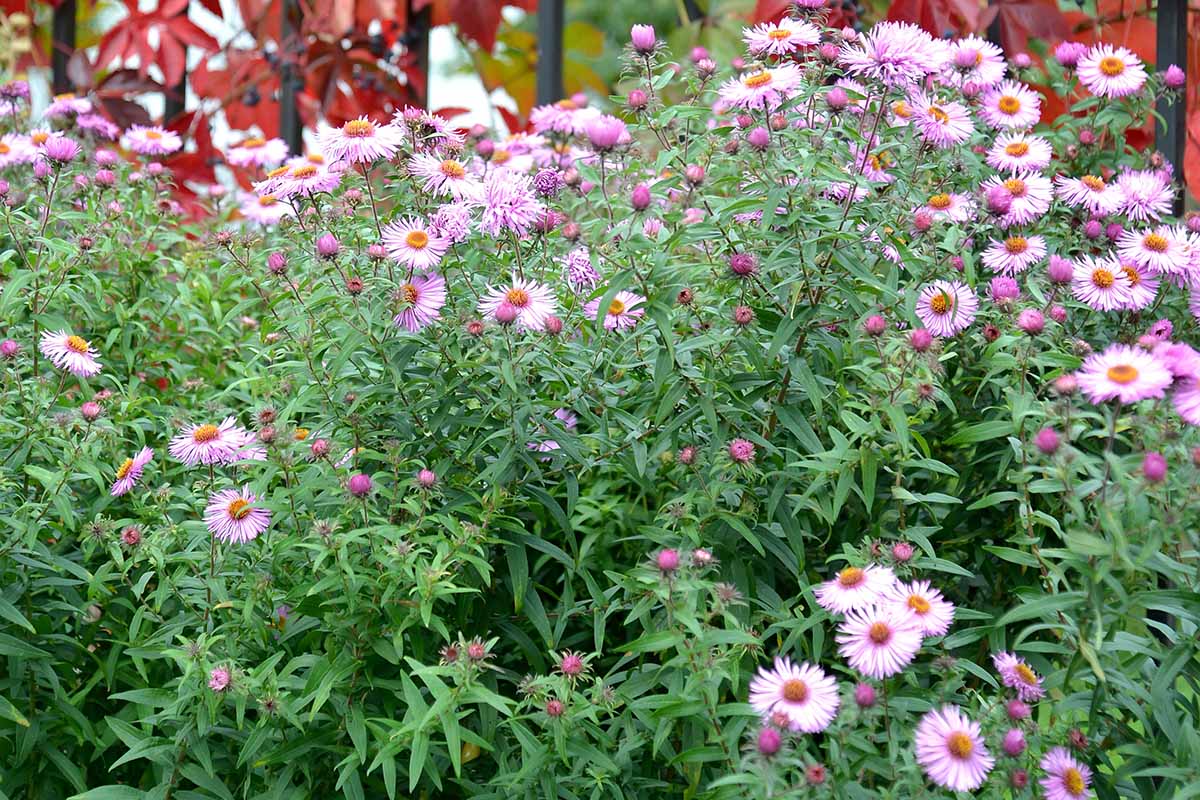
The blue, pink, purple, and white blossoms of late-season perennial asters are a welcome sight as the growing season draws to a close.
They renew the tired summer landscape and hint at the fall spectacle to come.
We link to vendors to help you find relevant products. If you buy from one of our links, we may earn a commission.
Home gardeners in USDA Hardiness Zones 4 to 8 can enjoy native species that may soar to five feet tall, as well as more compact hybrid varieties.
Our guide to growing asters provides information on how to cultivate these perennials in your garden.
In this article, we zero in on aster propagation.
Here’s what’s in store:
What You’ll Learn
Propagation is the process of making new plants from existing ones. Methods include starting seeds, rooting stem cuttings, or taking divisions.
Let’s get started.
Start with a Plant
Nurseries sell asters from spring to late summer. There are two good times to transfer them to the garden: just after spring’s last frost date, and four weeks before fall’s first frost date. Avoid peak summer heat.
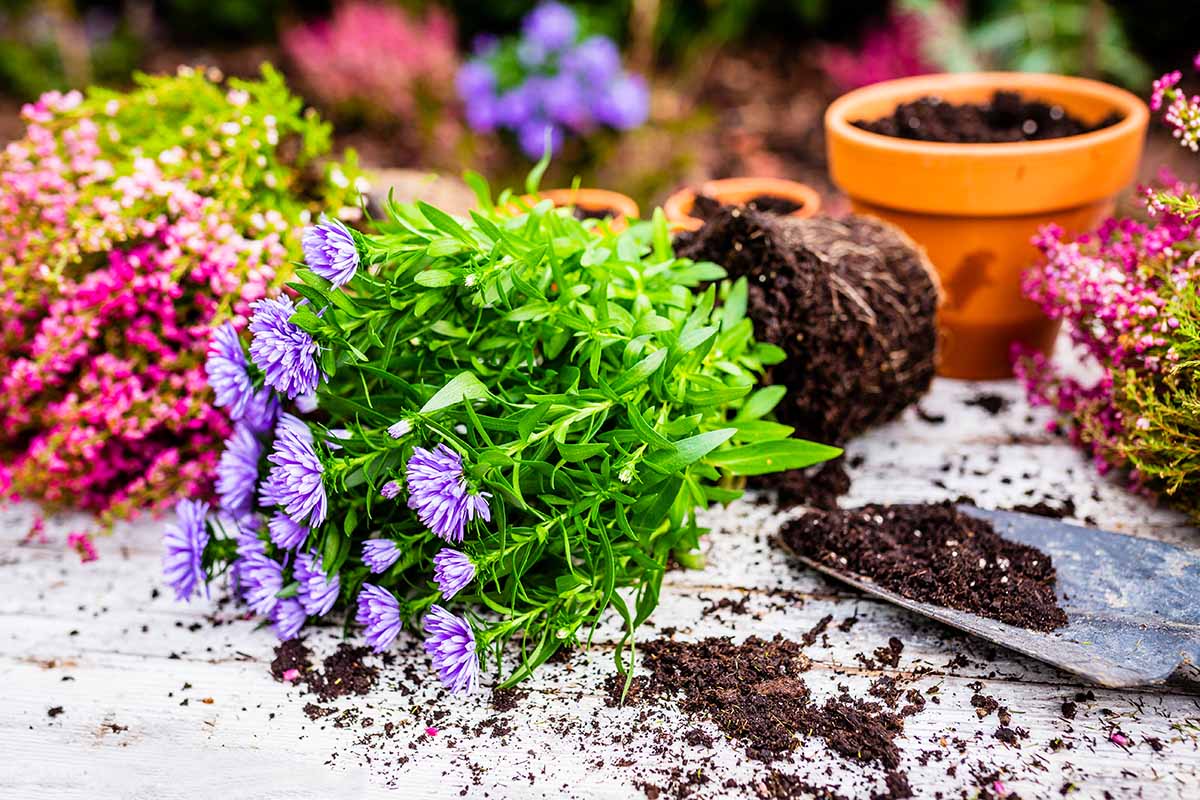
When you buy an aster, it may be as young as a seedling or as mature as a large foliar mound in full bloom. Either way, the instructions for introducing it to the landscape are the same.
Here’s how:
Prepare the soil to a depth of eight to 12 inches.
Settle the rootstock at the same depth it was in the original container to provide ample room for root sprawl and minimize transplant shock. Space between eight and 36 inches apart to accommodate the mature dimensions of various species and cultivars.
Fertilize with an all-purpose, slow-release granular product per package directions. Take care to keep the granules away from the stems and leaves.
Provide an inch of water per week, rain included, for the first year.
Once established, there are three available avenues for home gardeners to propagate more asters. Let’s explore the details of each.
Seeds
If you grow a native species, its seeds will produce characteristics identical to the parent, assuming cross-pollination has not occurred with another variety.
However, if you grow a hybrid type, only the first generation or “F1” seeds replicate parental traits. Future generations are likely to revert to individual parental characteristics, with different features displayed.
How do you know if you have a species or hybrid?
Great question!
A species has a binomial botanical name, like Symphyotrichum novae-angliae, the New England aster.
There may be cultivated varieties of a native species, as well as crosses with other species that we call hybrids.
When the scientific name is followed by another name, like Symphyotrichum novae-angliae ‘Purple Dome,’ the cultivar name ‘Purple Dome’ indicates that it is a cultivated variety bred for certain qualities.
Similarly, if you see something like, Symphyotrichum x amethystinum ‘Kylie,’ the “x” denotes crossbreeding, or a hybrid of multiple species, and ‘Kylie’ is the cultivar name.
When in doubt, consult a nursery representative, or assume you have a hybrid because they are prevalent. You can still harvest the seeds and sow them, but they may produce variable results.
You can also purchase seeds to grow your favorites.
To propagate clones from hybrids, skip ahead to the sections on stem cuttings and divisions.
We’ll catch up with you soon, but first, we need to talk about starting with seeds.
There are two methods:
- Start indoors
- Direct sow outdoors
Here’s how:
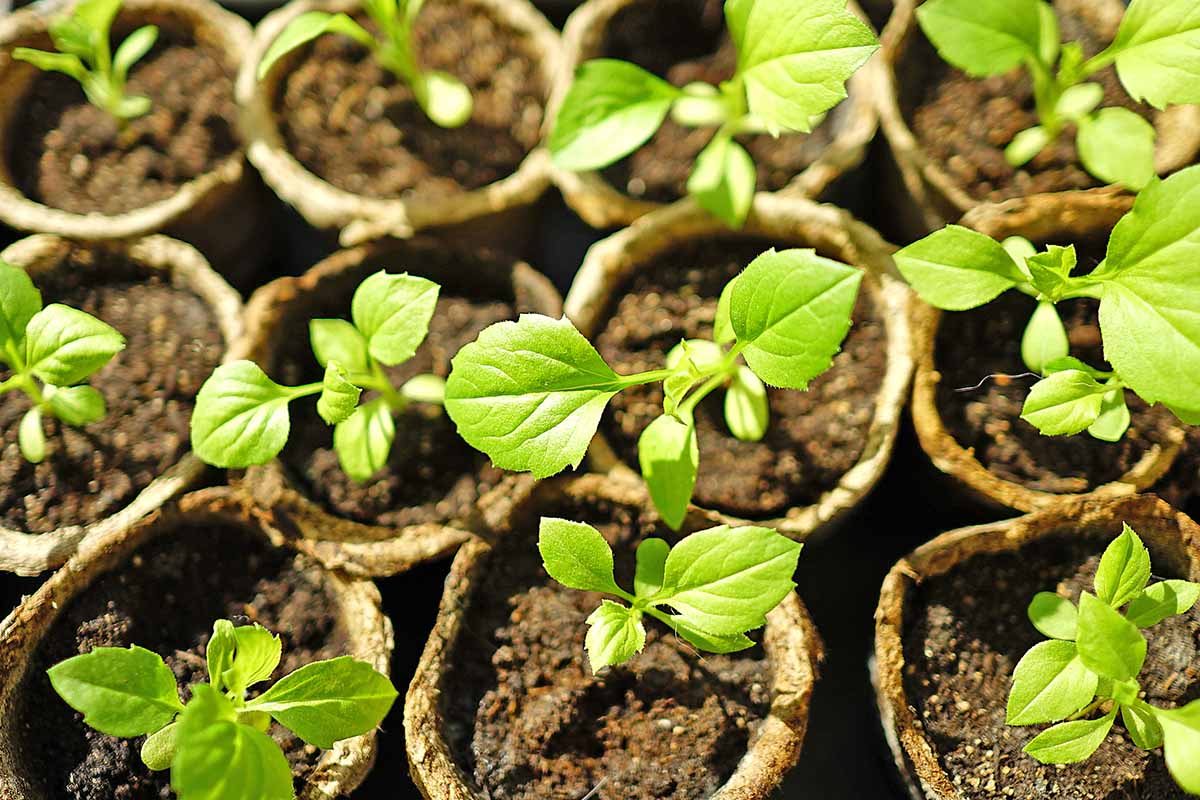
To sprout seeds indoors, begin four weeks before your region’s last average spring frost date.
Fill biodegradable seed starter cells with a good quality, moisture-retentive potting soil that contains fertilizer or organic amendments.
Place one to two seeds in each cell.
Cover them very lightly with one-eighth of an inch of soil.
Keep the soil moist but not soggy.
Provide ample sunlight.
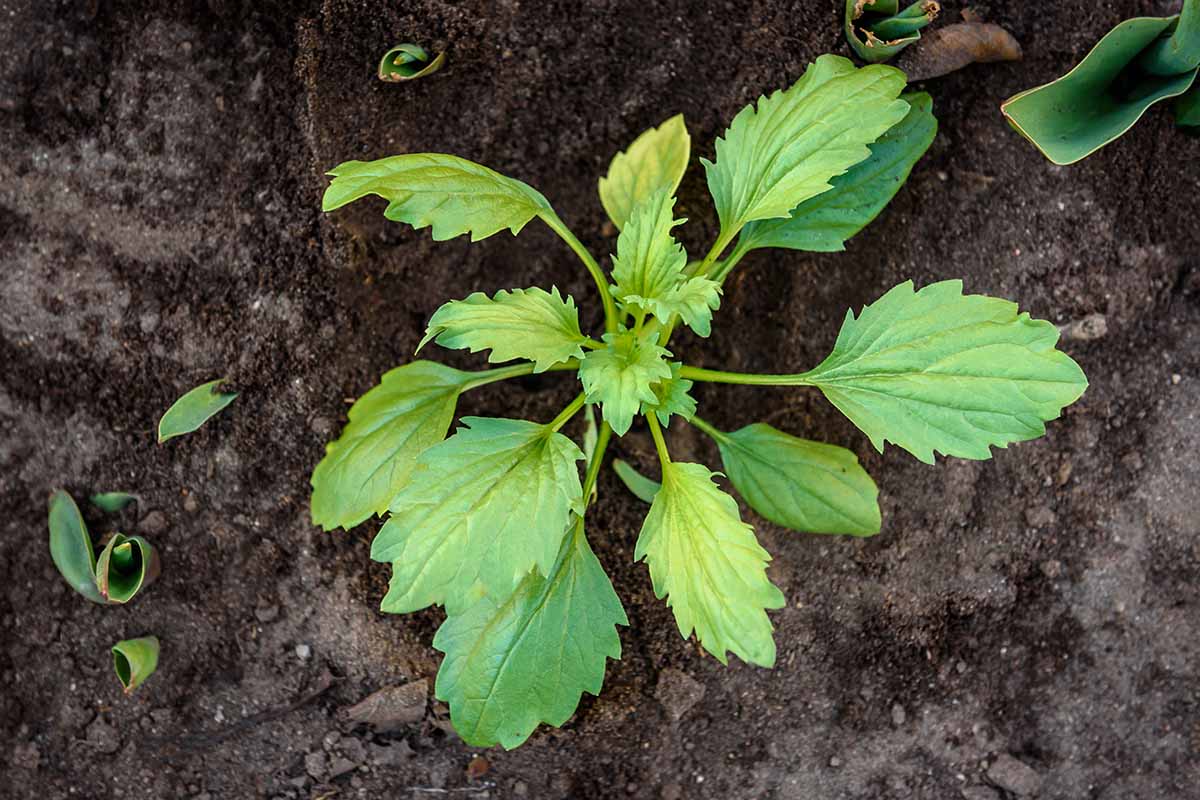
When the second set of true leaves sprouts, remove one seedling from each cell and discard it on the compost heap, if you have one.
Once the frost danger passes, set the seedlings outdoors in a sheltered area for a few hours each day for about four days, increasing the amount of time spent out each day. This gradual acclimation eases transplant shock.
Prepare the garden soil by working it to a depth of eight to 12 inches until it is crumbly.
Set the biodegradable seed starter cells into the soil with their tops set at ground level, and tamp soil firmly around them.
Provide one inch of water per week, rain included.
To direct sow seeds, wait until the danger of frost passes and prepare the soil as described above.
Sow one to two seeds every eight to 36 inches, depending upon the mature dimensions of your aster variety.
When the seedlings have two sets of true leaves, thin them to one seedling per interval.
At this time, you can apply an all-purpose, slow-release granular fertilizer around – but not touching – the seedlings.
Provide one inch of water weekly as described above.
Soft Stem Cuttings
In addition to starting with seeds, taking stem cuttings is another easy way to begin. To avoid undue stress, take cuttings from established growth that’s at least one year old.
In late spring to early summer, lush foliage appears. You can take cuttings from the growing tips without this having a detrimental effect on fall blooming, provided you do not remove more than one-third of the total plant volume.
Measure down six inches from the tip of a stem.
Use clean, sharp pruners to slice across it, about an eighth of an inch above a leaf node.
Snip the leaves off the bottom four inches of the stem, about an eighth of an inch away from it.
Dip the cut end of the stem into rooting hormone powder.
Fill a six-inch-deep biodegradable seed-starter pot with potting soil that does not contain fertilizer.
Bury the stem two to three inches deep in the potting soil.
Place the pot in a sunny location and maintain even moisture.
New growth is evidence of rooting. Transplant into the garden by placing the seed-starter pot in the soil so that its top is even with the ground surface.
Apply granular fertilizer as we did above.
Alternatively, you can place the stem cuttings in water to root. Change the water daily.
Once you see a proliferation of roots, the stem is ready for transplant into the garden.
Set it into the soil at a depth of two to three inches, fertilize, and maintain even moisture.
Some folks who grow native species prune the foliage by one-third in late spring, for a more compact form. The tips of the pruned stems are perfect for rooting.
Divisions
If you have a two- to three-year-old mature aster, you can use it to make clones called divisions.
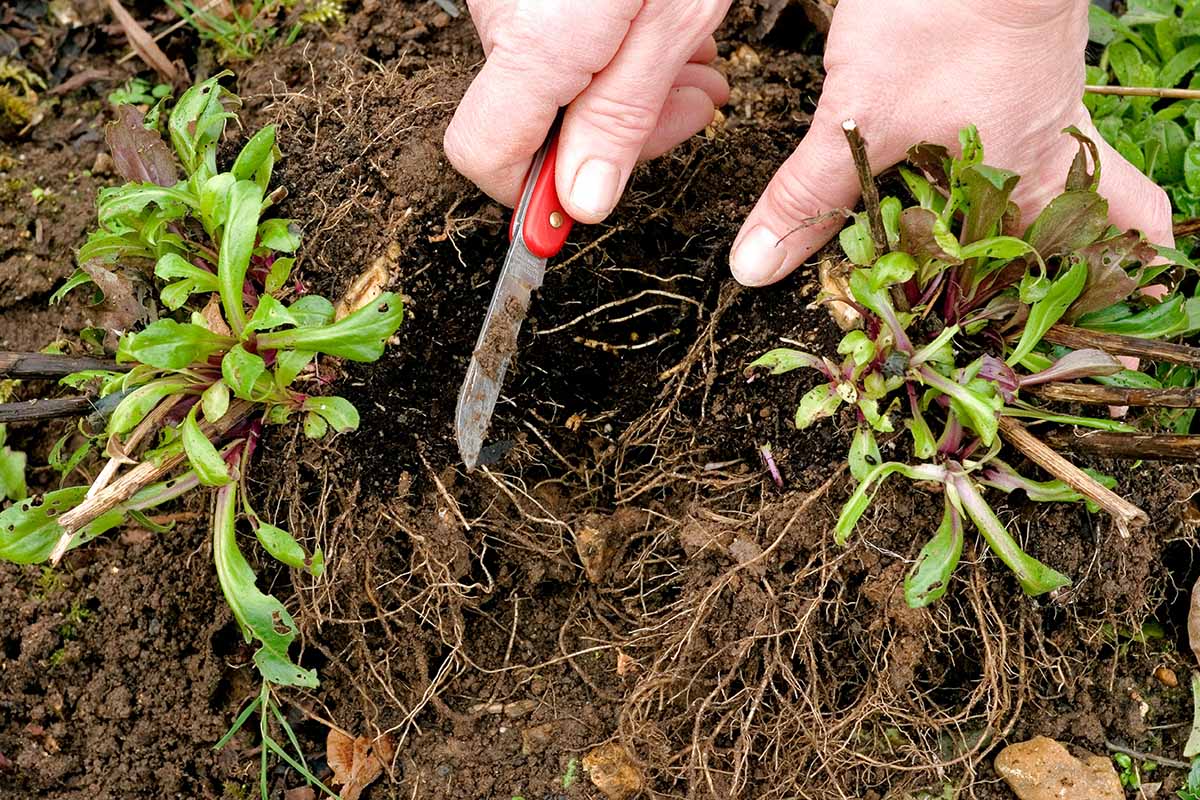
Asters have a clumping growth habit and an extensive, if shallow, root system. Divisions are severed portions of the mass of rooted clumps.
Here’s how to obtain them:
The time to divide is when the new shoots are barely visible in early spring.
Use a clean, sharp, long-handled shovel to gently work your way around a clump of shoots four to six inches out from the center.
Gently dig and lift until you can unearth the dirt-encrusted, rooty mound.
Lay the clump on its side on the ground.
Use a clean, sharp garden knife or straight spade to slice through it, either in half, thirds, or quarters, depending upon the size of the clump and how many divisions you want to make.
Prepare the soil to a depth of eight to 12 inches as above, and transplant each division into the sunny location of your choice.
Fertilize with a granular product as discussed.
In addition to being an effective propagation method, dividing every two to three years is an excellent way to reduce overcrowding, increase airflow to inhibit fungal diseases, and rejuvenate plants for better blooming.
Note that over the years it usually becomes hard to define individual clumps, and you’ll likely end up digging through roots to unearth a mound to divide, which is fine.
Learn more about dividing asters in our guide.
Green Thumb Savings
Let’s recap. To propagate, you need an existing aster from which you can gather seeds, take soft stem cuttings, or make divisions.
You can harvest seeds from a native species to produce exact replicas. However, a hybrid is a crossbreed that may produce variable results. You may also purchase seeds.
Both soft stem cuttings and divisions clone native species and hybrid cultivars, offering excellent means to multiply favorites.
If you’re like me, you’ll find it very satisfying to make new plants out of existing ones and gain more late-season color without spending additional money at the nursery.
It’s time to put your green thumb to work and save a little “green” at the same time!
Have you tried your hand at propagation? Please tell us about your experience in the comments section below.
If you found this article about propagating these plants informative, we recommend reading the following aster guides next:

Can I take cuttungs in autumn and over winter them as house plants to plant out in spring ?
Hi Gary –
Yes, you can take cuttings to winter over indoors, provided you take them from stems that have not already bloomed and begun to die. Use soft or woody stems with buds and/or flowers removed for the best chance of success. Provide bright, indirect sunlight and avoid overwatering.