As a kid, I wasn’t a huge fan of asparagus, but now I can’t get enough of it.
The reason? There weren’t any asparagus farms nearby and none of my neighbors grew it in their gardens, so I’d never tasted it freshly picked.
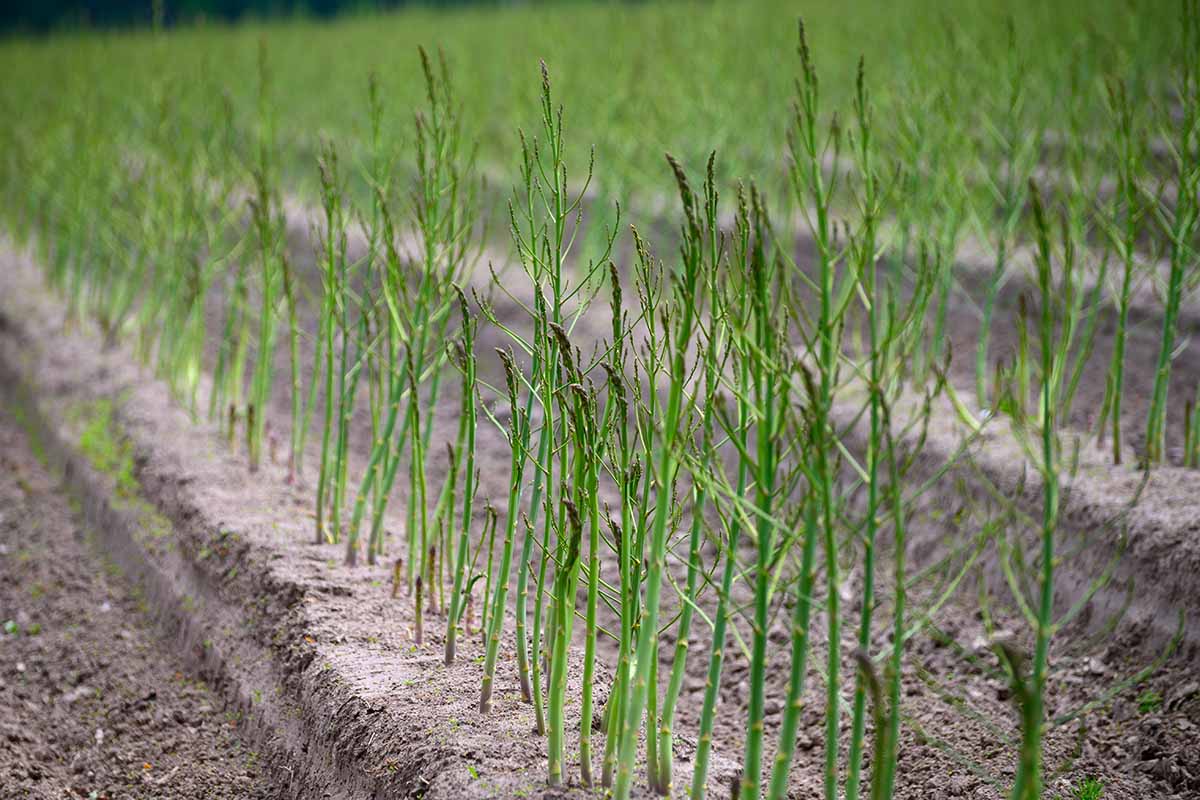
Well, I moved and things have changed! Asparagus is kind of a big deal here in Ontario, a short drive north of New York.
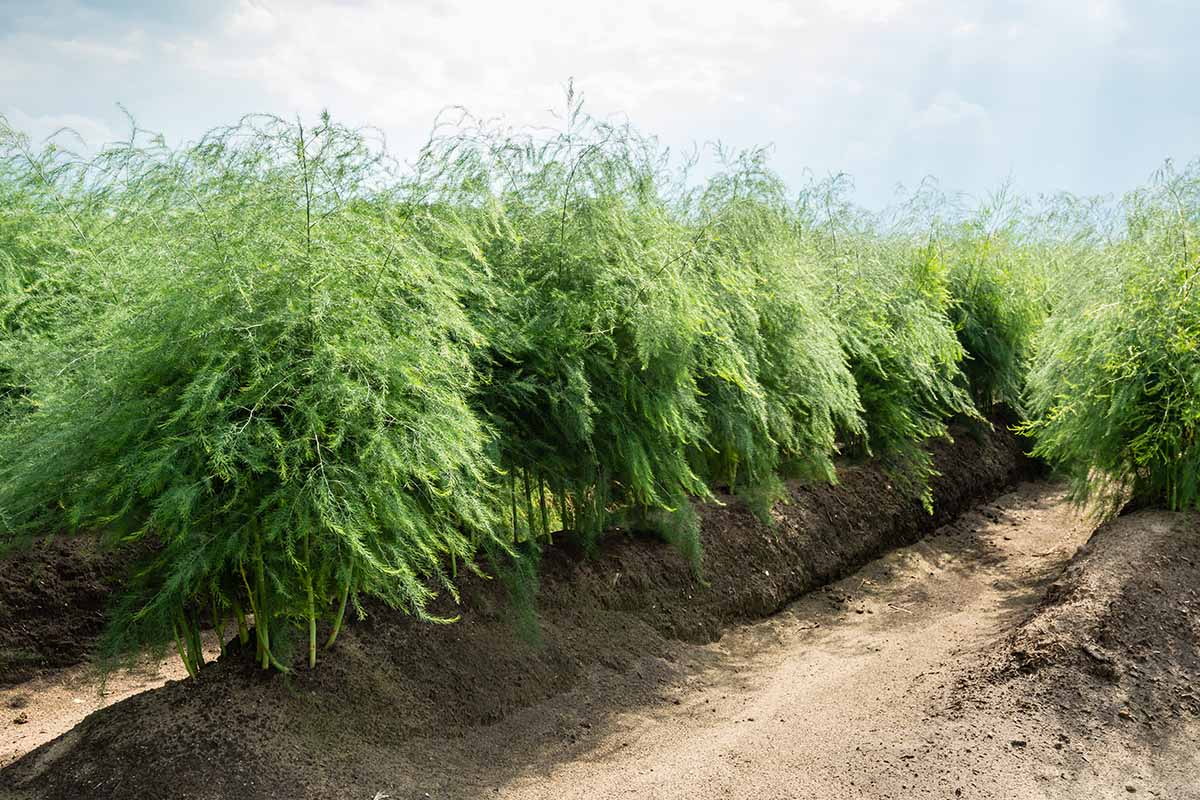
This area is known for certain crops, and asparagus is one of them. In fact, local farms here produce most of the asparagus that lands on the plates of Canadians.
We link to vendors to help you find relevant products. If you buy from one of our links, we may earn a commission.
The first year I lived in Ontario Zone 5, people started talking about asparagus in March, when the countdown to harvest usually begins. And by May, the whole province was buzzing with anticipation.
As an outsider, I was skeptical. I assumed it was an exaggeration blown out of proportion. Surely it couldn’t be as good as they all claimed!
But once I tasted my first bite of farm-fresh spears, I was hooked. This healthy plant lives up to the hype, and if you’ve had it, you know what I’m talking about.
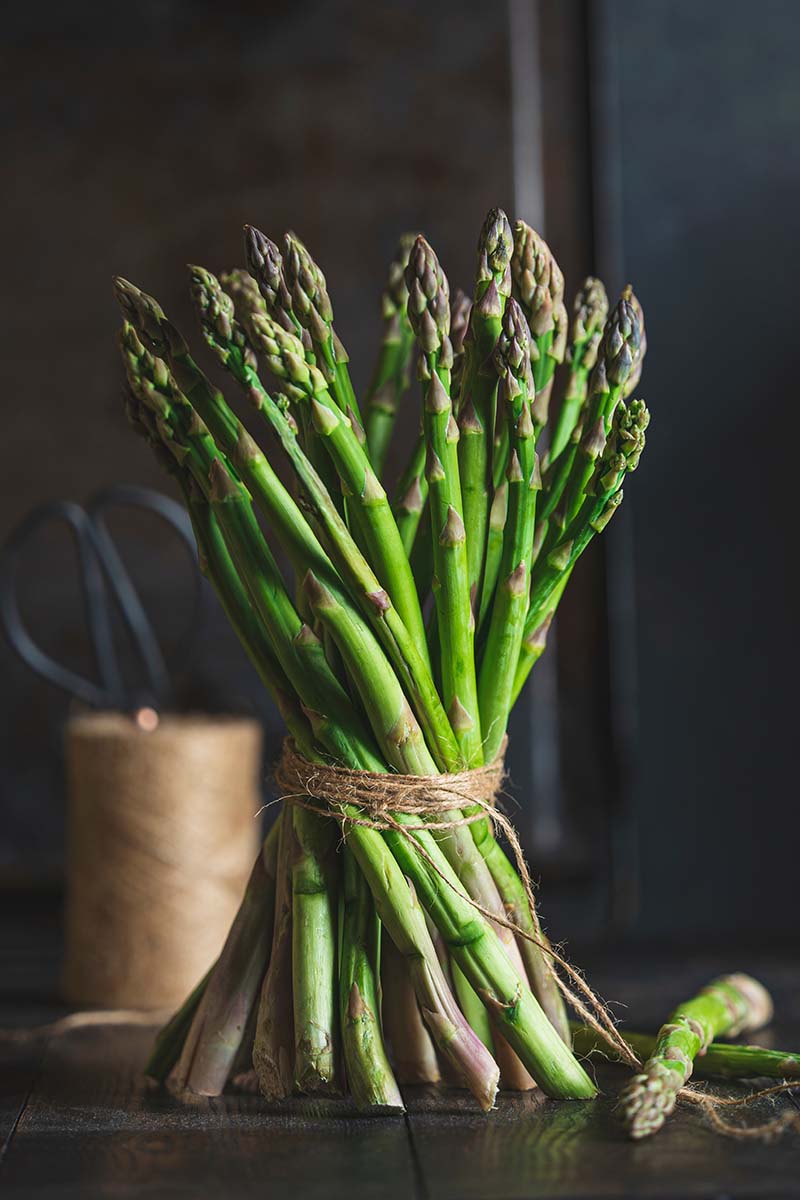
Steamed, sauteed, grilled or baked – any way you cook it, it’s delicious! When asparagus is in season, it becomes less of a side attraction and more like the main show.
I hold a deep respect for farmers, so I always support their work by purchasing directly from them when I can. But buying in large quantities can be expensive. Plus, learning to grow your own food is fun.
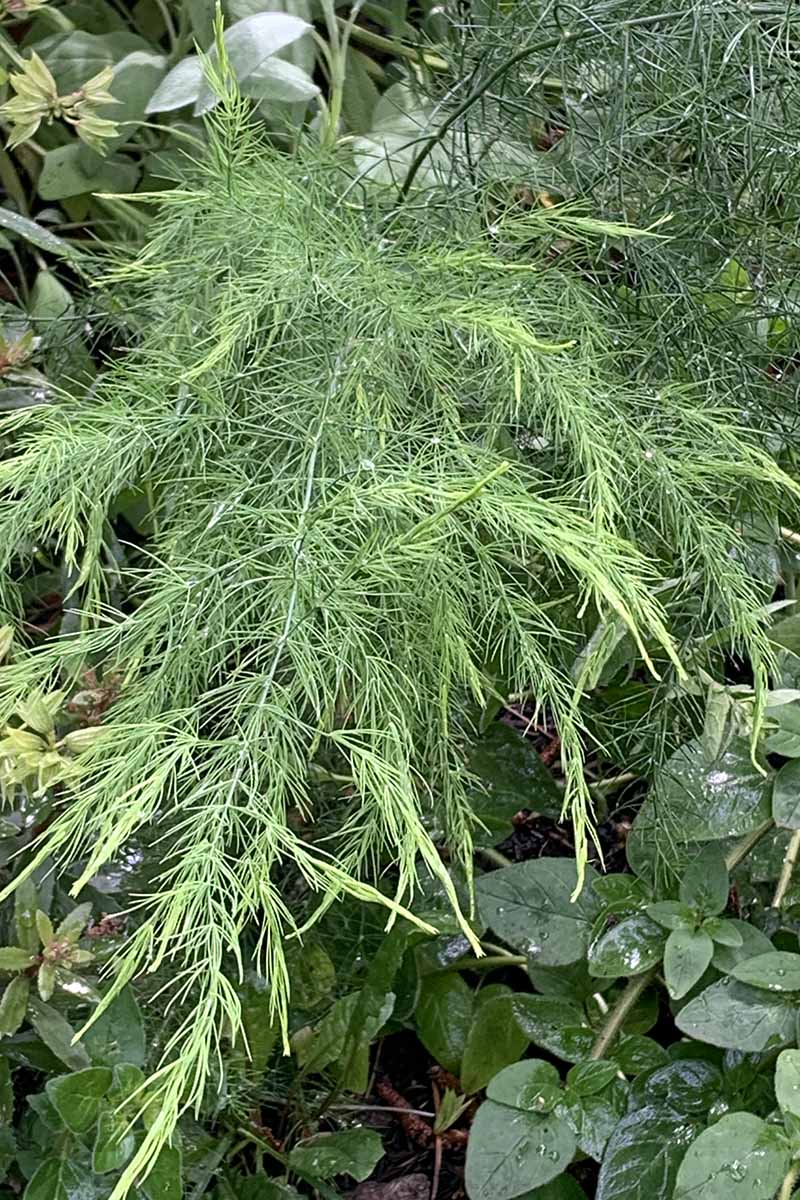
So, when a friend gifted me a tiny young crown, I gladly accepted it, brought it home, and without much foresight, I planted it in a corner of my garden near various herbs.
But later, I realized I should have planned a bit better. Hindsight, right?
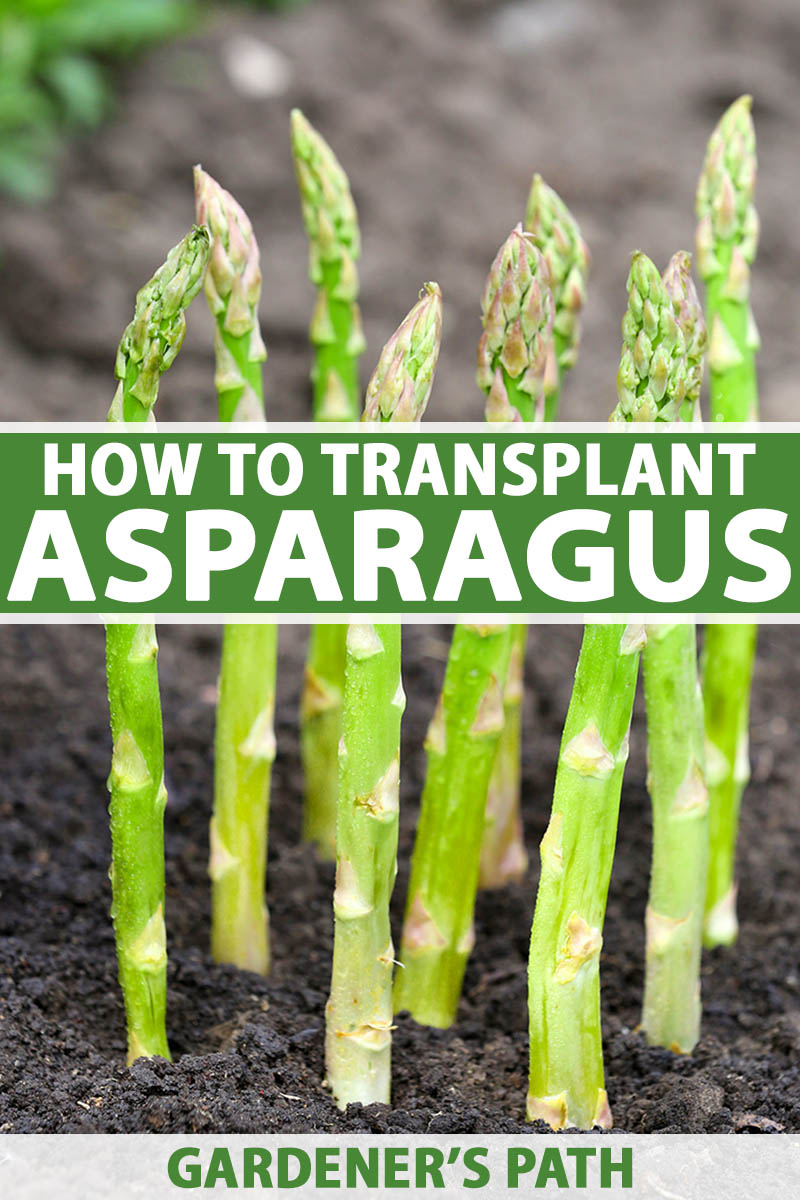
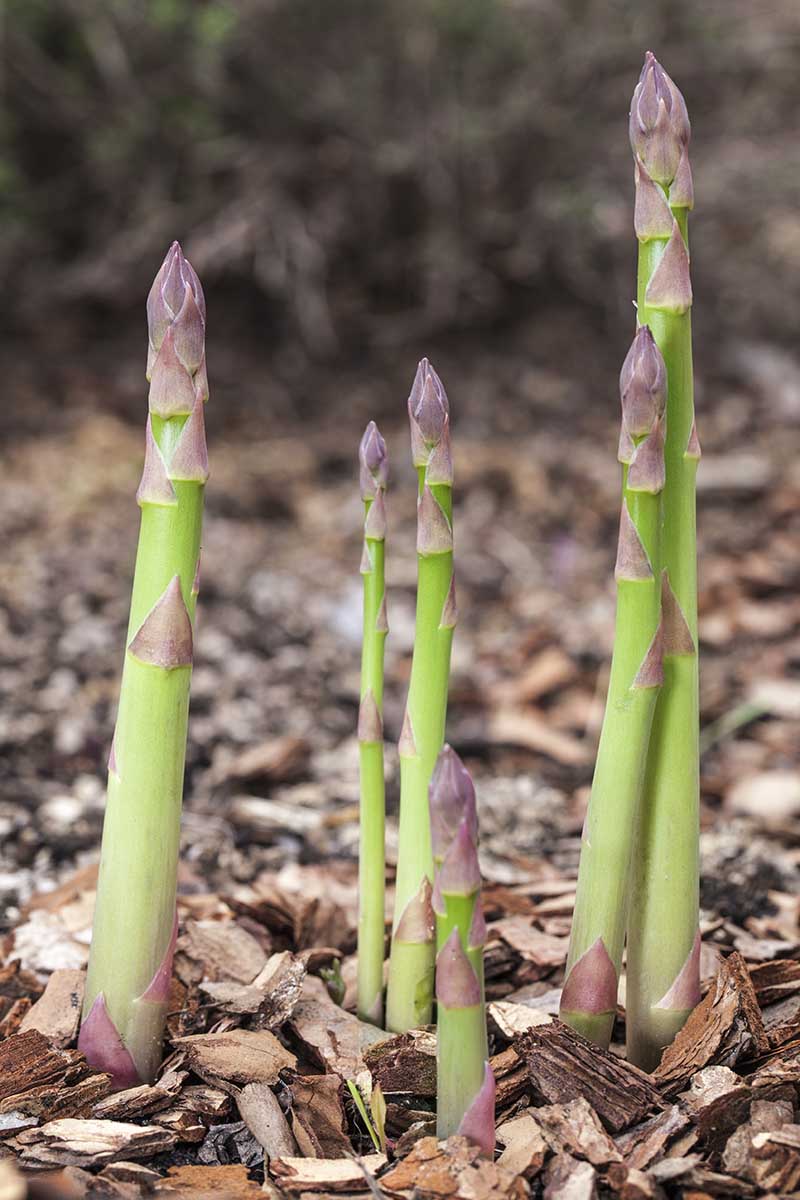
Asparagus is a perennial vegetable in the Asparagaceae family. Like hostas, fellow family members, the tender, pointed shoots that emerge from the ground in spring are edible. With asparagus, these are called spears.
Asparagus grows from rhizomes that multiply, increasing the area of ground they cover with age.
When it’s first planted, many people don’t realize just how much their asparagus will expand as it grows. And although there are different reasons to transplant, this is probably the most common one.
Most growers purchase one-year-old plants to start their crops, and moving mature plants is often discouraged. It’s a bit risky and isn’t always successful, but with some thoughtful planning and careful attention, it can be done.
Our asparagus growing guide will teach you almost everything you need to know about cultivation and care. This article will focus specifically on transplanting.
So, if you’re like me and you have an asparagus plant that’s not quite where you want it to be in your garden, read on to learn more.
Here’s a quick rundown of everything I’ll be sharing:
What You’ll Learn
Ready to get started? Let’s go!
All About Crowns
Asparagus is a long-term perennial crop. Growing directly from seed can be a finicky and time-consuming process, so most farmers and home gardeners prefer transplanting clumps, called crowns.
This is the fastest method to move you toward the ultimate goal: harvest.
After transplanting, the growth cycle is disrupted, and you need to let the plant recover. The recommended time to wait before harvesting is two to three years.
This means every time you transplant, you extend your waiting time.
With this in mind, it’s easy to understand why it’s important to plan and choose your planting site carefully to avoid unnecessary transplanting later.
If you plan and transplant correctly, depending on the cultivar and conditions, plants can produce well for up to 20 years.
To understand the transplanting process for asparagus, it’s helpful to learn about crowns first. They’re not the bejeweled golden halos you’re thinking of, but they are precious. Let’s dig deeper.
Underground, the plant is set on a network of rhizomes and fleshy and fibrous roots. The fleshy roots and rhizomes make up the crown, which is the perennial portion of the plant.
The fleshy roots store energy, which helps the spears and ferns above ground grow, and they are also the site of fibrous root development. The fibrous roots absorb water and nutrients from the soil, but they only live for one or two seasons.
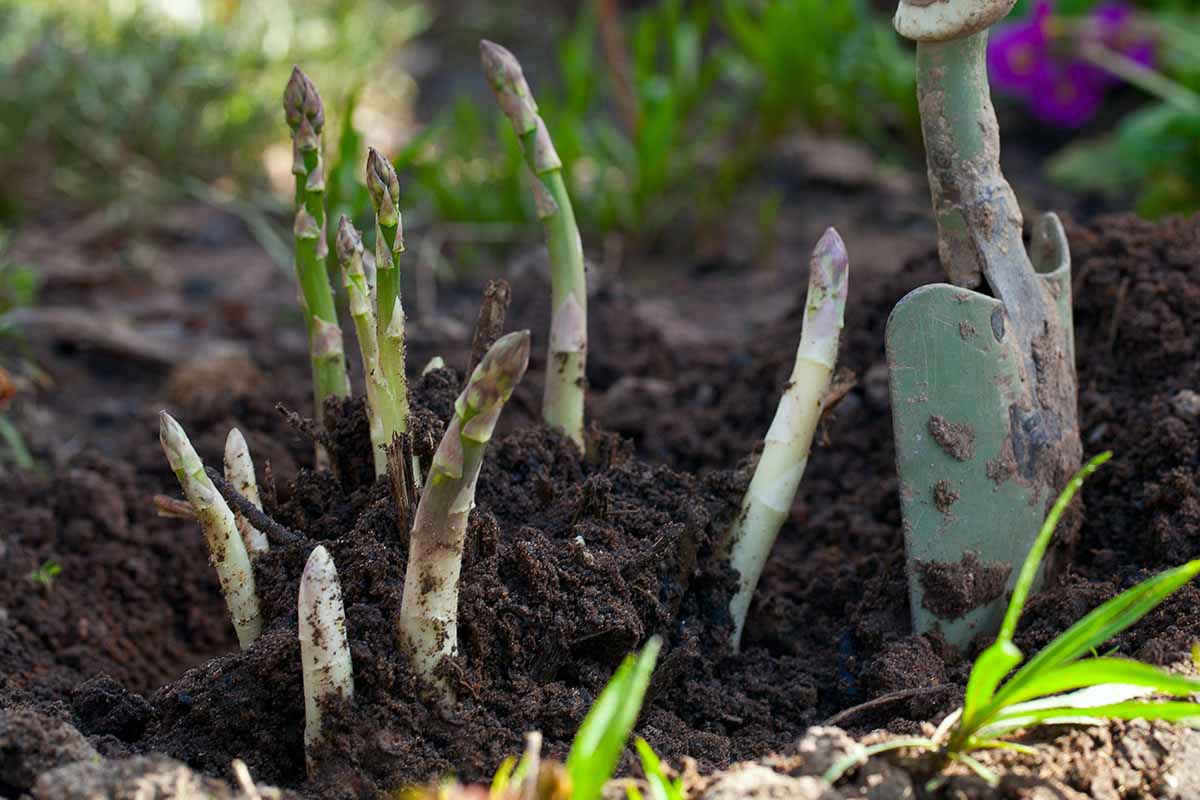
The rhizomes are the part of the plant that produces the edible spears.
When transplanting asparagus, the crown is the main part of the plant we’re concerned with and what we’re focused on.
All right, kings and queens, let’s straighten our crowns and prepare for the royal ceremony of transplanting.
Prepare the Site and Soil
The best time to transplant crowns is in the spring, as soon as the ground has thawed enough to easily work the soil.
Because this is a long-term perennial crop, much thought should be given to choosing the best new location.
Aim for a dedicated, permanent bed with sufficient space to allow your crowns to expand to their mature size.
Asparagus will tolerate some shade but grows best in full sun, so look for a warm, exposed section of your yard or garden. Avoid planting where large trees or shrubs might block out sunlight.
Most soil types will do, but asparagus prefers sandy, sandy loam, or loam soil with good drainage.
The root systems like to expand wide and deep, so ensure your soil is loose. If you have poor soil, prepare it by working in manure and/or compost before planting.
To prevent diseases like crown rot, avoid locations with heavy or clay soil or low-lying wet areas.
Since the plant prefers a slightly acidic environment, it’s a good idea to check the pH of your soil. Something within the range of 6.5 to 7.0 is ideal, so plan to amend accordingly.
If you don’t have a pH test kit, check out Garden Tutor’s kit at Amazon.
Read our roundup of the best soil test kits and articles about building soil to learn more.
Some home gardeners have success growing in raised beds with an open bottom. Growing in containers is not generally recommended.
Dig and Divide
Many experts advise against transplanting or moving mature crowns.
This is because the plants can become quite large with extensive root systems, making it difficult to lift them from the ground all in one piece. And transplant shock is a real thing.
On the positive side, other gardeners promote dividing large, well-established crowns as a means to make more plants and expand the size of your asparagus patch.
Plus, if your plant is growing out of control, situated in a poor location, or you’ve realized there just isn’t sufficient room for it to prosper, what do you have to lose? Dig it up!
Whenever I dig up plants, I always try to estimate how far out their roots might extend, then add even more space. Root systems extend horizontally from the crowns, so this is a safe approach.
Start digging further away from the plant than you might expect the roots to be, then move closer to find the root zone.
For young plants (one to two years), start six to 12 inches away from the base of the plant. For older, established plants, their roots can extend up to six feet wide, so test by digging a few feet away at first.
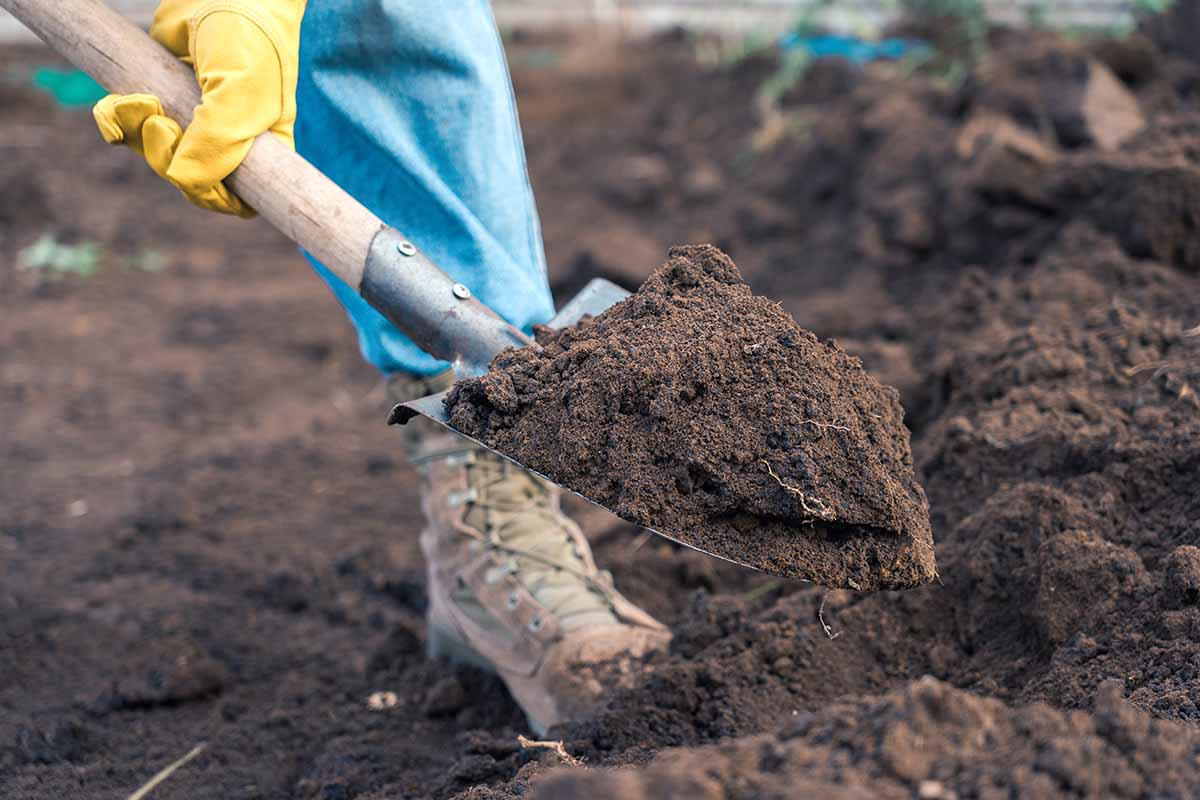
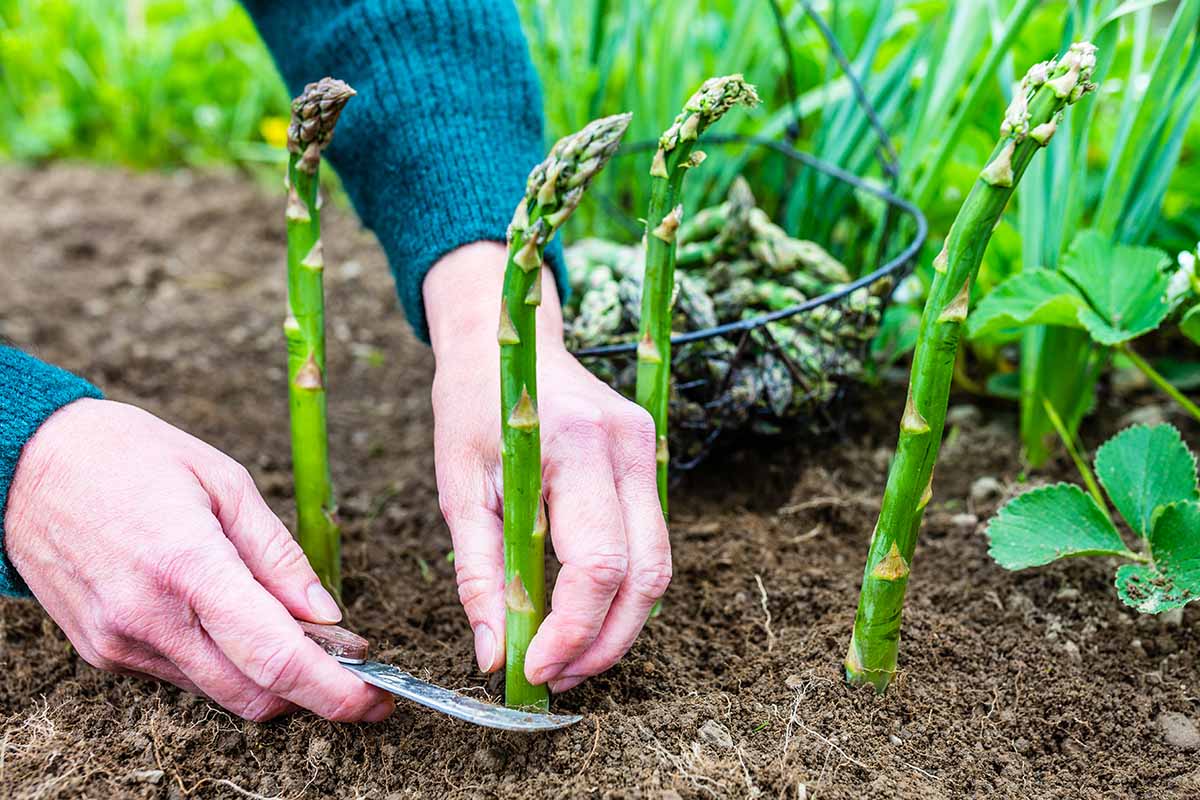
When you find the roots, dig all the way around the crown and carefully go deep to dig underneath it. It could be quite large, heavy, and lodged in place, so be patient and take your time as you loosen it from its spot. Handle it with care.
Once you’ve got the treasure loose and lifted out of the ground, gently clean away most of the loose dirt from the roots. You can even give the roots a gentle spray with the hose to reveal the hidden parts you’re working with.
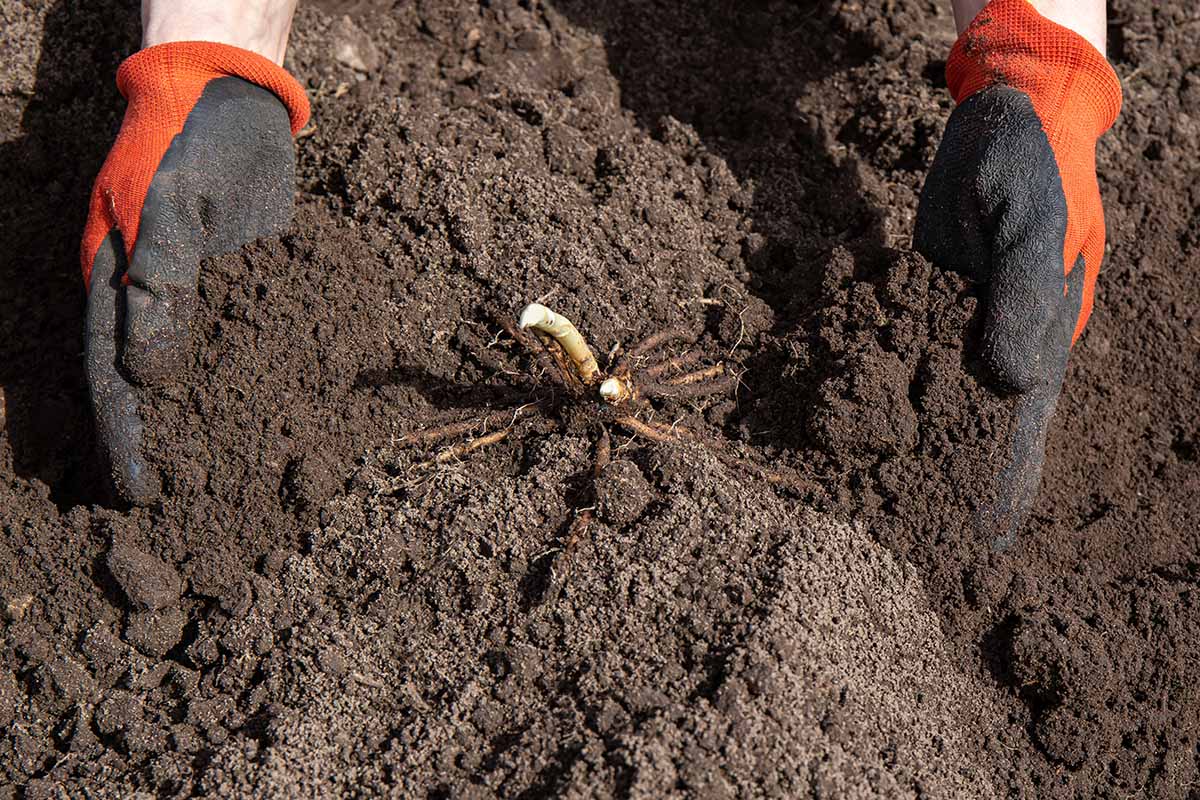
A large, mature crown is usually made up of several growing points, or places where new spears will emerge.
If you wish, you can gently pull the crown apart into smaller sections. Try to leave multiple aboveground growing points in each section. If you have trouble pulling them apart, carefully cut some roots as needed.
This is also a good time to discard any old, woody pieces of the plant or roots.
Now you’ve either got one plant out of the ground and ready to transplant, or you’ve got it divided into smaller sections, all ready to go. Let’s move to the next step: planting.
Transplant in Trenches: Gradual Planting
Planting asparagus crowns reminds me of planting seed potatoes. It’s a gradual process, drawn out over weeks.
Asparagus plants tend to “lift” naturally as they grow, so this method accommodates their habits.
These instructions are for smaller plants, young plants, or divided sections. If you’re transplanting a mature monster asparagus, adjust the hole or trench size to accommodate this process – and good luck!
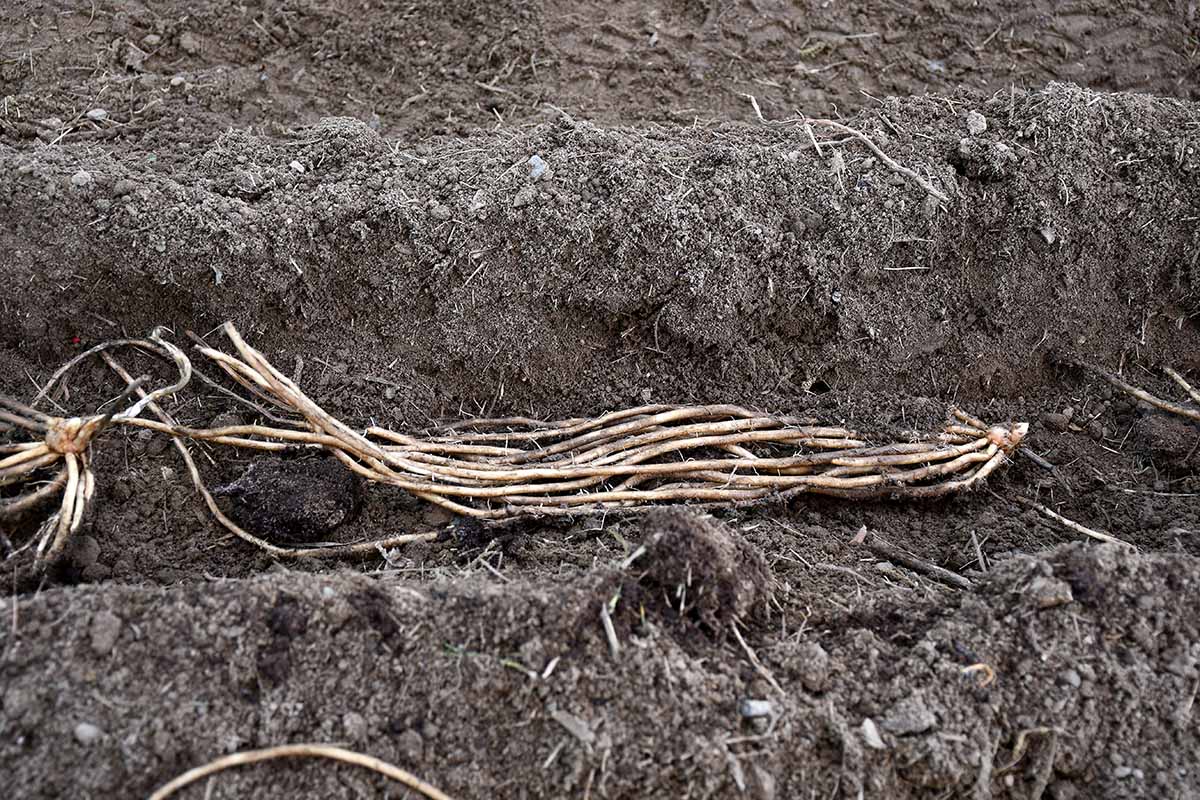
Start by digging a hole (if one plant) or V-shaped trench (for multiple plants) eight to 10 inches deep and about eight to 12 inches wide. Place the crown(s) in the bottom.
Some growers create a small mound of soil in the bottom of the trench to support the crowns, but that step is optional.
Space multiple plants about 18 to 24 inches apart, and rows four to six feet apart.
Cover the roots with about two to three inches of soil. Your plant should be tucked down in the trench and you may or may not see the tops peeking out at or just above surface level.
Apply a water soluble fertilizer high in phosphorus (P), and lower in nitrogen (N) and potassium (K). Look for NPK ratios like 10-52-10, 0-46-0, or 11-15-0 on the packaging.
Something like this one made by RAW and sold by Arbico Organics (9-61-0) should do the trick.
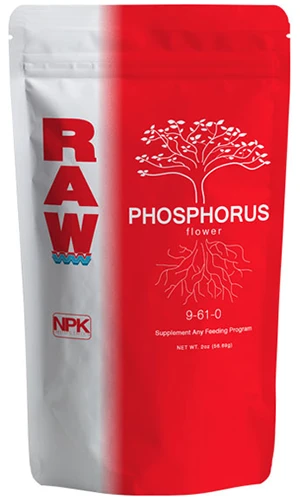
Follow package directions and water it in well.
Every one to three weeks, as the crown becomes established and begins to put on new growth, you will add another few inches of soil to the trench, covering a little more of the plant at a time.
By the end of the season, the planted trench should be level with the surrounding soil.
Keep the new transplants watered consistently but avoid overwatering.
You don’t want your trench to become a soggy bog because this could encourage rot and disease.
Once the plant becomes established and its roots grow deep and wide, water requirements will be much less.
Eliminate competition for water and nutrients by removing weeds throughout the season.
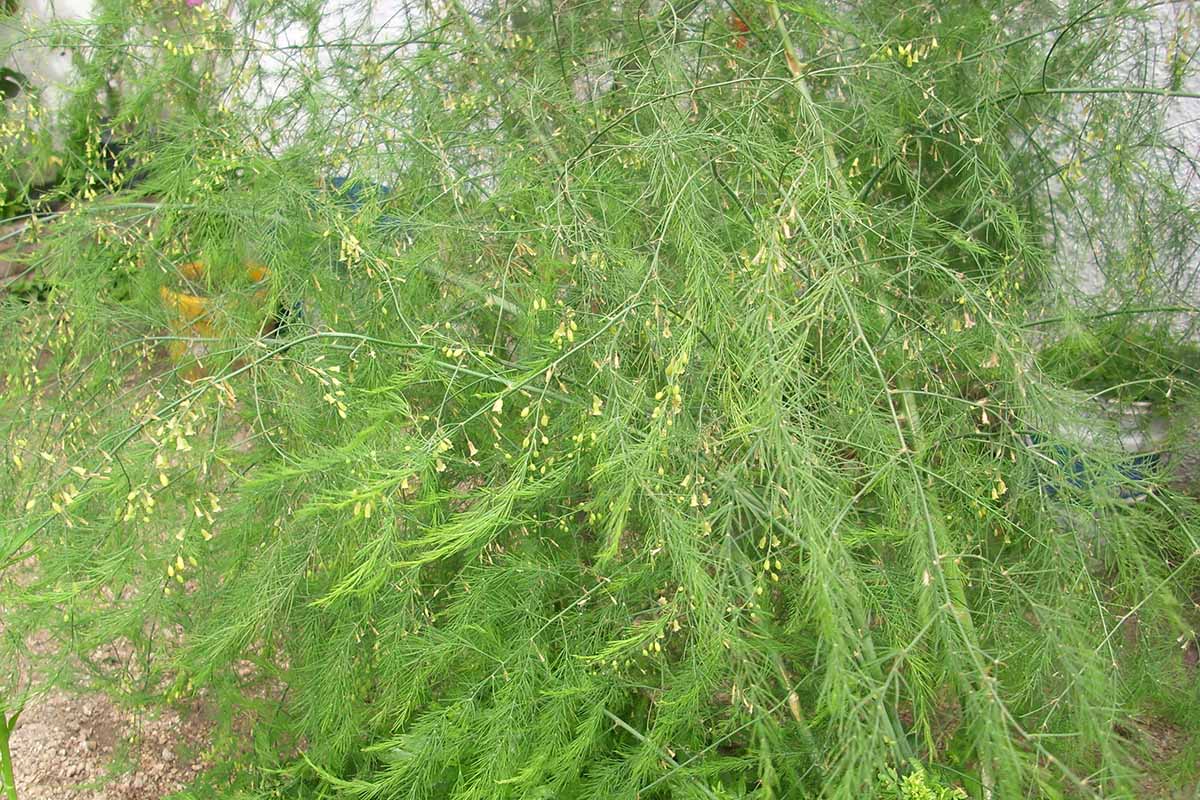
As your plants approach the end of the season, their ferns will begin to turn yellow. Some growers cut ferns for winter; some leave them and cut in early spring.
Depending on the local growing conditions, some growers also apply mulch to the base of plants to retain moisture and protect from frost damage.
Consult our guide for more information on mulching and caring for asparagus as it approaches dormancy.
A Celebratory Feast
I’ve covered everything about transplanting asparagus, including a lesson about crowns, choosing and preparing your new planting site, digging and dividing plants, the gradual planting method, and some tips for aftercare.
In a few years, you should have an asparagus feast fit for royalty. It’s time to celebrate! Have you transplanted asparagus? Are you planning to? Let us know in the comments section below!
If you found this article helpful, and you’re looking for more information, read our other guides to caring for asparagus, starting with these:

Last year I planted 20 seeds of Mary Washington asparagus plants which grew extremely well. I ended the year with 20 plants about 3 to 4 feet tall. This year I noticed thin spear’s and cooked a couple, and they tasted great, however I then read an article that stated I should let them grow the 2nd year, so I did, they grew to about 4 to 5 feet tall. This year I built some raised beds so I’m planning on transplanting them into the bed. Each plant has a crown that sprouts several branches 5 or 6, I’m shocked… Read more »
This is a good question, Roland. The raised bed is a smart idea as the height will make care and harvesting easier for you later on. Your instinct about waiting to harvest after transplant is spot on. After transplanting, the disturbed root systems need to become established in their new location. Like I mentioned in this article, the recommended time to wait before harvesting is two to three years. So at the minimum, give them at least a full year of growing before attempting a harvest. If your plants are doing well after the first year following transplanting, it’s ok… Read more »
Hello. We lived in Cambridge, Ontario and planted half a dozen crowns. After 2-3 years, realized under a large tree in the corner of the garden was a poor location. Transplanted to another section of the garden but, again, after 2-3 years when they were ready to harvest, we moved to a one-acre property south of Ottawa. We dug up and split some of the crowns and potted the asparagus where they stayed for an entire Winter. Moved in February and they spent the Summer in pots while we dealt with other priorities. We transplanted a third time in the… Read more »
Thanks for sharing your experience Chris! I agree you you, they are very robust, it’s just that they can take time to start producing.
I live in the high desert of southern AZ. At 4500 ft. Zone 8a. I just transplanted some established plants from nearby. A friend of mine moved out of state and thére are five established plants in one area. I should have read this article first, but hopefully it will still be successful. I only got about 2 feet of roots around the land and did not go deeper than 12 inches below surface level. I did prepare a suitable and permanent space for them to live for years to come. I only moved 3 plants, but may get the… Read more »
Hi Todd, it sounds like you did the best you could to give these plants a chance at survival. I wouldn’t dig them back up at this point, they should be fine the way you did things. It’s really hard to say how likely it is they will succeed, given that there are so many different factors that can impact things. Hopefully we’ll know soon as the spring arrives.
How is the best way to deal with weeds? Can you spray weed killer early in spring?
My bed is 20 years old and very productive, but over time weeds have really gone wild. I am 86 and its hard to get down on all fours to hand weed. I wil really appreciate your help and/or suggestions.
Hi Dave That’s such a great question and first of all, congratulations on keeping your asparagus bed productive for 20 years! That’s no small feat. Over time, weeds can definitely get the upper hand, especially in older beds, so you’re not alone there. Since it’s tough to get down and hand-pull them, I’d focus on making mulch your best friend. A good, thick layer – about four inches deep – of organic material like shredded leaves, straw, or wood chips will block light and keep most weeds from sprouting. Just be sure to pull it back a bit from the… Read more »