
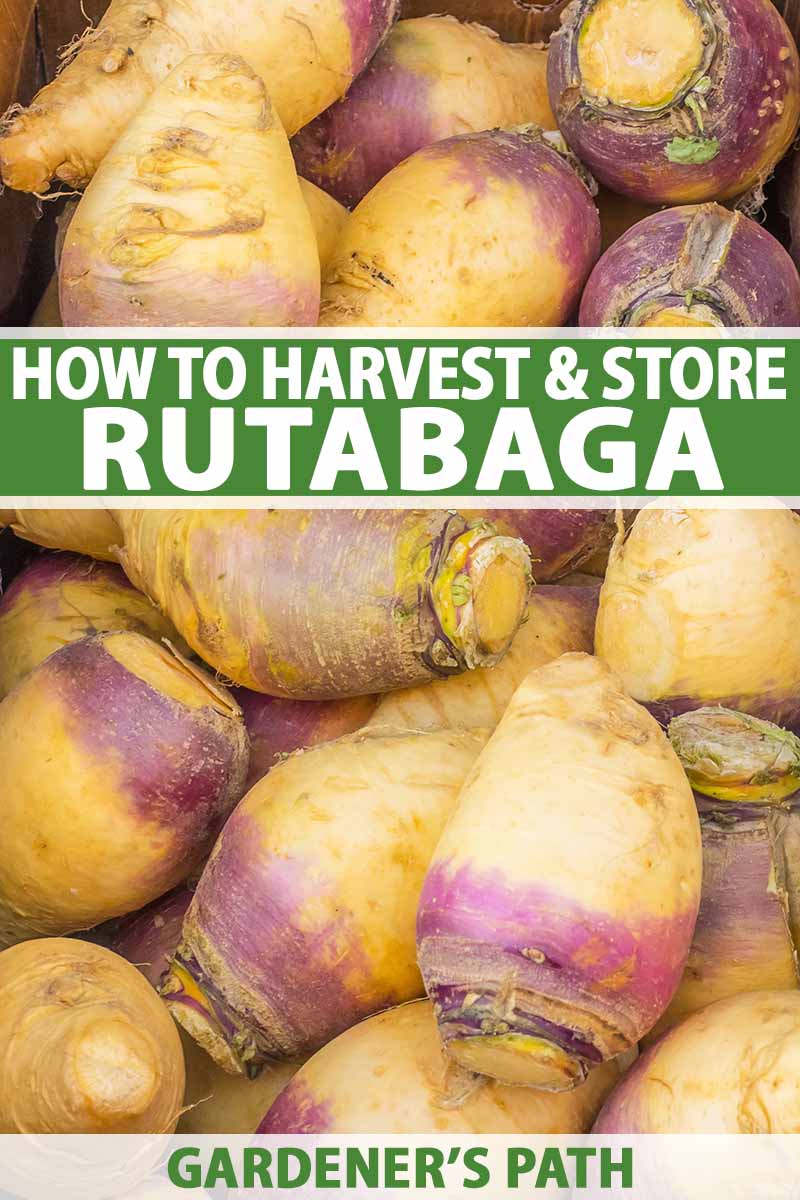
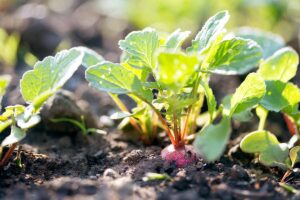
So you planted a rutabaga patch this year.
If you’re anything like me, you are walking through your garden every day, impatiently awaiting the moment you can harvest and enjoy the fruits of your labor.
You see those greens growing, and perhaps the bulbs beneath expanding. But when is the right time to harvest? And what can you do with all this rutabaga once you do pick it from the earth?
We link to vendors to help you find relevant products. If you buy from one of our links, we may earn a commission.
In this article you will learn when and how to harvest rutabaga, proper storage techniques, as well as ways to cook and enjoy this versatile veggie.
What You’ll Learn
Let’s get into it!
When to Harvest
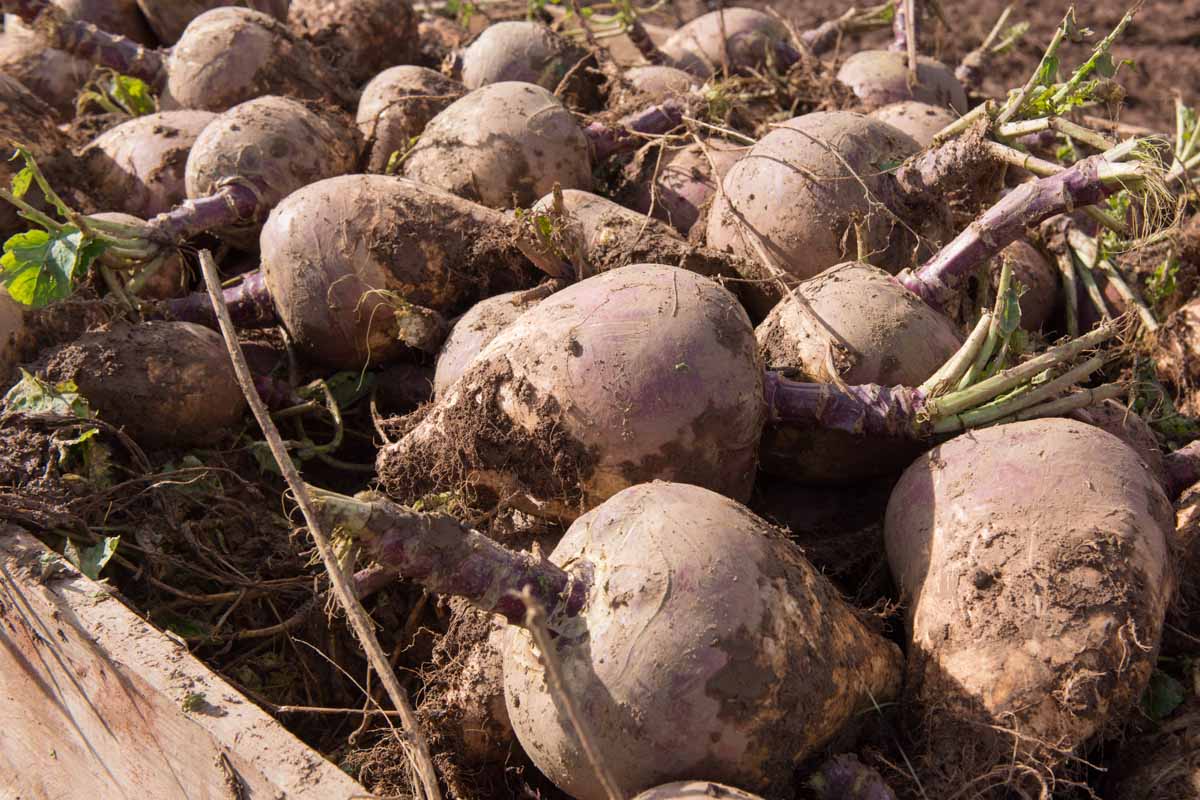
Rutabagas will be ready to harvest approximately 90-110 days after sowing, and they taste best if harvested after a few light frosts.
You can begin harvesting when roots are 2 to 3 inches in diameter; smaller roots will be especially tender and succulent.
Roots up to 4-5 inches in diameter can be harvested, but if you let them get too big, they can become tough and fibrous.
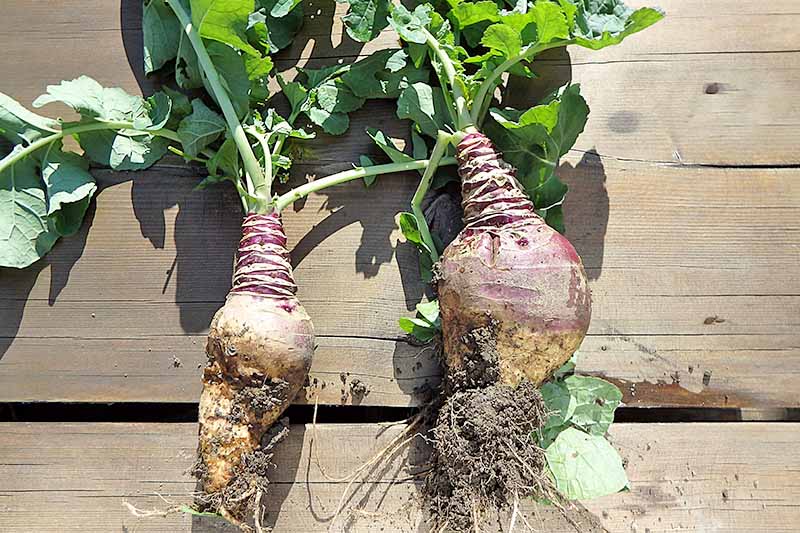
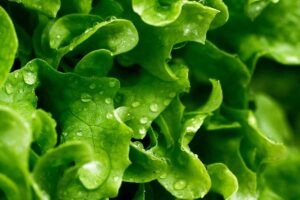
The foliage can be harvested as well. You can either harvest the leaves along with the roots, or harvest young tender greens earlier for optimal taste.
How to Harvest
Harvest when the soil is dry. Lift or pull roots carefully from the ground, taking care not to break or bruise them.
If the soil is compacted and the plant will not pull up easily, you can use a garden fork to carefully loosen the soil around the vegetables, being cautious not to damage them.
To harvest young leaves, cut the tender outer layer of leaves to an inch or so above the crown. Be sure not to cut too many leaves from a single plant, or this could slow the growth of the roots.
If harvesting roots with the leaves still attached, just after pulling up the roots, cut or twist off greens to within 1 inch of the crown. Removing the greens before storing will increase their storage life.
Storage Requirements and Methods
It is important to properly store these root vegetables as soon as possible upon harvest, to maximize their storage potential.
Once the roots are harvested and the greens are removed from the bulbs, wipe off each root to remove excess dirt. Do not wash them yet, as water can lead to mildew and rotting.
While you are removing dirt and preparing your harvest for storage, examine each root. If any are damaged or bruised, eat those first as they will not store well.
Store the greens in an airtight container or zip-top bag in the refrigerator, and wash them just before use.
The roots can be stored in a variety of ways, as long as appropriate light, temperature and moisture conditions are met.
Rutabagas should be stored in a dark location to prevent sprouting. They should be stored in cool temperatures, as close to 32°F as possible without freezing – 32-35°F is ideal. They also require a high relative humidity of 90-95%, which keeps them from shriveling.
For Storing in the Fridge or Freezer
For refrigerator storage, wrap roots in moist cloth or paper towel, place in perforated plastic bags, and store in the veggie crisper drawer. Roots will keep for 4 to 5 months.
These vegetables can also be frozen, and will keep for up to a year in the freezer! To freeze and store, first peel and cut up into cubes.
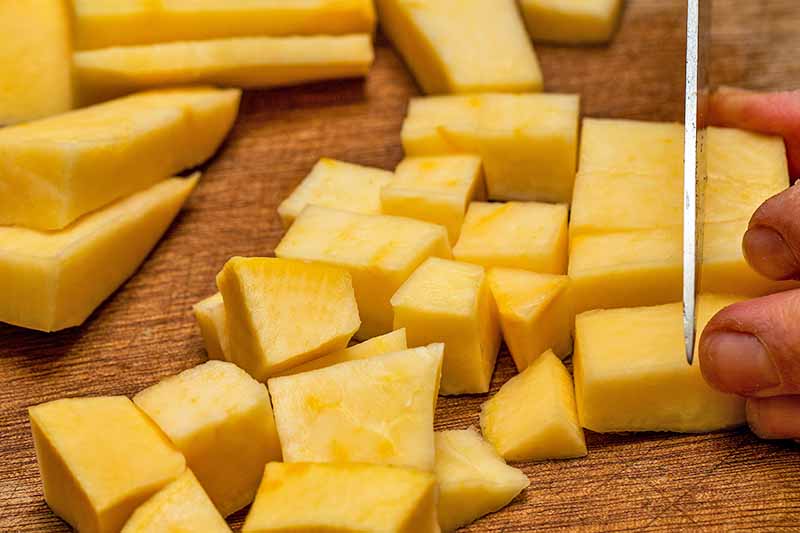
Next, blanch in boiling water for 3 minutes. This stops the enzyme action which can cause the roots to lose flavor, texture, and color. Place in ice water immediately after boiling, and allowing the pieces to cool and drain before packing into freezer bags or containers. Leave 1/2 inch of headspace in each container.
You can also peel, boil, and mash rutabaga before storing in freezer bags or containers. Frozen rutabaga will keep for 6 months to 1 year.
For Storing in the Garden
You can leave your crop in the ground through the winter and harvest as needed. This method can be a great option because it provides optimal moisture and light levels, and the flavor improves with exposure to cold temperatures!
If storing in this manner, make sure to insulate the soil to keep it from freezing.
You want to keep the soil at 34-40°F. This can be accomplished by adding a deep, 10- to 12-inch layer of mulch such as hay, straw, or leaves over the rows and along both sides of the plants.
Mulch liberally, at least 18 inches wide. Roots will stay protected this way, even beneath feet of snow.
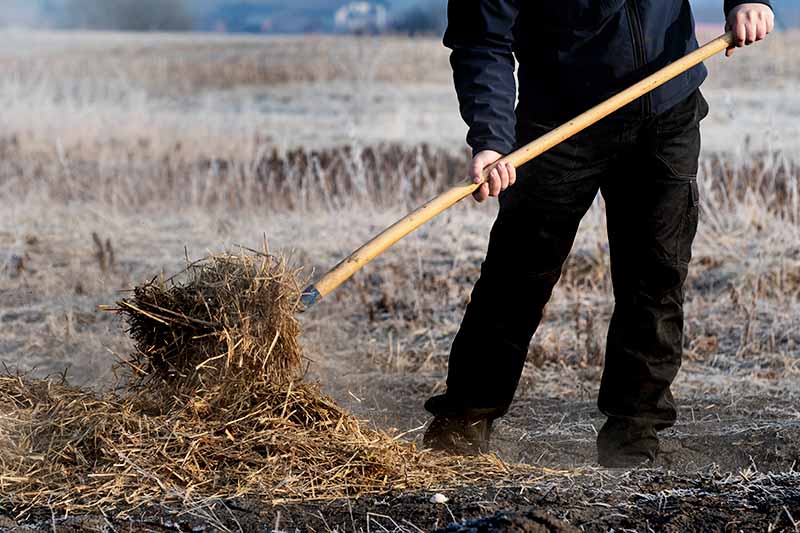
When you are hungry for some mashed or roasted rutabaga during the winter, just put on your snow boots, march outside, and dig up a few roots! Keep in mind that it is important to harvest any remaining roots before plants start growing again in the spring.
Because rutabagas are biennials, the springtime rise in temperature and light will initiate the second season of growth. Plants will grow leaves, flowers, and ultimately produce seeds.
If you do leave a few in the ground through the second season, you could collect and save the seeds to plant a new crop over the summer! You can find more information on growing your own rutabagas here.
For Storing in a Root Cellar, Garage, or Basement
Temperatures should be between 32 and 40°F. Place in buckets or wooden crates with damp (not wet) sawdust, sand, or peat moss. Pack roots so that they are insulated and covered.
Make sure to space roots out so they are not touching. Do not completely seal the container, so that fresh air can circulate.
Check often, and remove any rutabagas that show signs of decay. Roots will keep for 4-6 months.
Make a Homemade Root Cellar
If none of the options above work for you, you can make a mini root cellar out of a wooden box or barrel, peat moss or sand, and soft material for insulation such as burlap.
Place a layer of sand or peat moss in the box, layer rutabagas on top with space between each for air circulation, and cover with a layer of burlap sacks filled with more sand or peat moss. Bury the box most of the way underground, leaving an opening just above the soil surface for air circulation.
Cooking Tips and Recipes
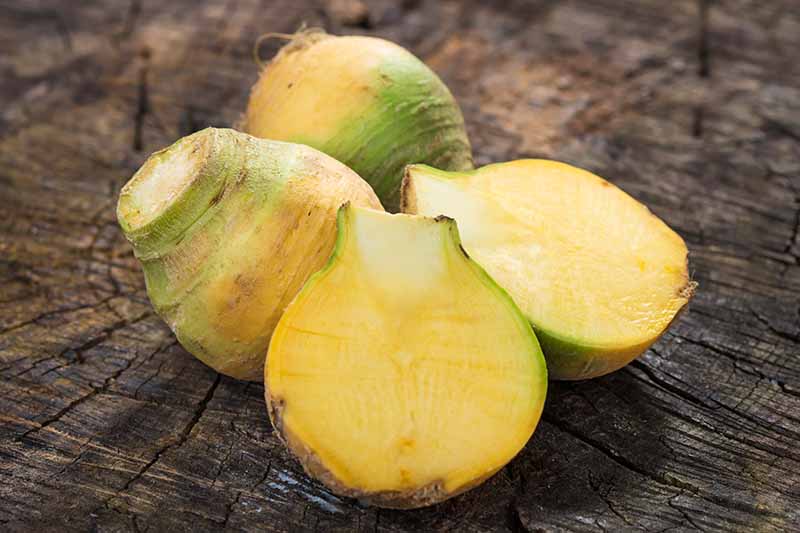
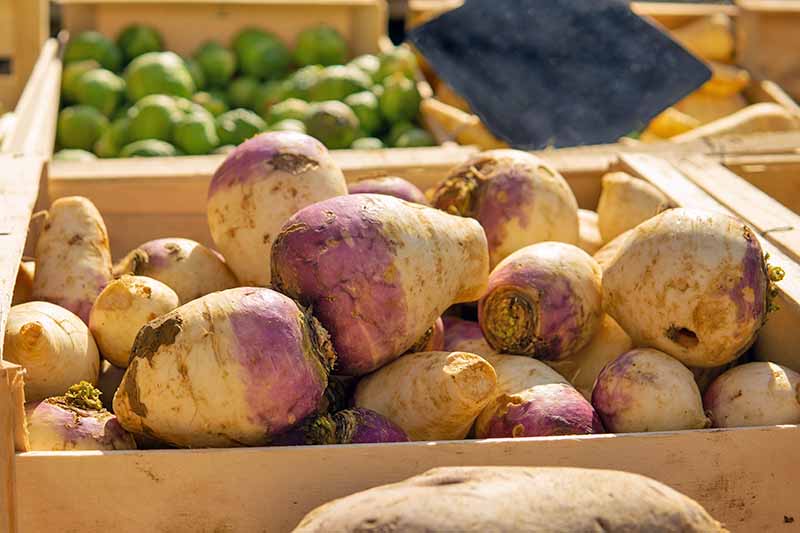
Though similar to and often confused with turnips, rutabagas have a sweeter flavor.
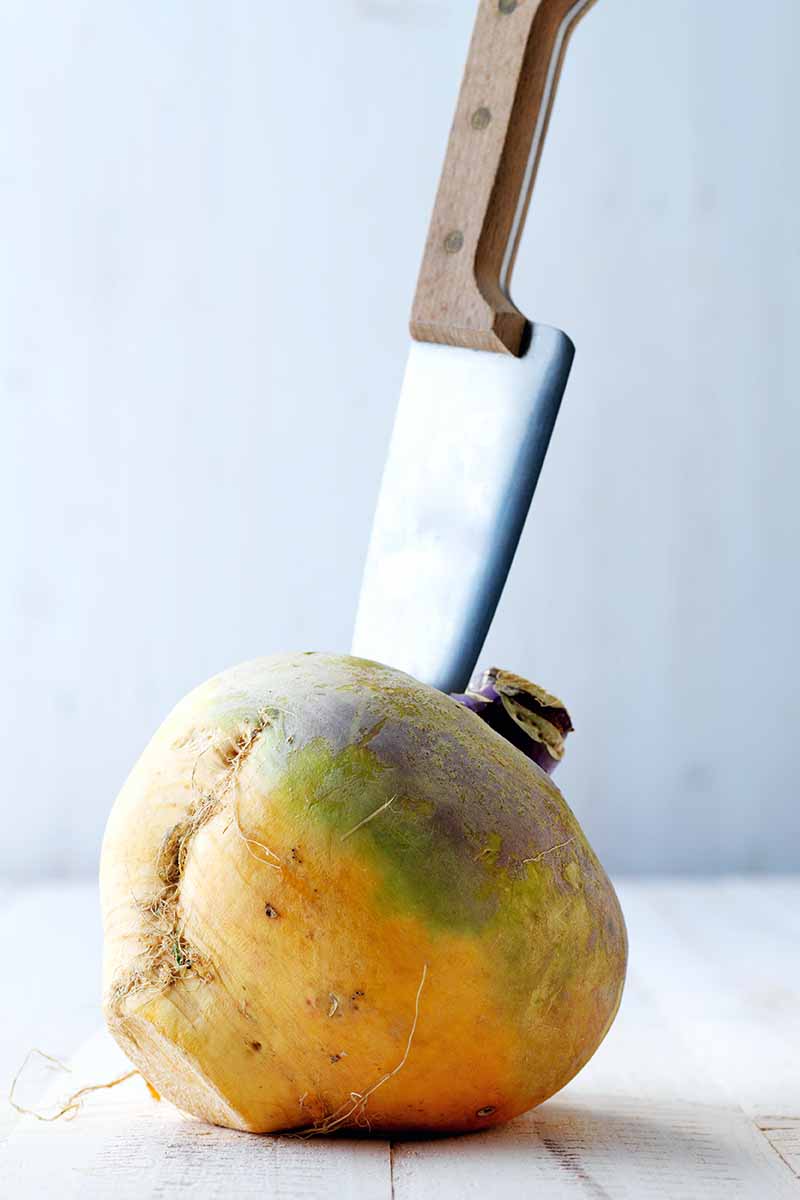
Like turnips, be sure to wash and peel away the skin before preparing. Once peeled, you can eat a rutabaga in just about any way you would enjoy a turnip, carrot, or potato.
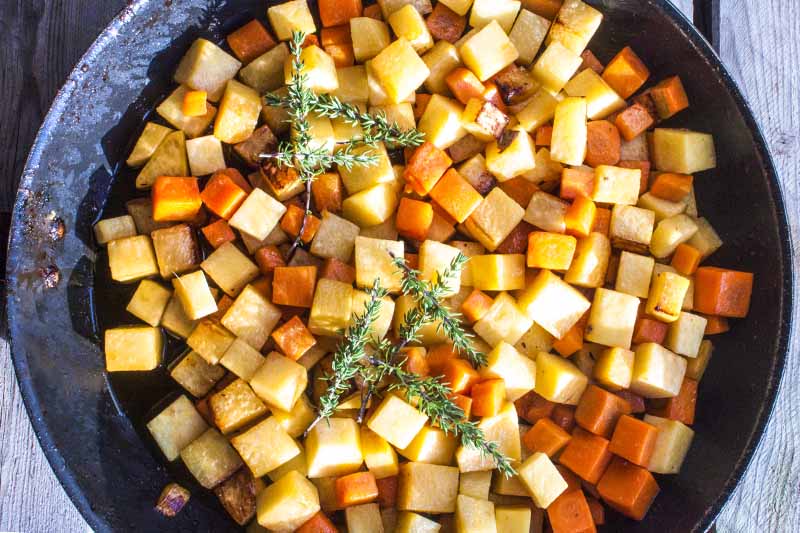
They are flavorful and delicious mashed with butter and salt, and are a classic in soups or stews. They can be roasted, sauteed, fried, you name it!
Additionally, they are excellent raw and can add a pleasant crispness to salads or coleslaw.
Greens can be eaten raw in salads as well, or cooked in soups or stews. Just wash, chop, and prepare!
Want some inspiration? You will love these autumn-themed recipes for roasted root veggies on Foodal!
This general guide to roasting root veggies from our sister site, Foodal, explains how you can roast rutabaga to bring out the complex sweet and nutty flavors.
Rutabaga makes a delicious combo with a variety of root vegetables, and pairs nicely with hearty main dishes. Get the recipe on Foodal now.
Get Creative with Homegrown Rutabaga
With these tips in mind, you will find that harvesting, storing, and enjoying your rutabaga crop is easy and fun.
Feel free to experiment. This wonderfully versatile root veggie can really inspire culinary creativity.
What are your favorite ways to store and cook this vegetable? Let us know in the comments below!
It’s mid-November in Southern Vermont and I just pulled ALL of the rutabaga we grew. I wish I had looked up how to harvest and store rutabaga BEFORE they were pulled and rinsed. From here they will be refrigerated. The root cellar is still too warm. I find multiple wide-mouth ball jar with water in them keeps the humidity at an acceptable range in the refrigerator. It’s how the apples are stored.
Thank you for the information.