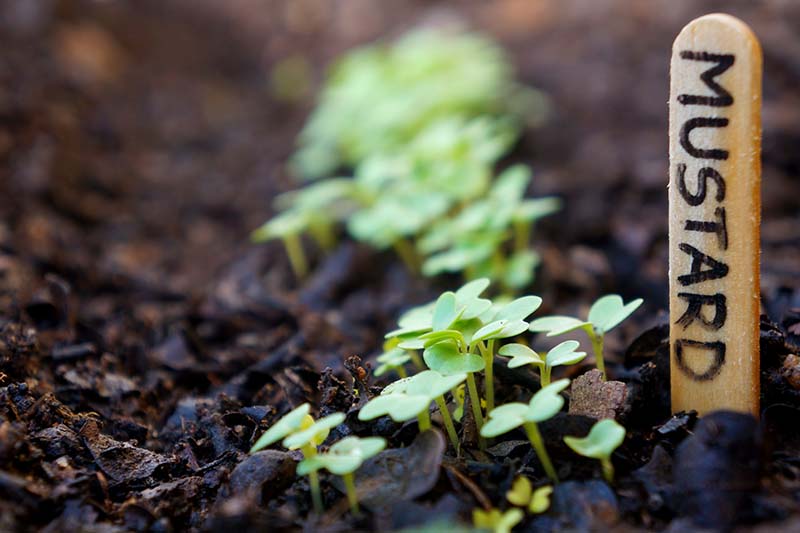
A lot of the vegetables you can grow in your garden require the utmost patience before you can pick. But mustard greens require a different skill set ahead of the harvest.
They demand diligence. Starting about 10 days after sowing, you’ll need to keep an eye on their progress if you’d like to pick some as microgreens.
If you’re growing baby leaves or full-size, a couple of weeks later, you’ll need to start monitoring their progress frequently so you don’t accidentally allow them to get oversized and hot, tough, or bitter.
Stamina helps, too. If you plant more than a couple, they’ll produce bushels of greens in a short period.
We link to vendors to help you find relevant products. If you buy from one of our links, we may earn a commission.
I’m talking about cultivars like ‘Ruby Streaks,’ which can grow as a microgreen in 10 to 15 days. I’m also referring to broadleaf varieties such as ‘Red Giant,’ that can grow 16 inches tall and fully mature 40 days after sowing.
Any that you intend to cook with, eat fresh, juice, or add to smoothies should be picked promptly at regular intervals, so they’ll continue to send up more shoots.
This is not a “wait and see” veggie garden choice, but more of the “try to keep up” variety.
That quick turnaround is part of what makes it so gratifying to grow mizuna, tatsoi, ‘Florida Broadleaf,’ and other varieties of mustard.
And if you follow the tips I’m going to share, you’ll be able to pick these leafy greens at their peak, and enjoy them fresh or in cooked recipes.
You can even extend the harvest for many months, and for more than one season if you like.
Ready to pick premium greens with the best of them? Let’s get to it. Here’s the lineup:
What You’ll Learn
Know Your Variety
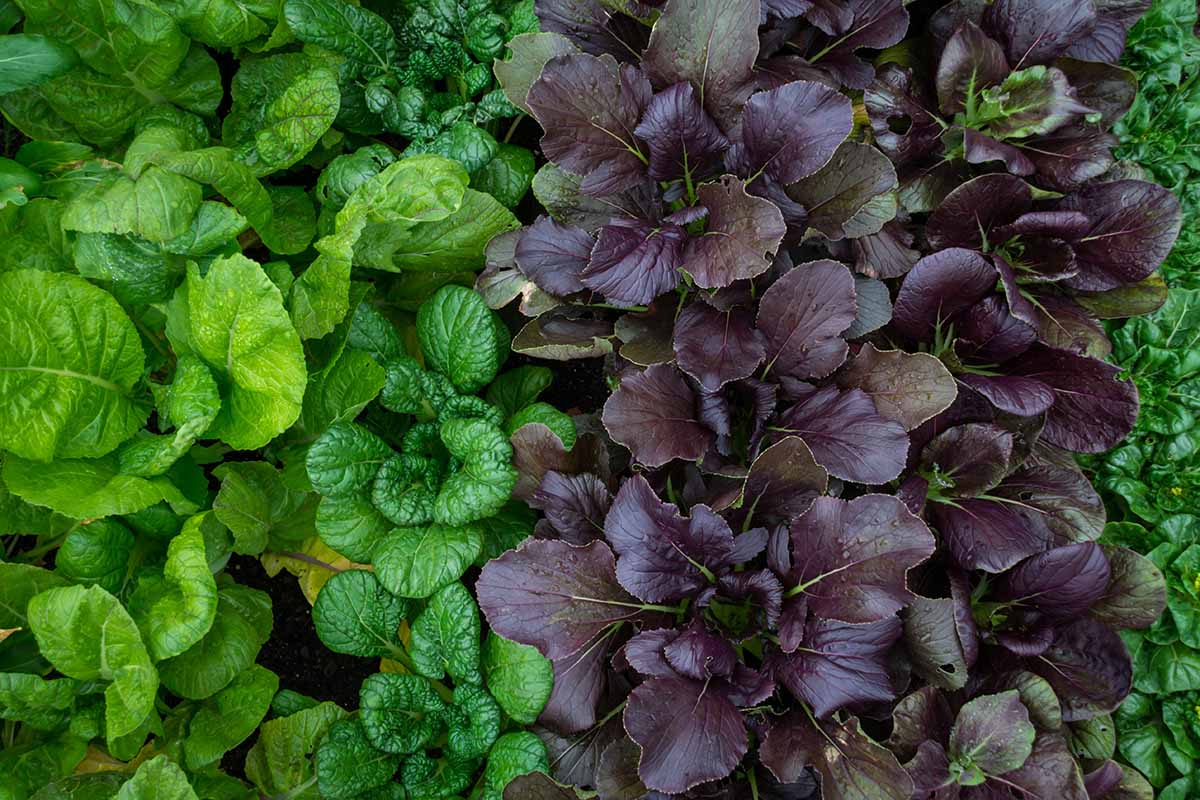
While many different edible plants fall into this category, it’s important to recognize that they grow at different paces and have different levels of heat and cold tolerance.
Each cultivar is a member of the Brassicaceae family, but they may be of the species Brassica juncea, B. rapa, B. nigra, B. hirta, or Sinapis alba (formerly B. alba).
This means you may have a ‘Red Tatsoi’ plant that takes 60 days to mature, or a ‘Lime Streaks’ mizuna that grows to the maximum size for cooking in 45 days.
Study the seed packet and check out the number of days to maturity before you sow. It will pay off at picking time!
Also, some types – like mizuna – are more heat tolerant, while others are best for those who want to sow a fall crop that will keep growing into early winter.
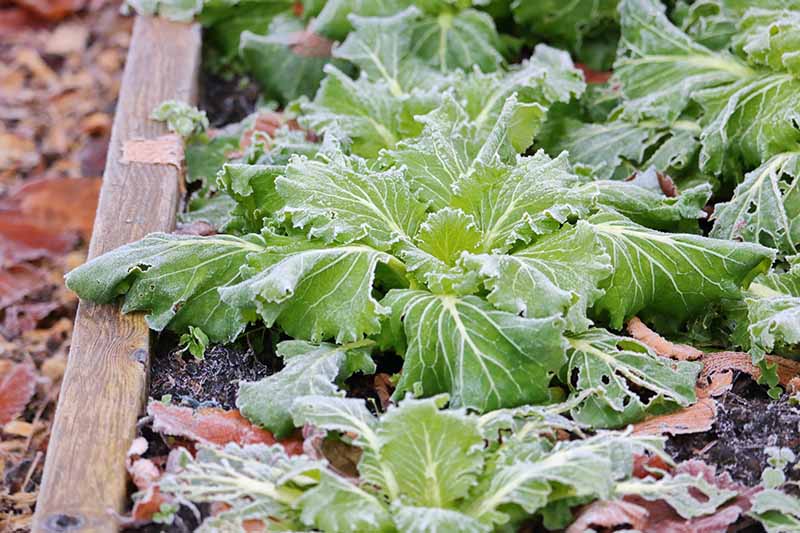
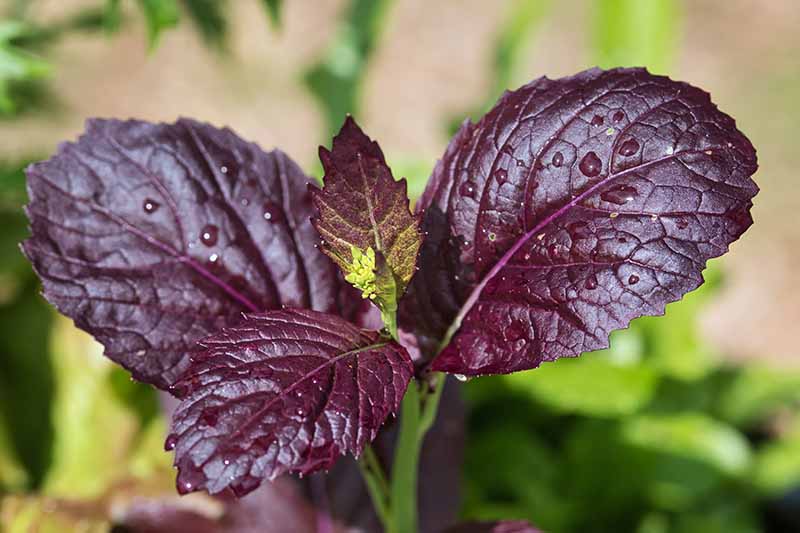
Some B. juncea varieties – including ‘Red Giant’ and ‘Southern Curled,’ for example – can tolerate temperatures down to 25°F, and even get a bit sweeter after a touch of frost.
Bear in mind that some cultivars are best when picked at a certain stage of growth, based on the way you intend to cook with them.
Get this sorted out ahead of planting, or you may end up with a long-cooking variety when you want to enjoy your mustard greens in a salad or saute, or vice versa.
All types are suitable for harvesting and eating as microgreens once they form their first set of true leaves. Find further directions on planting microgreens in our guide.
But as the plants get bigger, the different species will be at their best at different sizes.
Broadleaf cultivars like ‘Green Wave’ or ‘Red Giant,’ for example, are B. juncea types. In addition to providing tasty microgreens with a mild pepper flavor, they’re also good as baby leaves for fresh eating.
But you wouldn’t want to harvest many of them at that stage. Just a few pungent leaves picked when they’re one or two inches tall can add zip to a milder mesclun mix for salad or be used as a pizza topping, but large handfuls tend to overwhelm the flavor of a dish.
Once the leaves of these larger types exceed a few inches tall, they’re too tough and pungent for fresh eating.
They are piquant when sauteed or stewed Southern style with other greens like turnips, though, right up to their mature size of 10 to 21 inches tall.
Long simmering with savory vegetables and a bit of oil or pork yields a velvety, rich “mess of greens,” but only if you’re cooking B. juncea varieties.
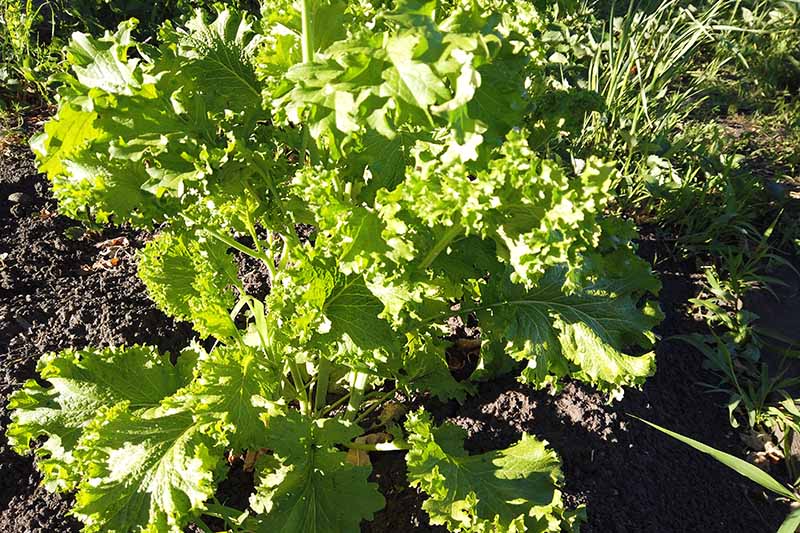
If you’re growing the type with large leaves, most of your picking will be done later in the season.
But you’ll take a different approach when harvesting Asian varieties like mizuna (B. rapa var. japonica) and tatsoi (B. rapa var. narinosa).
These are much milder for more of their growth cycle. They’re tender with a mild bite harvested as baby greens when they’re one to three inches long.
They’re also at their tasty best steamed, stir-fried, or sauteed when they’ve grown to around three to eight inches.
You’ll need to know if you’re growing mizuna instead of another large-leaf variety, because once it’s 10 inches tall, the leaves become bitter and fit only for the compost, or perhaps for creating green juice blends in combination with other garden-fresh ingredients.
And while mizuna is great for quick-cooking, it just goes limp and smells like overripe cabbage after long simmering.
Another compelling reason to familiarize yourself with the exact type you’re growing concerns the number of days to maturity.
All varieties will sprout in seven to 15 days, and grow a true set of leaves that you can harvest as microgreens a few days to a week later.
But after that, different types tend to mature at substantially different rates, reaching full size in 35 to 60 days. And you can’t anticipate the timeline based on the size of the leaves.
Brassica carinata ‘Amara,’ for example, has midsize leaves that are eight to 10 inches long at maturity. But it takes 45 days to reach maturity, while ‘Red Giant,’ with its 12- to 16-inch leaves, takes only 40.
Five days may not seem like a huge difference, but ignore your ‘Red Giant’ for an extra five days because you happen to be out of town or busy with other things, and you’ll have far fewer greens available to stew and freeze than you’d like. They’ll be too big!
The longer a given variety takes to grow, the more days it requires to produce baby leaves, too.
Of course, with mustard, the main concern is picking the bounty ahead of when it gets too large, too bitter, or too tough.
Learning the growing timeline is particularly important, so you can schedule your harvest before the leaves are past their peak, or worse – inedible.
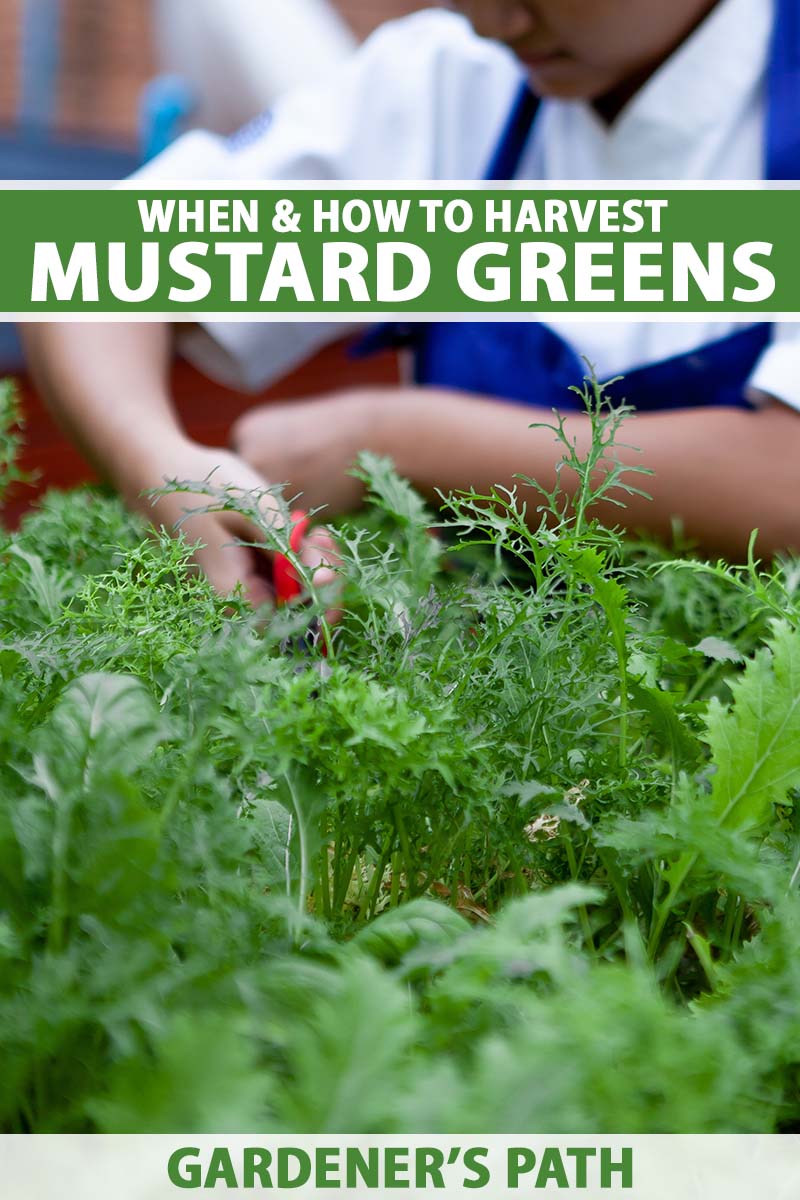
Harvesting Mustard Microgreens
Reaping these brassicas at the microgreen stage is really a matter of pulling, not picking.
Once the seedlings have formed a set of true leaves, they’re fair game. Gently uproot them and give them a rinse. Then eat them out of hand, in salads, or atop a soup or pizza slice.
If you have more than a handful, let them air dry after rinsing, on a clean dish towel.
Then wrap them in a paper towel, pop it in an airtight container, and store them in the fridge until you’re ready to use them – but only for two or three days at most.
In general, I’d also recommend growing microgreens and any type of mustard you’d like to eat at the baby or full-size stage in two different spots in the garden, or in separate containers.
It’s a lot of trouble to pluck the microgreens without accidentally uprooting the ones you’d like to allow to keep growing.
Picking Baby Leaves
As I mentioned before, all young mustard greens are not created equal when it comes to use in salads, wraps, or sandwiches.
If you’re not sure which type you’re harvesting, make sure to sample a couple of the baby leaves before cutting a huge swath of them.
You’ll be able to readily judge whether they’ll delight your taste buds for fresh eating, or whether they’d be better cooked.
In general, the best baby leaves are between one and two inches tall for broadleaf types, between one and four inches for mizuna, and from two to three inches tall for the crispier tatsoi varieties.
You can harvest part of the plant as baby leaves, and let the rest keep growing until it’s full size.
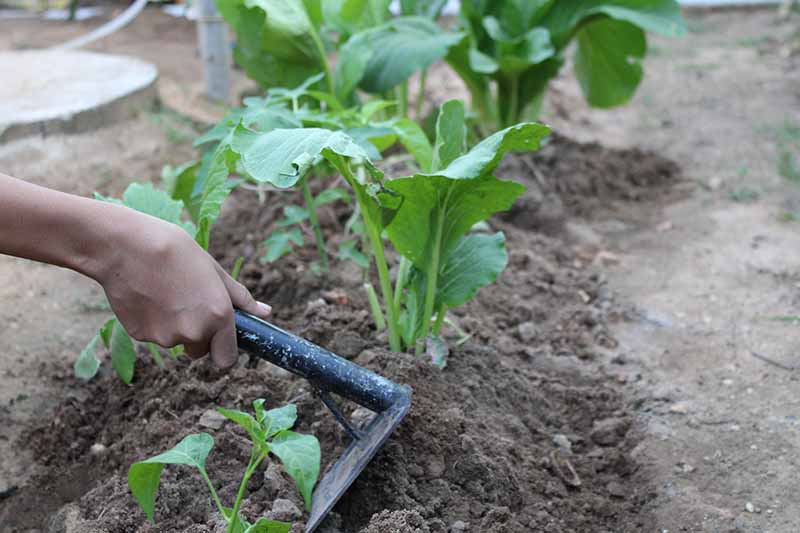
If that’s your goal, use sterile scissors or a paring knife to clip or slice the outer leaves about a half-inch from the soil.
Or, you can cut the entire plant about an inch from the crown. The core may grow a new set of leaves for you, but don’t expect them to be as lush and full as the first round.
Tips for Broadleaf Varieties
The big-leaf types of mustard always remind me of dinosaur food… Rawr! But the picking process for them is actually pretty ordinary.
Pick these leaves the same way you would the more petite types like tatsoi, using scissors or a knife to sever them from the crown about half an inch from the bottom.
They, too, can be cut a few leaves at a time, or all at once. Stick with just the outer leaves, or cut entire plants back to the crown if you’re prepared to wait for new leaves to emerge.
But there are a couple of key considerations to keep in mind for the bigger leaves.
For one, you should time the harvest so a bunch of them reach maturity at the same time. Unlike the more tender types, these benefit from slow simmering. And even a few servings cooked as a side dish or pot of greens requires eight 10 cups from a given harvest.
The same goes for freezing them, which is a wonderful way to keep a supply of healthy vegetables at the ready throughout the winter months.
The process of blanching them isn’t tough, but once you have that huge vat of boiling water going and the freezer containers lined up, you’ll want to process as many leafy greens as you can in one go.
Identify a potential window for harvest, and set aside time to freeze some blanched or stewed greens at the same time.
Also, remember that they’re suitable for a fall harvest, but they germinate and grow more slowly in cooler soil. Be sure to factor in extra time for the autumn harvest.
And keep an eye on them! If a warm spell arrives in autumn, they might take off.
To learn more about storing and cooking with different varieties, including directions for making sumptuous Southern-style greens with a broadleaf bounty, see our mustard growing guide.
Ways to Extend the Harvest
Do you feel like you can never get enough leafy greens for fresh eating, cooking, or preserving?
You’re in luck if you’re growing mizuna, tatsoi, ‘Amara,’ or any other type of mustard. Not only are these plants ready to be picked within weeks of sowing, there are numerous ways to extend the harvest.
The first is my favorite:
Instead of messing around with cutting at the crown and hoping it will grow back, successively plant more mustard seeds every couple of weeks during the optimal sowing window.
This assures that you will have plenty of fresh produce, but never too much to cope with at one time.
If you live in a region where summer arrives early, you can pick more mustard before it gets too bitter and tough by starting seeds indoors.
Transplanting them outdoors in early spring gives you a longer period of cool weather for growing.
Another way to ensure that you can keep picking this cool-season crop for longer going into the warm months is by planting it somewhere that you can shade the seedlings and growing leaves when it gets too hot.
It’s also a good idea to heavily mulch varieties grown in late autumn or late spring, to help them retain moisture, and also warm or cool the soil as needed.
And you can have more mustard practically on demand (well, within 15 or 20 days) when you grow it indoors as a microgreen.
That’s my strategy for maintaining a bit o’ peppery green in the hottest part of summer, and the coldest days of winter.
Harvest Mustard Greens for Many Moons
The extensive options for harvest are just one of the joys of growing these veggies in your garden.
They’re also easy to care for, inexpensive to plant from seed, and delicious in so many dishes.
I could go on, but instead I’ll invite you to share your own tips and questions about picking mustard in the comments section below.
And if this information was valuable to you, check out these mustard green guides next: