When I was a kid, I was adamant that all you had to do was put a pine cone in the ground, and a tree would grow.
Every now and then, videos and social media posts pop up to suggest that you can do just that.
Even so, while it’s theoretically possible, it turns out this is a terrible way to go about propagating pine tree seeds.

We link to vendors to help you find relevant products. If you buy from one of our links, we may earn a commission.
A cone planted in the ground puts the seeds too deep and prevents light from reaching them. But it’s a fun idea. (Don’t tell young me that it wouldn’t work well!)
What does work well is opening up those cones and sowing the seeds you find inside.
It takes some time to grow pines this way, but isn’t this true of everything that’s worth doing? Though it’s a slow process, it isn’t difficult.
If you’re new to growing pines, see our guide for more information.
While this article won’t teach you how to toss a pine cone directly into the ground to grow a new tree, we will teach you how to find the seeds, stratify them, and sow them.
Here’s what we’ll go over:
Propagating Pine Trees from Seed
You need two key things when propagating pine seeds: The first is knowledge of how to determine when the cones are ready, and the second is patience.
If you have a good amount of the second one already, we’ll help you with the first.
Harvesting Pine Seeds
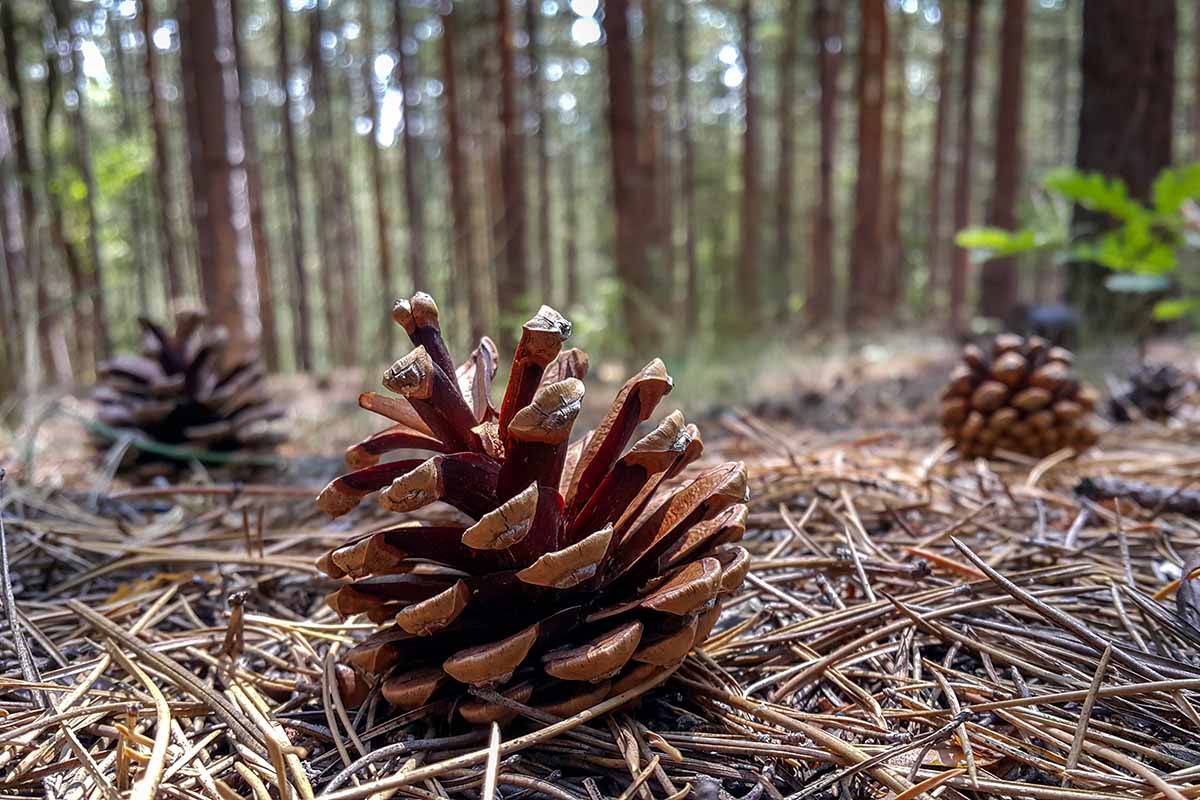
To harvest pine seeds for planting, you need to find cones of the appropriate age. Look for brown or tan cones that are closed.
Mature cones will stick around on the tree for up to a decade, though most stay on the trees for two to three years.
Remember that some cones are serotinous. They’ll be sealed tightly shut. Not all cones on the same tree will necessarily be serotinous, though.
Depending on the environment the tree is growing in, all of the cones could be serotinous, some might be, or none will be.
Look for a tree that has lots and lots of cones. These tend to be the most likely to have viable seeds.
Avoid cones that are already open, since they’re probably empty, and their reproductive bits have probably already been scattered to the wind.
Place the cones in a paper bag or cardboard box and put them in a warm, well-ventilated place.
Leave them there for a few weeks, giving them a shake every few days. The cones will dry out and open up.
Any that don’t open can be tossed in the oven on a cookie sheet at the lowest setting until they do open.
Cones might release their seeds, or they might retain them. Look for fallen material in the container or on the baking sheet.
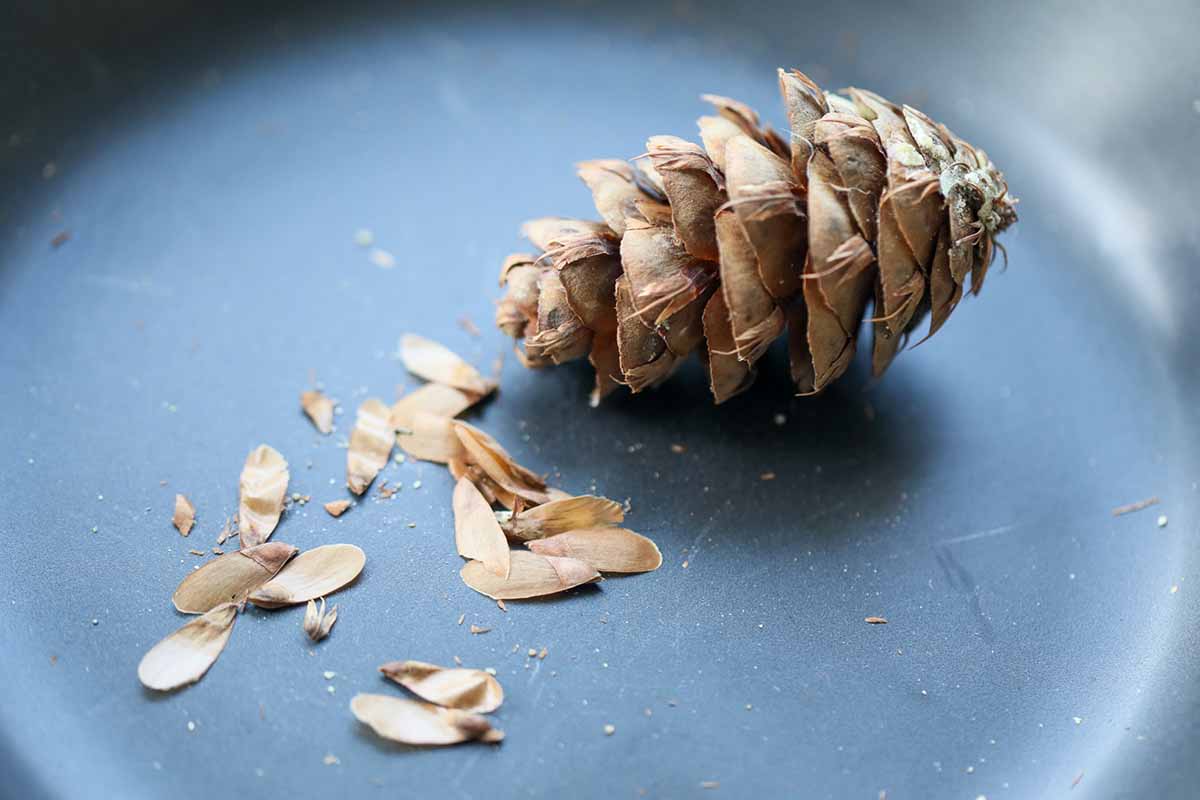
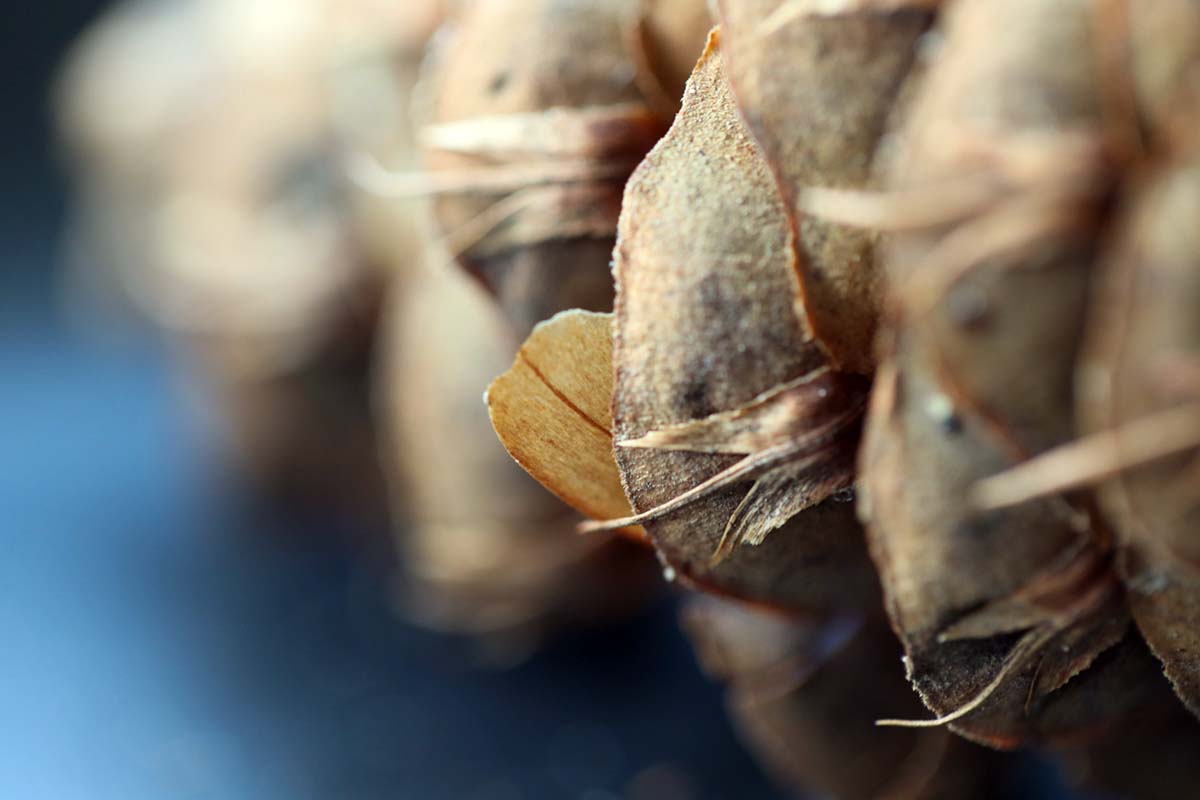
Most seeds are small, with a thin wing attached. Some are larger, like the edible ones we get from stone (P. pinea) and pinyon pines (P. subsect. cembroides).
If you don’t see any, pry a scale out and look at the bottom. The seed might be sitting there. Pluck the seeds out with some tweezers.
Place the seeds in a bowl of water and wait a few minutes to see if they sink or float. Those that float should be discarded.
Stratifying
Once you’ve harvested the seeds, place them in moist sand in a resealable plastic baggie and stick them in the refrigerator for two to three months.
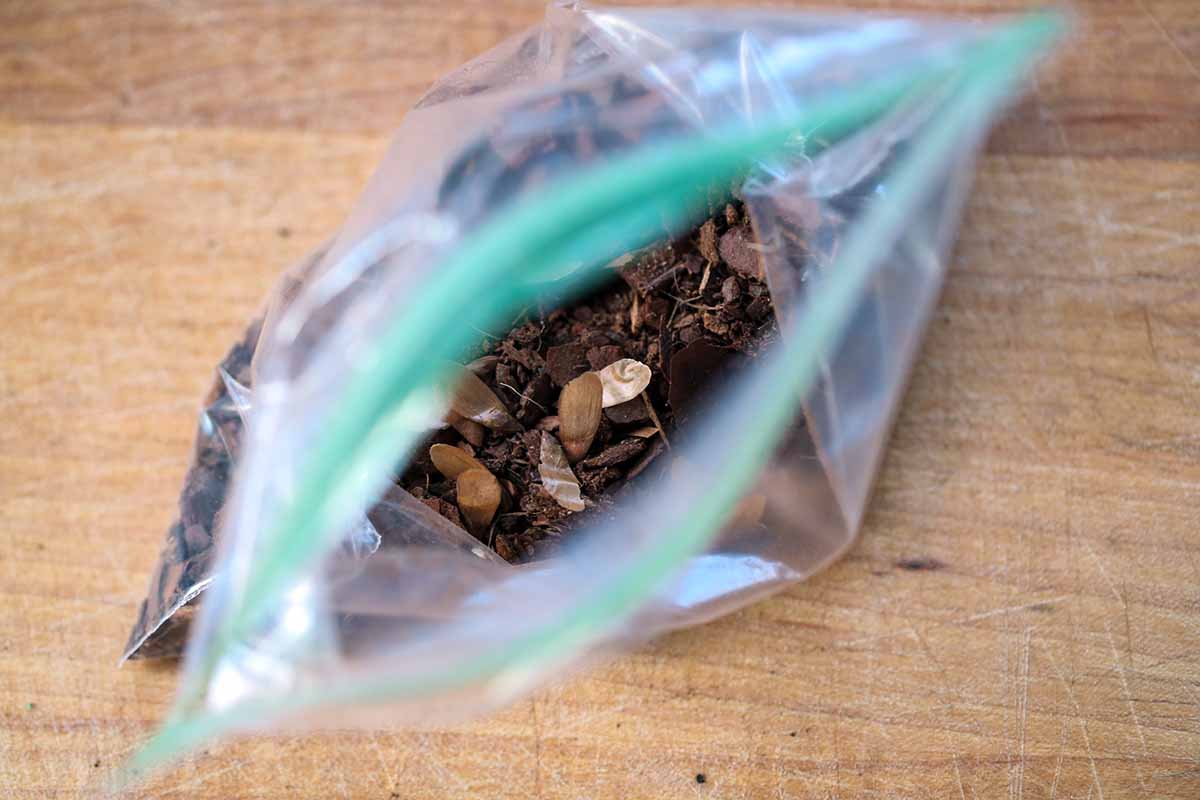
Check the bag frequently to see if the sand is drying out or if any of the seeds start germinating.
If they do, plant them right away in pots inside if the weather isn’t right, or directly outside if it is.
We’ll talk about suitable conditions in just a second. If the sand is a bit dry, add some water until it feels moist but not wet.
Ponderosa (P. ponderosa), Austrian (P. nigra), and Jack pines (P. banksiana) can be stratified for a month or two. Scotch (P. sylvestris) and white pines (P. strobus) need the full two or three months.
If you aren’t sure what pine species you’re dealing with, go for three months and keep a close eye out to see if anything starts germinating.
Sowing
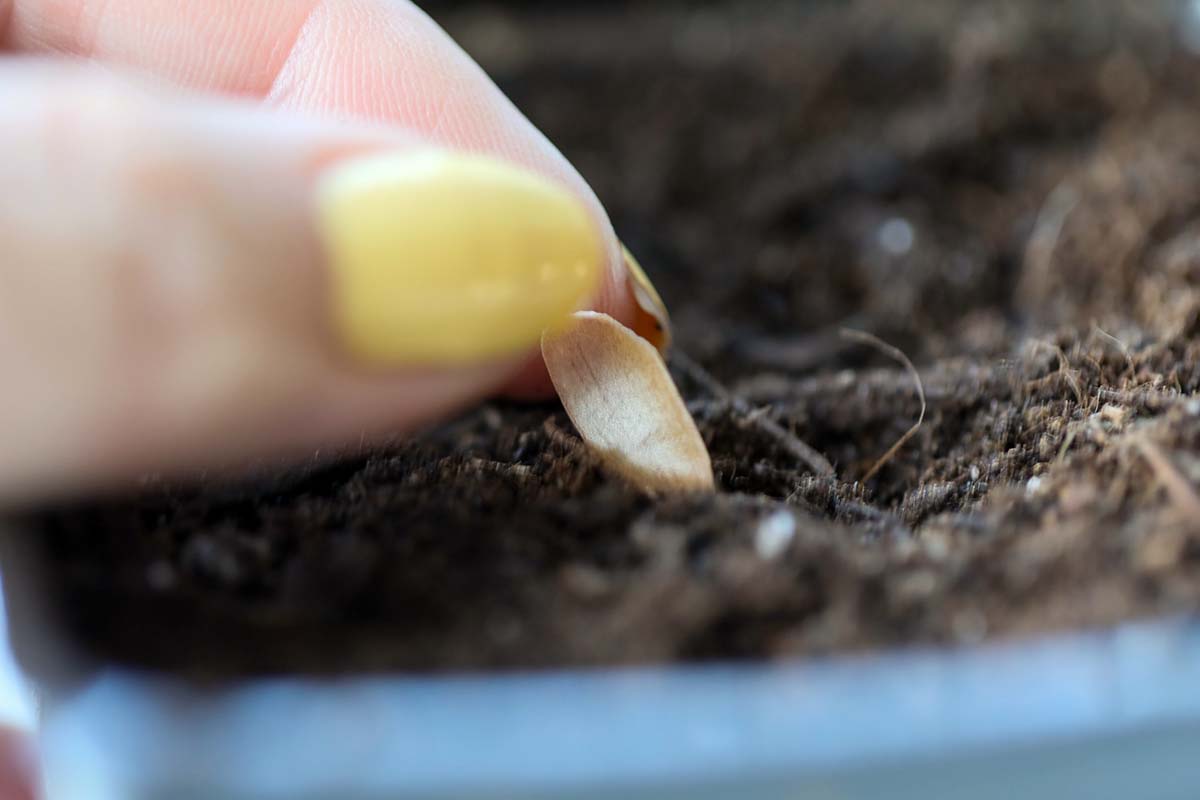
After the necessary amount of time has passed, fill a few six-inch growing pots with a moistened seed-starting medium. Trees planted indoors can be started at any time of year.
Place two seeds per pot a quarter-inch deep, but no deeper. If you must, err on the side of placing them too shallowly.
Place the pots under grow lights or next to a window where they will receive at least eight hours of direct sun or supplemental light per day.
If it’s winter in your region, you might want to use a heat mat, or at least place the pots away from a chilly window. The soil should stay at about 60°F.
Keep the soil moist but not wet.
When the plant is six inches tall, which can take up to a year, harden it off and grow it outdoors until you’re ready to transplant.
Harden off seedlings only when the weather is above freezing. Wait for a day with temperatures consistently above 32°F and take the pot outside. Let it sit in the sun for about an hour, then take the plant back indoors.
Throughout the next week, add another hour each day. At that point, the plant can be left outside full time.
You can also sow the seeds directly outdoors in prepared soil in full sun. This should be done in the spring after the last predicted frost date. The soil should be loose and well-draining.
Most of us, whether we have slightly sandy or clay soil, can use a bit of well-rotted compost or manure to loosen up the soil and improve drainage.
Plant several seeds in each area where you want a tree, or plant multiple spaced a foot apart with the plan to transplant them as the seedlings mature.
Keep the soil moist.
Damping off is a common issue with pine seedlings, so you might want to take a proactive approach rather than waiting for this disease to cause problems.
Soak the soil after sowing using a product that contains the beneficial bacterium Streptomyces strain K61, like Mycostop.

Arbico Organics carries this multipurpose fungicide in five- or 25-gram packets.
Transplant the Seedlings
The best time to plant pines is during the dormant season, which typically runs from November through March.
If you can’t work the ground in your area during this timeframe, don’t worry.
So long as it isn’t the dead heat of summer, the plants will be fine. Just transplant as soon as you can work the ground.
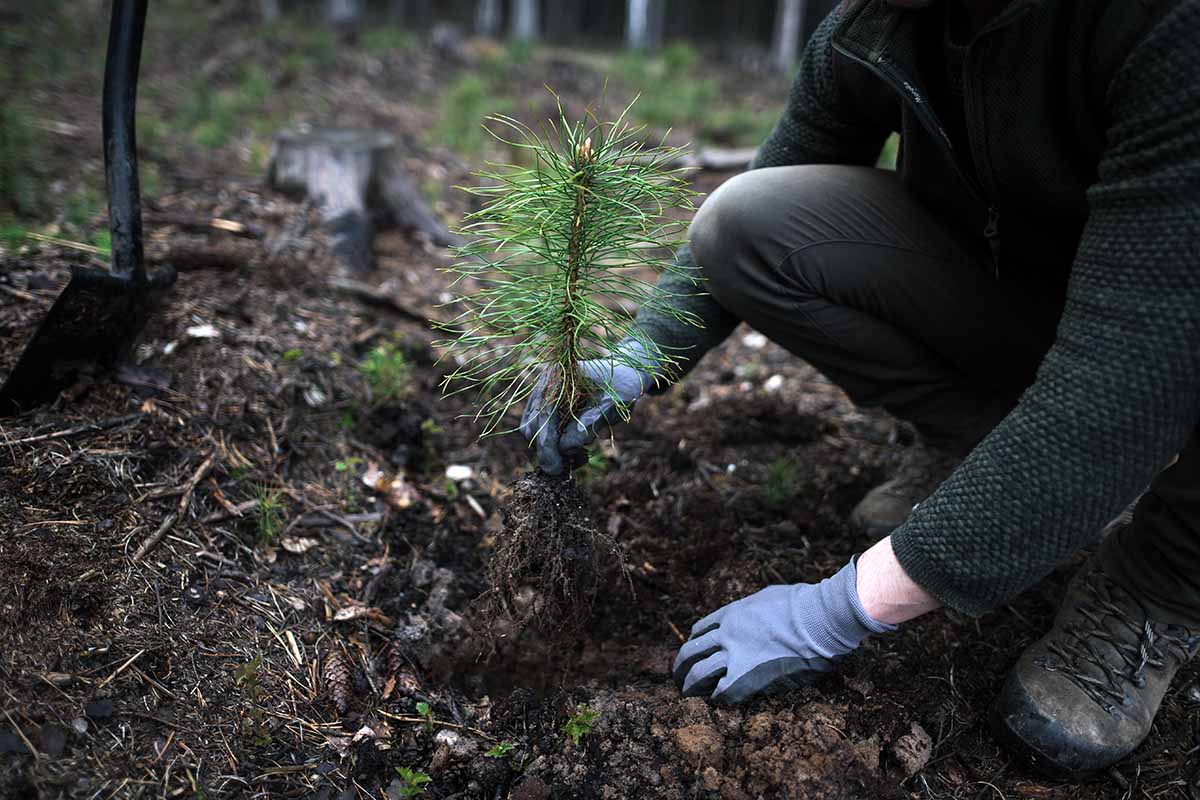
Locate the spot where you want your new tree to grow and dig a hole twice as wide and deep as your growing container.
Mix well-rotted compost with the soil that you removed and fill the hole halfway back in.
Remove the plant from the pot and place it in the hole. Making extra sure the tree is straight, fill in around it with the removed soil. Water well, and if the soil settles, add a bit more to fill it in.
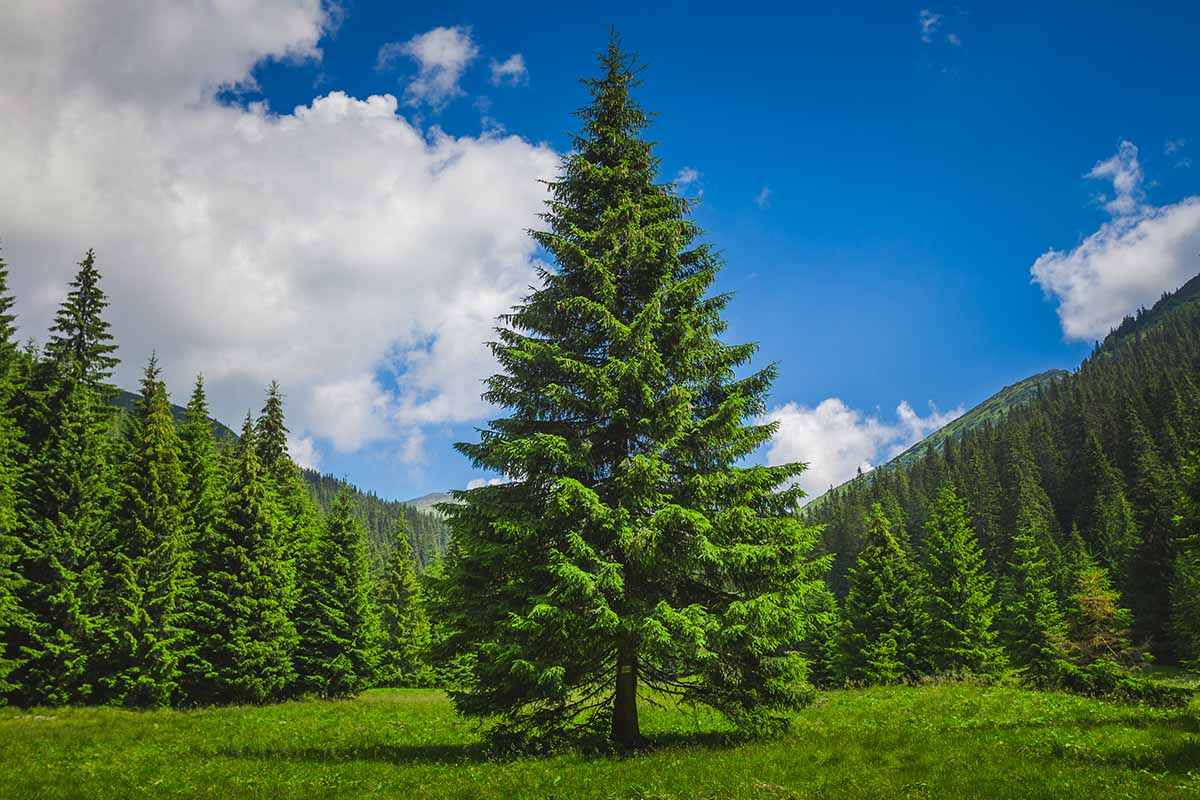
You Can Never Have Too Many Pines
There is something a little mystifying to me about plants that don’t have a traditional flower that produces seeds.
It’s plain as day how a sunflower goes from a summer blossom to a fall seed head because I can see it happening.
But once I understood that a pine cone isn’t all that much different from a flower, it made the whole process much less intimidating.
After I successfully turned a pine cone I found on a neighbor’s property into a towering tree, growing pines didn’t scare me anymore.
I hope this guide did the same for you and helped you feel more confident in the process. If you run into any problems, hit us up in the comments, and we can help walk you through some solutions.
Looking to grow a few other landscape trees in your yard? We have some other guides that might be of interest:
Thanks for the article. But when you say “Those that sink should be discarded”, isn’t it the opposite?
I agree – the floaters are not viable.
Thanks for catching this C L – we’ve updated the article to fix this error.