
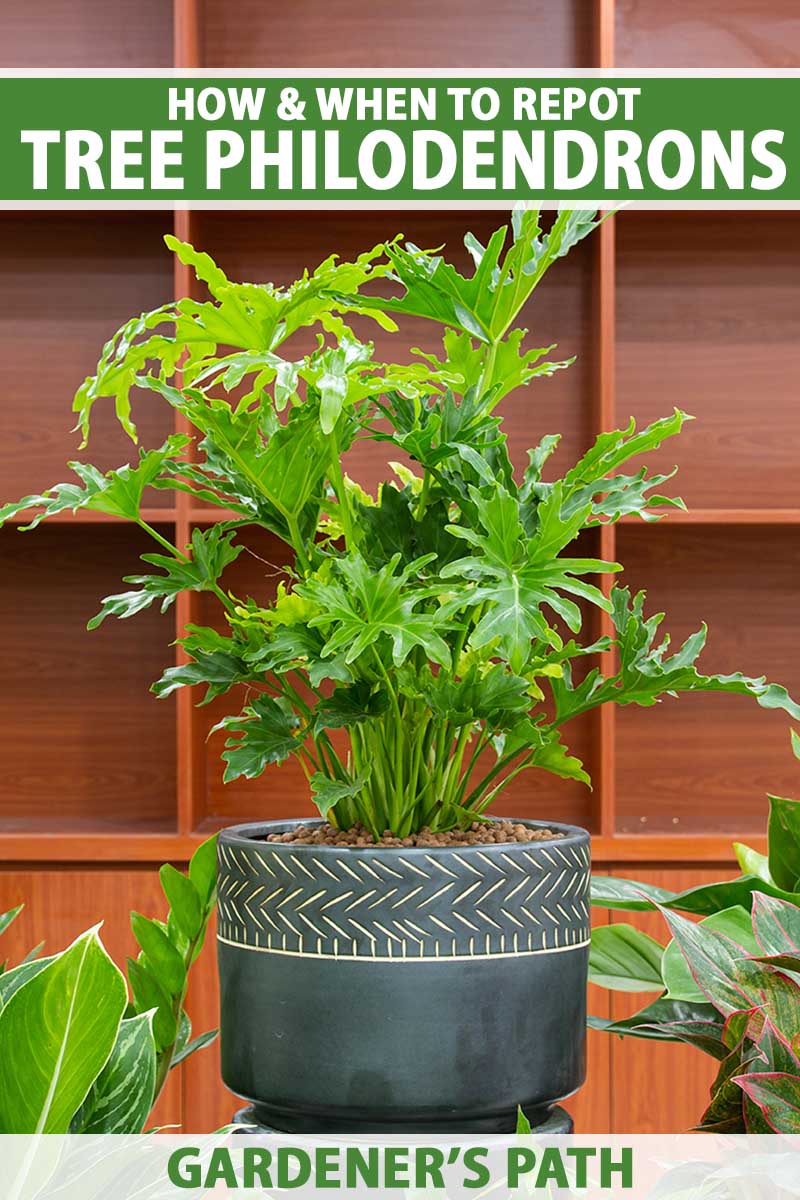
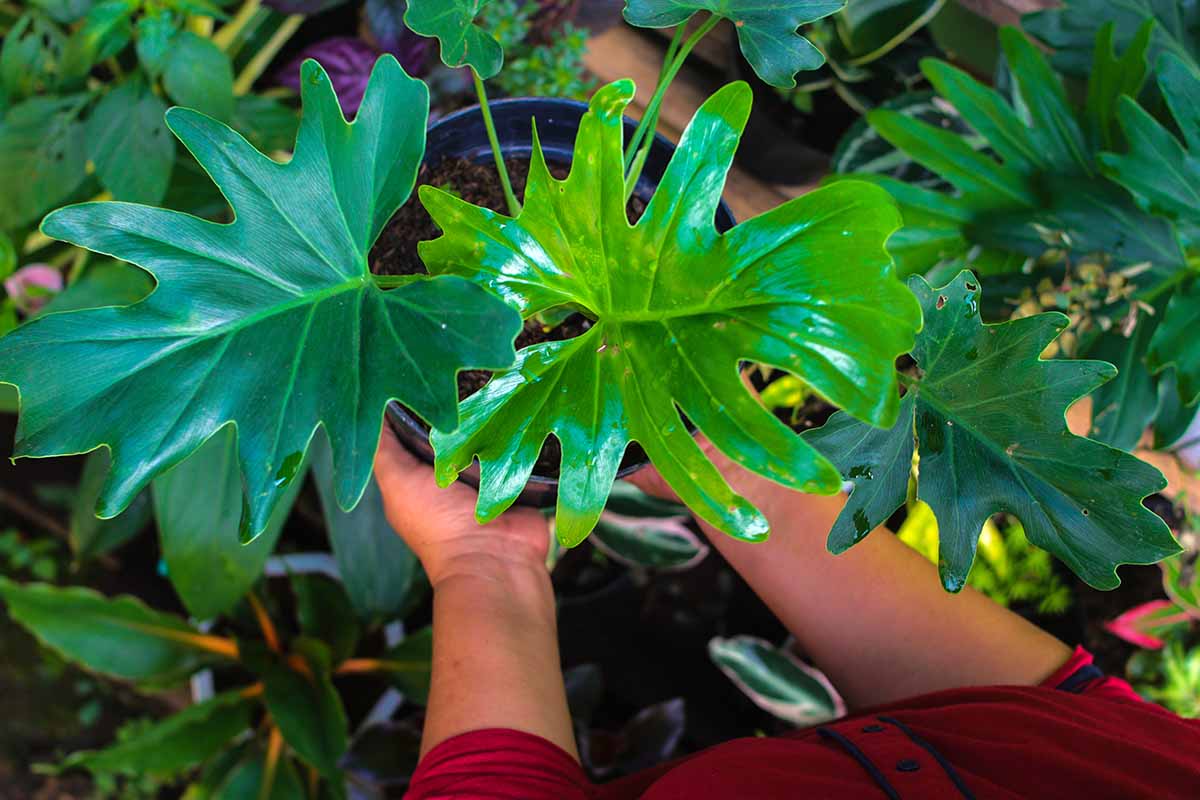
On a long-overdue visit to New Orleans, I spotted multitudes of tree philodendrons (Thaumatophyllum bipinnatifidum) thriving in protected areas of ordinary gardens, producing oversize, deeply lobed, heart-shaped leaves on five- or six-foot plants seemingly effortlessly.
Those who grow tree philodendrons indoors as houseplants don’t have this carefree option.
If you want yours to keep growing bigger, you’ll need to repot it when it gets too large for its container, usually every two years or so.
But first, it’s important to note that some indoor gardeners may not want to give their tree philodendrons more room to grow.
If you’re happy with the size of your plant already, you can keep it from growing bigger by trimming its roots and repotting in its existing container.
We link to vendors to help you find relevant products. If you buy from one of our links, we may earn a commission.
I’m going to share key transplanting tips in this guide, and I’ll also help you to determine if one of these impressive foliage houseplants needs more root space.
Here’s what I’ll cover:
What You’ll Learn
When to Repot Your Tree Philodendron
Determining when a tree philodendron needs repotting is fairly straightforward.
Note how much time has passed since you brought the potted plant home or transplanted it last. A healthy plant will typically need a bigger container – or a root trim – every 18 months to two years.
But it’s not quite as simple as scheduling the move ahead of time and marking it on the calendar. These plants may grow at different rates depending on how healthy they are and whether you move them outdoors in the summer, which usually encourages a growth spurt.
You may also be able to buy more time if you wish by digging up any offsets (aka pups, free plants to grow or share!) that have sprouted in the pot, roots and all. Place them in their own pots to provide the parent plant with a bit more space in its current container.
If your plant’s soil seems to be drying up so quickly that you’re hard pressed to keep it well-watered, that could also be an indicator that the roots have gotten so compact they’re not drawing up enough water.
Check the drainage holes and see if you can spot tightly woven roots near the bottom of the pot or protruding from the holes. While T. bipinnatifidum prefers being slightly rootbound, it can’t sustain compacted roots indefinitely.
Once you’ve decided repotting is in order, you have two options:
If you want to allow your tree philodendron to grow ever-taller, you can transplant it into a larger pot.
Or, to prevent your plant growing too large for your home, you can choose to trim the roots by one-third to restrict its growth, and repot your plant into its existing container.
Transplanting Tips
Repotting your plant is best done in the spring or summer, when the plant is actively growing.
Before you get started, you’ll need to create a transition plan.
While it’s tempting to knock out transplanting as soon as you notice your plant needs new digs, it will respond better when you follow these tips:
1. Leach Excess Salt
Fertilizer applications can lead to salt buildup in the soil, and this is not uncommon for larger, more mature houseplants. This can damage the roots and impair the health of your houseplant.
I recommend leaching the excess salt once every four to six months, but if you haven’t done it lately, this is a good time to do so, to avoid transferring any salty soil to the new pot.
At least a few hours ahead of transplanting, flush the salts by giving the plant a deep watering until the water starts coming out of the drainage holes at the bottom. Allow the excess to drain completely, discard, and then repeat this process twice.
2. Pick the Right Pot
If you’re going up a size, you’ll need a replacement container that has drainage holes. Avoid the ones with attached or built-in drainage saucers, since T. bipinnatifidum should never sit in standing water.
But do make sure you have a saucer that fits beneath the container to catch any water that drains out. You’ll want one that is easy to slip out when you need to discard the excess.
The next most important consideration is making sure your new pot is not too much larger than the current one.
It should be about two inches wider in diameter than what your plant is growing in now. Any bigger than that and the excess soil around the roots may increase the odds of the soil becoming waterlogged and drowning the roots.
Select a pot made of a material that retains water instead of unglazed terra cotta, particularly if the plant will spend part of the year outdoors in warm weather.
You can plant in a clay pot that dries out quickly, but you’ll spend an awful lot of time trying to keep up with the watering in hotter locations.
Also, especially if your tree philodendron is approaching its upper indoor range of four or five feet tall, you might want to pick a new pot made of a lightweight material like plastic, so it will be a bit easier to move when it’s full of growing medium and a big ol’ tree philodendron.
But note that lightweight containers may also be prone to tipping.
Rio Grande round fiberglass planters from Jay Scotts are one suitable option for more mature plants, providing extra stability.

Rio Grande Round Fiberglass Planters
These planters come in 18-, 22-, and 31-inch diameters and they weigh 12, 16, and 31 pounds respectively, making them difficult to topple.
They’re available in 21 custom colors from ePlanters.com. Specify that you would like a version that has drainage holes when you select your color and pot size.
Moving up a size also means this may be the time to provide a rolling platform to hold both pot and saucer. Being able to easily wheel the ever-growing plant outside and back in, or so each side can catch enough light, is invaluable.
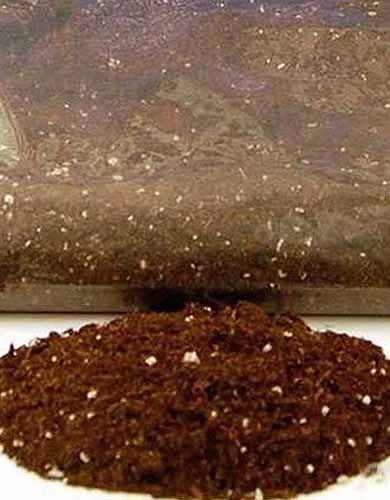
3. Select a Good Growing Mix
Use a suitable growing mix for transplanting. The plant still needs the same good drainage that it’s accustomed to from the new medium, so resist the urge to add garden dirt or whatever you have lying around in bags in the shed or garage.
The ideal is a light, fertile mix. I suggest combining potting soil, peat moss or coconut coir, and perlite in equal proportions.
Handy Pantry OMRI Potting Soil Mix
One option that will work well as a component of a homemade medium is Handy Pantry OMRI Potting Soil Mix, which doesn’t contain any animal byproducts. It’s available from True Leaf Market in eight-quart bags.
4. Remove and Repot
Once you’ve assembled all the materials you’ll need for a seamless transition, it’s time to repot!
Consider asking a friend to help out on moving day. These can be big houseplants, and you might need an extra hand or two to work yours out of its current container and ease it into a new one without breaking the leaves or getting potting soil everywhere.
Work on a flat surface. If it’s warm out, consider placing a tarp on the ground. If you’re working indoors, cover a table with clean towels or newspapers.
Be sure to clip any dead leaves or unsightly aerial roots ahead of time.
Then remove the plant from its container by gently placing it on its side, grasping the center stalk where it meets the soil, and slowly easing it from the pot.
It should come out all in one piece. Use your fingers to gently disentangle any roots that are growing in a circle, pointing them downward instead. Remove the old potting medium from around the roots.
If you’re trying to limit the size of your plant, now’s the time to give the roots a trim. You can prune up to one-third of the roots at a time.
Using sanitized pruners, remove the largest, oldest roots from directly below the trunk and at the perimeter of the root ball, then trim the smaller roots, until the root ball is reduced by a third.
In the case of a very large specimen, be sure to keep the roots moist as you work using a garden hose or a plant mister, as fine roots can die if they are allowed to dry out.
Place a couple of inches of the growing mix in the bottom of the container, and firm it down. Put the plant in the center of the pot, hold it in place, and backfill with the fresh mix.
If someone else can hold the plant in place while you fill, that’s the easiest option. The idea is to establish the new soil line about an inch below the rim of the planter, with the top of the root ball positioned so it’s even with the soil surface.
All of the roots should be covered with the growing medium except for any aerial roots, which can survive without it.
Firm the mix lightly around the plant with your fingers or palm or tap the pot on a solid surface to help settle the soil.
5. Water and Move Back
Your plant will appreciate a drink of water after the transplant is complete.
Be sure to give it plenty of time to drain, and then discard the excess so the roots aren’t subject to the soggy soil and standing water that can result in root rot.
Afterwards, move the pot back to the same place it occupied in your home.
It’s too tough for even a hardy plant like tree philodendron to adjust to a new pot and a new location at the same time, so try to keep its growing conditions as consistent as you can to avoid transplant shock.
If you’re getting ready to move all of your indoor greenery back inside after a summer outdoors, you’ll still want to move the freshly filled pot to its old space, and gradually acclimate the plant to indoor growing conditions instead of making an abrupt shift to new light, temperature, and humidity levels.
Making Space for a Growth Spurt or Staying Compact
It’s satisfying to expand any houseplant’s growing space, but this is especially true with T. bipinnatifidum. Repotting these impressive specimens may allow them to grow and spread another foot or two, which greatly enhances the lush tropical effect they lend to indoor areas.
However, if you want to keep your plant at a more compact size, a root trim and soil refresh will keep it healthy and happy – without overcrowding your home!
Have you succeeded with repotting your tree philodendron? We’d love to hear about your experience in the comments section below. We also welcome your questions!
If you found this article helpful and want to learn more indoor gardening techniques, read these philodendron houseplant guides next:

Is it time to repot my tree philodendron if the new growth is coming in yellow? Or does this mean something else? It’s by an east-facing window which gets indirect morning light.
Hello, Denise. Do you mean yellow-green leaves? That could just be the new leaves arriving in their typical lighter color. But if they are sickly yellow, it’s more likely that you are overwatering the plant than it needs a new pot. If they’re a new green color, carry on. If they are sick yellow leaves, I’d advise sniffing the bottom of the pot to make sure the tree philodendron doesn’t have root rot, which will smell foul and should be treated by immediately cutting away the diseased portions of the plant and roots, and possibly destroying it entirely since root… Read more »
Lots of helpful information here. It would have been nice to have pictures of the steps for visual learners like me.
Is it possible to propagate without baby plants coming from the main plant? Like with a leaf or part of the ‘trunk’?
I need to repot this poor thing. I’ve had the plant for about 16 years. Before that, my mom had it for quite a few years, which came from her friend as a mature plant. I’m guessing its never been repotted.
I have an extremely old (40 years) extremely large 5 feet at its best split leaf philodendron. It goes out in the spring and in in the winter. A plant sitter overwatered it and now it appears to have root rot on its large trunk. It still seems to be growing and has a big ba y coming out the side closer to the pot. I’m heart broken the trunk close to the ground is soft. It’s about 10 plus inches in circumference. Can it be saved?
I’m so sorry to hear about that, it’s heartbreaking to have problems with such an old plant. If the stem is rotten, there isn’t anything you can do to fix that particular area, but the plant itself may still be fine. If it’s sending out new growth, I’d saturate the soil next time you water with a copper fungicide just to kill any fungi lurking in there. Then, water as normal, since it sounds like you were giving it the right amount prior to the plant sitter watering. You might also want to give the plant some support in case… Read more »