Have you ever wished you could grow a parlor palm tree from seed? Well, you’ve come to the right place. As long as you’ve got plenty of patience, you can!
Many houseplants are difficult, or even impossible, to grow from seed. But – provided you are willing to bring along a healthy dose of patience – this is not so with parlor palms.
In fact, this type of propagation is the chief method of commercial cultivation as well.
We link to vendors to help you find relevant products. If you buy from one of our links, we may earn a commission.
I’m going to guide you through the entire process. Here’s a sneak peek at the steps involved in this project:
Propagating Parlor Palm from Seed
Before we get started, if you’d like to learn more about caring for these tropical houseplants, be sure to read our complete guide to growing parlor palms.
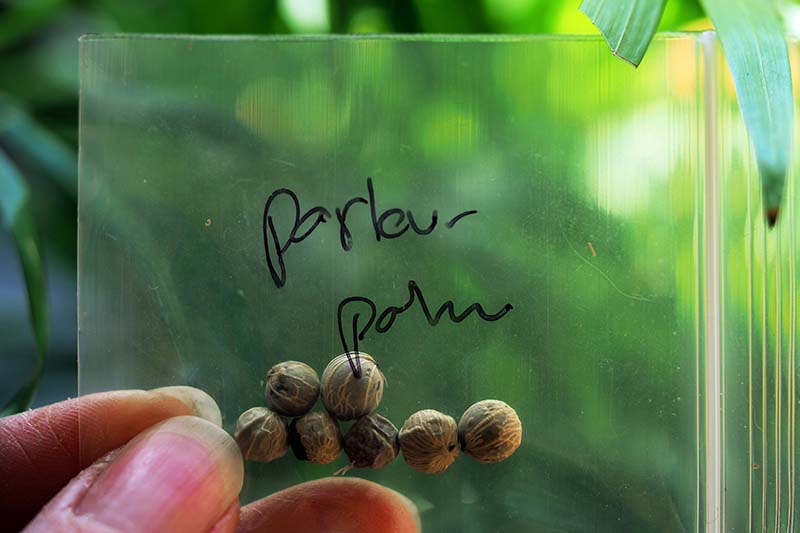
1. Obtain Seeds
When you decide to propagate these tropical trees, you have two options for obtaining seeds.
The first option is to purchase a packet from a reputable grower.
However, finding parlor palm seeds for purchase can be tricky for the home gardener.
When seeking to purchase parlor palm seeds, look for vendors located in areas where these trees can flourish outdoors year round, such in USDA Hardiness Zones 10b to 11, where they will be more likely to produce fruit.
Purchase only fresh seeds, since viability decreases quickly after the fruits are harvested.
It’s also a good idea to order more than you think you’ll need.
One reason for this is that all of the seeds may not be viable – the percentage of viability depends in large part on how recently they were harvested.
Another reason to order extras is that this tree grows naturally from a single, unbranched trunk.
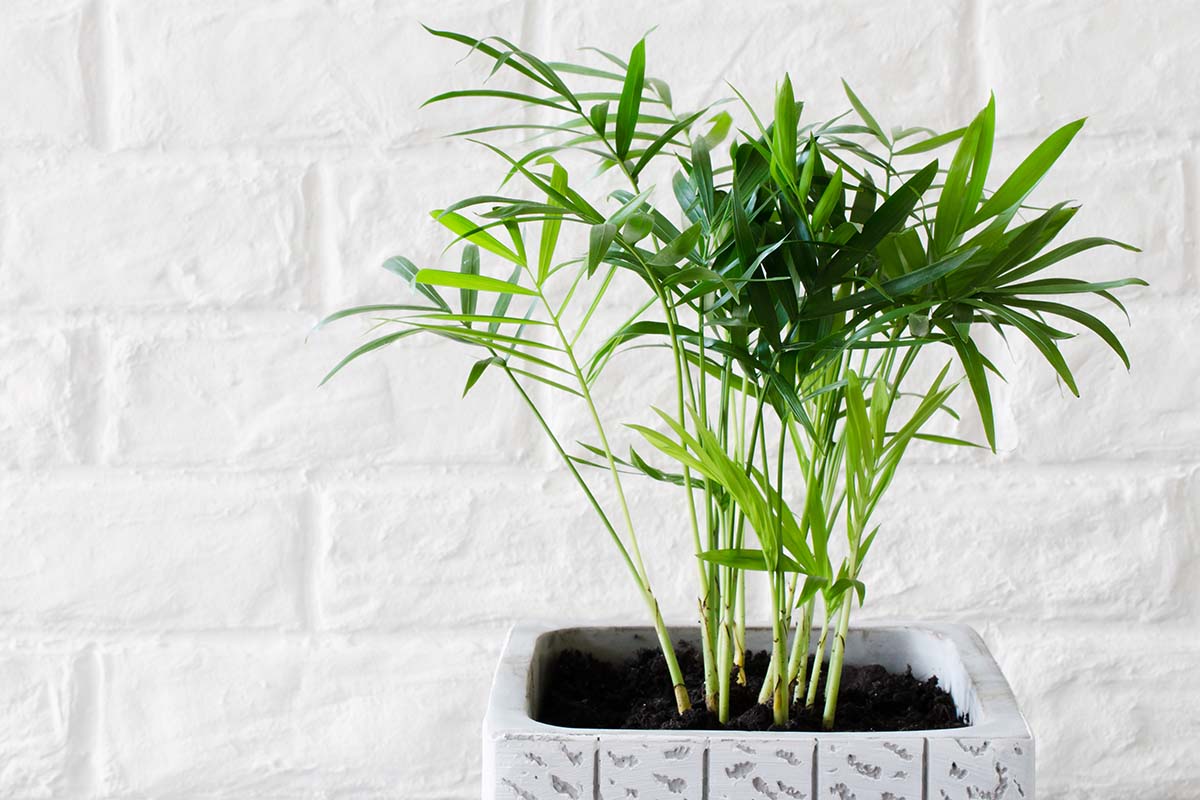
To give these houseplants the full, lush appearance they usually have when sourced from nurseries, several trees should be grown together in one pot, as you might with Norfolk Island pine propagation.
Essentially, if you want to produce a houseplant with a full appearance, you’ll be planting a clump of trees in one pot instead of just a single tree.
Another option for obtaining the fruits of these trees is the DIY method – grow your own!
If you go this route, be aware that male and female flowers are produced on separate plants. If your specimen includes a clump of palms rather than an individual tree, chances are you may already have both male and female plants.
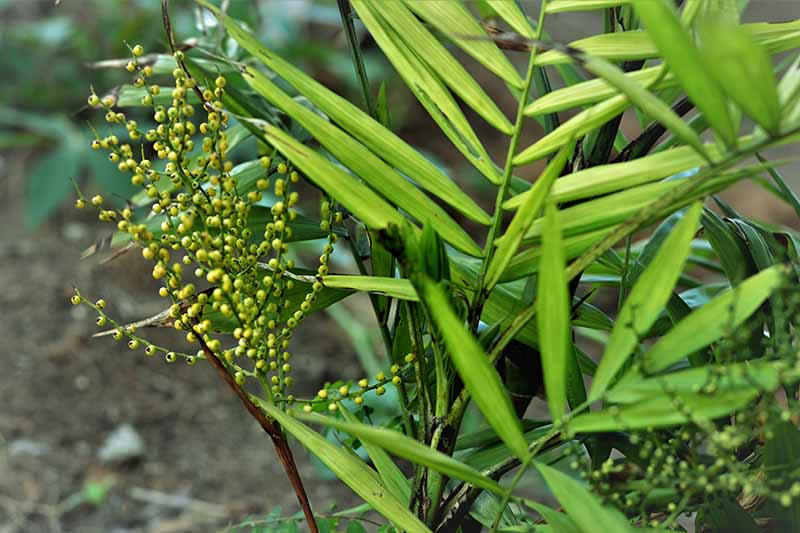
Hoping to use the DIY method for propagating new specimens? After your plant flowers, be on the lookout for the formation of fruits. These will be black, and when fully ripe, they will start to drop from the stalk. Once the fruit starts to drop, it’s time to harvest.
Although some indoor parlor palms may occasionally produce fruit, to encourage flower and fruit production, you should try to offer your mature houseplant some outdoor time when the weather permits.
2. Gather Supplies
Before you get started with this project, go ahead and gather up your supplies.
Here’s what you’ll need:
- a small bowl for soaking
- growing medium
- a resealable plastic bag to be used as a “germination pouch”
- a spray bottle
- a heat mat (unless you have a consistently warm spot available)
- four-inch plastic nursery pots (with drainage holes)
You can achieve germination in a number of different growing mediums, such as coco coir or sand, but it’s just as easy to use a premixed growing medium designed for propagation.
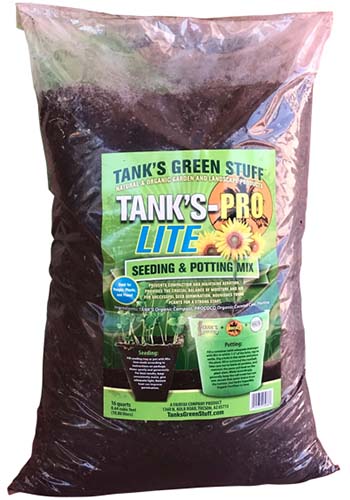
Tank’s Pro-Lite Seeding and Potting Mix
I like Tank’s Pro-Lite Seeding and Potting Mix, which is peat-free. It’s available in a 16-quart bag from Arbico Organics.
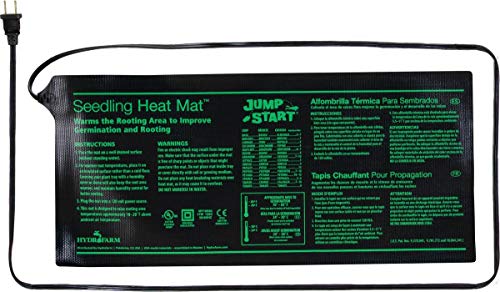
As for providing a warm location, I prefer to use the Jump Start heat mat. It comes in various sizes so you can choose just the right one for your project – and it’s available from the Hydrofarm Store via Amazon.
Finally, you may also want to rummage up a pair of kitchen gloves before you get started, particularly if you are dealing with fruits that still have their fleshy covering attached, since these can contain irritating calcium oxalate crystals.
3. Soak
These seeds require moist stratification in order to germinate.
But first, if the fleshy fruit layer of your seeds is still intact, remove it by placing the fruits in a bowl of water and rubbing the fleshy layer away – with your protective gloves on, of course.
Once the fleshy fruit is gone, you’re ready to start soaking.
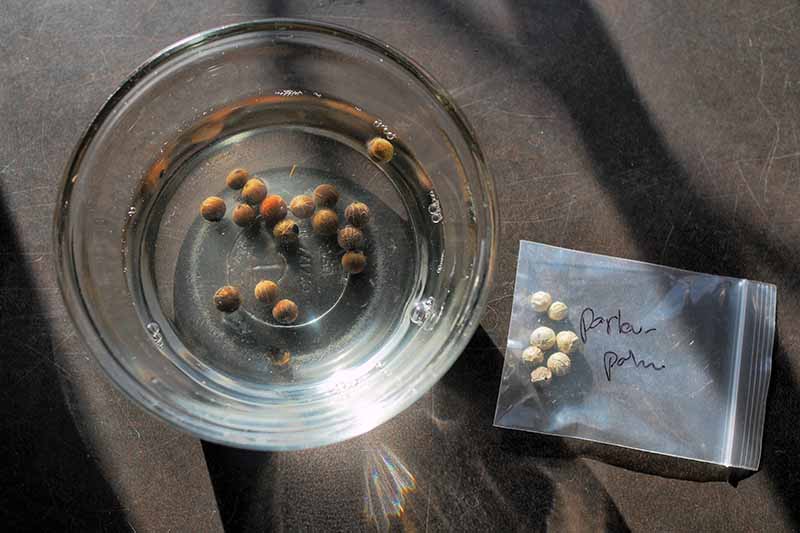
Place the seeds in a small jar or container, cover them with warm water, and put the container in a warm spot, such as on a heat mat, near a radiator, or on top of some other source of warmth.
Timothy K. Broschat and Alan W. Meerow at the University of Florida Institute of Food and Agriculture Extension recommend soaking palm seeds for one to seven days, and changing the water each day.
You’ll notice that while they’re soaking the seed coats will begin to crack, and beneath the coat they will start to green up a bit.
It’s up to you to decide how long to soak them – if you plan for a single day of soaking and then you get distracted – while enjoying World Naked Gardening Day, for instance – all will not be lost.
You can continue with your propagation project as long as you spot cracking and a green color, and haven’t let them soak for too long beyond the recommended range!
4. Germinate
Rather than sowing the seeds directly into pots after soaking them, I recommend germinating them in a resealable plastic bag first. Let’s call this bag a germination pouch.
Since only a certain percentage of your seeds will sprout, this will allow you to plant only the viable ones rather than ending up with pots full of duds.
Also, since these can be very slow to sprout, this method will require the least amount of necessary maintenance while you await germination.
Another added bonus is that you will be able to view the sprouts growing through the transparent bag.
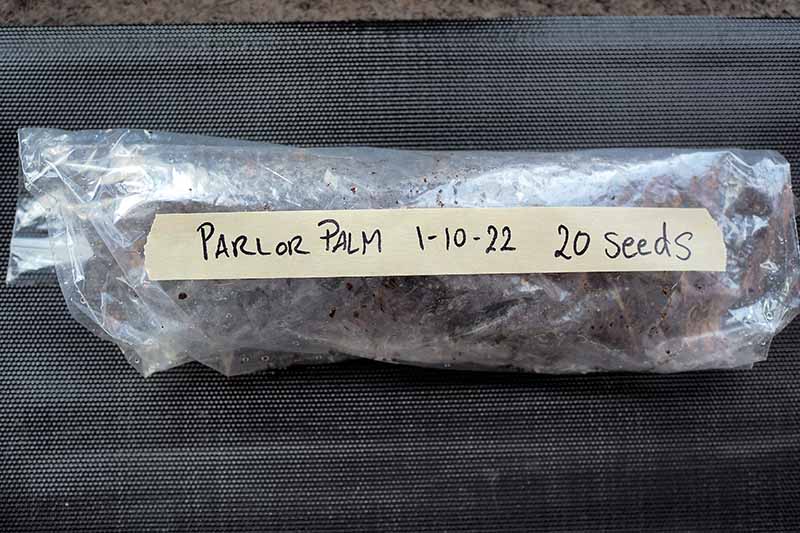
First, make a note of the total number of seeds you are trying to germinate. Write this number as well as the date on the outside of your bag.
It’s also a good idea to label the bag with the name of the plant you are propagating, “parlor palm,” in case you have multiple propagation projects going on – or a housemate that’s zealous about cleaning who might confuse your germination pouch for trash!
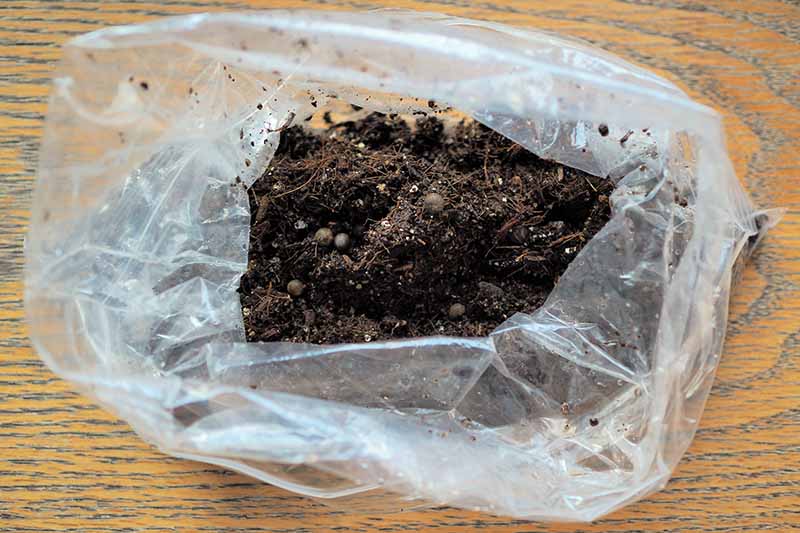
Take a clean, resealable plastic bag and fill it a quarter to a third of the way full with growing medium. This does not have to be an exact science – add more of the medium if you’re growing more seeds, and less medium for fewer.
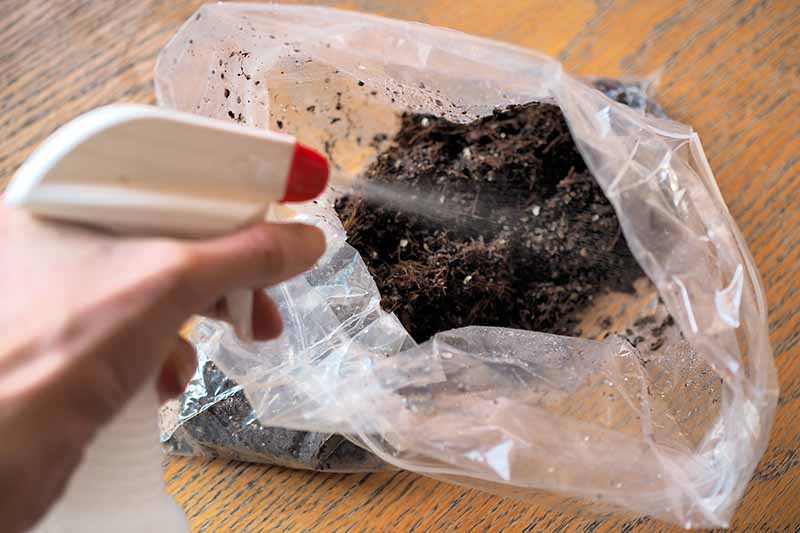
Dampen the growing medium with your spray bottle. Next, add your seeds. Mix them in so they are well distributed throughout the growing medium.
Seal the plastic bag to prevent the contents from spilling, and place it in a warm location – either on your heat mat, or near a radiator.
You’ll get the fastest germination rates at temperatures ranging between 80 and 90°F.
Keep the growing medium moist during the germination phase. Moistening the growing medium with a spray bottle will allow you to add moisture while preventing the mixture from getting too soggy.
No light is needed for germination so there’s no need to worry about light for the moment.
This is where you’ll get to test your patience – it may take your sprouts two to five months to germinate.
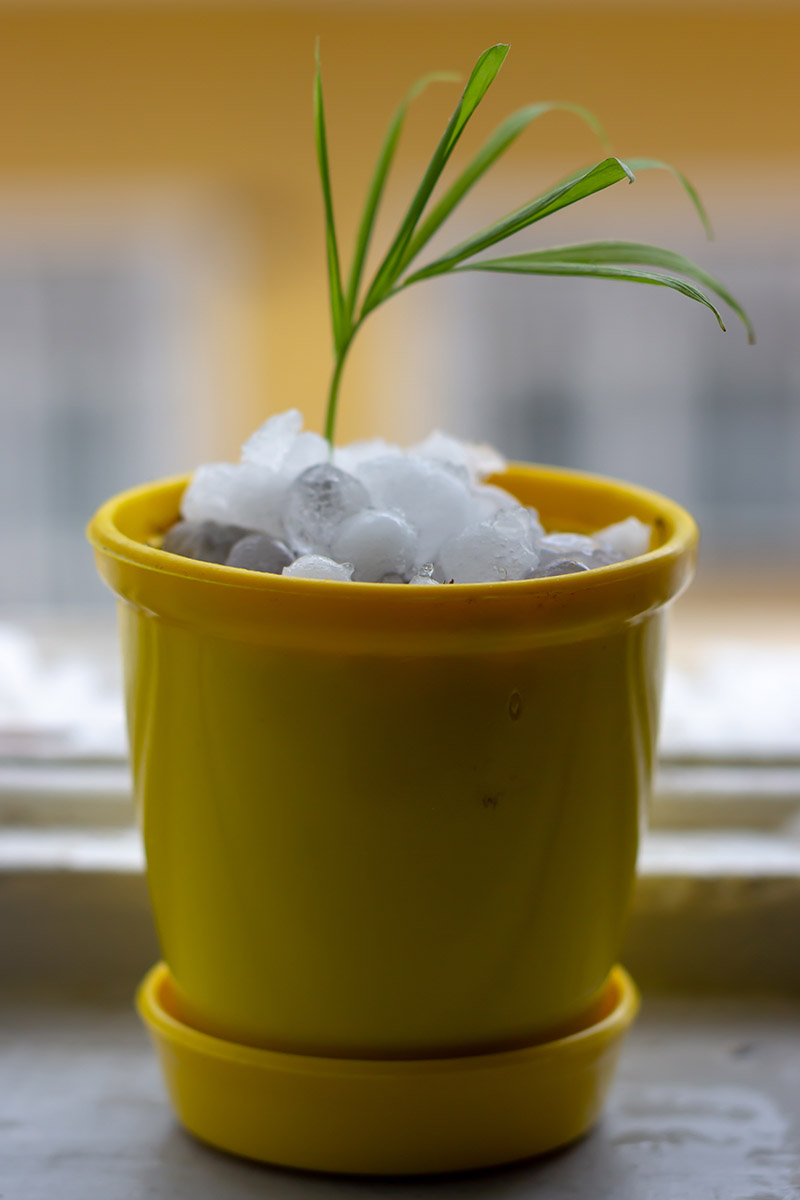
5. Pot Up Your Palm Saplings
Once at least a quarter of the seeds germinate, remove those from their germination pouch and pot them up in four-inch containers. You will be able to see both roots and stems emerging from each one.
Fill your four-inch pots with growing medium, leaving an inch of space between the top of the soil and the rim of the pot.
Poke holes in the soil and gently insert the roots into the soil, then cover with just enough growing medium to cover the seed and roots.
If you want to grow just one individual plant per pot, center it. If you’re going for a fuller look, you can follow the practices of commercial growers and plant your sprouts as densely as you like within the pot.
Choose a location with medium or bright, indirect light for your parlor palm baby nursery, and continue to provide bottom warmth from a heat mat or other heat source – ideally, the soil should be kept at about 80°F.
At this young stage, continue watering with a spray bottle to prevent your trees from growing in waterlogged soil. Keep the soil moist but not soggy.
Once the young trees develop a couple of leaves, start to wean them from their warm conditions until they are living comfortably at room temperature.
At this point, you can also start to water them normally with a houseplant-adapted watering can.
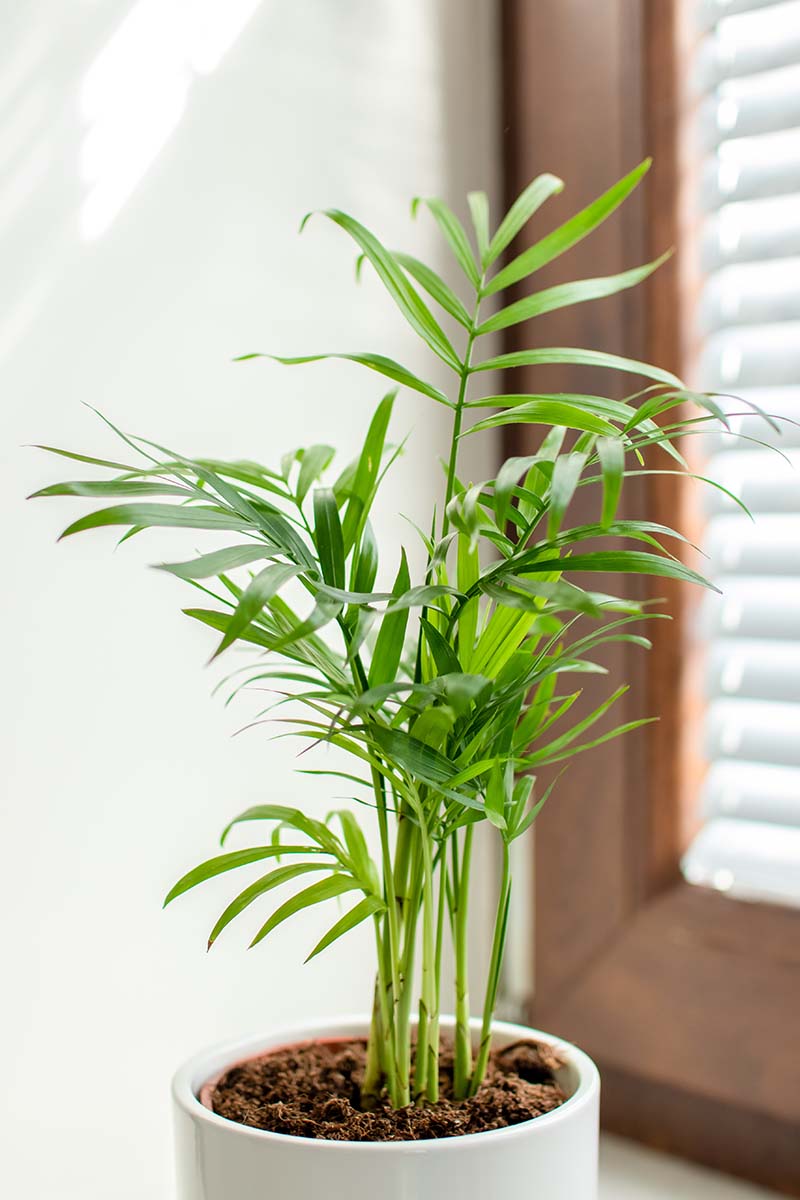
Keep them exposed to medium, indirect light and care for them as you would an adult plant.
A World of Foliage that Is Worth the Wait
Now you know the five easy steps to propagating parlor palms. The process is certainly not as fast as purchasing an established plant, but what fun it is to have a specimen that you grew from scratch!
Have you ever tried growing these tropical trees from sprouts? Tell us about your experience in the comments section below – and feel free to share your palm baby photos!
And if houseplant propagation fills your heart with joy, here are a few more articles that will be sure to make you happy:
Thank you for the information. I have a Parlor Palm that is about 7 years old and the past two years it has started dropping micro seeds from net-like structures growing between the fronds. I collected about 20 of them on a strip of tape and started researching what to do next with them. They are not nearly as large as the illustrated seeds, like tiny yellow grains.
Hi Ana,
We’d love to help you with this. Would you be able to post some photos here so that we can better understand what’s going on?
Thanks!
Hi and thanks for the great info.
I only have one Parlor Palm and it has fruit but its yellow like in your photo. You said they are black so I’m unsure now. Also since i only have one plant these seeds wont produce when planted?
Hi Debbie, Sorry about the confusion – we weren’t able to get a photo of the ripe fruit on the plant. What you’re seeing is yellow flowers. It’s easy to think these are fruits because they are ball shaped. When the fruits ripen the stems will turn an orangish red color and black fruits will develop. So if you’re seeing yellow flowers now, you’ll have to wait and see if the flowers ripen into fruits. If you’d like to see a photo of the flowers in close up and learn more about how this plant grows, you might want to… Read more »