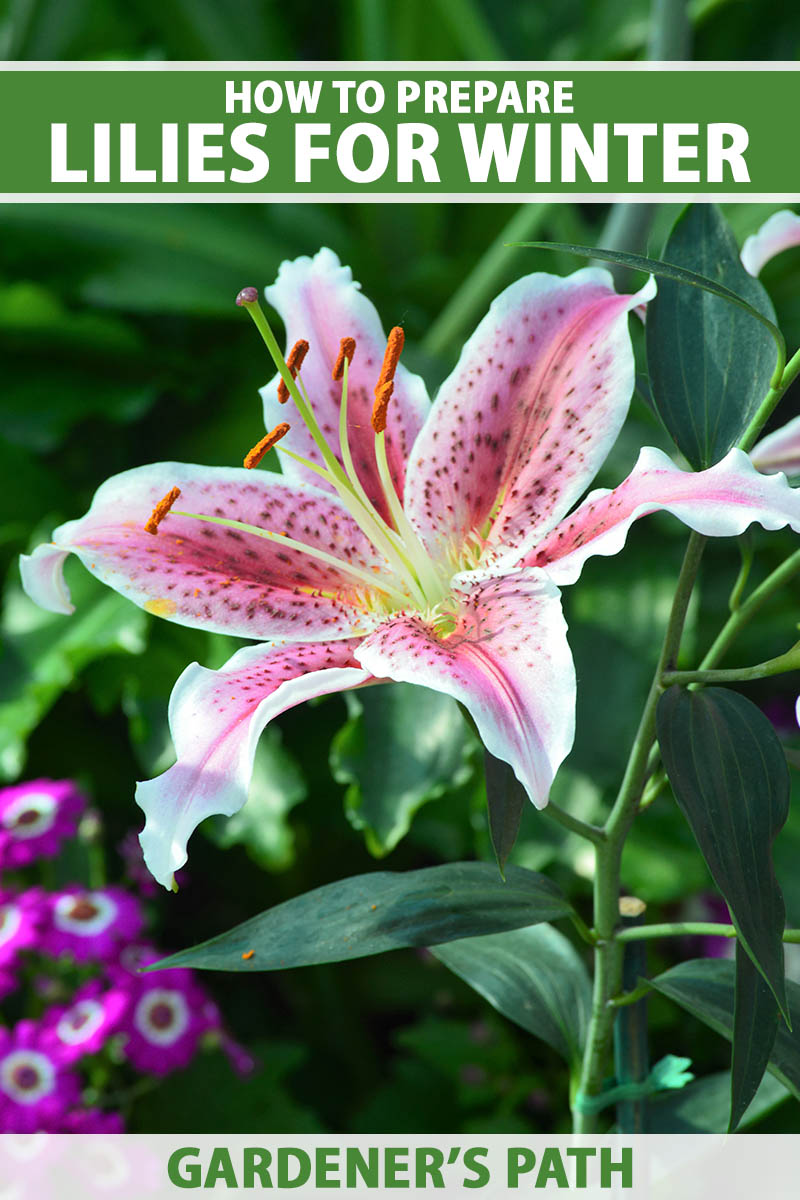
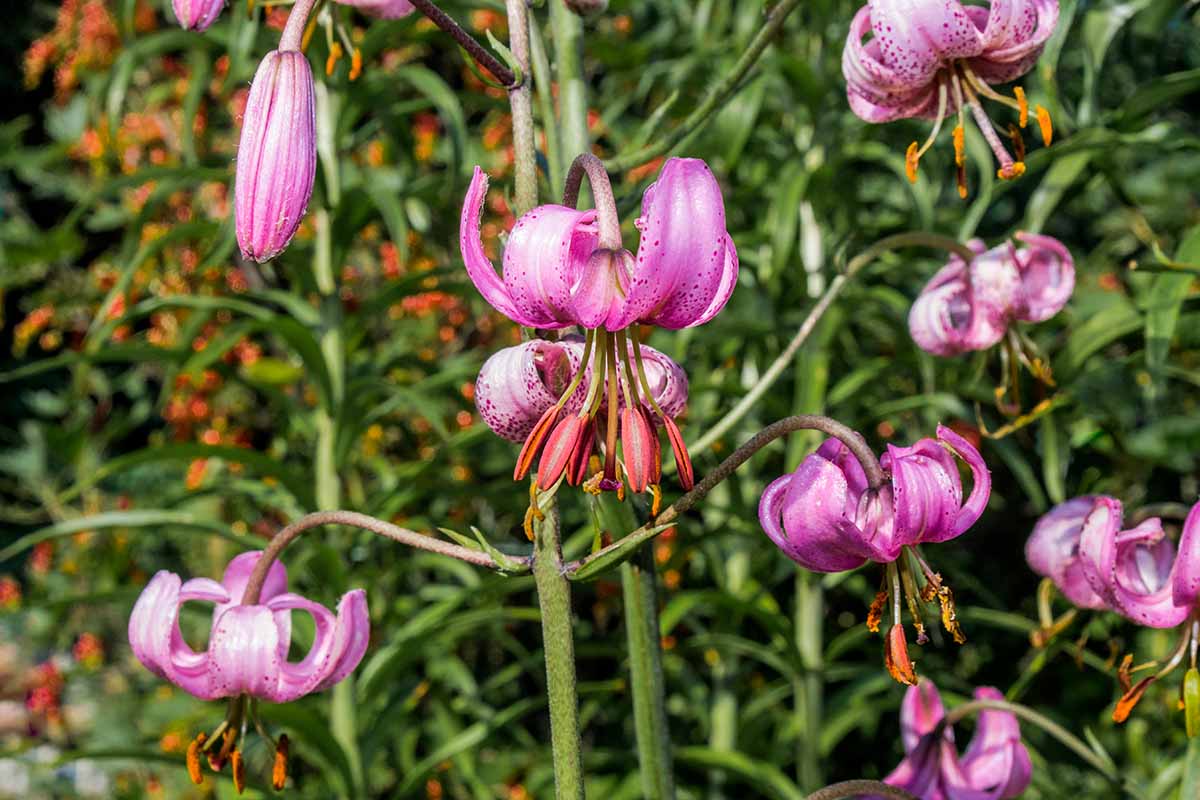
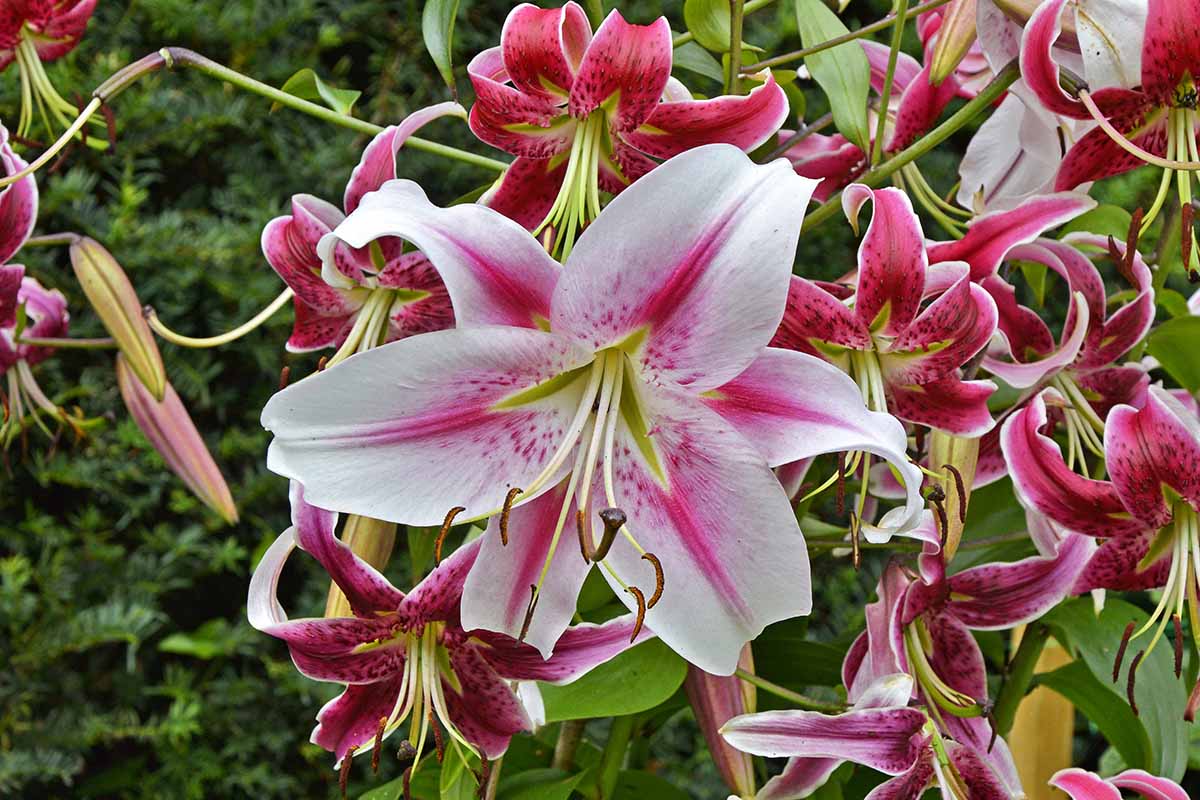
Showy, fragrant, and unfussy, lilies (Lilium) are beautiful, summering-flowering bulbs that are tough and durable enough to withstand harsh winter conditions.
We link to vendors to help you find relevant products. If you buy from one of our links, we may earn a commission.
Once plants are dormant, they readily handle hard frosts, freezing temperatures, and a blanket of snow.
Most of these easy-care plants require a period of cold vernalization to produce big, healthy blooms. Bulbs are typically hardy as far north as Zone 4 – with many varieties able to handle frigid Zone 3 winters as well.
However, to survive freezing temperatures and winter’s inclement weather, they need a well-draining environment because wet conditions can induce bulb rot.
If needed, they can be lifted and stored for winter – but these tunic-less bulbs can dry out quickly, and care needs to be taken for successful storage.
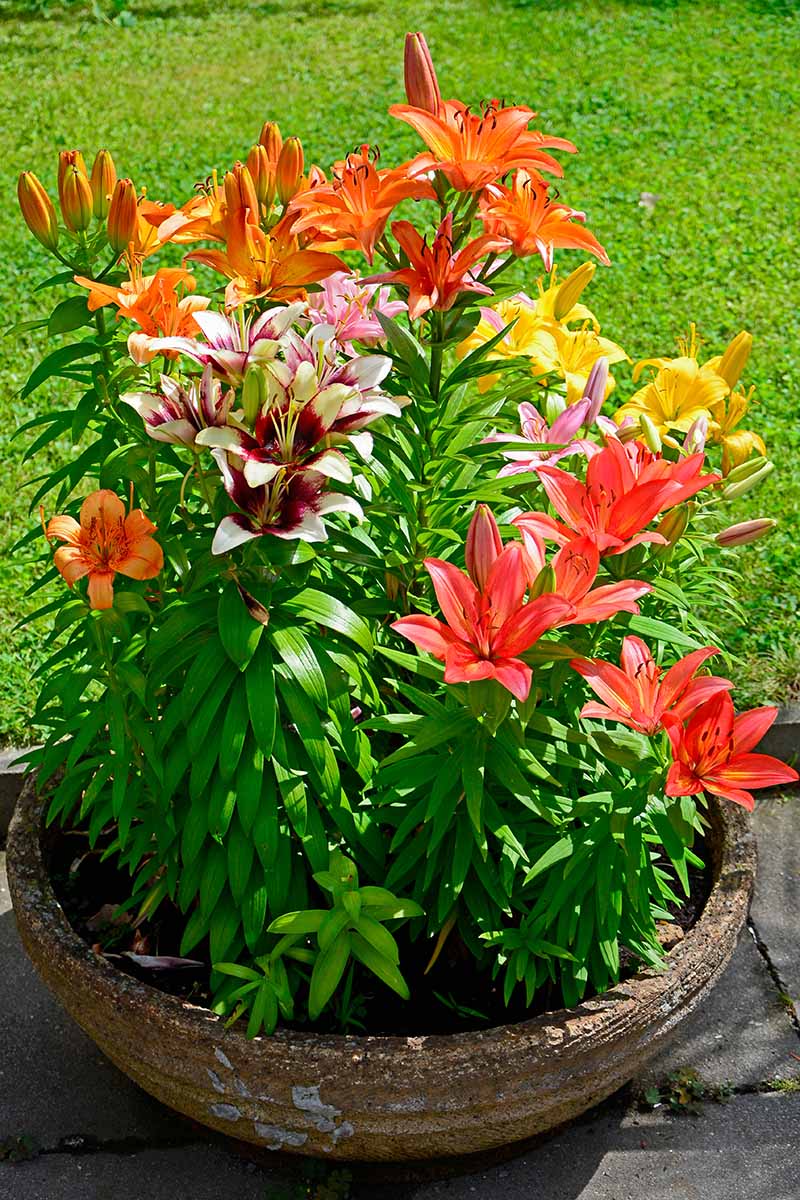
Container-grown lilies appreciate a little extra care before Old Man Winter sets in as well.
To ensure your bulbs survive for years of fabulous flowers, join us now for a look at how to overwinter lilies.
Here’s what we’ll cover:
How to Winterize Lilies
In-Ground Care
Most ornamental lilies are quite comfortable with frosty conditions and freezing temperatures, provided they have a well-draining site. Like most bulbs, they can’t abide long periods in waterlogged or soggy environments.

In wet conditions, they tend to develop mold or rot. And if they do survive until spring, the plant’s health may be compromised, resulting in fewer shoots and declining flower production.
For successful overwintering, first ensure your planting site has well-draining soil that doesn’t puddle in winter.
If necessary, create planting hills or mounds to provide better drainage.
You can also amend the soil with up to one-third grit, such as landscape sand, granite chips, or pea gravel, to ensure moisture flows away freely from the bulbs and roots.
For more details on planting and cultivation, refer to our guide on how to grow and care for lilies.
After flowering has finished, reduce watering and allow the foliage to wilt and die back on its own, then cut back the stems to ground level using shears. Avoid pulling at the dry stems which can dislodge the roots.
In areas that don’t have a reliable snowpack, prepare for cold weather by applying a thick, three- to six-inch layer of mulch, such as bark, leaf mold, sawdust, or straw.
Cover the entire planting area and extend the mulch six to 12 inches past the plant’s outer perimeter.
When new shoots start to emerge in spring, you can remove the winter mulch.
Container Care
Prepare plants by cutting away dead stems and foliage and removing debris from the soil surface, then cover with a thick layer of mulch.
Remove saucers from under pots to prevent standing water.
In areas with heavy rainfall, carefully tilt pots on their side to a 45-degree angle – or thereabouts – to allow water to drain off and avoid waterlogged soil.
Or, if the container size permits, move them under eaves or to the rain shadow of a wall.
But don’t allow the soil to dry out completely – if containers receive no rainfall, water lightly once a month to ensure the bulbs stay hydrated.
For planters that can’t be moved, if the soil is at risk of becoming waterlogged, consider lifting and storing bulbs instead, which we will discuss below.
In areas that experience hard freezes, move containers to a protected site like a shed or unheated greenhouse.
Alternatively wrap containers in bubble wrap or a frost blanket and add a layer of pine boughs, six to 12 inches deep, on top of the mulch for extra insulation.
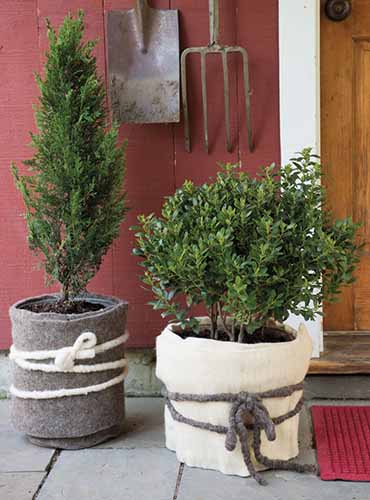
Woolen frost blankets are available at Gardener’s Supply Company.
It should be noted that because containers are more exposed to the elements, the plants they hold aren’t quite as hardy as those growing in-ground. When considering winter protection, it’s helpful to think of them as being one Zone less hardy.
For example, for bulbs rated for Zone 4, use the temperatures outlined for Zone 5 as your winter guide. You can check your area’s temperatures on the USDA Plant Hardiness Zone Map.
If your winter conditions are outside the bulbs hardiness range, lift and store over winter.
And because lilies need cool winter conditions to flower abundantly, moving them into heated indoor locations is not recommended.
Lift and Store
If you prefer to lift and store your rootstock, wait until the foliage has withered and died back on its own, then cut it back to ground level.
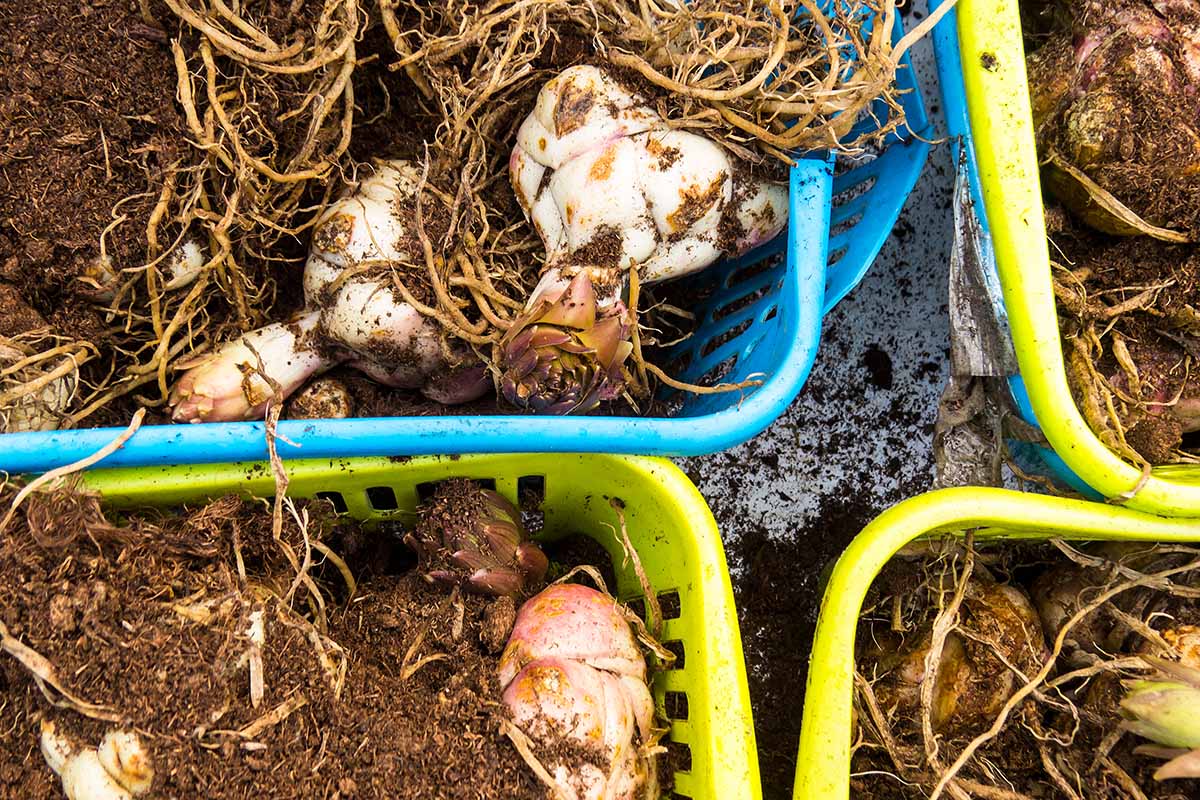
Carefully dig out the bulbs with a garden fork or spade, fully inserting the blade all around the root zone about six to eight inches out from the stems.
Pry and lift the bulbs out then use your fingers or a brush to gently remove soil from the roots.
Place bulbs in a single layer on cardboard or newspaper and allow them to dry for up to one week in a warm, dry location out of direct sunlight. A temperature range of 60 to 70°F is ideal for drying.
After they’re dry, brush away any remaining soil and check them carefully for signs of disease, such as mold, mushiness, shrinkage, soft spots, or unpleasant odors, discarding any that appear unhealthy.
Lightly dust the bulbs with a fungicidal powder such as garden sulfur, then nestle them into breathable bags, boxes, or bins lined with dry packing materials such as coir, peat moss, saw dust, shredded paper, or vermiculite.
Place bulbs in well-spaced, single layers so they’re not touching – this helps to prevent the spread of mold and rot.
Almost cover the bulbs and fill in spaces with more of your chosen packing material.
Store in a cool, dark, and dry environment with good air circulation. The best temperature range for storage is 35 to 55°F – if it goes above 55°F, the bulbs are likely to sprout.
Monthly Checkup
Check on your bulbs monthly for mold, rot, and shrinkage.
Remove and dispose of any that are moldy or rotting.
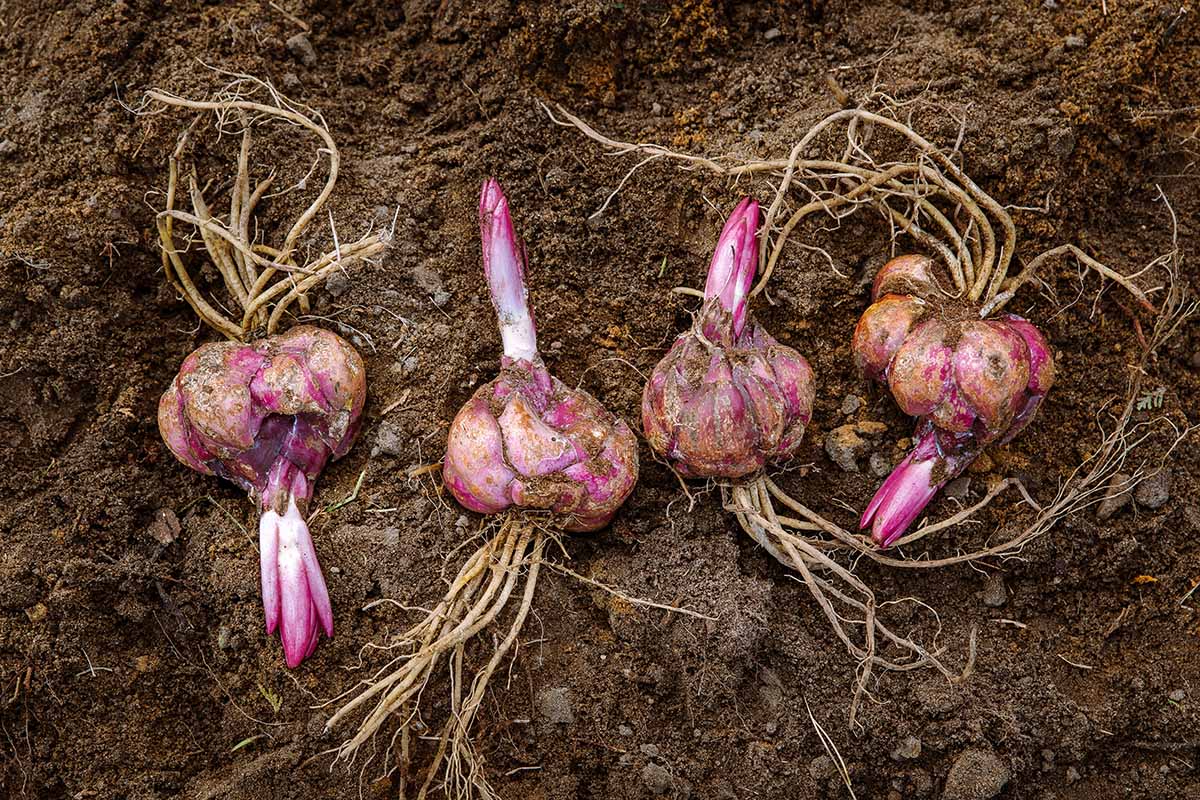
It’s important to remember that lily bulbs don’t have a moisture-retaining tunic, which makes them prone to drying out in storage.
If bulbs start to wrinkle and shrink, lightly mist or flick a few drops of water onto the packing material for hydration. But use a light touch – it’s better to check and water gently on a weekly basis than to add too much water in one go, which can induce rot.
Replant outdoors in mid spring after the ground has warmed to 55°F.
Showy Summer Flowers
In the garden, in containers, or in storage, protecting your lilies over winter is a smart way to ensure strong plants loaded with blossoms next season – and it’s easy!
Always plant them in a well-draining location and avoid sites with standing water.
Then apply a thick layer of mulch to protect against freeze and thaw cycles, or lift them to overwinter in storage, ensuring bulbs stay lightly hydrated.
Follow these simple overwintering steps and your healthy, vibrant bulbs will produce showy summer flowers for years!
Are you growing lilies? Do you have any overwintering tips to share? Let us know in the comments section below!
And for more information about overwintering flowers, add these guides to your reading list next.


Hi! I’m hoping you can help. I spent way too much money on lily bulbs. I used the recommended Half n half mix ratio of compost and peat moss (also a decent amount of vermiculite) as my soil medium. I then put each lily in a non woven white mesh? Grow bag. I was delayed in planting and worried about the root system getting too cold before developing fully, so I also put a plastic grow bag around the non woven bag. I figured that the plastic would protect the roots until spring and then I’d take them off and… Read more »
Hi Melissa, sorry to hear of your bulb problems… I think the best thing to do is to remove the outer plastic bag so the soil around the bulbs can drain – having them sit in wet soil will most likely lead to rot. You could then heel the bulbs until it’s time to plant them. To heel your bulbs, simply bury the bulbs in the breathable grow bag in four to six inches of soil in your raised beds. Bury them closely, and if freezing temperatures threaten, cover the area with a mulch such as straw or pine boughs.… Read more »