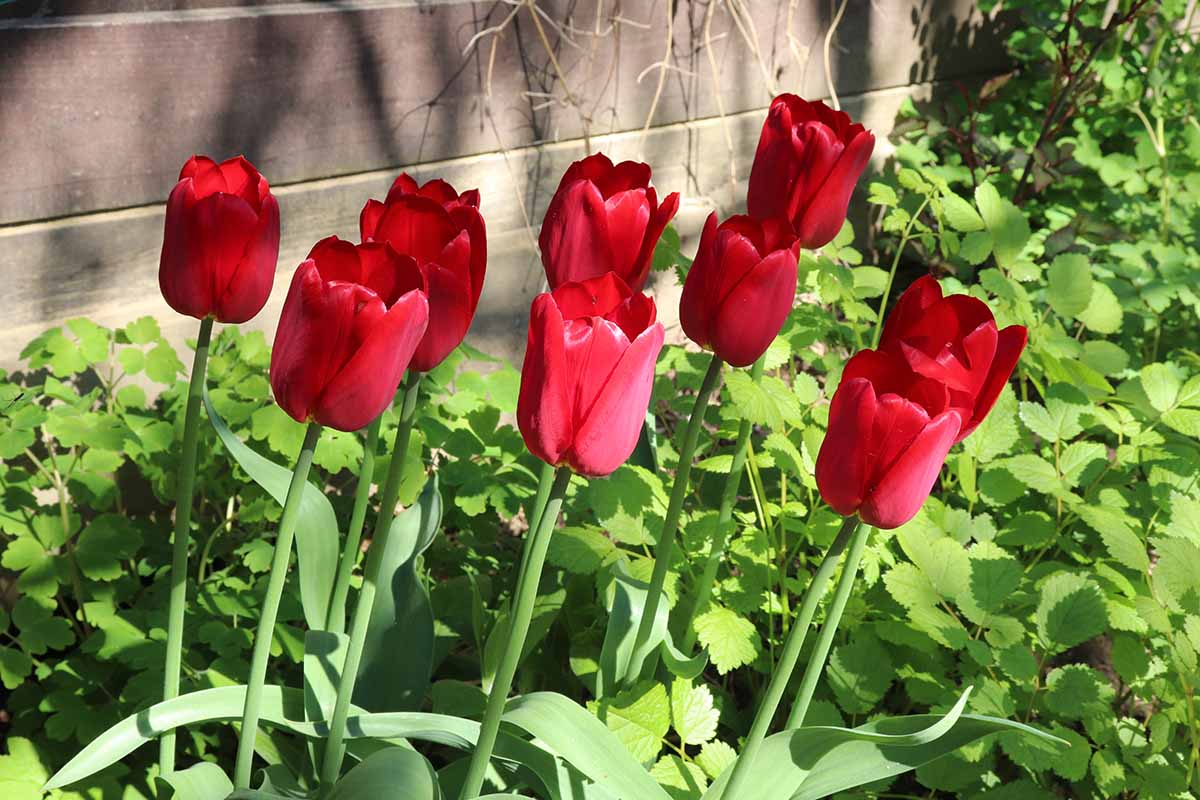
Tulips, Tulipa spp., are bulb flowers suited to in USDA Hardiness Zones 3 to 7 that grow best in full sun and rich, well-draining soil.
They are native to mountainous regions in and around Turkey, where the stark surroundings are cold, dry, and windy.
We link to vendors to help you find relevant products. If you buy from one of our links, we may earn a commission.
Many gardeners grow tulips as annuals, but botanically they are perennials with the potential to rebloom in consecutive years under ideal growing conditions.
Our guide to growing tulips has all you need to know to grow your own at home.
This article offers nine tips for getting tulip bulbs to bloom more than once.
Here’s the lineup:
Let’s get started!
The following tips suggest actions you can take to coax repeat blooms from your favorite springtime flowers.
1. Choose Wisely
The odds of a rebloom are in your favor when you choose botanical species, cultivated varieties of species, or hybrids bred for naturalization.
When a bulb naturalizes, it produces “daughters” beside it that bloom when they are fully mature.

As original bulbs multiply by producing daughters, their footprint in the garden enlarges. Large clumps divide easily by lifting and separating them to plant elsewhere.
In addition, letting a few flowers produce and disperse seeds after flowering may contribute to their proliferation.
However, it takes years for the seeds to grow into mature plants with bulbs, and hungry garden herbivores may find them first.
To naturalize to ensure repeat blooming, choose botanical species like water lily, Tulipa kaufmanniana, Greigii, Tulipa greigii, and hybrids like Darwin, Empire (aka Fosteriana), and Triumph.
Learn more about different types of tulips in our guide.
Naturalizing plants should yield similar results from year to year, while non-naturalizing varieties coaxed to rebloom are likely to produce a less-showy display in successive years.
Note that if you receive flowers growing hydroponically (in water) or potted in soil as a gift, depending upon the stress undergone during commercial processing, the bulbs may or may not possess the vigor to rebloom.
However, you’ve got nothing to lose when you try the tips outlined below.
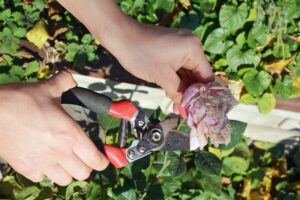
2. Deadhead Spent Blooms
Unless you are letting a few seeds fall from a naturalizing type, as mentioned above, you’ll want to deadhead all spent flowers.
Deadheading is cutting off flowers after they bloom and before they fade. The purpose is to prevent seeds from forming and to promote energy storage.
When a flower is fading, use clean pruners or garden scissors to slice through its stem as low to the ground as possible without damaging the surrounding foliage.
Cut at a 45° angle to facilitate rain runoff.
Deadheading spent flowers and stems makes the garden more attractive and directs energy back to the bulb, increasing the likelihood of reblooming.
3. Ensure Ample Drainage
A common reason for a failure to re-flower is poor drainage, which leads to over- saturation and rotting.
Tulips prefer loose, organically-rich soil. The addition of compost not only adds nutrients, it aids in building well-aerated soil structure that allows water to penetrate and excess to run off.
Another way to improve drainage is to work the soil to a depth of eight to 10 inches before sowing new bulbs or resowing those that were lifted.
Loosening the soil helps to alleviate compacting and promotes moisture infiltration and drainage.
And finally, you can mound the soil above ground level before sowing to further improve excess water runoff.
4. Fertilize Appropriately
New bulbs from the nursery are self-contained vessels containing all the food they need to grow. There’s no reason to fertilize at planting time, but it usually doesn’t hurt to give them a little boost.
Similarly, if you are growing flowers as annuals, buying new each year, and discarding the old, you do not need to feed them. But a nutrient boost is beneficial if you expect reblooming.
The extension representatives at the University of Illinois recommend adding bone meal to the soil beneath the bulbs at fall planting time the first year. It adds phosphorus that promotes strong root formation.
In the fall in successive years, they suggest working bone meal and a well-balanced fertilizer, such as one with a 10-10-10 N-P-K ratio, into the soil to nourish the bulbs for a repeat performance the following spring.
And in the spring, they advise supporting foliar development with another application of balanced fertilizer, no bone meal required.
Nutritional supplementation goes a long way toward promoting vigor for repeat flowering.
5. Foil the Herbivores
In addition to eating seeds, herbivore pests like squirrels and groundhogs may feast upon bulbs.
One way to foil their efforts is to install cages made of chicken wire or old screening. A commercially produced wire or plastic basket may also prove useful.
The basket adds a valuable layer of protection from burrowing herbivores. And it’s helpful in locating and lifting clumps for storage, as we’ll discuss shortly.
Some users add loose-weave wire over the top for even greater deterrence.
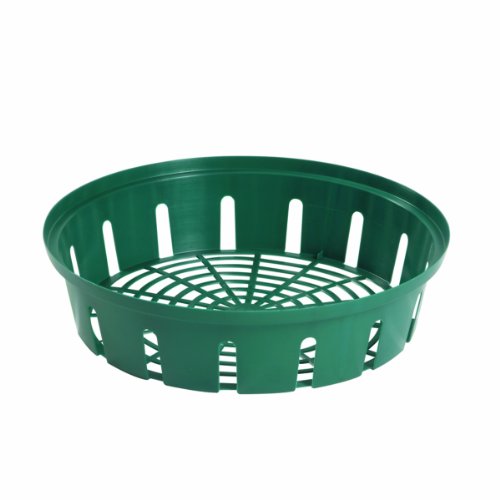
Bosmere Garden Care Round Bulb Baskets
Bosmere Garden Care Round Bulb Baskets are available from Bosmere via Amazon in packages of two. They measure 30 centimeters across or approximately 11.8 inches.
When sowing bulbs for the first time or in successive years, it’s worth taking this extra step to protect them. Any fully consumed are lost altogether, and chewed ones may never grow again.
6. Leave the Leaves Alone
Post-bloom, it’s essential to allow the foliage to remain in place. The leaves are still alive, absorbing sunlight for that magical conversion to energy stored for next year’s flowers.
Six to eight weeks of daily sunshine are needed for this crucial phase of the tulip’s life cycle. Without leaves to absorb sunlight, bulbs weaken.
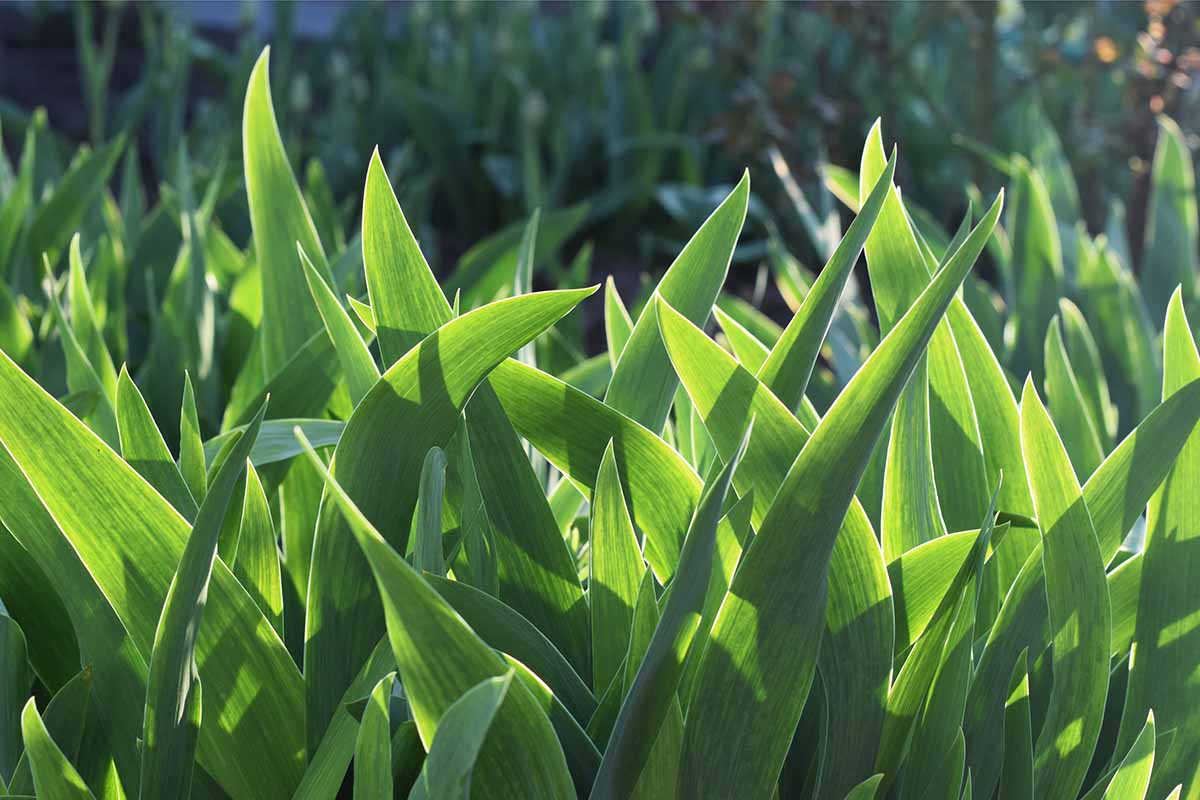
Plants that grow in full sun, whether in the garden or in containers, are positioned perfectly for adequate sunlight absorption.
However, if you have an indoor Easter-time soil-filled pot or water-filled hydroponic vessel, you are likely to find yours doesn’t rebloom even after you follow the tips. Here are three reasons why:
- Plants forced early for holiday sales are generally stressed.
- These varieties are not likely to be botanical species or naturalizing hybrids.
- Houseplants do not receive as much sun exposure as outdoor plants.
To give soil-potted or hydroponic bulbs the best chance of coming back:
When the last average spring frost date for your region passes, remove them from their container.
Deadhead the spent blooms per the above instructions.
Sow the bulbs in the garden for six to eight weeks of sun exposure per the planting directions we’ll discuss below.
Once the sunlight period is complete, either winter over in the ground or follow the suggestion below for lifting.
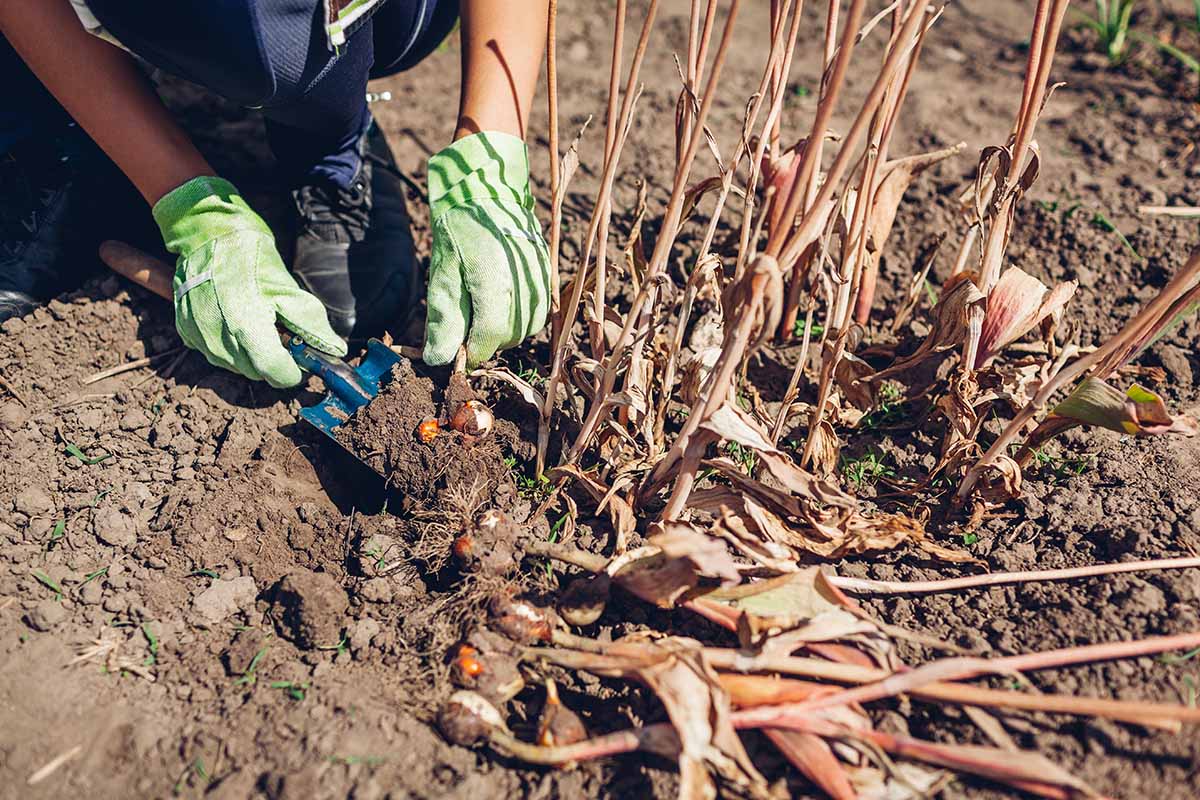
7. Lift the Bulbs
Tulips are hardy perennials that can winter over in the ground.
However, there may be dangers lurking beneath the soil and adverse climate conditions that may prevent them from making a healthy comeback.
First are those hungry herbivores, and second is standing water.
Poor drainage, excessive rainfall, and watering the bulbs after they finish for the season can all cause rotting and a failure to reflower.
In addition, repetitive freezing and thawing may cause them to heave from the ground and freeze, especially if planted shallowly, as we will discuss shortly.
To avoid these pitfalls, lift the bulbs from the ground after the leaves have naturally withered to yellow or brown.
Don’t wait until all the foliage falls off, or you might not be able to find the bulbs – unless you mark the planting sites in advance.
Here’s how to lift:
- Dig under the bulbs and lift them up and out of the ground.
- Brush the soil off.
- Let loose foliage fall off by itself. Do not pull it.
- Lift before the first fall frost or risk rotting.
Once lifted, store per the directions below.
8. Provide Cold Storage
Choose a dark, dry location for storage, like an unheated cellar, garage, or shed.
Spread the bulbs out on newspaper in a single layer and let them dry out for a week or more. Any remaining foliage should turn brown and fall off during the drying period.
Once dry, store the bulbs inside an old stocking or mesh vegetable bag. As you load them into the bag, separate them with pieces of newspaper to keep them from touching.
Suspend the bag from a hook or nail to allow air to circulate around and through it. Keeping the bulbs separate and promoting airflow inhibits rotting.
We have more detailed tips on lifting and storing tulips here.
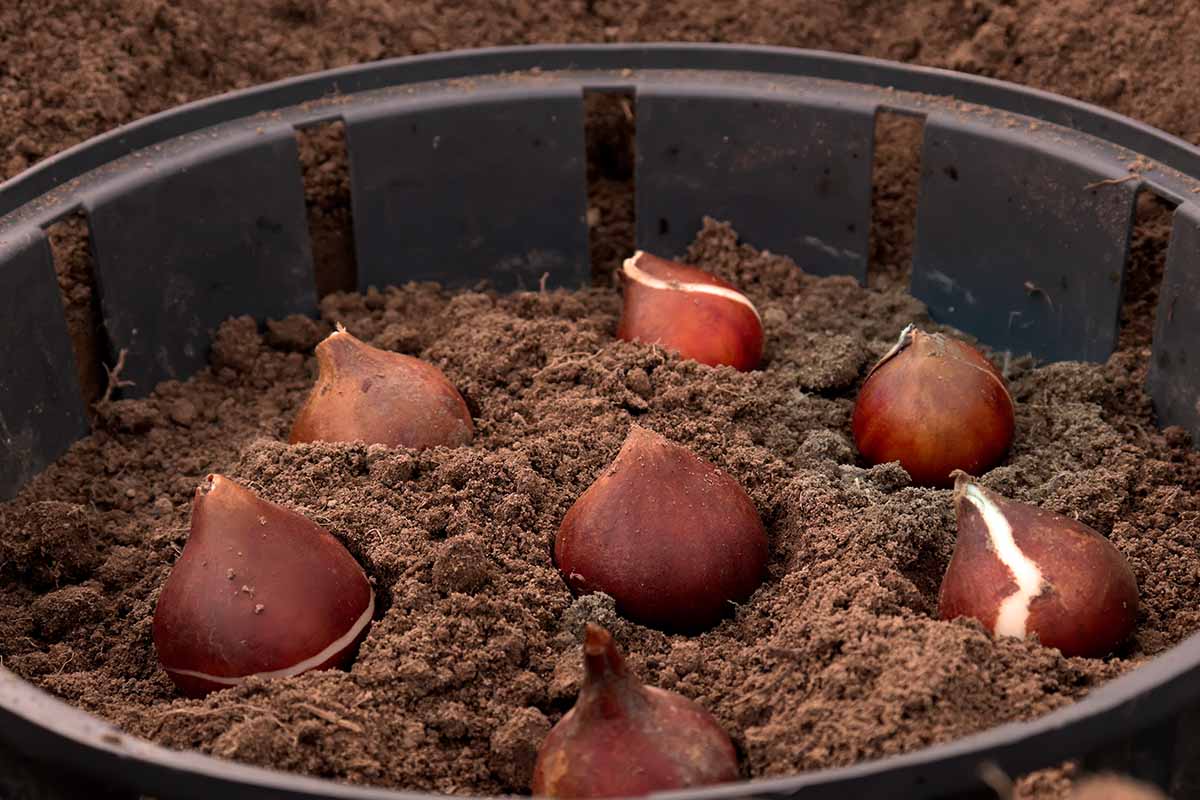
9. Replant Deeply
Plant tulips at a depth three times the diameter of each bulb, or about four to six inches deep.
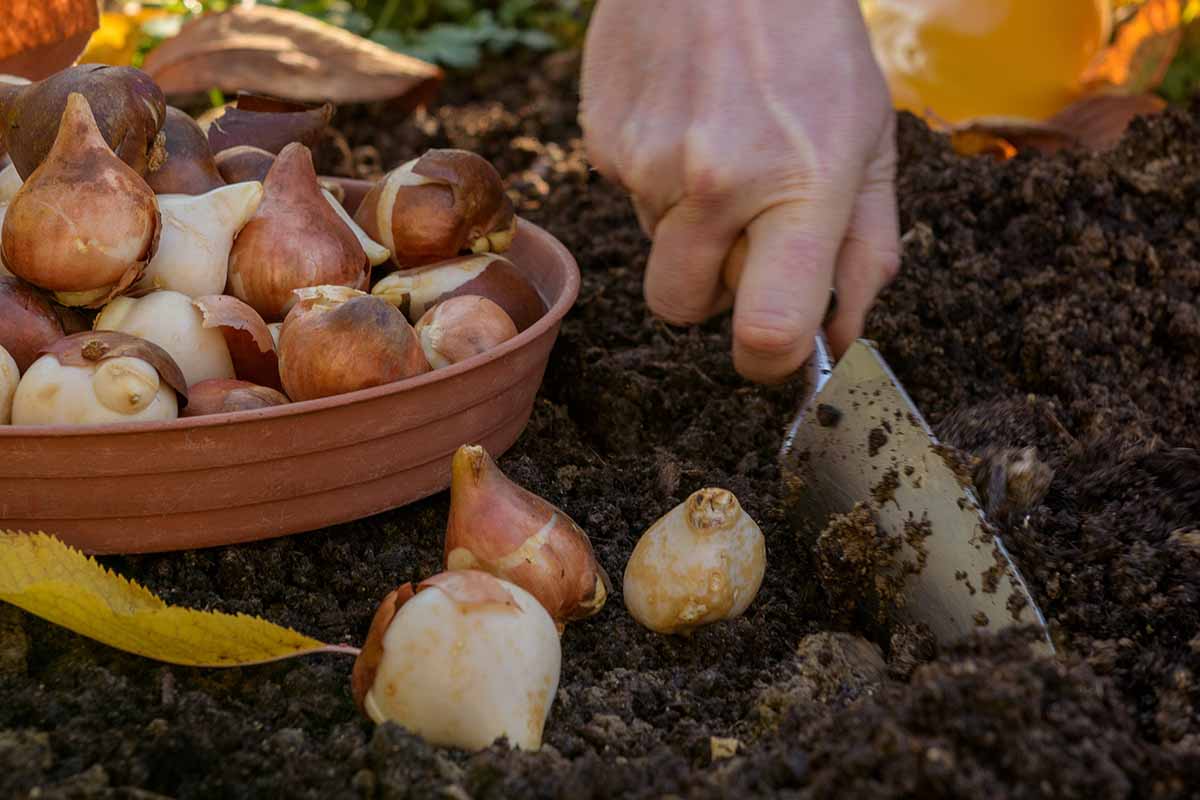
Shallower planting may result in winter heaving, as mentioned.
When bulbs rise to the soil surface, they become vulnerable to intense summer heat, rotting in the rain, wildlife consumption, and winter freezing.
Appropriately deep planting is a reblooming essential.
Tune-Up Your Tulips
With these tips, bulbs have an excellent chance of regrowing with vigor in successive years.
Let’s recap:
Be sure to purchase varieties that are likely to come back, like botanical species, species cultivars, or hybrids bred for naturalizing.
Support bulb rejuvenation by deadheading spent blossoms stem and all, and let the foliage remain in place post-bloom.
Lift and store to ensure the bulbs remain dry and have an appropriate chilling period to induce dormancy.
And when it’s time to resow, choose a sunny, well-draining location, fertilize as directed, and plant deeply for best results.
Think of these tips as tulip tune-ups. With regular maintenance, tulip species, species cultivars, naturalizing hybrids, and even some modern cultivars forced for the holidays may yield three to five years of cheerful springtime flowers – or sometimes more!
Do you grow tulips at your house? Which tips worked for you to ensure a repeat show of colorful flowers? Please share your comments below.
If you found this article informative and would like to learn more about tulip cultivation, we recommend the following:


I have tulips that haven’t bloomed in years so I will try this. Some bloom some years but not others. I also always wondered why the bulbs I get for Valentines or Easter come up weak and don’t bloom, now I know. I have probably 300 tulips in my yard that were planted over the years. Thank you for the great information.
Hi Brady –
You’re welcome. We’re glad you found the article informative.
Happy Gardening!