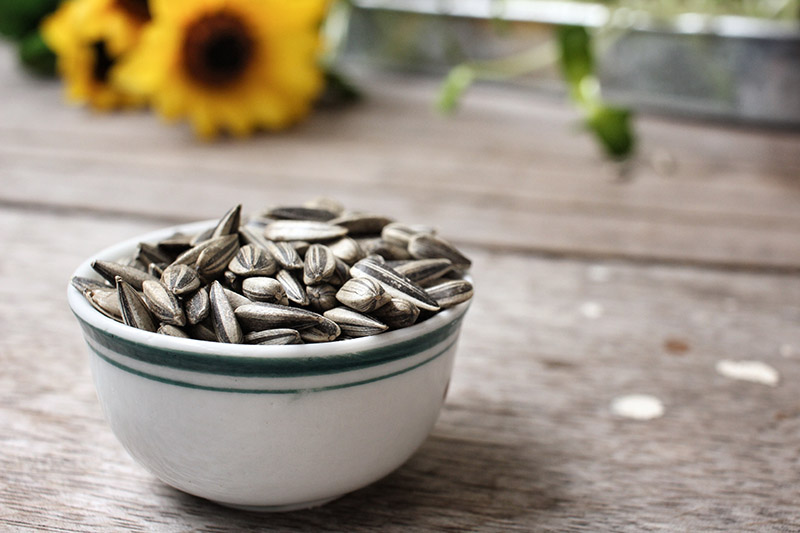
Here’s a confession for you: even though I love them, I used to be too lazy to eat sunflower seeds. Unshelled ones, anyway.
All that work cracking them open just for a tiny slice of heaven inside? Not for me.
Or so I thought…
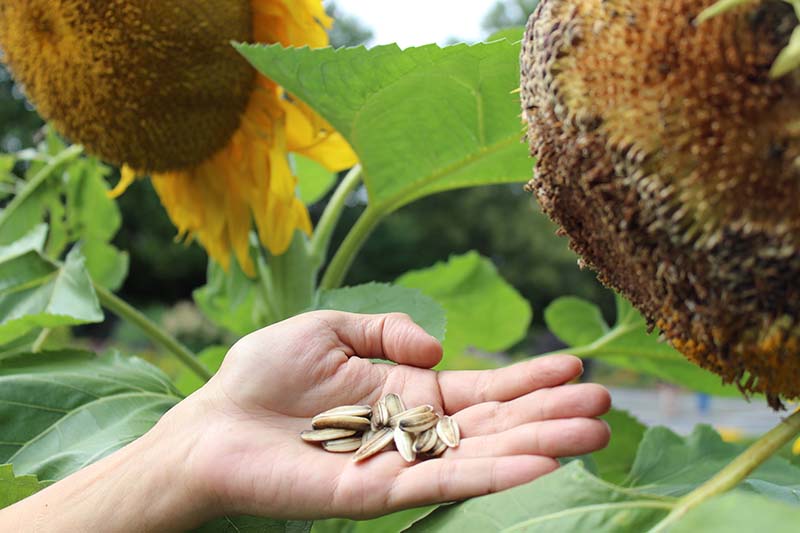
After enjoying the large, glorious yellow blooms of my very own sunflowers all summer long, I harvested my own homegrown seeds for the first time.
We link to vendors to help you find relevant products. If you buy from one of our links, we may earn a commission.
Now I find eating unshelled sunflower seeds is an excellent way to keep my mind occupied when I’m on a long road trip.
And instead of reaching into a bag of store-bought seeds that are perched on the console, I’m delighted again and again by the plastic baggie filled with seeds from flowers that I grew and harvested myself!
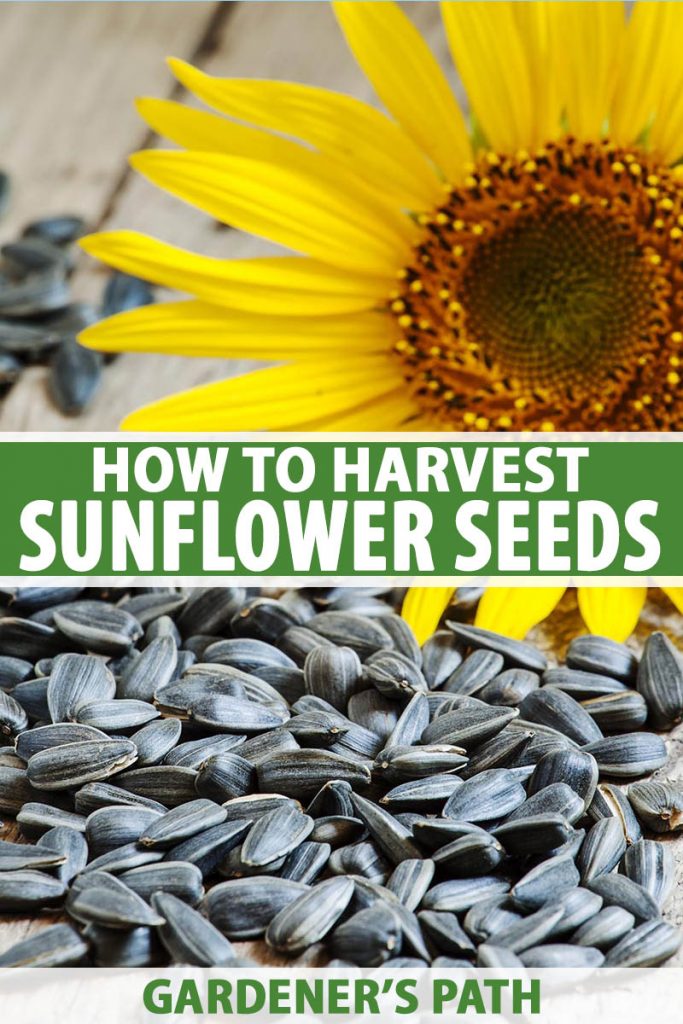
In this article, you’ll learn how to harvest and enjoy your own homegrown sunflower kernels.
If you’re just getting started, check out our full guide to growing sunflowers in your garden.
Ready to harvest your own seeds and learn some tasty ways you can use them at home?
Here’s what I’ll cover:
What You’ll Learn
When to Harvest
Sunflowers brighten your garden with their cheery faces for several weeks in summertime, about 80 to 140 days after you sowed the seeds, depending on the cultivar.
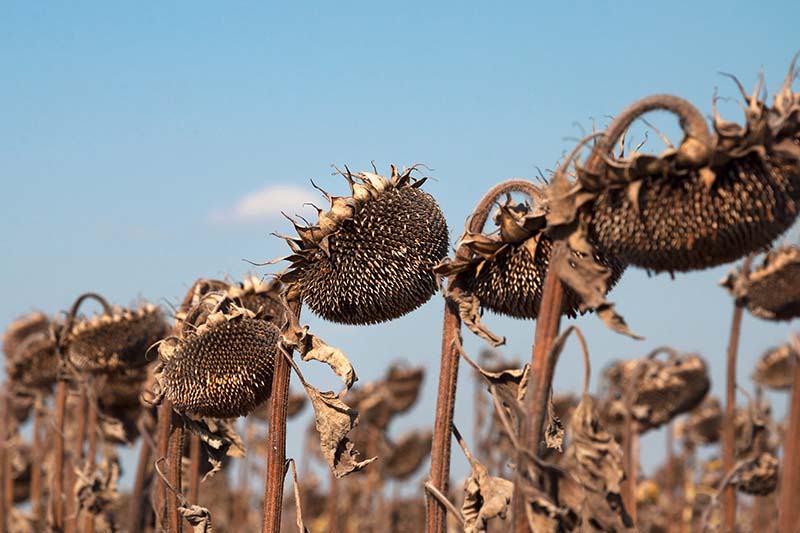
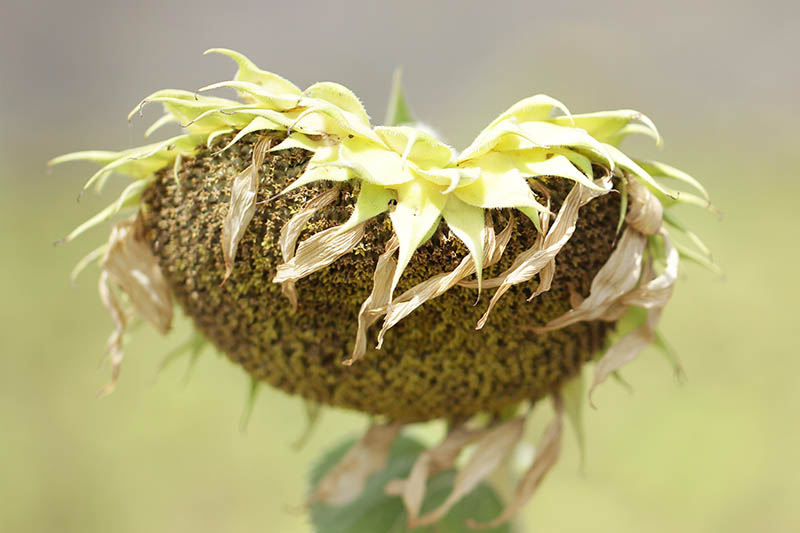
And then they hang their heads, and their petals turn brown. They begin to shrivel and start to look dried out and dead.
But before they go, they have one last gift to share with you: a flower head full of ripe seeds.
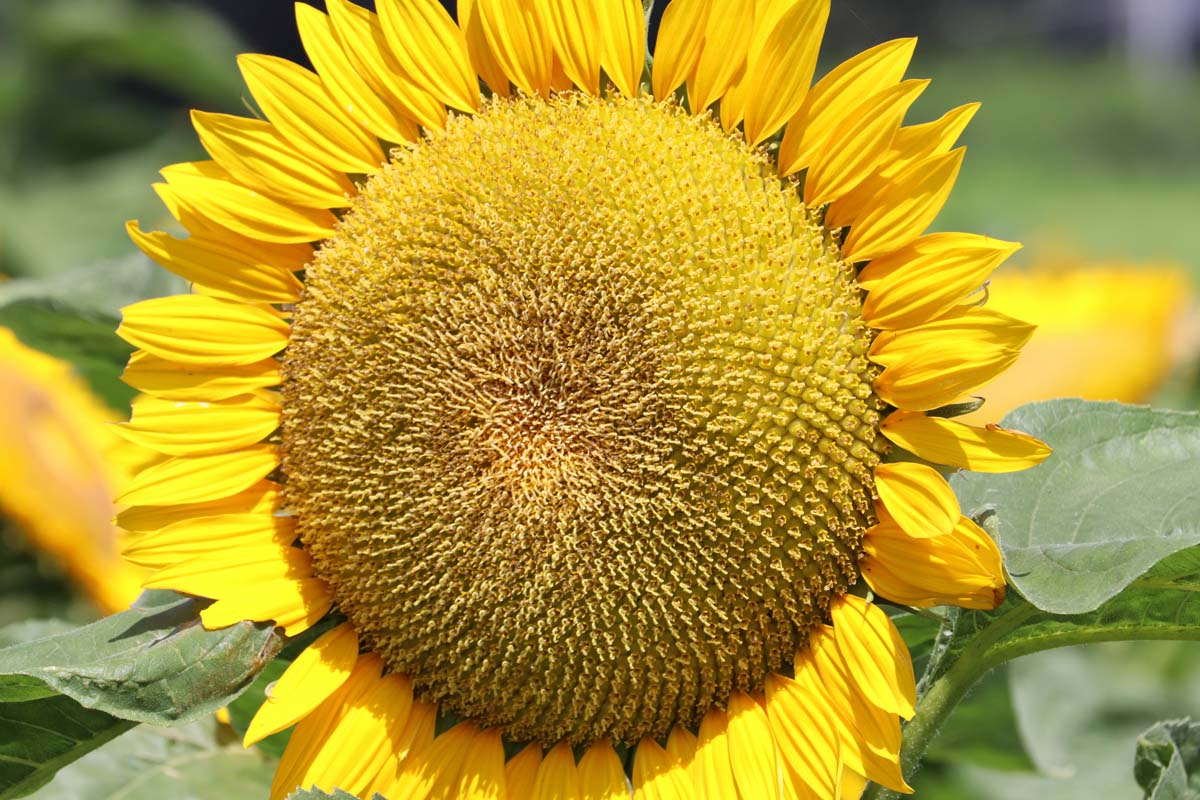
Sunflowers, Helianthus annuus, like other members of the Asteraceae family, have complex reproductive structures. The center disk is made up of hundreds of tiny inflorescences, surrounded by large ray-like petals around the outside.
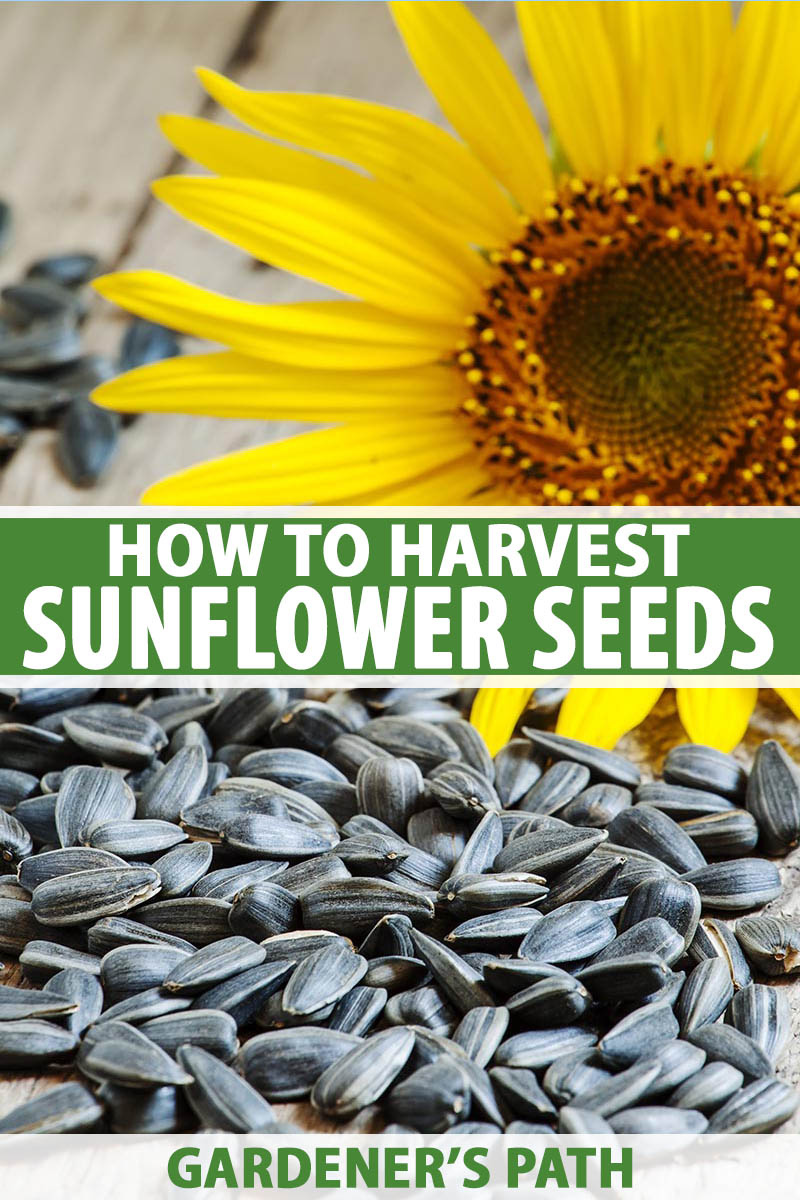
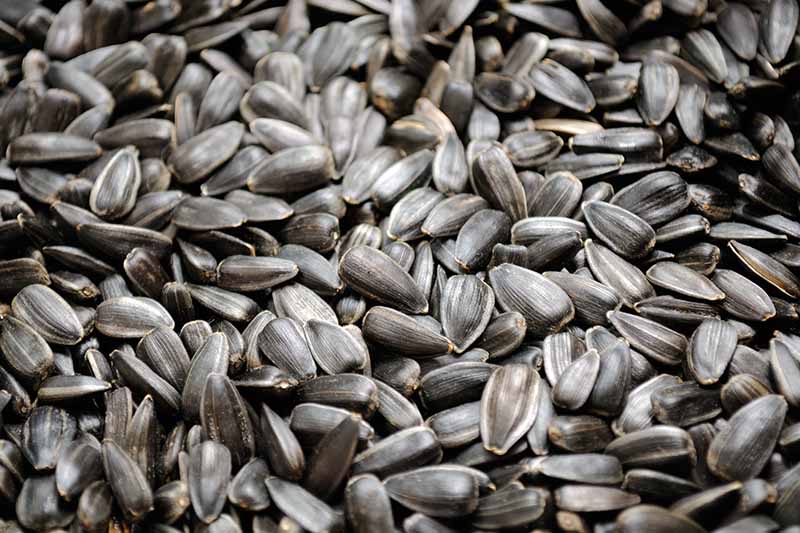
Each of these tiny florets in the center disk can self-pollinate and produce one kernel, contained in its own outer hull. This seed casing can be black or striped, depending on the cultivar.
The sunflower you admire in your garden is in fact not one, but hundreds of tiny flowers clustered together that look like one big beautiful bloom!
So how do you know when to harvest?
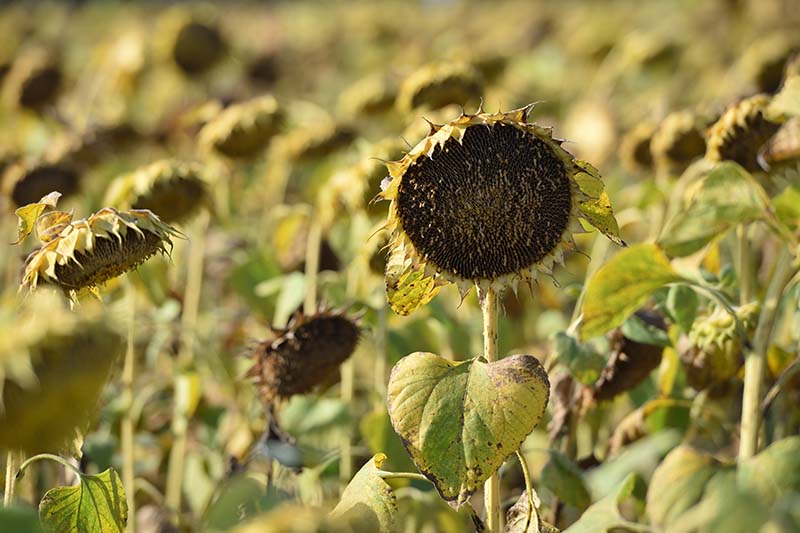
Sunflower kernels are ripe when the back of the flower head – the calyx – turns from green to yellowish-brown, and the outer petals wither and drop.
As the blooms start to fade, check your flower heads closely.
The tiny petals in the center disc will dry out, and a light scraping will cause them to drop, exposing the tightly packed seeds.
You can choose to cut the flower heads off before they completely dry out, if you choose. Let’s take a look at the options available to you.
Drying the Heads Yourself
Have you ever seen the mess that birds leave under a feeder? Do mysterious plants pop up – perhaps even sunflowers – come springtime?
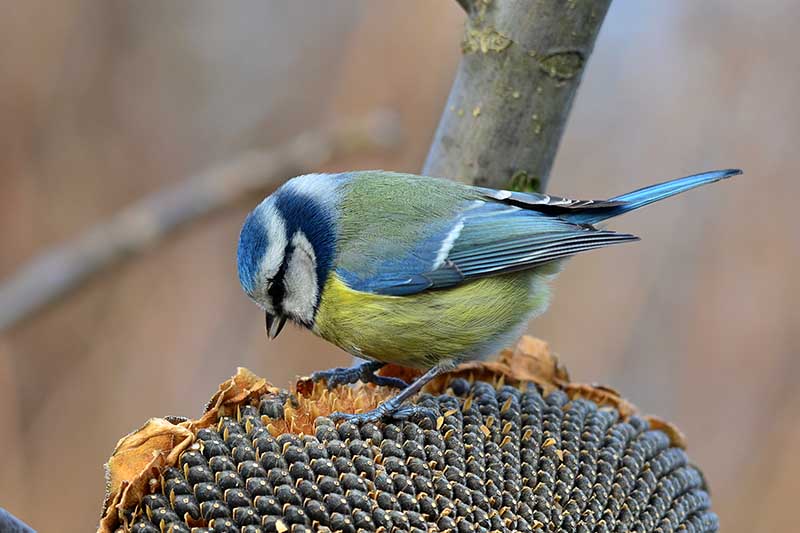
That’s what could happen in your garden if you let the seeds fully mature on the stalk. Squirrels and birds will eat them happily and drop a bunch on the ground, resulting in volunteer sunflowers the next season.
Maybe this is exactly what you want. If so, go for it! But perhaps you want to harvest all of the kernels for yourself, and control where future flowers are planted.
It’s easy to clip them and then hang the heads to dry. Here’s how to do it:
Watch the back of the flower head, the calyx, closely. When it turns from green to yellow, that’s when you want to cut about six to eight inches of stem with a sharp knife or a pair of pruning shears.
Go ahead and remove any leaves that remain on the stalk, to get rid of any pests that might be concealing themselves in the foliage.
Tie two or three of stems together with twine, and hang them with the heads facing down in a shady or partially sunny area that’s dry, with good ventilation – indoors or outdoors. A barn or shed works well for this.
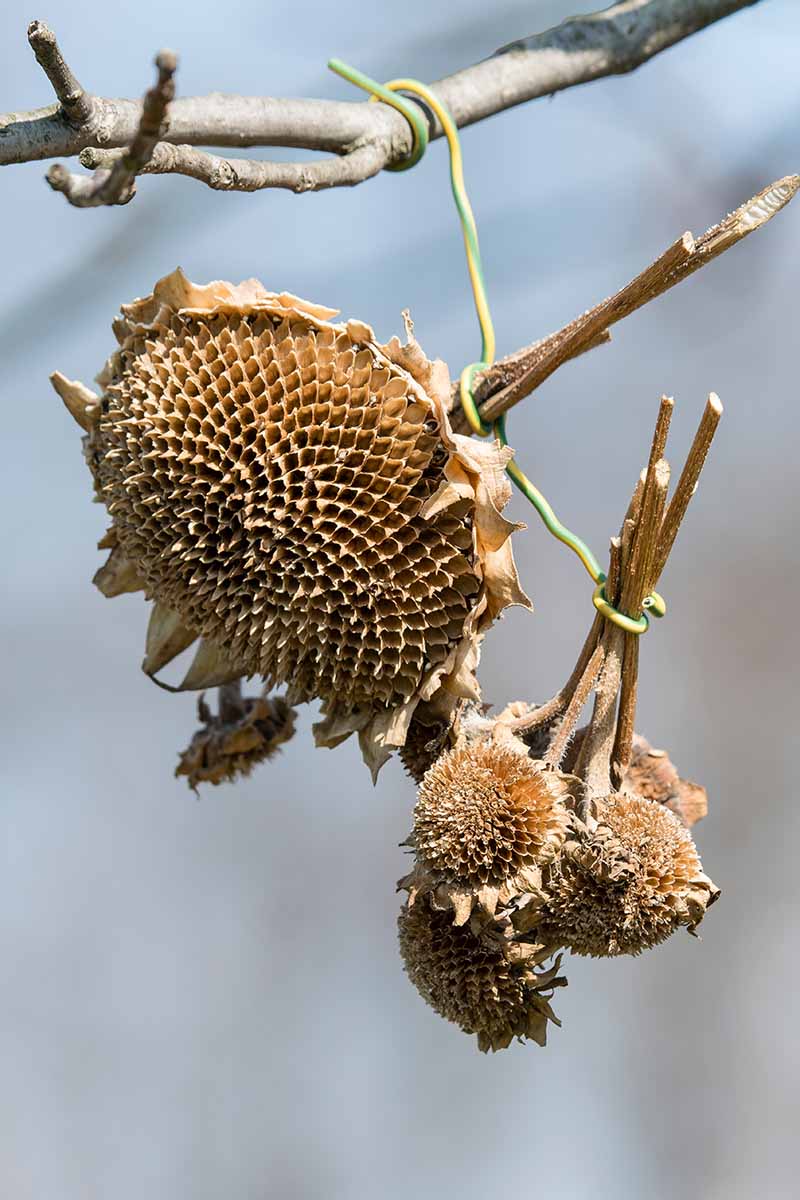
When the backs of the heads turn brown, you’re ready to harvest seeds.
You can place a paper bag over the drying flower heads to catch any that fall off. It’s important not to use plastic, as this can cause moisture buildup that may lead to mold.
Allow Heads to Dry on the Stem
On the other hand, if you don’t have enough space to hang a bunch of sunflower heads and you want to let them dry in the garden, you can do that.
Keep an eye on them until the back of the head turns from green to yellow or brown.
You can tie a paper bag around the flower heads to prevent birds and squirrels from munching on your seeds.
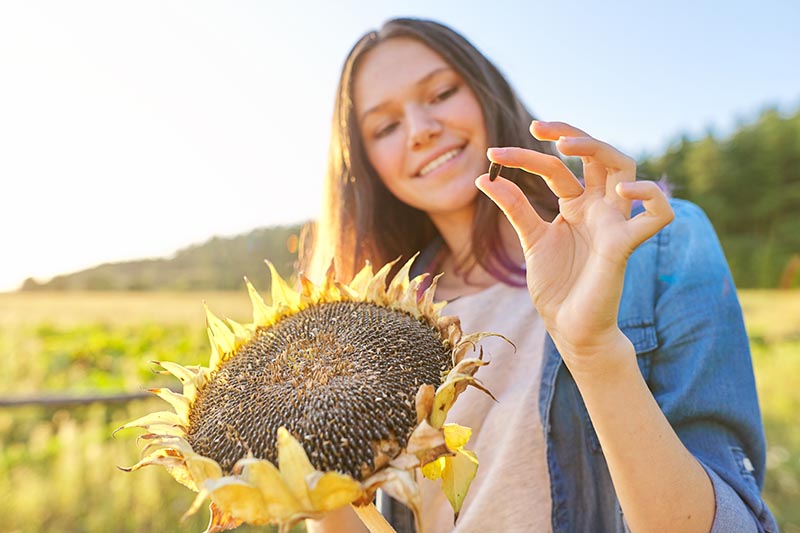
When the calyx has turned brown, check to see if the seeds are plump and mature. If any have fallen out on their own, this indicates they’re ripe and ready for harvest.
This could happen at any time of the year from July to October, depending on your growing zone, your chosen cultivar, and your sowing date.
At harvest time, grasp the stem about six to eight inches below the flower head, and cut through the stem with a sharp knife or a pair of pruners.
Cutting off several inches of stem along with the flower head makes it easier to handle for the next step: removing the seeds from the head.
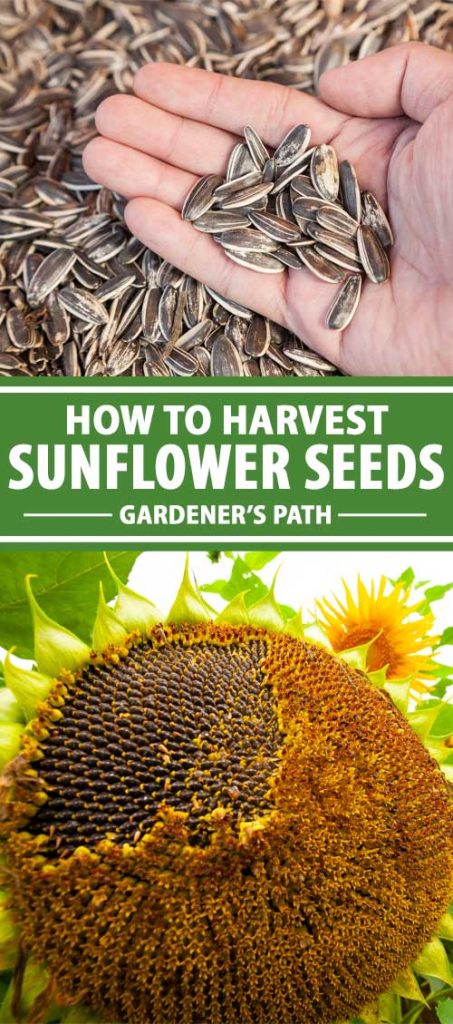
How to Harvest
With your hand or a knife, gently scrape off the dried out remnants of tiny petals from the center disk. These can resemble greenish-yellow buds or fluffy debris covering the seeds.
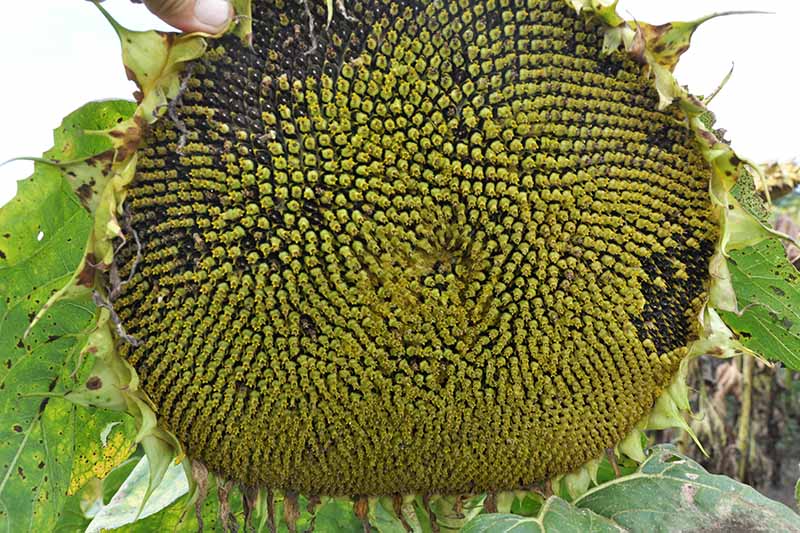
Now, for the best part: separating the seeds from the flower head.
You can do this two ways – just make sure you have a bucket or other suitable container ready to catch them:
1. Using your thumbs, rub the seeds off the flower head and into the container below. To make this task easier, you can break the head into smaller pieces.
2. Take two ripe heads (or two pieces) and gently rub them together over your bucket or other container.
Easy peasy!
Read on to find out how to enjoy your fresh harvest.
Enjoy Your Harvest
Now that you’ve got a bucketful of delicious, nutritious seeds, how can you insure that you get the most enjoyment out of them?
Some gardeners like to eat them raw, right off the dried flower. Crack the shell with your teeth and enjoy the earthy taste of raw sunflower seeds, straight from the garden.
You might also want to save some to plant next year, or make suet cakes to add to your bird feeder to keep your feathered friends happy in the winter months.
Save a few raw seeds for planting, in an envelope or jar, and store it in a cool, dry place until planting time.
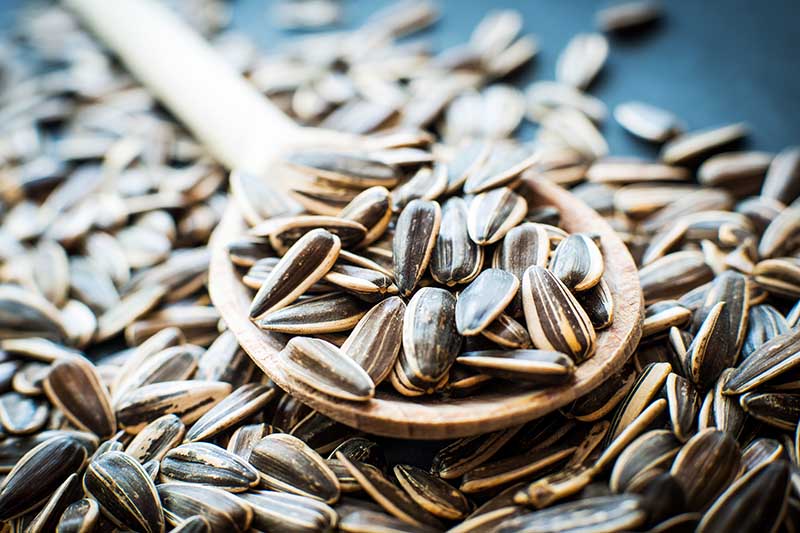
Most people seem to find that roasted seeds are more flavorful – and easier to crack open.
They make a delicious topping for salads, a nutritious snack on the go, and – my favorite – sunflower butter.
You can also use them in this delicious pesto recipe from our sister site, Foodal.
How to Roast Sunflower Seeds
Here’s how to roast them in their shells:
For unsalted seeds, all you have to do is preheat the oven to 400°F, spread them in a single layer on an ungreased roasting pan, and roast for five minutes.
Take them out and check them at this point to see if they’re dry – the hulls should crack open easily. If not, pop them back in for two more minutes and check them again. Keep adding two minutes to the roasting time and check them often, until they’re done.
If they turn brown, that means the inside is probably charred. Keep an eye on your homegrown seeds and don’t let them get too roasted!
For a delicious flood of salty goodness when you pop one in your mouth, add 2-4 tablespoons of salt and 1 cup of seeds to 1 quart of water and bring it to a boil.
Lower the heat to a simmer and let them cook in the brine for about 15 minutes. Drain, spread them on a baking sheet, and put them in the oven at 400°F for 10-15 minutes.
If you’d rather roast them without the shells, first you’ll need to go through the process of shelling each and every one.
It seems daunting, I know, but I promise you don’t have to crack each one open with your teeth.
Here’s how I do it:
- Grab a heavy rolling pin, a plastic baggie, and a bowl of water.
- Add half a cup of seeds to the baggie and seal it. Lay it flat, so that the little morsels aren’t piled on top of each other, and then crack them with the rolling pin like you’re rolling out extremely fragile bread dough.
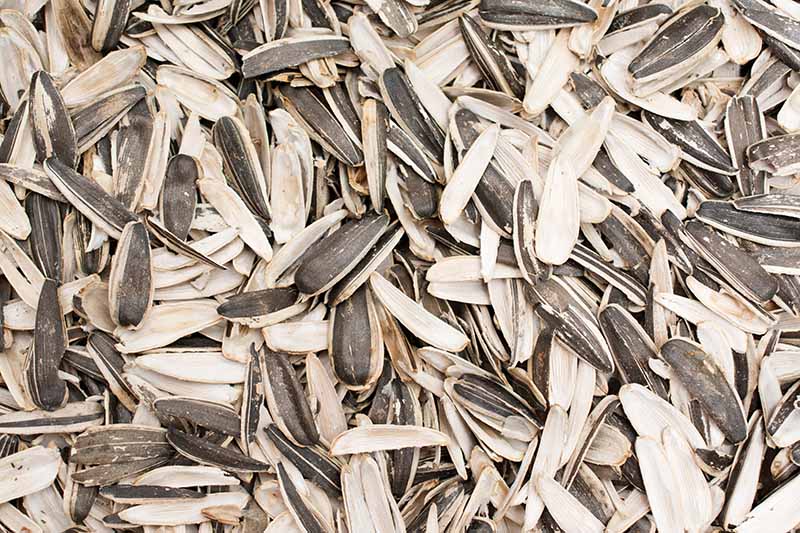
- Drop the contents of the bag into the water. The broken hulls will float to the top of the water, while the heavier kernels will sink to the bottom.
- Use a slotted spoon to collect the broken shells, and drain the water off of the remaining seeds. Lay them on paper towels to dry, and voila!
You’re ready to roast. Spread the kernels in a single layer on an ungreased cookie sheet.
Roast them in a 350°F oven for 8-10 minutes, stirring and turning them over halfway through the roasting time.
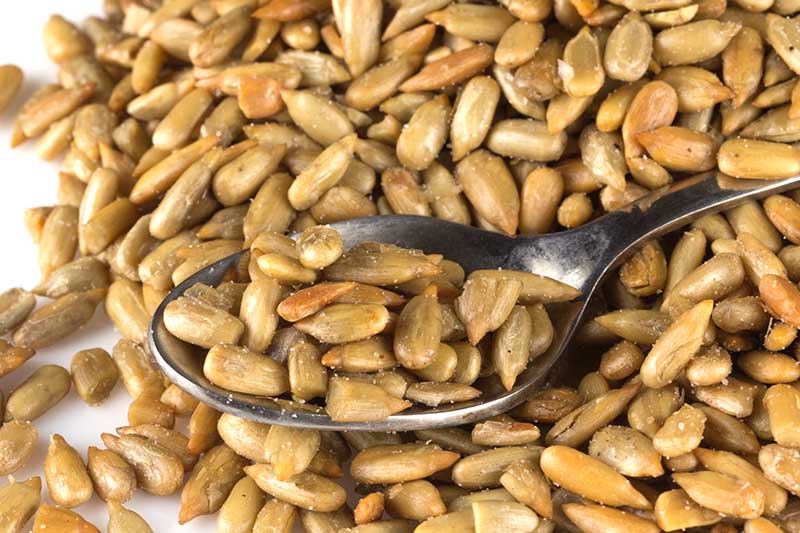
Or, if you prefer, roast them in a skillet over medium heat for 5-7 minutes, or until they begin to turn brown and smell absolutely amazing. Be sure to toss them frequently, to avoid scorching.
You can add salt to taste, for a crunchy snack.
Quick and Easy Sunflower Butter
What’s another excellent thing to try when you have a big batch of homegrown seeds? Homemade sunflower butter.
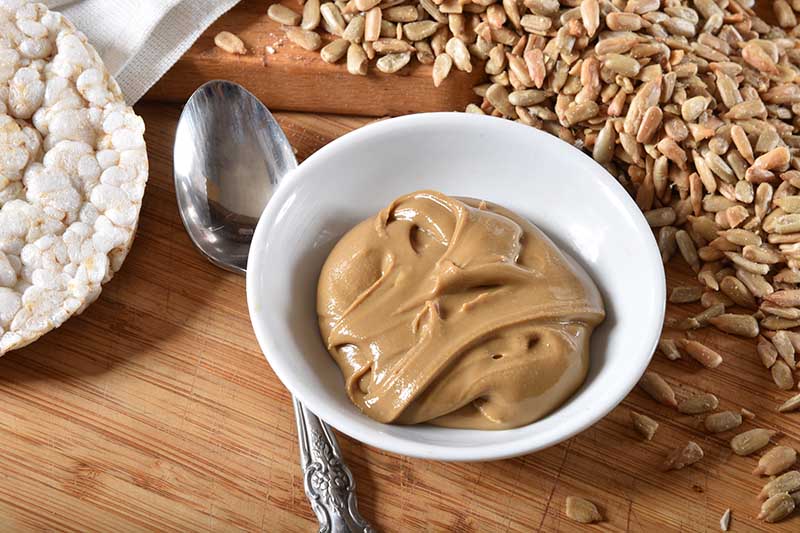
Both my father-in-law and sister-in-law are deathly allergic to peanuts, and they introduced me to sunflower butter many years ago.
I love to eat this tasty peanut alternative on pancakes with syrup, or spread on a toasted slice of bread, topped with this simple fig jam from our sister site, Foodal.
Here’s how to make it:
- Add 2 1/4 cups of roasted, shelled kernels to a high-speed blender, along with a teaspoon of salt and a couple tablespoons of sugar or your favorite sweetener. I use pure maple syrup. But you can use brown sugar, honey, or a sugar-free sweetener if you prefer. And you could also use your food processor.
- Blend at a low speed for about 5 minutes, scraping the sides of the bowl every minute or so. At this stage the mixture may seem a bit dry, since the oils have not yet been released.
- Increase the speed to medium and blend for another 3 to 5 minutes, or until the butter is creamy and smooth.
- Transfer to an airtight container and store in the refrigerator. Use within one to two weeks. Alternatively, you can store it in the freezer for up to four months.
How to Store
Raw, unshelled seeds will last in the pantry for two to three months, or in the fridge or freezer for up to one year.
Roasted and shelled, they’ll also last for up to a year in the fridge or freezer, but they are only shelf stable for three to four months in the pantry.
Roasted and unshelled, they will last for four to five months in the pantry, and for up a year in the fridge or freezer.
Don’t try to plant your roasted seeds, but feel free to save some raw ones in the shell for planting in the garden later.
Put the fresh, unshelled seeds in a brown paper bag, jar, or envelope, and store it in a cool, dark place.
Remember to mark the packet with the date and cultivar name. And keep in mind that hybrid varieties will not produce true replicas of the parent plant.
Plant within seven years, and you’ll get deliciously bright sunflowers to gaze at and harvest all over again.
Double the Delight
It’s lovely of sunflowers to give us their best treat just as their brilliant petals fade, isn’t it? And it’s so easy to harvest the heads – this is such a fun and fascinating project to try with the kids in your life.
How simple it is to have your own fresh crop of homegrown bits of nutty heaven to enjoy.
So plant them now, and get ready for a doubly rewarding journey with your H. annuus.
Do you grow sunflowers? Have you ever harvested your own seeds? Let us know in the comments!
And for more information about growing edible flowers in your garden, check out the following guides next:

Very helpful, thanks! I’m thinking I’m going to try the butter. I’m going to have a LOT of seeds!
Hi Jack! That sounds like a grand idea. Let us know how it turns out!
I read elsewhere that if there aren’t enough bees to pollinate that the seeds will be empty. Any suggestions on making sure I have some good seeds to harvest next fall aside from starting a bee farm? Lol
I read that sunflowers self pollinate. First year planting them so we’ll see!
Can’t wait to make sunflower seeds from my crop!
JoAnne, I sure hope you enjoy the process (and that the birds or squirrels don’t enjoy your harvest before you get to it…)
Thanks for all the valuable tips. My sunflowers are still blooming but once I harvest their seeds I’m quite keen to try out the sunflower buttet!
Hello Natalie! It’s great to hear from you. I hope you get to the seeds before the birds and squirrels… or at least get to share. Enjoy the harvest! Let us know how it goes if you get the chance.