Here are two things I love: wildflowers, and collecting seeds from my garden to save for next year.
It only makes sense to combine the two into a fun, relaxing, kid-friendly, educational activity, right?
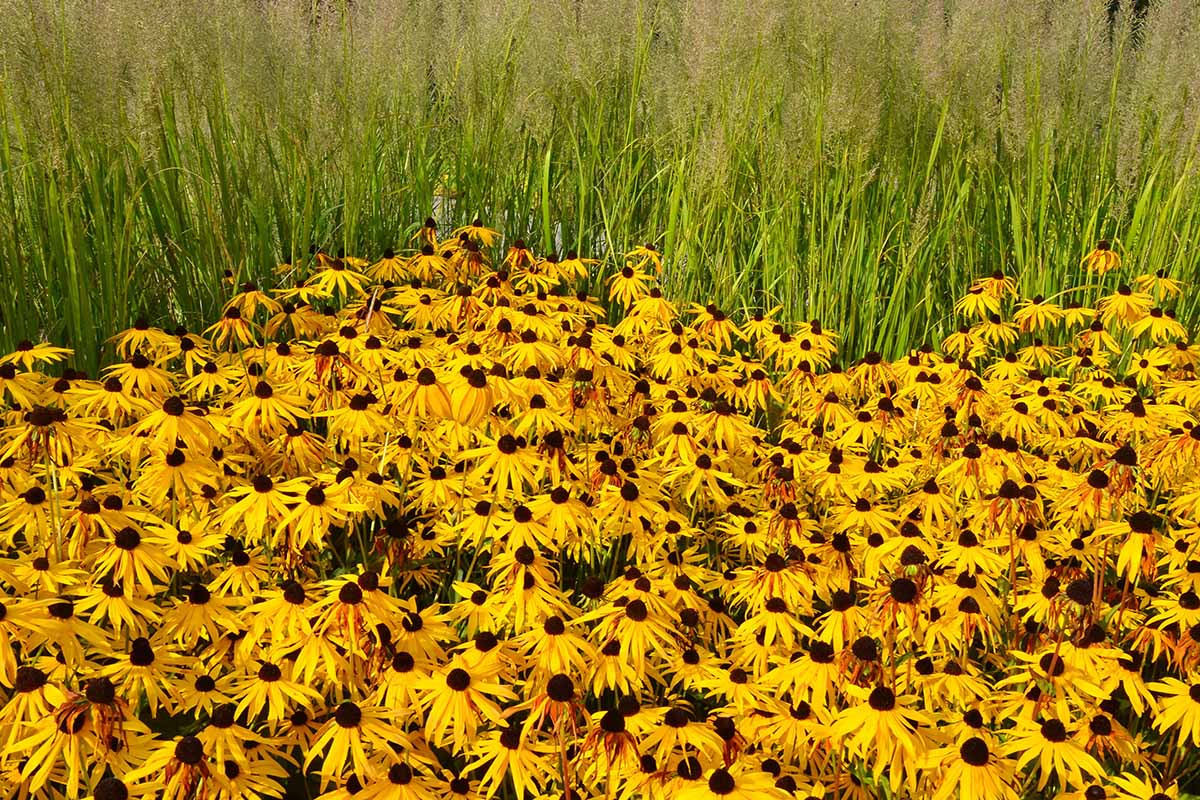
Rudbeckia hirta is one of those wildflowers that’s simple to grow, beautiful to have in the garden, and easy to collect from.
So once I have an established patch, I will be visiting it regularly to watch the pollinators, revel in the bright blooms, and harvest some future plants contained in a tiny black package.
We link to vendors to help you find relevant products. If you buy from one of our links, we may earn a commission.
Once you’re sure the seeds are mature and ready to be collected, it doesn’t take much to gather a bag to start indoors or sow outside next year. And they’re perfect for sharing!
To find out how to decide when to harvest, how to harvest, and all the details on storage, keep on reading! This is what we’ll cover:
How to Collect and Store Black-Eyed Susan Seeds
Pollination
Each black-eyed Susan bloom is really made up of around 250 to 500 tiny flowers, contained in the brown-black “eye,” or center cone, and surrounded by a ring of oversized, bright yellow petals which serve as come-hither beacons for pollinators.

If you look closely, you’ll notice that these tiny flowers bloom, producing sun-colored pollen, in rings starting on the outer edges and progressing to the center during the bloom period, eventually creating an elongated cone.
The winged creatures that come to investigate the vibrant, contrasting flowers are treated to a sip of nectar produced by each flower, so you can imagine pollinators love this wild bloom.
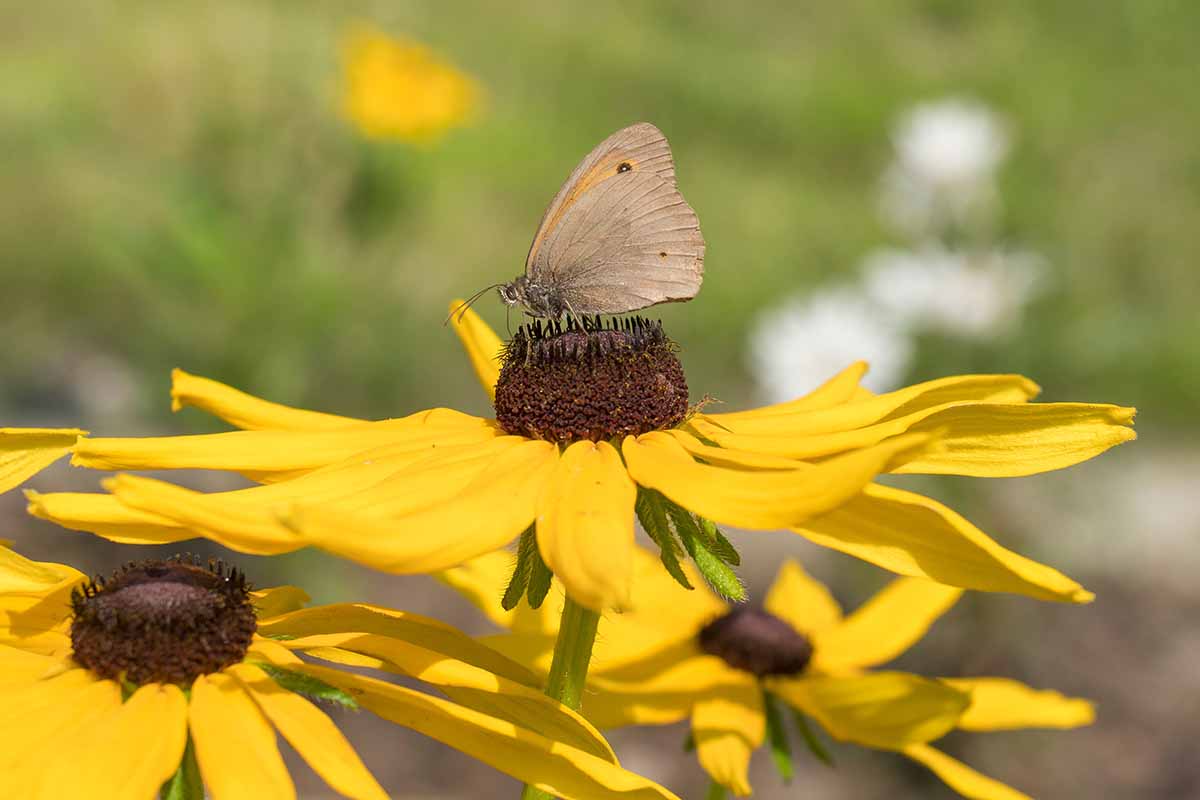
As the bees, butterflies, flies, and wasps drink nectar, they pick up and deposit pollen, fertilizing the tiny flowers.
Thus, you don’t need to do anything to propagate your established plants. The helpful pollinators do the work for you!
In fact, if you leave them be, Rudbeckia will often sow themselves and come back year after year as if they were perennials, though they are in fact biennials.
If you want to control where they propagate themselves, wish to add sunny color to other areas of your garden, or want to share the cheerful blooms, harvesting and storing the seed can help you accomplish that.
How to Harvest
Three to four weeks after a flower has bloomed, the seeds are mature and ready to be harvested.
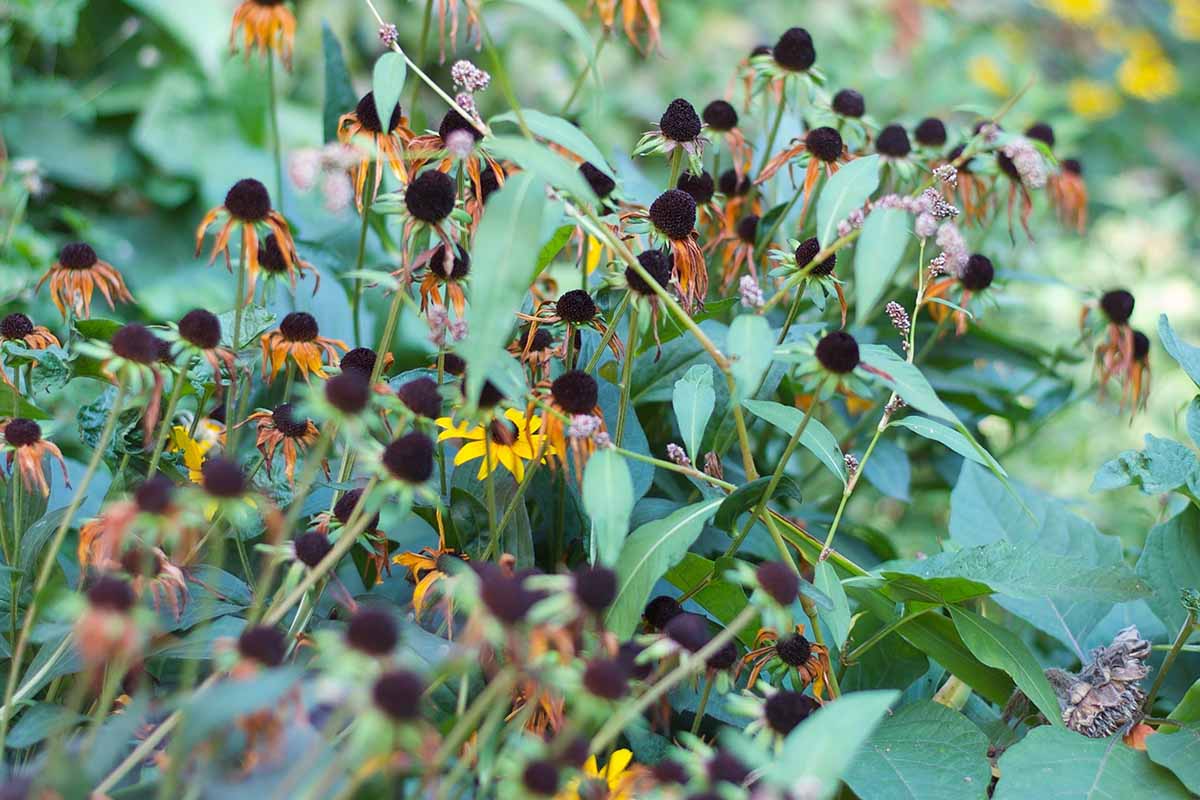
Black-eyed Susan blooms throughout the season, so you may be able to harvest multiple times through the summer and into fall. Generally, the majority will be ready from mid-September to mid-October.
Double check, though, as the seeds will not continue to develop after you remove them from the plant.
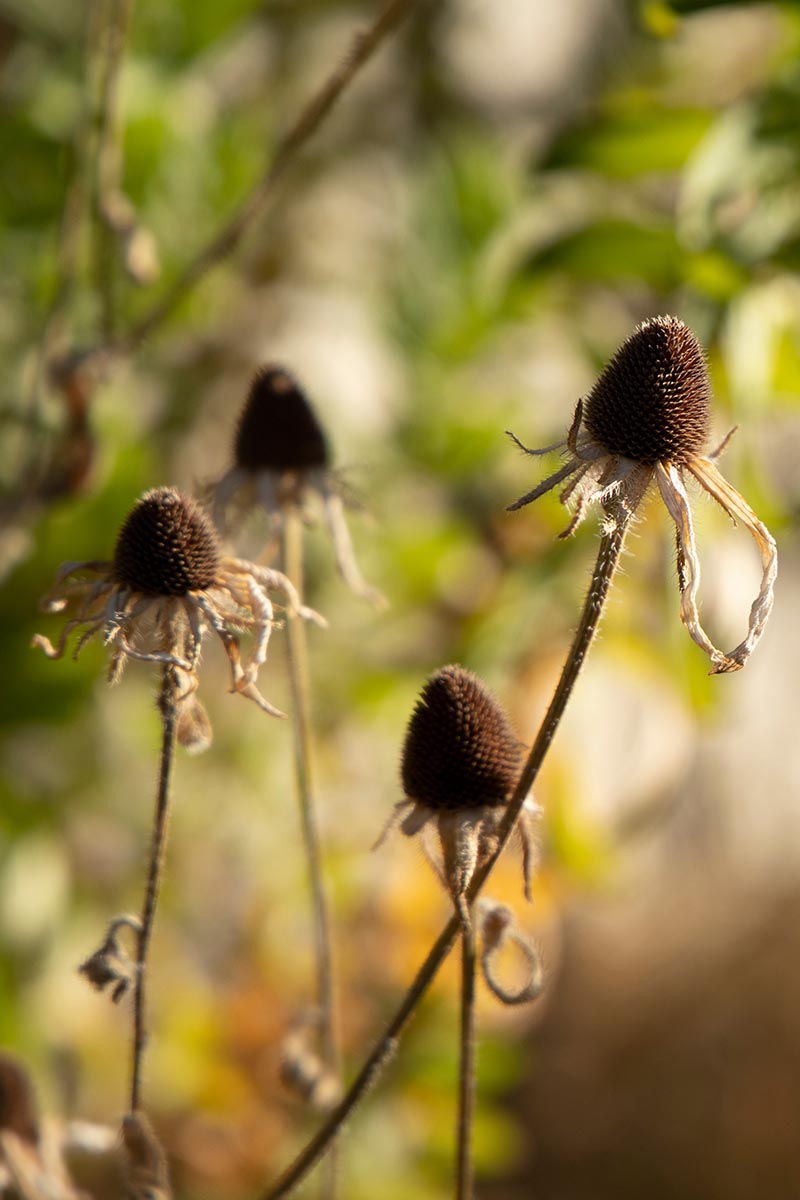
Mature seeds are charcoal gray to black, long, and have fine veins running their length. The cones should be dry.
These heads don’t shatter easily, but wind, rain, and hungry birds can leave you with little to nothing to harvest very quickly – so keep an eye on them!
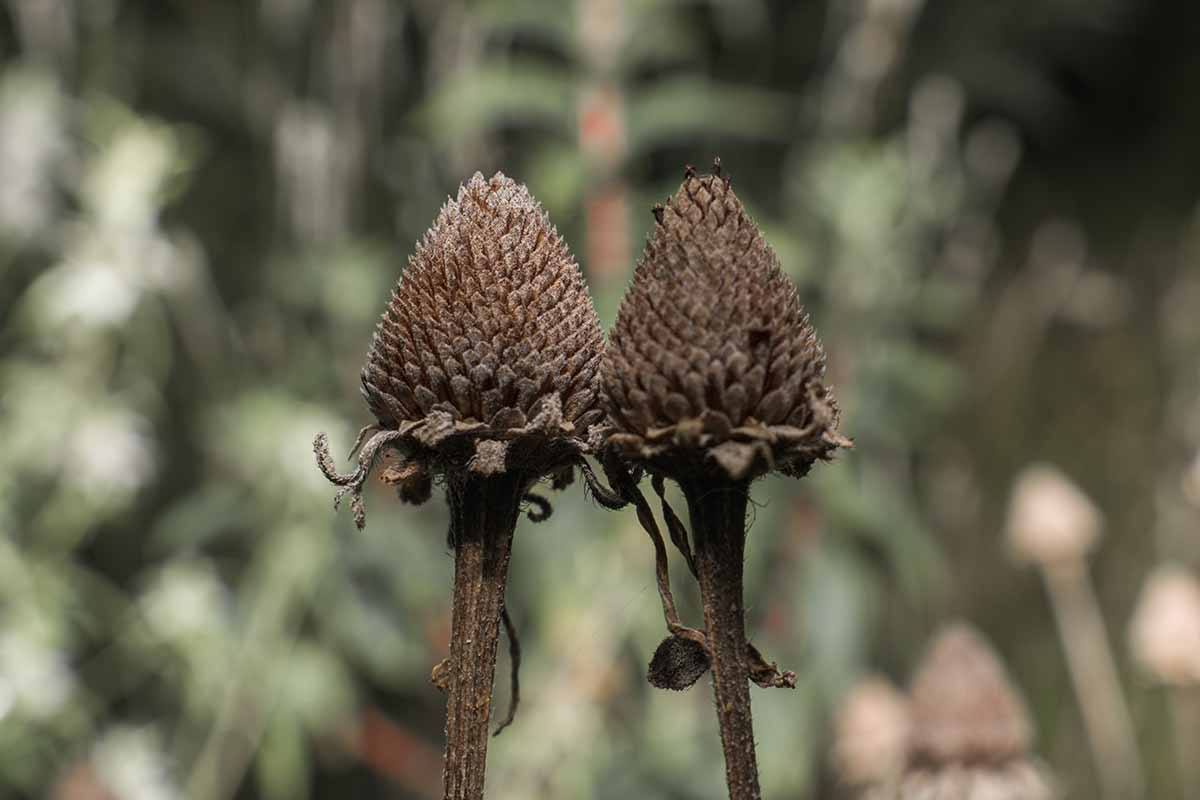
Once mature, you can clip the entire head off with some stem attached, place the head in a paper bag, and use the stem to hang it upside down in a warm and dry location to dry fully.
Alternatively, spread the heads on newspaper or in a box in a warm and dry spot to allow them to dry out completely.
You’re looking for a crispy, brittle cone. Once dry, the cones can be crushed or shaken, or you can use your thumb to scrape the seeds free.
You’ll be left with a mix of black seeds and dark-colored chaff. The chaff is comprised of flower remnants and bits of the cone that held everything together.
There are a variety of methods available for removing the chaff, including using a sieve or dropping handfuls in front of a fan so the breeze blows the chaff away. Experiment, and use what works best for you!
How to Store
These seeds will stay viable for three to five years if you store them properly.
Place the fully dry seeds in a paper envelope, label it with the species and date collected, and seal it in a jar.
Store in a cool, dry location.
Three months of cold stratification is required before planting in the spring, or you can pre-seed the garden to cold stratify outdoors.
Sunshine You Can Hold
Harvesting Rudbeckia seeds is a simple way to expand that big, bright patch of black-eyed Susan blooms into other areas of your yard. You might even have enough to share with family or friends!
Have you ever grown Rudbeckia from your own harvested seed? If not, will you try to save some this year? Let me know in the comments below!
To help you sow, grow, and use black-eyed Susans in your garden, read these guides next:

I have been collecting my seeds this year! I clip the dry flower heads into a colander that’s sitting in a bowl. Sometimes I just lightly shake them, others I use the potato masher lol. In any case, I agitate them and the seeds fall into the bowl! Planning to share and plant next year as well. 🥰
Belinda that sounds smashing (pardon the pun). Thanks for sharing your technique.
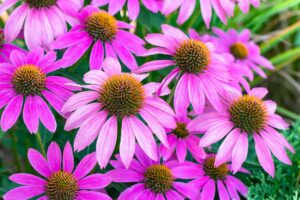
My rudbeckia seeds are beige not black – Rudbeckia Purporea. Will they still grow?
They should do, give it a try and let us know how you get on!