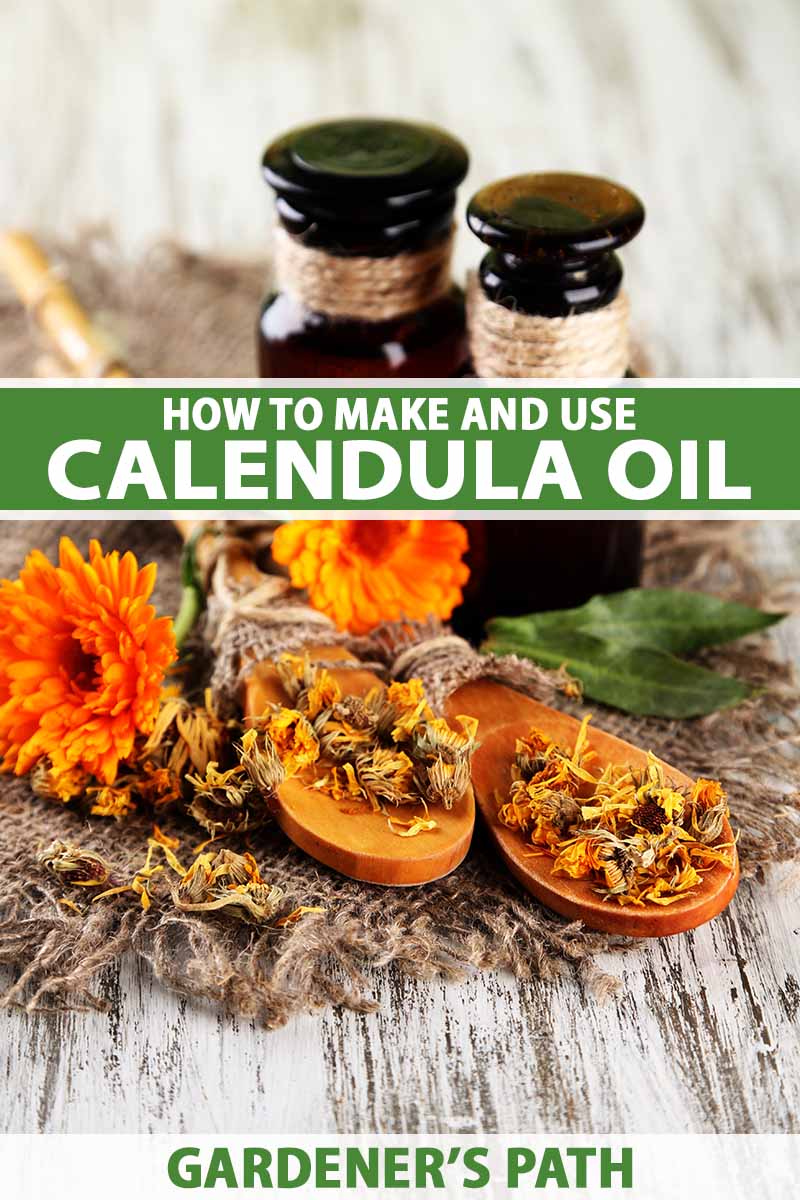
Calendula-infused oil is a must-have in my herbal apothecary or first aid kit. I gather enough flowers throughout the growing season to infuse for use in my favorite herbal serums, creams, balms, and salves.
We link to vendors to help you find relevant products. If you buy from one of our links, we may earn a commission.
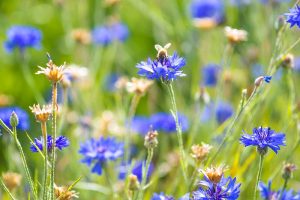
Leaving some flowers unharvested towards the end of the growing season to self-sow is essential to ensure another round of calendula plants for the next season. But the rest can be put to good use as an oil, tincture, or tea.
In this guide, you’ll learn about the fantastic healing benefits calendula-infused oil can provide, how to make your own, and various ways to use it at home.
Continue reading to be inspired by the medicinal qualities of this easy-to-grow flowering herb.
What You’ll Learn
What Is Calendula Infused Oil?
Calendula is an amazing ally for the skin. The entire flower head, including the resinous bracts, can help to heal a myriad of skin issues.
An easy way for gardeners to extract some of their healing properties for topical use is by infusing them into a carrier oil.

It’s important to note that people who are allergic to plants in the daisy family, Asteraceae, might also have an allergic reaction to calendula in the form of a rash and should be cautious when considering topical use of this herb.
Keep in mind that sometimes people refer to a “CO2 total extract of calendula” as calendula oil, but these are created using two different preparations.
CO2 extracts are produced commercially using carbon dioxide as a solvent, and these are similar to essential oils in their use and application. Both are very potent and should be diluted before use.
In this guide, we highlight the crafting and use of a carrier oil that has been infused with dried flower heads of C. officinalis.
Oil infused with dried whole calendula flowers can help to soothe irritated skin while promoting healing.
When applied topically, the infusion may help to increase circulation and reduce inflammation. The flower heads also contain mild antimicrobials that can assist in preventing skin infections.
There are scientifically-backed reasons why many commercially available cosmetic and skin care preparations today contain calendula extracts.
For example, a 2021 study published in Cosmetics, an international, scientific, peer-reviewed, open-access journal on the science and technology of cosmetics, supports the use of calendula oil in treating skin injuries and for conditions such as irritative and allergic contact dermatitis, rosacea, psoriasis, vitiligo, melasma, and skin toxicities from cancer treatment.
A 2020 integrative review of various studies published by F. V. Simões, V. O. Santos, R. N. Silva, and R. C. Silva considered the effectiveness of C. officinalis for the prevention and treatment of radiodermatitis.
Also known as radiation burn, this is an adverse side effect of the radiation therapy that is used to treat certain forms of cancer.
The researchers concluded that calendula does have the potential for preventing and treating this skin condition, though there is a need for further testing.
Any herbal preparation that contains oils or waxes, like salves and balms, should not be applied to open wounds or weeping sores.
Using these products on open wounds can create an anaerobic environment that invites certain types of bacteria to grow that thrive with the lack of oxygen.
How to Make Calendula-Infused Oil
Remember the sticky, resinous bracts mentioned above? The entire flower heads of calendula, including their resinous involucres, should be included when taking cuttings for medicinal use.
Botanically speaking, the involucre is the green base of the flower. This part of the plant also holds healing constituents that can calm inflammation and help prevent infection when applied topically.
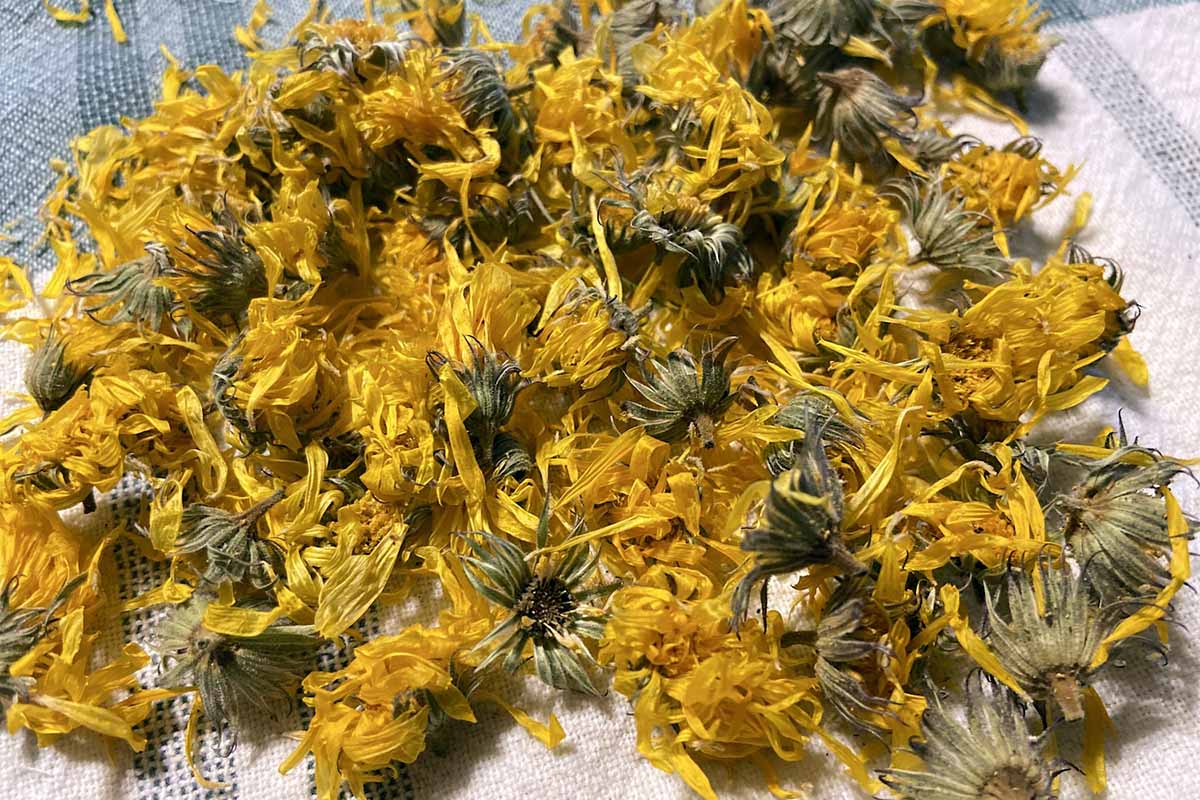
If you’ve gathered calendula from your garden, dry the whole flower heads thoroughly before infusing them to avoid mold and bacterial growth.
Are you not growing your own calendula just yet? Let’s get you started! Learn how to grow and care for calendula in our guide.
These medicinal plants are so easy to grow and don’t require much space, making them the perfect plants for herbalists who are beginner gardeners.
In this guide, we’re going to explain how to make a small batch of infused oil using a folk method common in traditional herbalism practices. This practical approach will inspire you to keep improving your herbal extraction skills!
I highly suggest researching the incredible world of carrier oils that can be used to extract botanicals or added to your healing remedies.
A beneficial book to include in the botanical resource section of your bookshelf is “The Carrier Oil Palette: Fixed Oils, Butters, Herbal Oils, and CO2 Extracts of the Carrier Oil Palette,” by Jade Shutes and Sherilyn Siegmund-Roach.
The book contains monographs with up-to-date research as of the time of its publication in spring of 2022 on 26 fixed oils, seven herbal oils, 10 natural butters, and eight fixed oil and herbal CO2 extracts.
I particularly enjoy how the content covers sustainability concerns while suggesting solutions and inspiring you to level up your homemade botanical products.
You can pick up a copy of this book on Amazon.
If you plan to use your oil in salves, olive oil can be used for extraction. But if you want to make a facial serum, I recommend using a variety that is more readily absorbed by the skin, like jojoba.
Prepare an eight-ounce jar and lid by sanitizing them with soap and hot water. You could also use rubbing alcohol to rinse them. Please make sure they are completely dry before you begin the process of combining the dried flowers with oil.
Measure out four ounces of dried calendula flowers and blend them or grind them down with a mortar and pestle.
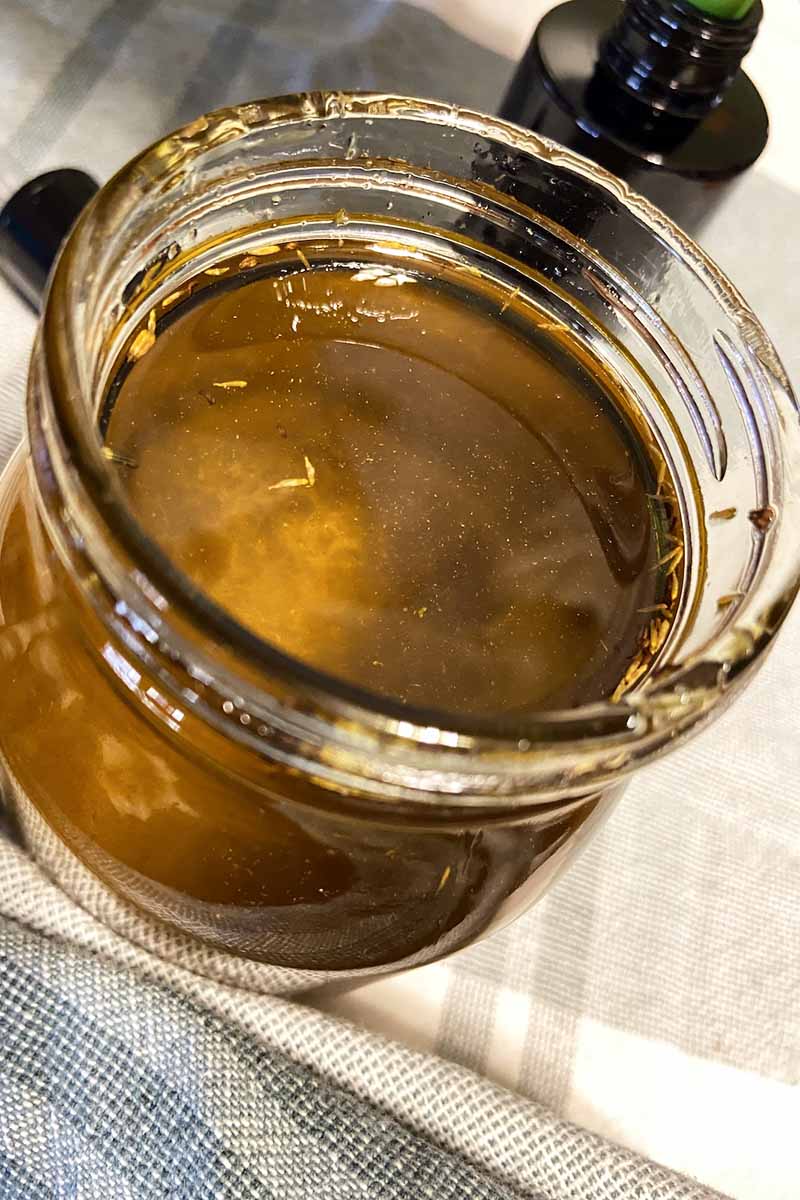
Place the ground flowers in the jar and pour your carrier oil of choice over the top to fully submerge your herbs. Leave at least a quarter-inch of headspace at the rim.
Cover with the lid and give it a vigorous shake to ensure all the dried herbs are saturated.
Place in a room temperature location out of direct sunlight, which can degrade the quality of your carrier oil. Let it infuse for three weeks.
Check periodically to ensure that the herbs remain submerged. Mold growth indicates too much moisture content in the herbs or jar, and moldy infusions should be discarded.
Your oil will have a golden to orangish tone when it’s ready to be strained for use. It should also have a sweet fragrance similar to honey.
Get another jar of the same size ready by sanitizing it, as well as a funnel, and a large piece of cheesecloth folded double or a nut milk bag to act as a fine filter.
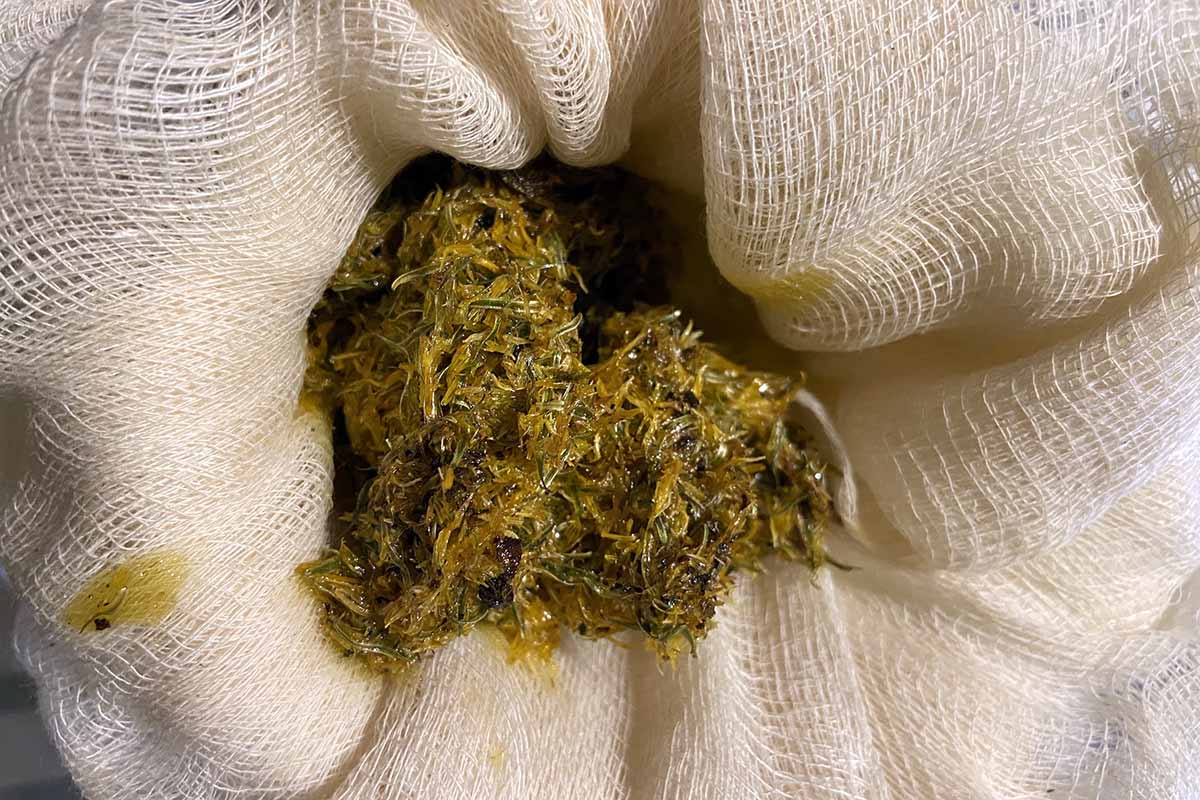
Place your funnel in the clean jar and line it with your cheesecloth or nut milk bag. Pour your finished oil over the cloth-lined filter and press out any excess liquid.
Label and date your bottle or jar. I like storing mine in dark-colored bottles to protect and preserve the contents.
My favorite bottles to use for this purpose are made from Miron glass. This type of high-quality UV-protectant glass acts as a natural barrier to prolong the shelf life of your oil.
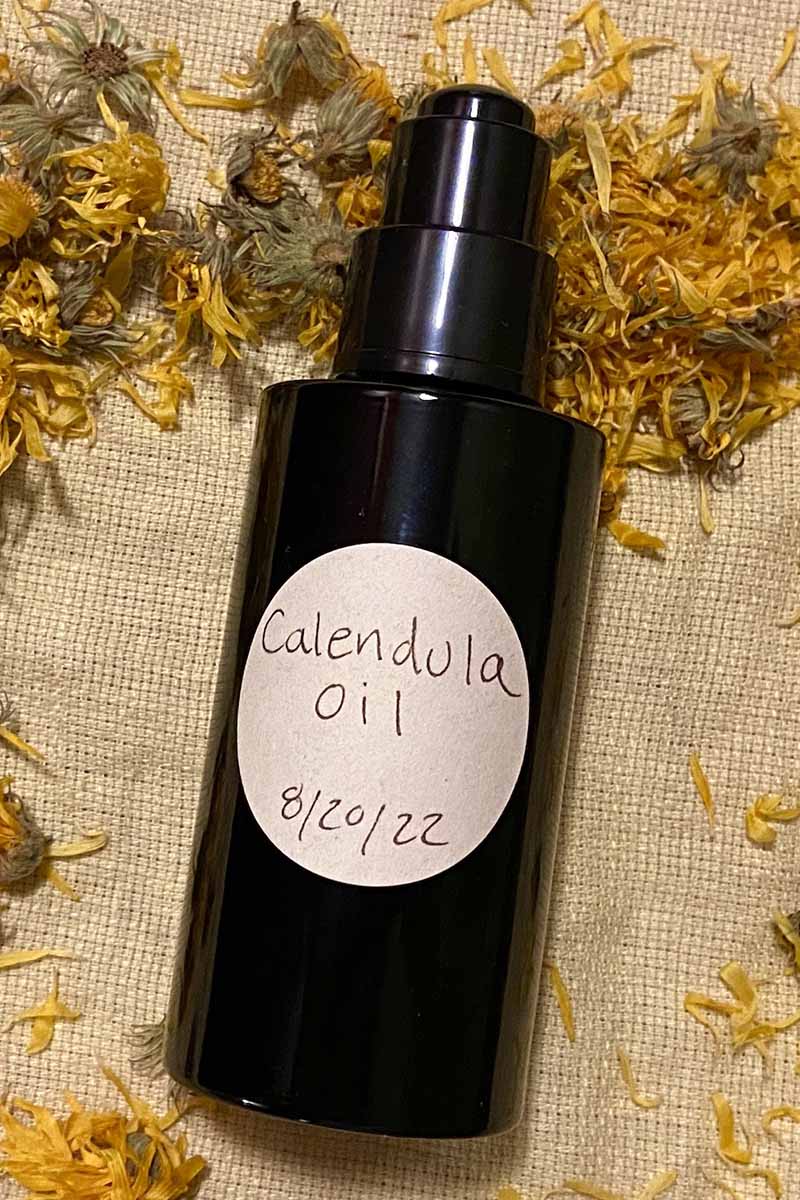
Bottles are available in various sizes and styles from Infinity Jars via Amazon.
If you only have clear bottles available, be sure to keep your oil in a dark place.
The temperature at which you need to store it will depend on what kind you use. Usually, storage recommendations are provided on the carrier oil’s label.
For example, jojoba oil is considered more stable than most oils and has a five-year shelf life when stored at room temperature in a dark place.
On the other hand, olive oil should be kept in a dark and cool place that does not exceed 70°F and must be used within 12 to 18 months.
Best Uses
I really appreciate the pleasant aroma this oil exudes and enjoy using it simply as a nourishing herbal-infused body and facial oil.
Aside from smelling like honey, it can aid in healing various skin conditions as described above and in rejuvenating the skin.
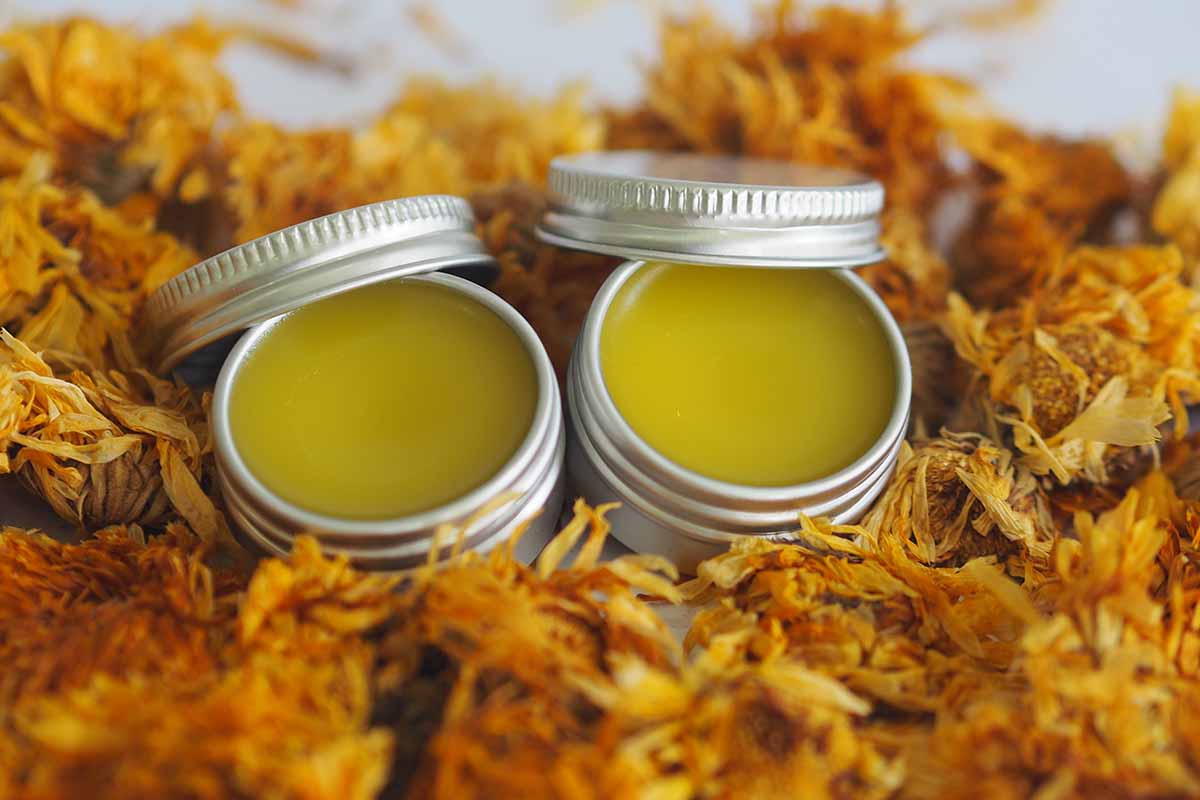
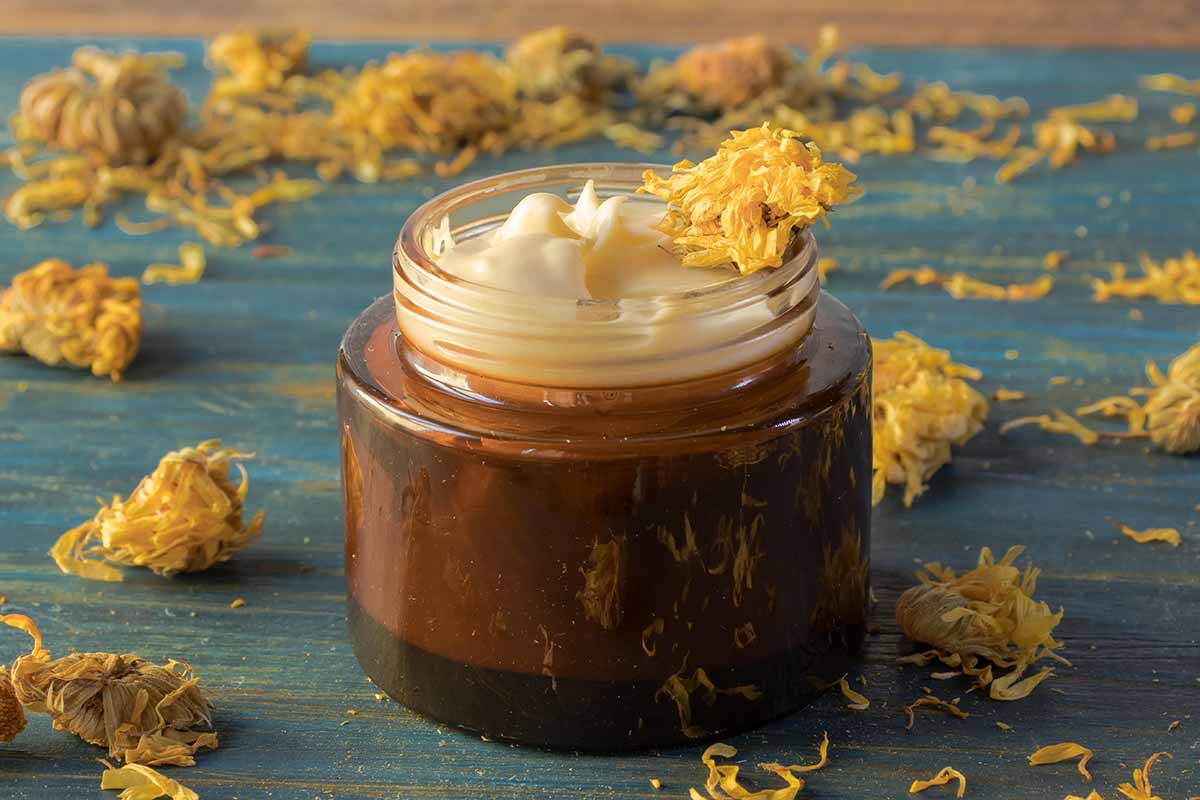
Your small batch of herbal infused oil can be used in various topical remedies such as balms, salves, serums, or even luxurious body butter!
Calendula salve is a helpful addition to herbal first aid kits. Below is a basic guide on how to use your infused oil to make a salve.
Materials
- 8 fluid ounces (1 cup) calendula infused oil, plus more as needed
- 1 ounce (2 tablespoons) beeswax, plus more as needed
- Stovetop-safe pot
- 2 metal spoons
- Sanitized salve tins or jars with lids
- Small funnel (optional)
Beeswax can be sourced at farmers markets or online. If you need some for this project, cosmetic-grade beeswax pellets are available in one-pound bags from Beesworks via Amazon.
One of the metal spoons will be used for stirring. Another (or a few extras) should be chilled in the refrigerator until you’re ready to use it to test the consistency of your mixture.
Process
1. Pour one cup of infused oil into your pot and place it on the stove over low heat.
2. Add one ounce of beeswax to the pot and allow it to melt, stirring occasionally. Remove from heat. This process should take no longer than two minutes.
3. Dip a clean, cold spoon into your mixture to test the consistency. Note whether it’s soft or solid when it touches the cold spoon.
If you want your salve to be more solid at room temperature, you can place the pot back on the stove over low heat and add an additional tablespoon of beeswax.
If your salve is too solid, you can add more oil a teaspoon at a time and reheat. Test again with a clean, cold spoon.
4. When the mixture has reached the desired consistency, slowly pour it into your clean tins or jars to prevent air bubbles, using a funnel if needed, and filling them nearly to the top.
5. Set aside to cool completely before placing the lids on top. If you rush this part of the process, it can cause moisture buildup that may lead to mold or bacterial growth.
Optional: To prolong the shelf life of your salve, you can stir vitamin E or lavender essential oil into the mixture just before you pour the liquid salve into the containers.
A one-percent dilution of lavender essential oil is recommended for safe use. For each cup of infused oil that you used, add 48 drops of essential oil for a one-percent dilution. When incorporating vitamin E oil, add 24 drops for a 0.5 percent dilution.
This salve can be applied to bug bites, stings, dry skin, and minor rashes. Store in a cool, dry place.
Read more about the healing attributes and common uses of calendula flowers in our guide.
Get Creative with Calendula for Skin Care
Learning and practicing the basics of making quality herbal remedies will empower you to keep improving your skills.
Calendula is the perfect plant to start with, thanks to its effective yet gentle healing properties. It also pairs well with many other herbs that are supportive to skin care, adding to its versatility.
Gardening connected me to learning more about herbalism. Finding out that many plants are imbued with healing properties inspired me to include more medicinal species in my garden. I hope this guide has influenced you to invite more herbal plant allies into your own growing space.
What herbal remedies do you enjoy making from your garden? Let me know in the comments below, and tell me how it went if you tried these recipes! We love hearing from our readers.
Check out these articles next to learn more about growing your own healing herbs and other medicinal plants:

It’s good stuff. I used to buy it when I lived in Addis Ababa. The only thing which worked on flea bites.