
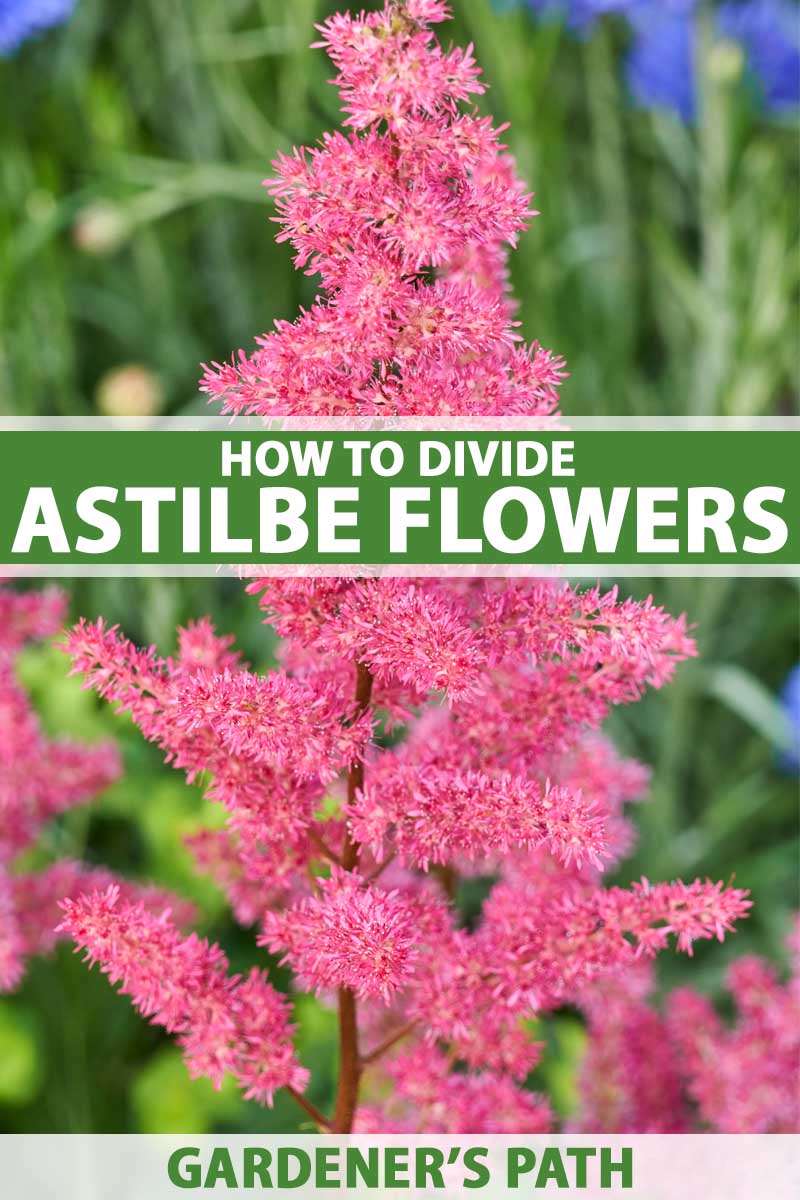
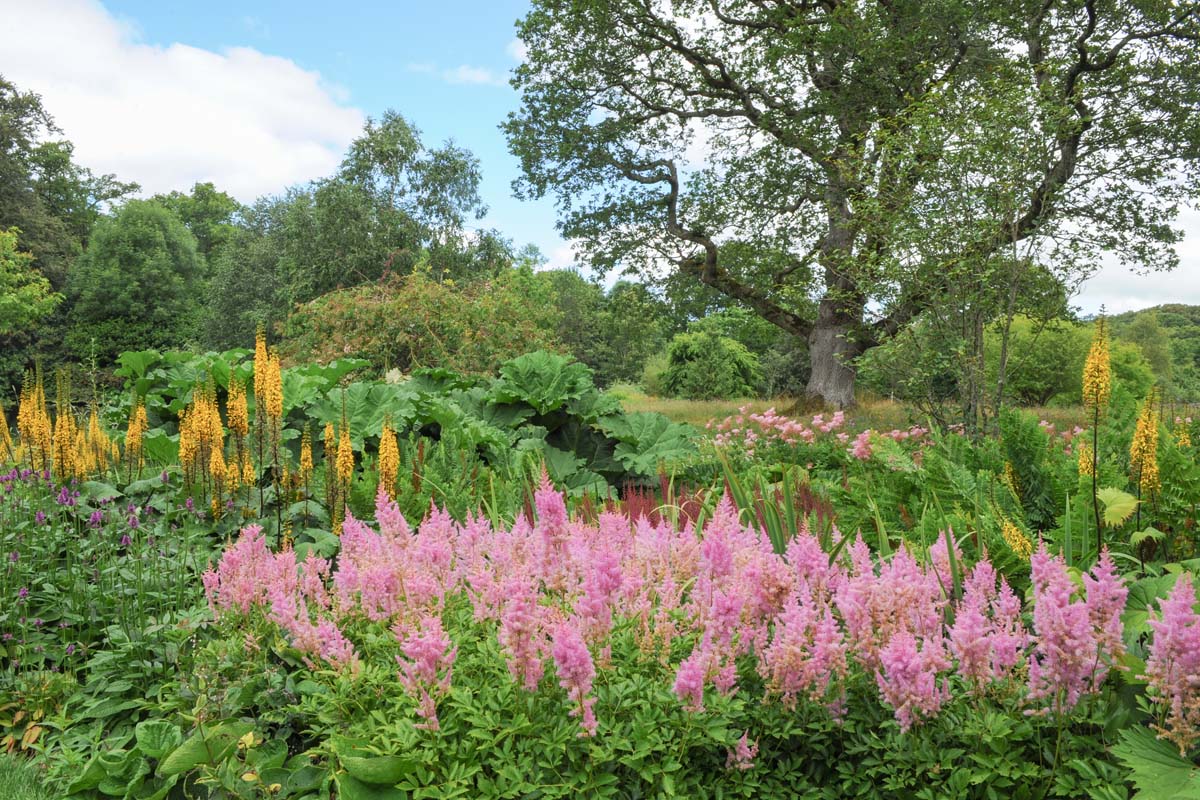
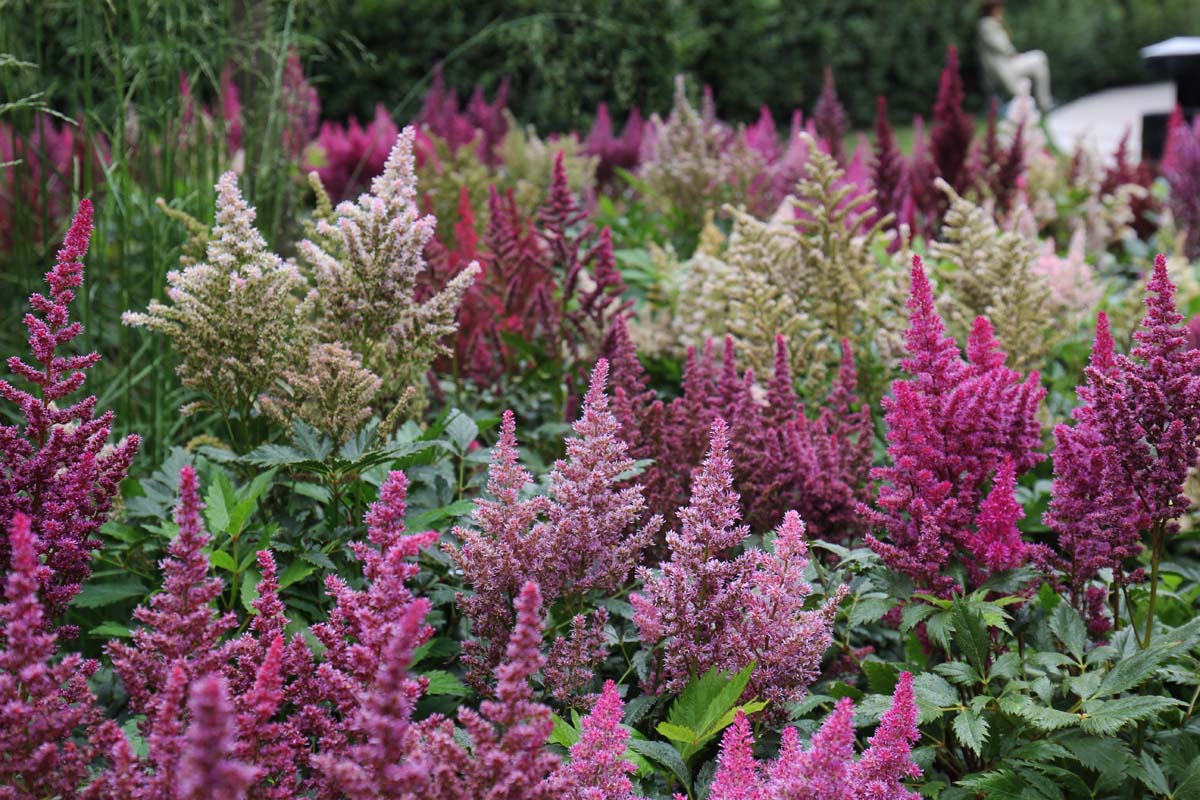
Allow me to introduce you to the magic of the perennial, shade loving, Astilbe. One single plant can turn your backyard (if it’s shady enough!) into a charming oasis bathed in lavish plumes and lacy foliage.
We’re going to talk about how you can take that one parent plant you bought at the nursery and transform it into as many baby plants as your heart desires.
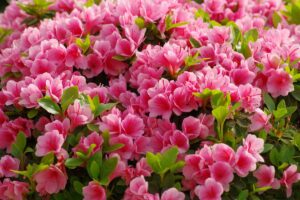
Astilbe plants vary in size and color. There are some plants that will not top six inches while others may finish their season at a whopping four feet tall – buyer beware!
We link to vendors to help you find relevant products. If you buy from one of our links, we may earn a commission.
Make sure to pay attention to which varieties you purchase at the nursery, lest you unknowingly plant a variety that may form a veritable forest.
If you are propagating from a plant that you’re already familiar with from your backyard, you can expect a similar height from the propagated (or “baby”) plant as displayed by the parent plant.
Colors vary from white to dark shades of purple and pink. Their foliage also varies from greenish bronze to dark green, depending on the cultivar and the soil’s available nutrients.
Propagation
Astilbe can be successfully divided in fall or early spring.
If divided in fall, you can directly replant the new divisions, or you can store them in pots in your garage for the winter to gift to your friends, or for planting in your garden the following spring. Wait to divide the rhizomes until after the plants have finished flowering.
If you choose to divide them in the springtime, do it early during their dormant stage so that once they start growing, they have a full season to establish themselves.
Another important note before planting: make sure to observe where the sunshine and shade fall in your garden during the spring and summer months. Once autumn and winter roll around, the light patterns will change. Astilbe grows best in partial shade in the warmer seasons, but it can tolerate full sun.
Now that you’ve decided on the optimal location for your freshly divided Astilbe, let’s talk division and multiplication!
Ideally, to keep your parent plants healthy, you’ll want to divide them about every four years.
9 Steps for Dividing your Astilbe
- Water the area around the plant that you are planning to divide, to loosen the soil. Let the water settle in for a bit.
- Dig holes for the new transplants. The holes should be about 8 inches deep and 12-24 inches apart. If the soil is poor, dig 12 inches deep and mix some rich compost into the hole before you plant.
- Clear away any debris or old plant material from the top of the parent plant with your hands.
- Measure a diameter of approximately 12-16 inches around the plant (or for a quick measure, you can use a 5-gallon bucket to get the right diameter), and mark it.
- Take a shovel and gently dig out the main root network in a circle about 10-12 inches deep. Imagine digging out the roots in the shape of a generous salad bowl, with plenty of soil intact to avoid damaging the root structure.
- Take the parent Astilbe plant with both hands and gently divide the rhizomes by identifying the “eyes,” and pinching off pieces of root with 3-5 eyes. The eyes will have small shoots growing from them, like a forgotten potato that starts to sprout after a few weeks. One parent plant will typically render 4-5 new transplants.
- Now plant those fresh transplants into the holes you previously dug, and gently cover with soil. You want the top of the transplant, where the eyes are emerging, to be facing up towards the sky and placed about 1 inch below the soil’s surface.
- Water in the transplants with a good soak. In the spring, you may choose to fertilize with a mix that has a lower nitrogen (N) ratio with higher levels of phosphorus (P) and potassium (K).
- Spread some mulch in a circular pattern around the plant to create a weed barrier, if you wish. Try to make sure that the mulch isn’t too thick over the top of the new transplants. Create a “donut” shape around the new plant.
Great work!
Additional Notes for Division in the Fall
If it is autumn and you want to store your divisions instead of directly replanting the rhizomes into your garden beds, you can plant each new transplant in well-draining potting soil in a medium-sized pot. Place it in your garage or cellar, in a dark and cool location, and wait until spring to decide what you want to do with them.

You don’t want to water the pots much during the winter while they are dormant, but try not to let them get so dry that the roots shrivel. A cup of water every two to three weeks should be just fine!
Remember that if you choose this route, you’ll need to follow steps 2-4 and 7-9 as described above the following spring, when the ground has begun to warm up and you are ready to plant. Any rhizomes showing signs of mold, rot, or decay should be discarded.
The last element of the process, if you choose to embark on it in the fall, is a great big dose of patience. Your newly transplanted Astilbe are not likely to bloom in their first growing season. However, you can expect to see blooms starting in year 2 and onward!
The fireworks of Astilbe plumes will be well worth the wait, I assure you.
Some Final Thoughts While You Wait…
There are few greater joys than beautifying our gardens. Taking some extra time to divide and thereby multiply the Astilbe in your garden beds is worth it. The parent plant will be healthier with more room to spread, and the number of blooms in your beds will be more numerous.
Remember the key principles that will keep your plants happy: rich, well-drained soil; regular deep watering without constant wet feet; 2-3 hours of sun per day; and annual fertilizing with a mix that is high in phosphorus and potassium.
Lastly, if you have no place to plant your new transplants, put them in a bucket, print this guide, and march yourself over to your neighbor’s house. The best gifts are unexpected!
Have you ever divided your Astilbe? How did it go? Let us and the community know any tricks or tips you may have, or share any questions in the comments below.
For more information about this amazing flower, be sure to check out some of these guides:

Thank you for this! I just bought my first Astilbe plants. I have been wanting them for years and now we have the room! I wasn’t sure how these grew or how to propagate them–and this has helped tremendously! Wish me luck! ????