Have you ever bitten into a ripe, juicy plum, pulled out the pit, and thought to yourself: “could I plant this and grow a new tree?”
Curious growers, those looking for a fun gardening project to do with the kids, or experts hoping to cultivate a wild plum species can absolutely use a plum pit to grow a new tree.
We link to vendors to help you find relevant products. If you buy from one of our links, we may earn a commission.
If you’re a gardener hoping to start a productive orchard with dozens of popular commercial plum cultivars, then the answer is no. You shouldn’t try this propagation method.
We’re going to talk about why that is and discuss the entire process, from cleaning the plum pit to planting your new tree.
Here’s what we’ll go over:
What You’ll Learn
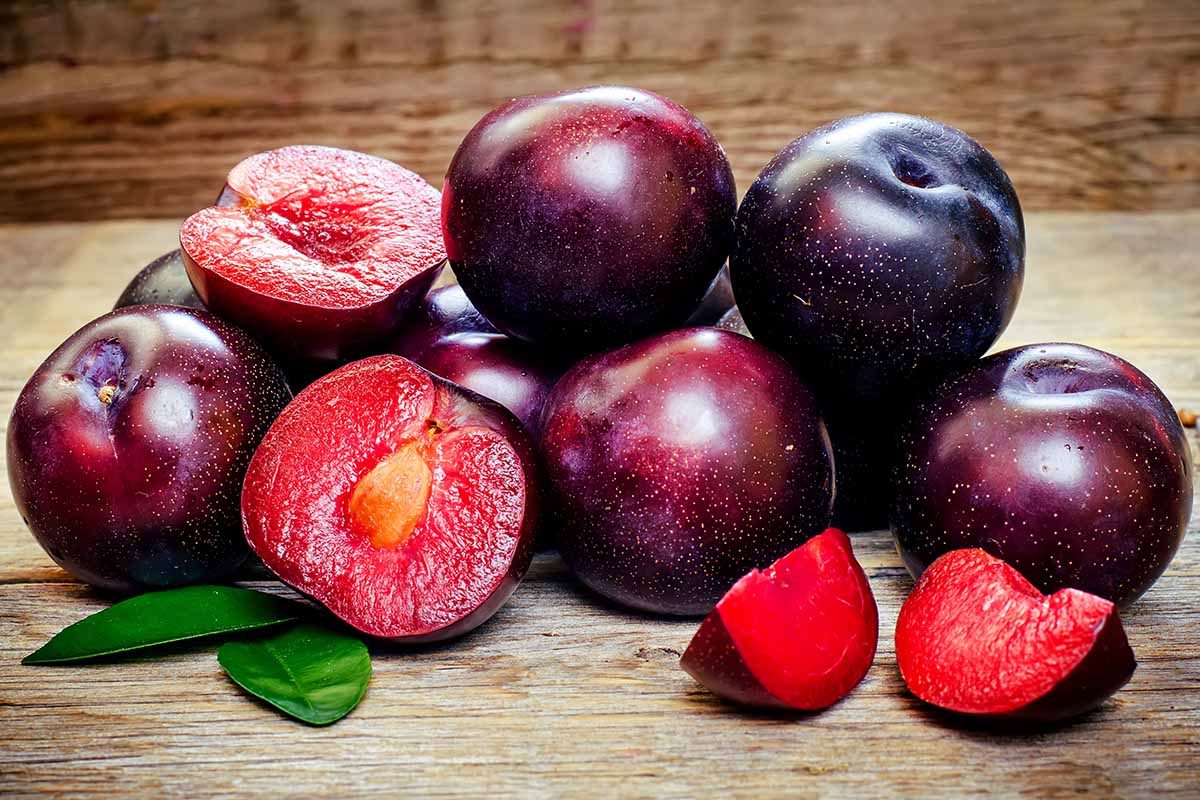
Before we get started, let’s define our terms. Botanically speaking, the plum is known as a stone fruit or drupe.
It’s made up of the fleshy bit we eat, known as the mesocarp, and the skin that encases it, known as the exocarp.
Inside at the center is the hard pit that we usually throw away. This is made up of the hard endocarp, and if you break it open, you’ll find the seed inside.
Plum drupes are indehiscent, which means they don’t burst open to release the seeds at maturity, unlike dehiscent species like poppies, rhododendrons, kale, phlox, and spirea, that split open allowing the seeds to drop to the ground.
Instead, the shell has to decompose naturally or be eaten by an animal for the seed to be released.
That informs how we approach growing plum seeds. So let’s answer the question of whether it’s even possible to do this, first.
Is It Possible to Grow Plums from Pits?
It’s possible to grow plum trees from the pits of the drupes, but there are a few caveats.
The fruits you obtain at the grocery store or pick from your own tree might contain seeds that are sterile. Or, if it is viable, the plum tree that emerges might not be anything like the parent.
This is particularly true of Japanese and European plums, which are usually hybrids grown on grafted roots.
That means the seeds inside the plum fruits won’t necessarily produce a tree that resembles the one you’re growing in your yard, or produce fruit like the one you purchased at the store.
For example, if your plum tree is a dwarf type, it’s grown on dwarfing rootstock. The new tree that you start won’t be dwarf, it will be standard sized. And possibly you might end up growing a tree that doesn’t produce fruit.
In the case of wild plum species like American (P. americana), beach (P. maritima), Canadian (P. nigra), or peachbush (P. texana), growing from seed is common and if you propagate a species plant you’ll produce a tree that is similar to the parent.
In other words, if you want to propagate a productive fruit tree, this isn’t the method you need to use.
But if you want to play around, have some fun and maybe breed your own one-of-a-kind fruit tree, or grow a native plum tree, then it’s the perfect method. Provided you have some patience!
Preparing the Seeds
This process takes time, so plan ahead by starting about four months before you want to plant.
If you’re propagating seeds collected from hybrid plums, start twice as many as you think you’ll need. Some seeds are duds, some are stubborn, and some will fail.
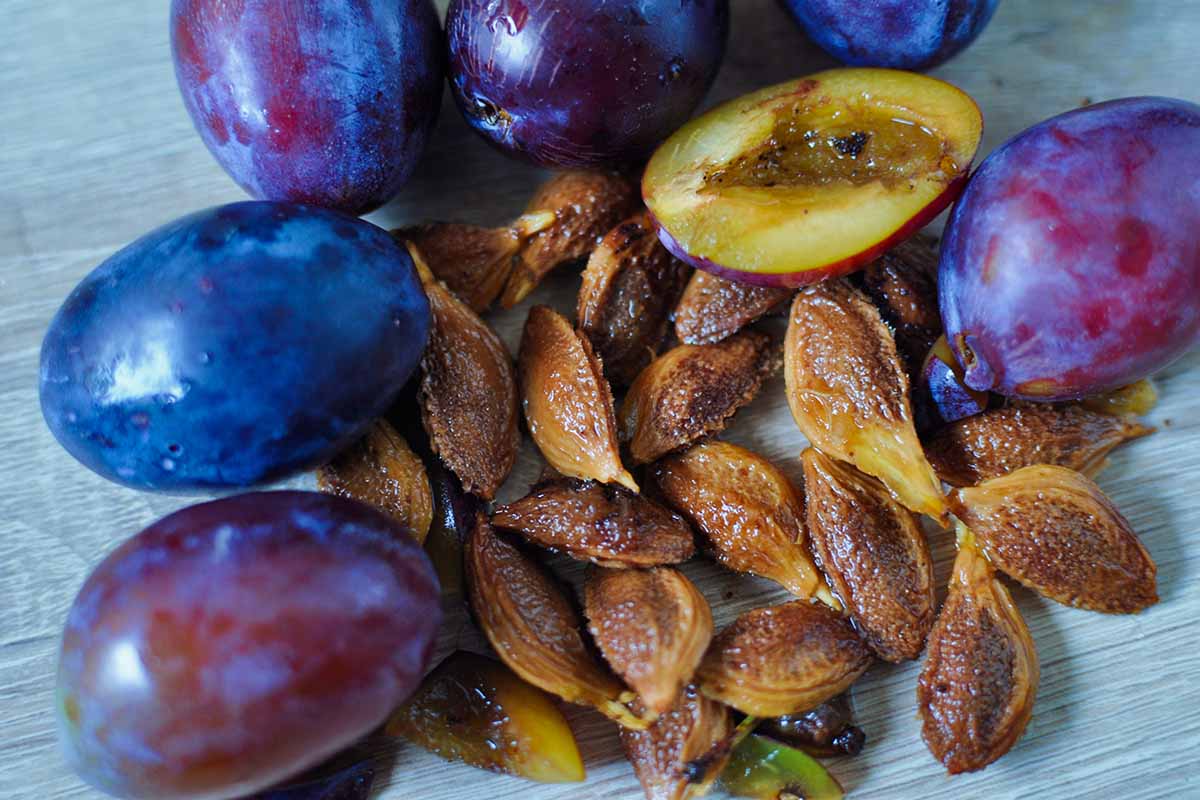
Remove the pit from the fruit and rinse it clean. You might need to use a toothbrush or veggie brush to scrub them to remove all the flesh.
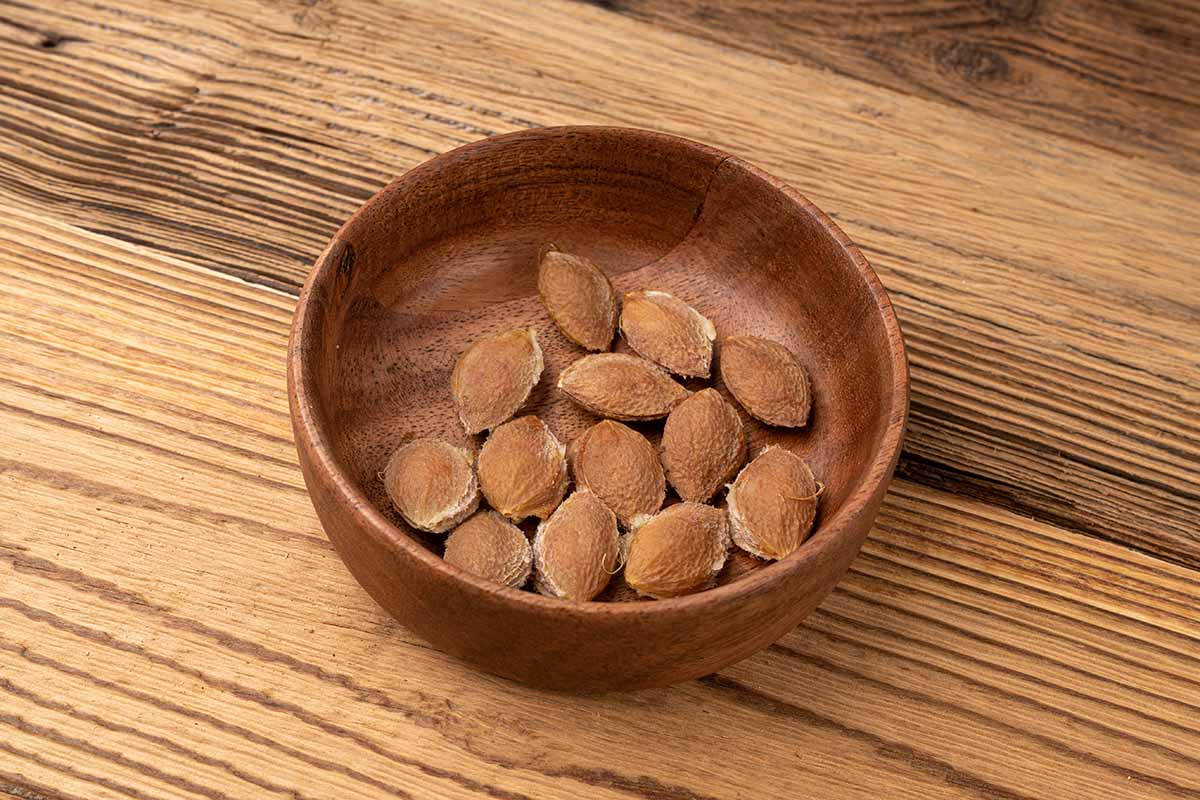
They don’t need to be spotless, but you want to avoid the attached flesh rotting or attracting pathogens. You don’t need to open the endocarp, though some gardeners opt to do so.
If you want to open it, place the pit in room temperature water and let it soak for 24 hours. Then, use a nutcracker to gently pop the shell open.
During this process, if you accidentally damage the seed, which does happen occasionally, you’ll need to toss it out and start a new one.
Next, you’re going to trick the seed into thinking that it has been chilling in the ground through the winter months. This is known as stratification, and it’s a necessary step.
Why on earth would a seed need to be cold before it would be able to germinate? It’s actually a smart evolutionary tactic.
If a seed were to burst out and germinate in the late summer when it’s nice and warm, only for the weather to turn freezing just as the young plant is trying to get established, it would spell disaster.
However, several months of chilly weather tells the seed it’s safe to germinate because there are lots of warm days ahead.
You could sow outside in the fall and let Mother Nature do her thing, but we gardeners like to have more control over the process. It’s safer that way because we can adjust the temperature as needed and protect the seed from hungry wildlife.
To stratify the plum seed, moisten a few pieces of paper towel and wrap them around the seed, so it’s surrounded by at least four layers of moist paper towel.
Place this little pack in a plastic bag and squeeze the air out before putting it in your refrigerator. It helps to label the bag with the date and the type of seeds inside, especially if you tend to be forgetful, like I am.
I always tell myself I’ll remember which baggie is which, but I inevitably forget and find myself staring at a handful of stratified bags, completely mystified as to which is which or what I even started working with in the first place.
You might also want to make a note on your calendar or in your phone to remind you when the stratification time is up, at least two months but preferably three from when you first place the bag in the refrigerator.
Check the paper towel wrap frequently to make sure it’s always moist but not soggy. If the paper towel totally disintegrates, replace it with a fresh wrapping.
At some point during the two- to three-month stay in your refrigerator, the endocarp will crack open and roots will start to develop. You might also see some green growth, but not always.
Once the seeds have sprouted, it’s time to remove them from the refrigerator and plant them.
If the seeds haven’t sprouted after three months, you can try planting them, but it’s very likely that they are simply not viable.
Potting Up
Once you see those seeds sprouting, after a little celebratory pat on the back for all your patience so far, start the next step.
Grab a four-inch pot for each plum seed you need to plant and fill it with a water-retentive potting mix.
Something like Tank’s Pro Coco-Soil potting mix is perfect because it combines nutritious and loamy organic compost with water-retentive coco coir.
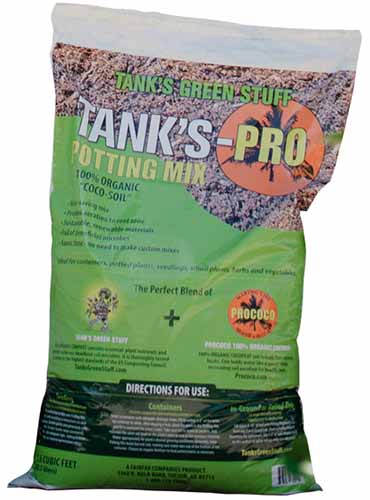
Tank’s Pro Coco-Soil Potting Mix
You can grab a one-and-a-half-cubic-foot bag at Arbico Organics.
Poke a hole in the center of the pot that is twice as deep as the seed is long, and wide enough to accommodate the seed.
Gently lower the seed into the pot with the rooted end pointing down. Cover it and moisten the soil. Place the container in an area that receives at least six hours of direct sunlight per day.
This can be indoors or out, but only set them outside if the temperature is consistently above 40°F.
Keep the soil moist and wait until you have about six inches of aboveground growth, or you can see roots coming out of the drainage holes at the bottom of the pot – whichever comes first. At that point, you can transplant your seedling into the garden after hardening off.
What’s that, you ask? “Hardening off” is the process of gradually introducing the young tree to the conditions of its new growing location.
If you were to plant your baby tree out in the garden without a gradual transition process, you could shock or even kill it.
To harden off, take the plant to the spot where you’re going to plant it and leave it there for an hour. Then, move it back to where it was.
The next day, set it out for two hours before bringing it back in. Keep adding an hour each day for a week. Then, it’s ready to go into the ground.
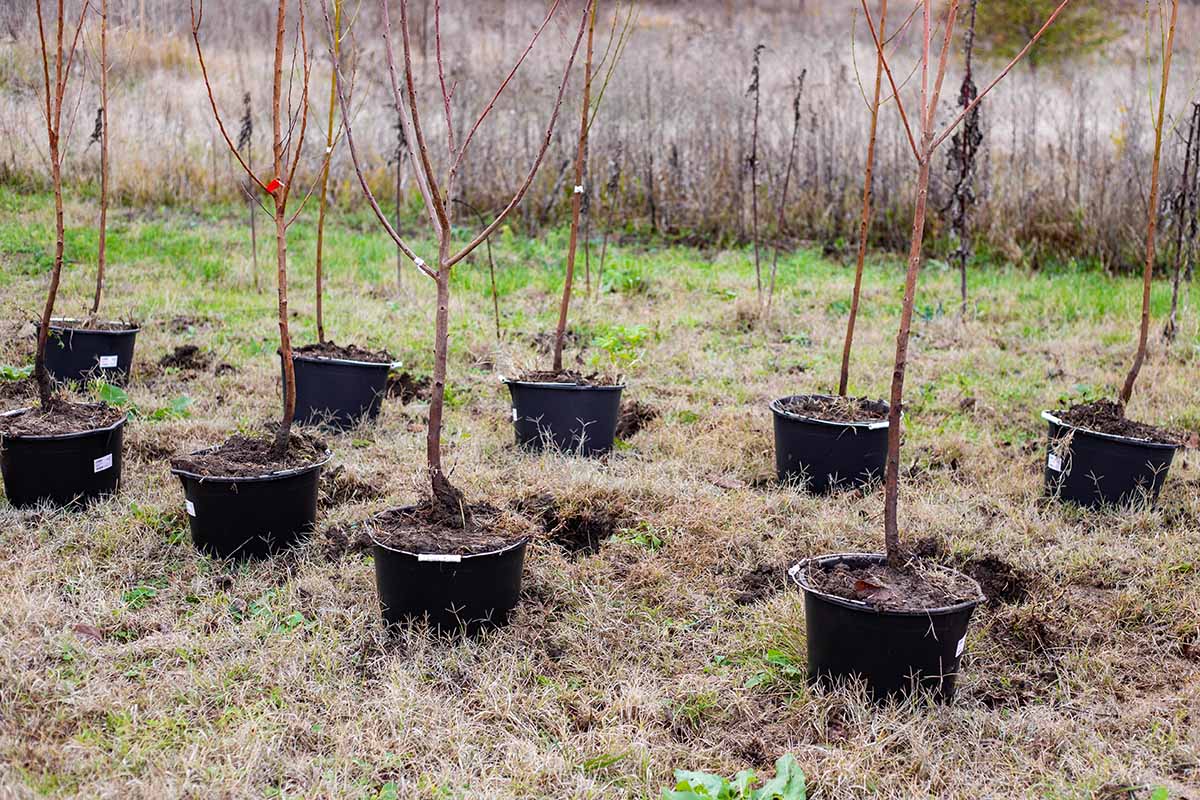
Transplanting
The best time to transplant your seedling is in the spring or fall. Don’t transplant during the winter or summer.
Choose your location and dig a hole as deep as the container the plant is currently growing in and twice as wide.
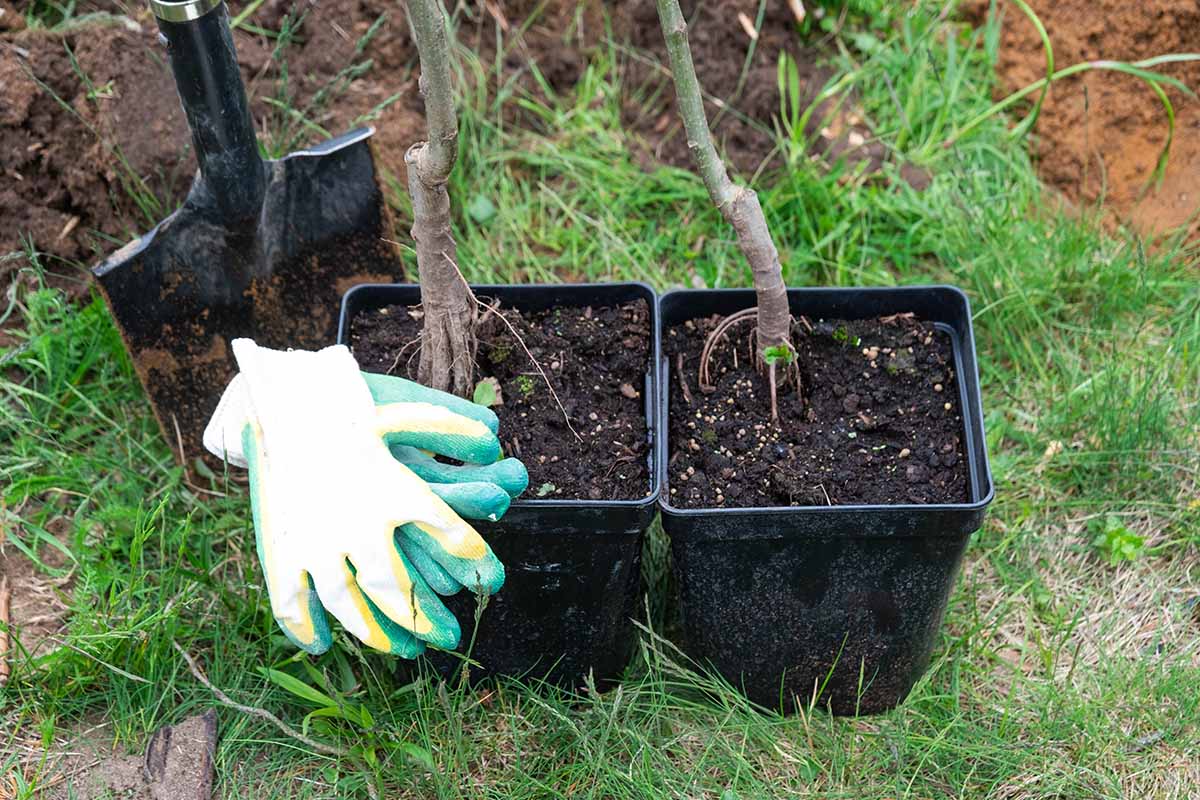
Remove the plant from its container and gently spread out the roots. Cut off any that are broken or soggy.
Gently place the plant in the hole. It should be the same height as it was in the container. Fill in around it with soil and water well. If the soil settles, add a bit more.
Take care of your baby tree as outlined in our guide to growing plums.
Growing Plum Seeds is Definitely Not The Pits
Way back when, in the days before the development of hybrids and cultivars, growing from seed was one of the only propagation options. Now, with modern hybrids, it’s sometimes not the best idea.
But if you have realistic goals and understand the nuances, growing plum pits can not only be effective but an exciting process as well. Just don’t expect anything from hybrid seeds, and you’re good to go.
What kind of tree are you starting? Something fun for the kids? A wild species you found on a hike? Let us know in the comments section below.
And for more information about growing plums, check out these guides next: