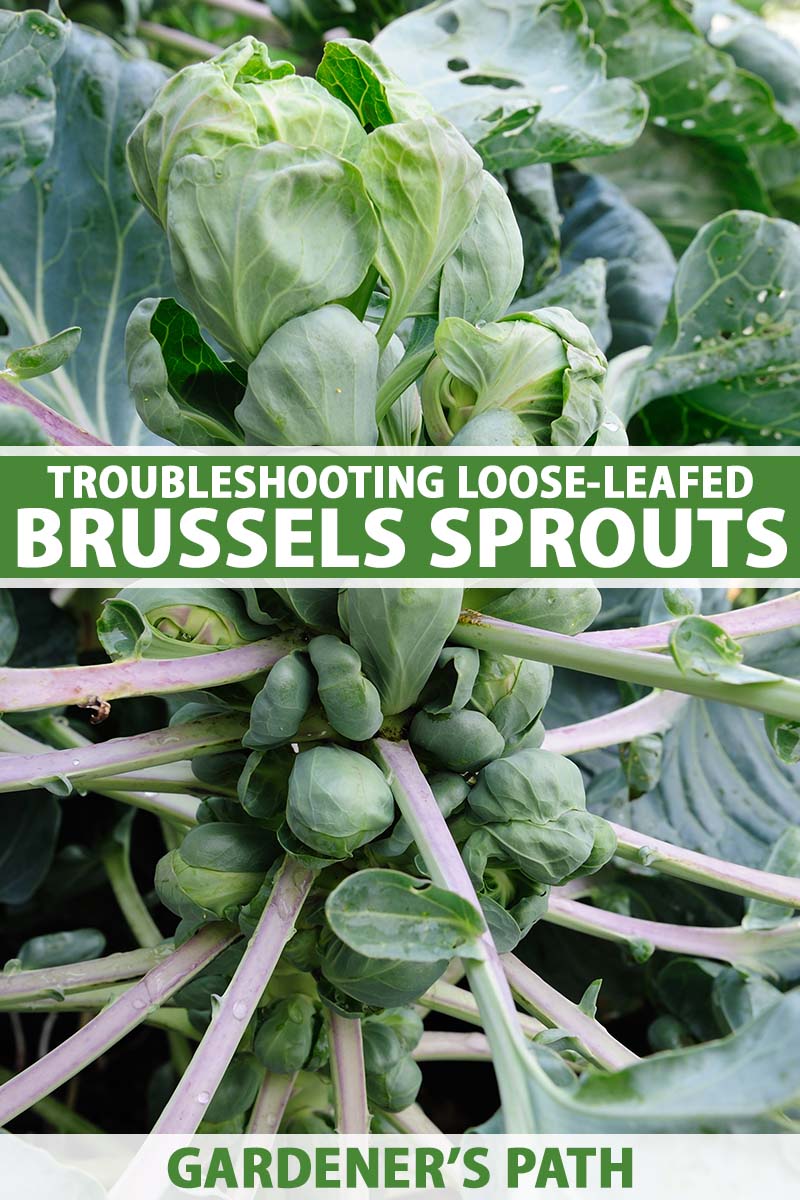
You gave your brussels sprouts plenty of water and you put them somewhere that they could bask in full sunlight. You kept away those pesky bugs and diseases. You did everything right.
So why the heck are your sprout heads loose instead of being tight and compact, as they should be?
The bad news is that once your plants have loose heads, you can’t fix them.
But the good news is that there are lots of things you can do to help reduce the chances that this happens again in the future, even if Mother Nature doesn’t cooperate with your growing plans.
We link to vendors to help you find relevant products. If you buy from one of our links, we may earn a commission.
We humans are pretty good at finding ways of working around the challenges presented by nature. Here’s what we’ll go over in the coming guide:
What You’ll Learn
Don’t despair, there’s help ahead. Let’s dig in!
The Cause of Loose Heads
First, let’s define our terms.
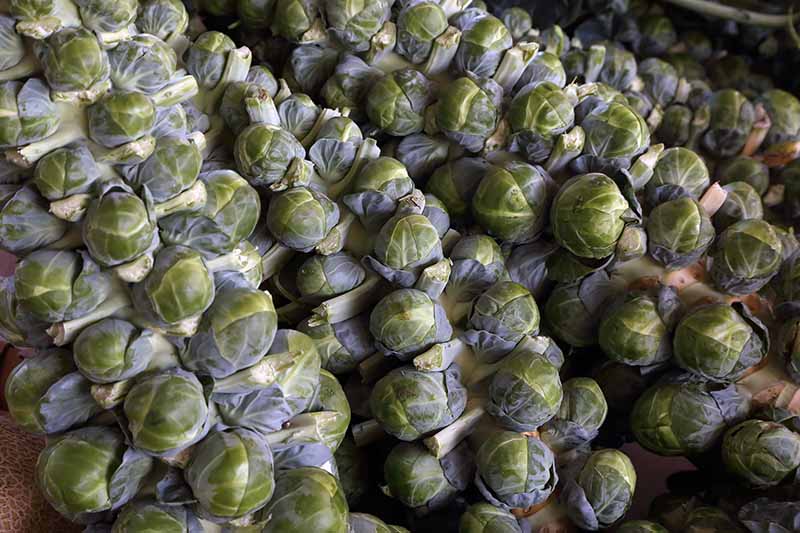
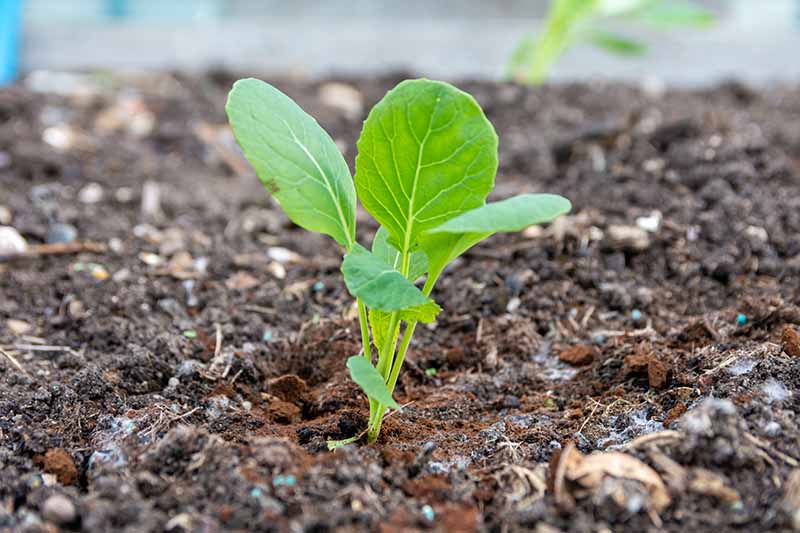
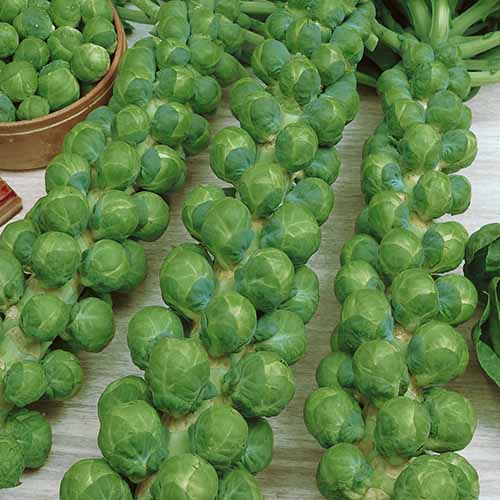
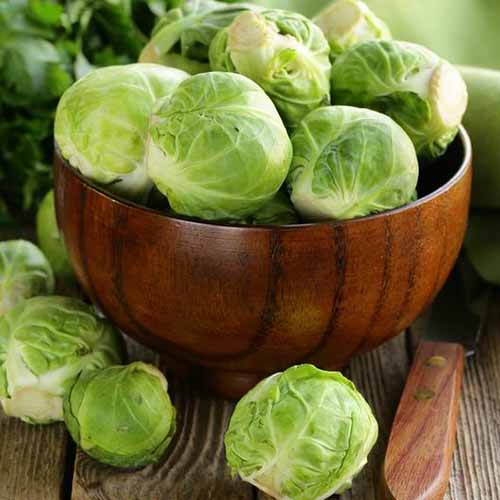
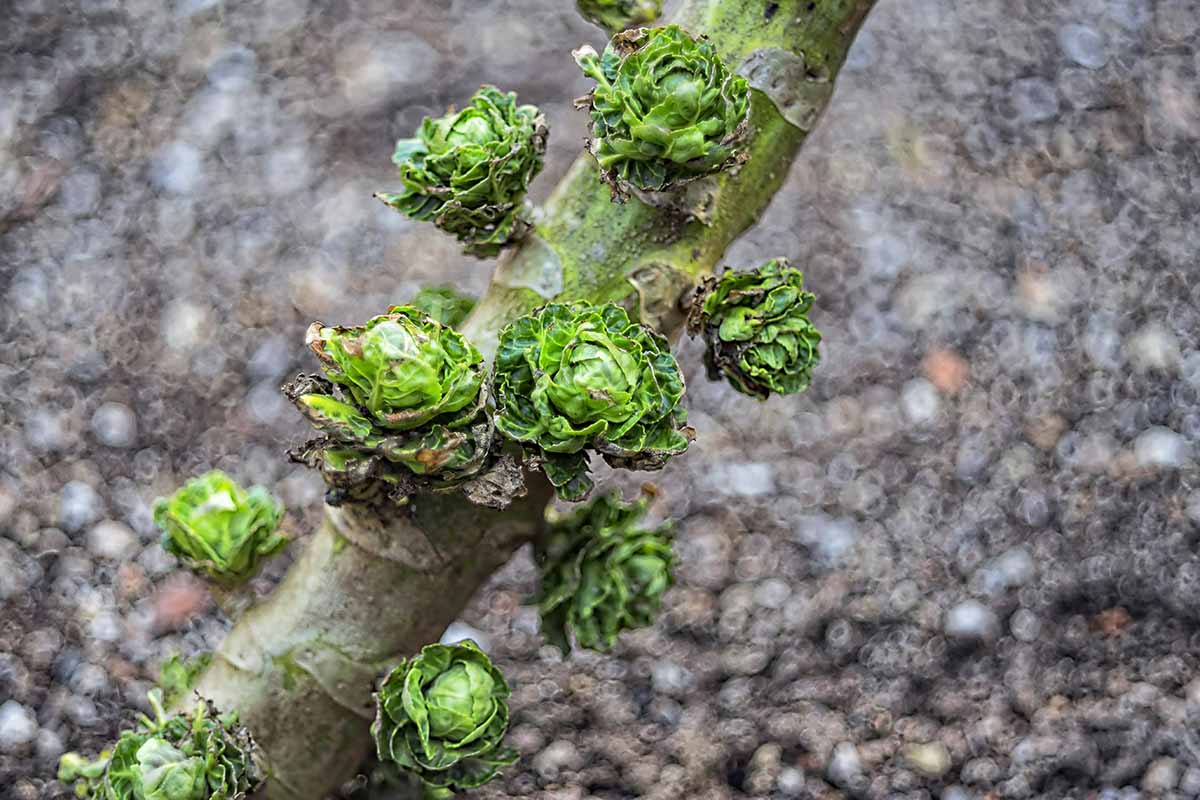
When we talk about loose heads, we’re referring to sprouts that look more like a tiny head of butter lettuce, rather than a petite little cabbage with tightly curled leaves that lay snugly against each other.
Loose heads aren’t quite the same thing as bolting. Bolting brussels sprouts may or may not form buds before sending out seeds.
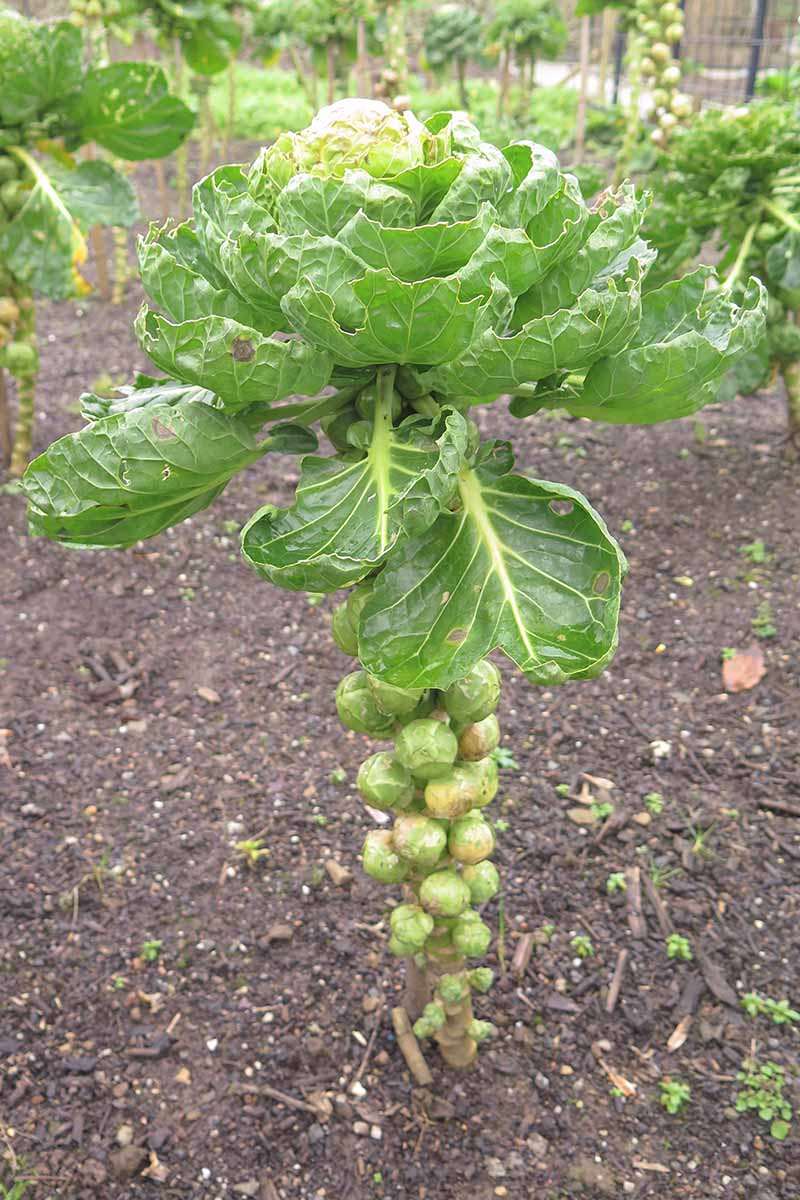
Once the seeds emerge, the plant stops producing. If the heads have already formed before the plant bolts, they may open up, even if they were compact before.
However, loose heads can form even if the plant doesn’t go to seed.
In other words, a plant doesn’t have to bolt to form loose heads, but these issues can sometimes go hand in hand.
So, what causes loose heads?
Brussels sprouts don’t like warm weather, as you probably know. One of the consequences of growing them in warm weather can be heads that are loose instead of being tightly compact, even if the plant doesn’t bolt.
Ideally, your developing brussels sprouts will never experience temperatures above 80°F. That’s why most gardeners plant them in the early spring or fall.
In most places, sprouts simply won’t give you a harvest during the summer months. They’ll go to seed before they get a chance to develop those lovely green nuggets.
Even if you planted at the perfect time for your zone, you can’t predict the weather. Your region might experience a particularly warm season, something that is happening more and more often as the climate heats up.
Loose heads can also be caused by poor soil or failing to top types that require it. If you’ve planted in sandy or clay earth, or depleted soil that you forgot to fertilize, the result could be poorly-formed heads.
Less often, loose heads can be caused by growing heirloom varieties or the seeds from an existing plant that hasn’t been developed over time to produce tight buds.
If you’re growing any of the common hybrids or cultivars that you can purchase from most retailers, this isn’t what you’re dealing with. These have been developed by breeders over decades to produce the type of heads you’re looking for.
But if you got some seeds from a friend or tried harvesting seeds from an open-pollinated plant that bolted, you might end up with a crop that naturally forms loose heads.
Tips for Preventing Loose Heads
It’s hard to tell exactly which of these issues may have caused the poorly-formed veggies in your garden, so your best bet is to implement as many of these strategies as you can the next time you plant.
Most of these are just good growing practices, regardless of whether or not you’re having a problem with your crop.
There are also a few short-term solutions you can implement to provide better conditions, even if you have a surprise heatwave.
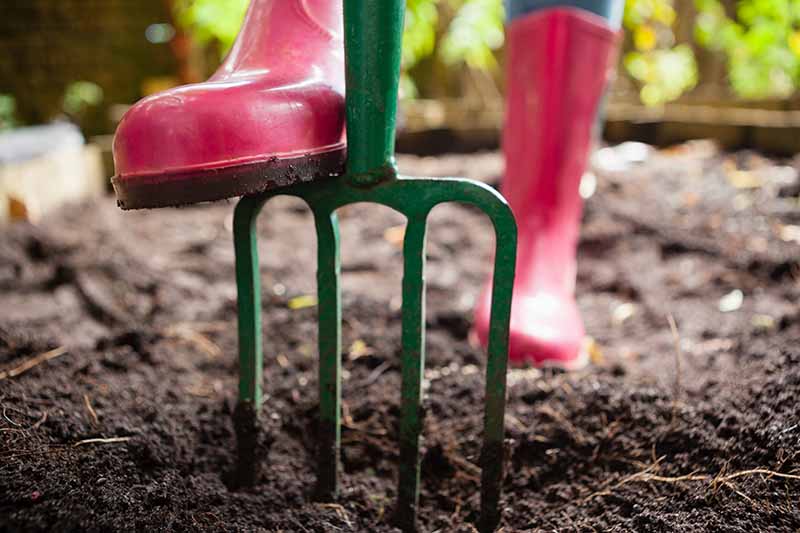
1. Establish a Good Foundation
The very first thing you need to do to prevent problems with these veggies is to give them a good foundation.
This advice applies to anything you plant, but especially brussels sprouts. You want to prep the earth so your veggies have the best chance of developing healthy, compact heads.
Sprouts grown in sandy or clay soil have a much higher chance of forming loose heads.
Before you plant, work plenty of well-rotted compost into your soil. Our guide to growing brussels sprouts has more of the details on providing these veggies with what they need to thrive.
2. Pick the Best Planting Date
The solution to loose heads that develop in response to heat, of course, is to control Mother Nature. Maybe just turn down the old regional thermostat for a bit.
All kidding aside, since we can’t manipulate the weather to suit our particular growing needs, we have to use good old gardening ingenuity.
The goal is to try and plant with enough time available before the weather starts heating up in the spring, or late enough in the fall that the heat has already passed.
That’s not always possible, though, particularly with the heat arriving earlier in the year and staying later in many parts of the world.
By starting seeds indoors, you give them a few extra weeks of growing time before you (hopefully) have to worry about the threat of heat.
While you can certainly start your seeds directly in the ground outdoors, if you want a better chance of avoiding warm temperatures, starting inside is the way to go.
For spring planting, start your seeds indoors and move them outside as soon as it’s possible to plant in the ground. That can be as early as a few weeks before your last projected frost date.
I know that in my region, we rarely see frost late in the year anymore, but even if you do, sprouts can handle a night of frost.
If you have more than a night of frost in the forecast or if a deep freeze below 32°F comes along, just cover the seedlings with something large enough to cover the entire plant.
A large mixing bowl, bucket, or cardboard box is perfect to provide protection while the temperatures are freezing. Remove the cover once it warms up a few degrees. The goal is just to provide protection from frost and a bit of insulation during the coldest part of the day.
As an example, ‘Long Island Improved,’ a classic heirloom variety that we’ll discuss coming up, takes 100 days to mature.
If you start to see temperatures in the high 70s predicted in your area according to the average weather patterns or history you’ve recorded in your gardening journal starting in May, you’ll need to start your plants sometime in the last few weeks of January to be totally safe.
But in most areas, you can’t even work the ground at that point.
If you start the seeds indoors in late January, you can let the seedlings develop for a month or so before you put them outside.
In the fall, sow seeds late enough so that your plants will mature several weeks after the last projected frost date. Mature plants can handle even a deep freeze, and most taste better after they’ve had some exposure to frost.
Err on the side of planting too late in the fall rather than too early. Nearly mature sprouts can handle brief temperatures down to 20°F.
You can even cover them for a bit if you have a surprise cold snap, if you’re worried that the cold might last too long and damage your plants.
That means you can look at your average daily temperatures and see when temps start hitting the freezing point. Put the seeds in the ground with enough days for your particular variety to mature before regular freezes are on the menu.
As with spring-planted sprouts, if you’re starting by seed, plant indoors a few weeks before you intend to transplant outside.
This gives them time to mature in the nice, cool indoors so they can bypass the heat of early fall. Most indoor temps are perfect for sprouts. A range of 45 to 80°F is best for seedlings and mature plants.
Finally, consider growing your sprouts in the winter. They can tolerate quite a bit of cold and you might be surprised to learn that you can raise them at this time in your region.
3. Pick the Right Plants
The next step you can take to set yourself up for success is to choose plants that can tolerate a bit more heat than others. ‘Bravo,’ ‘Bubbles,’ ‘Jade Cross,’ and ‘Hestia’ are good options.
Spring growers should also look for those that have a shorter growing season. ‘Churchill,’ ‘Franklin,’ ’Green Gems,’ ’Jade Cross,’ ‘Nelson,’ ‘Octia,’ and ‘Tasty Nugget’ all mature in under 90 days.
‘Green Gems’ is a favorite not only because it can tolerate more heat (and cold, incidentally) than other types of sprouts and it matures quickly, but the small green buttons have a rich, buttery, nutty flavor that’s irresistible.
Head on over to Burpee for six-pack plant bundles or packs of 125 seeds if you want to add these to your garden.
4. Provide Protection
If you have an unexpectedly warm stretch, whether in the spring or fall, add lots of mulch to the top of the soil. This keeps the roots cooler and helps the earth retain moisture.
If you only have a brief warm spell or the temperatures don’t become too extreme, this might be enough to get you by.
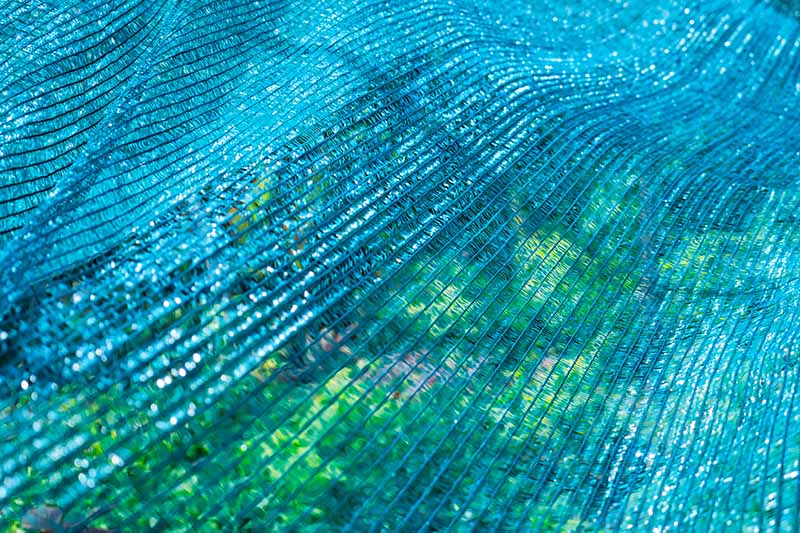
You might consider using shade fabric if temps start flirting with the high 80s, or if you’re expecting more than just a few days of heat.
Where I live, we had a few extremely unusual heatwaves this year and shade fabric saved a few of my crops from certain death.
Shade cloth is handy stuff to have around because you never know when you might need it.

Amazon carries Agfabric brand 50 percent shade cloth in various sizes. While you can find shade cloth in lighter or heavier densities, I find 50 percent is a good all-around density for most purposes.
5. Topping
Topping brussels sprouts is the process of removing the top few inches to force the plant to redirect its energy into forming those marvelous buds.
Some varieties don’t require topping, while it’s a must for others. If the hybrid or cultivar you’re growing recommends topping, don’t forget to do it.
Topping should happen after the plants have reached their full height, but don’t wait too long. It won’t help if the sprouts have already matured.
6. Water Well
Brussels sprouts need plenty of water to grow and stay healthy, while stressed plants won’t develop as they should.
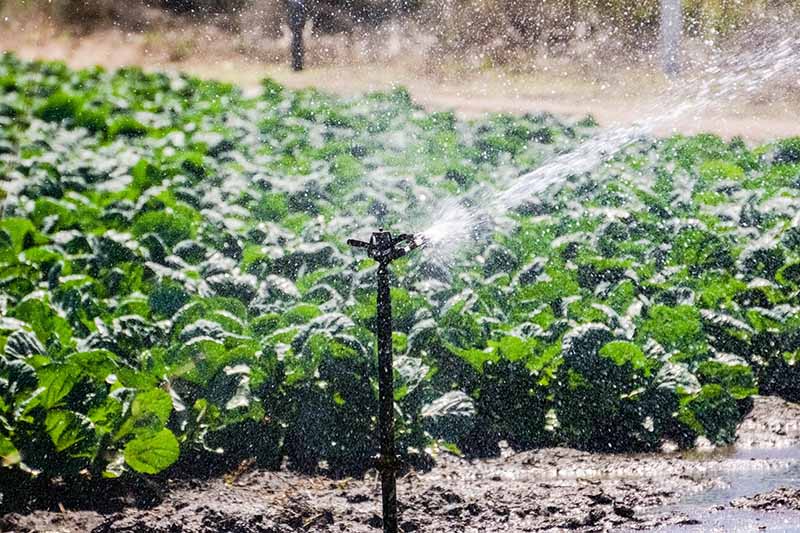
Be sure that your plants are receiving the water they need during the growing season, and during any warm stretches in particular.
In general, the soil should feel like a kitchen sponge that you have wrung out well. If it feels drier than that below the surface of the soil, add water. If it feels wetter than that, wait a bit.
7. Obtain Seeds from Reliable Sources
If you want to avoid loose heads, be sure to purchase your seeds from reliable retailers or choose well-known hybrids and cultivars.
If you trade seeds with fellow gardeners, ask about the parent plants the seeds were obtained from.
While growing heirloom plants is more likely to give you poorly-formed heads, that’s not to say that you can’t use heirloom seeds whatsoever.
‘Long Island Improved’ is an heirloom that develops fantastic large, compact nuggets. It’s one of the most popular varieties out there.
Eden Brothers carries ‘Long Island Improved’ seeds in a variety of packet sizes if you decide to give this classic cultivar a try.
If you do and you find you still have loose heads, you can at least be sure that the problem wasn’t caused by the variety of plant you chose to grow.
Gives Your Sprouts the Best Possible Chance
It’s frustrating when we don’t produce the veggies that we’ve worked so hard to grow.
They’re something extra annoying when those sprouts form but they’re loose and imperfect. It’s like you got so close, but not quite to the finish line.
For the record, you can eat those loose heads even though they don’t look exactly like you hoped. Just give a leaf a nibble to see if it’s bitter. Sprouts tend to turn bitter if the plant experiences too much heat or bolts, but not always.
If they taste okay, the leaves are best chopped into salads or used as a leafy garnish for soups and casseroles.
Unfortunately, you can’t roast or boil them whole like you can with tightly-formed heads, but that doesn’t mean they’re worthless.
While we can’t control every aspect of gardening, hopefully the tips in this guide will help you to get the most out of your sprouts. If so, come back and tell us which tips you tried and if you got those marvelous nuggets you were aiming for.
Then, if you want to expand your brussels sprouts knowledge, have a read of these guides next:

very good article
So in west central PA on top a mountain where we get a very cold winter and lots of snow. Could I have left my sprouts in a raised bed garden until spring?
Unfortunately, no. I’m guessing that you’re in USDA Growing Zone 5. If that’s the case, the plants might survive, though it’s unlikely. Even if they did survive, they wouldn’t form buds over the winter because of the low temperatures and short days. In the spring, they would go to seed. You can grow Brussels sprouts in the winter, but you’d want to put them in the ground in September so that you can pull them by mid-January.
My plant look healthy, dark green leaves, very robust. However, minimal buds for the sprouts. I have tried to trim a few of the large “cabbage leaves” and have pruned the flowers for those plant that have them.
I live in Missouri, with a typical hot summer. This is the second year for the plants. No sprouts last year either.
Oh dear, I’m sorry to hear about your Brussels sprouts woes, Patrick. I’ve definitely been there. There are generally two main culprits in a situation like this: timing and soil quality. Try planting earlier in the year so the plants can enjoy more cool weather during those crucial months when buds are forming. Additionally, have your soil tested. If you’re lacking nutrients or have too much nitrogen, your plants won’t form heads. A soil test will tell you if something is wrong and will point you in the right direction.
2022 I planted, from seed, Long Island Improved. I fertilized every so often with a 3-4-3 organic fertilizer, and watered appropriately as we had a dry summer. Got decent size, healthy plants with many leaves. Not giant, but normal sized healthy plants. Did not get even a single sprout. ( I grew these next to Happy Rich mini broccoli which is a fantastic F1 plant (purchased seeds from Johnny’s) and highly recommend it. They produced all summer long.) In the past I planted Jade Cross transplants and they did well. Cannot figure this out. Am in zone 4a and our… Read more »
Hi Jem, I’m sorry to hear that. I love ‘Long Island Improved,’ but it does seem to be a bit more temperamental than some of the newer hybrids. If the plant didn’t send out flowers and seeds (bolting), it’s probably not the heat that caused the problem, though it’s hard to say for sure. Heat can certainly prevent sprouting, but the plant will usually bolt. ‘Long Island Improved’ is a bit more sensitive to too much nitrogen. Some plants produce well despite an over-abundance and some, like this one, struggle. If you haven’t done a soil test, you might want… Read more »