Thuja spp.
In a world of hyper-specialization, a generalist like arborvitae is a breath of fresh air.
Many plants are only fit for one thing, such as growing in water or producing heads of leafy edible greens for artisan salads. But arborvitae? It’s a plant polymath.
We link to vendors to help you find relevant products. If you buy from one of our links, we may earn a commission.
In my landscape design classes at Mizzou, arborvitae was one of my go-to trees when I ran out of ideas.
Whenever I had a blank space in my design that needed filling, there was always a Thuja species or cultivar that would fit perfectly. And most of the time, it was just what the doctor ordered.
Besides its beauty and versatility, arborvitae tolerates air pollution and a variety of different soil conditions.
Add a fascinating history on top of all that, and you have a tree that’s adaptable, enjoyable to look at, and fun to discuss with fellow onlookers.
Of course, before you can enjoy all those benefits, you’ll need to know how to grow and care for these plants properly. Hence, this guide.
Here’s what we’ll cover:
What You’ll Learn
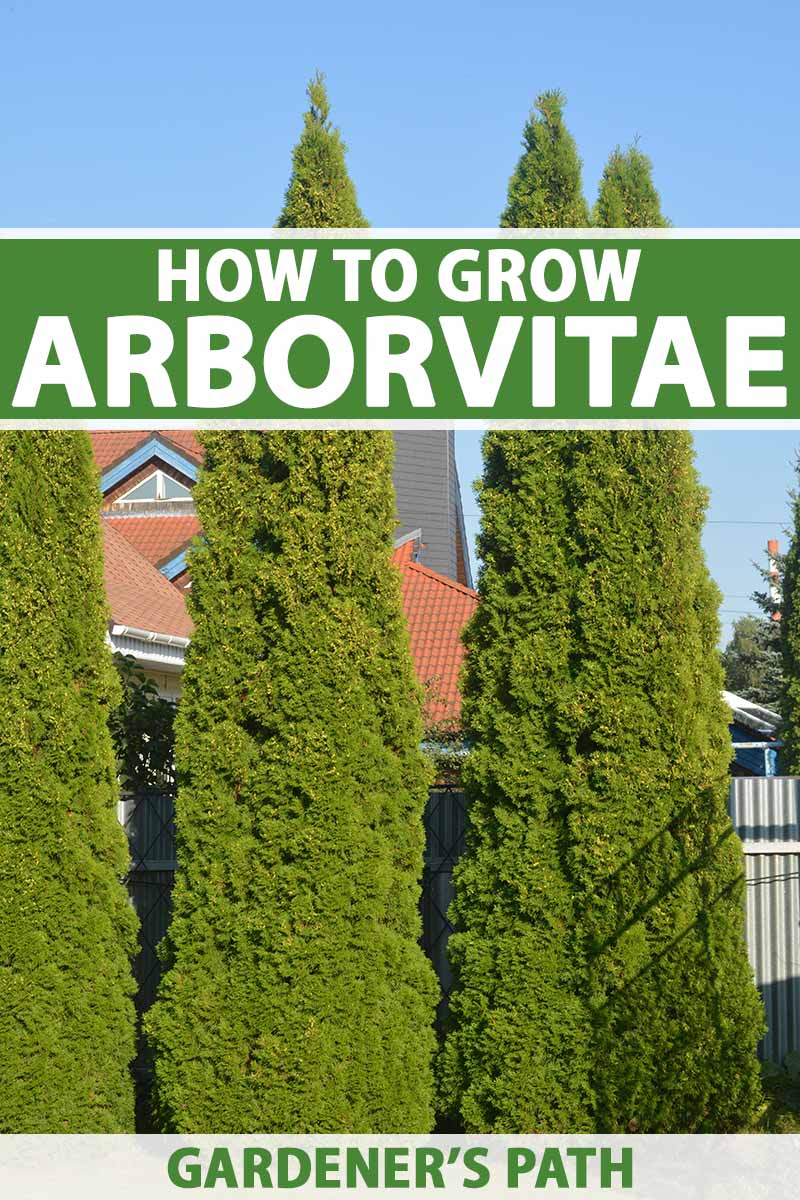
What Are Arborvitaes?
Members of the Cupressaceae – or the cypress family – arborvitaes are a small group of evergreen conifers that belong to the Thuja genus of plants.
Collectively, these are hardy to USDA Zones 3 to 8, and are either native to North America or eastern Asia, hailing from China, Japan, or Korea.
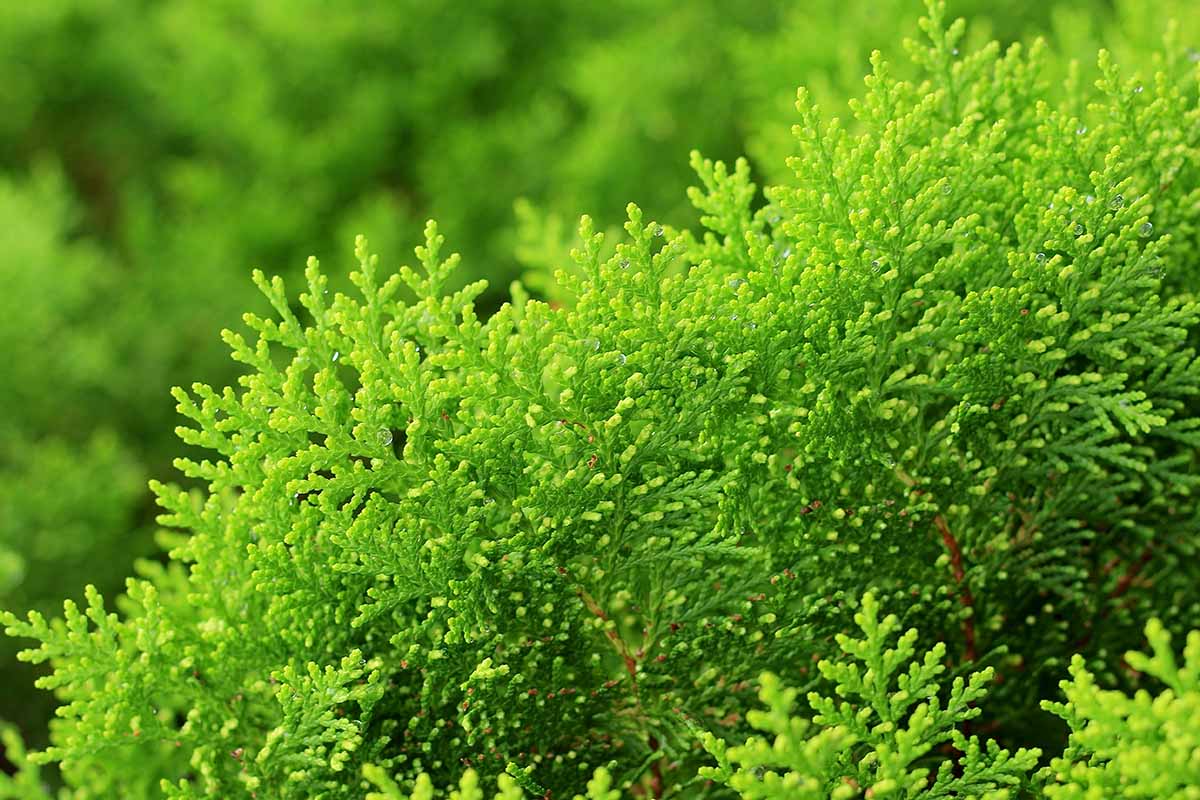
During their infancy, arborvitae seedlings produce juvenile foliage that protrudes from the stem in alternating pairs of thin needles.
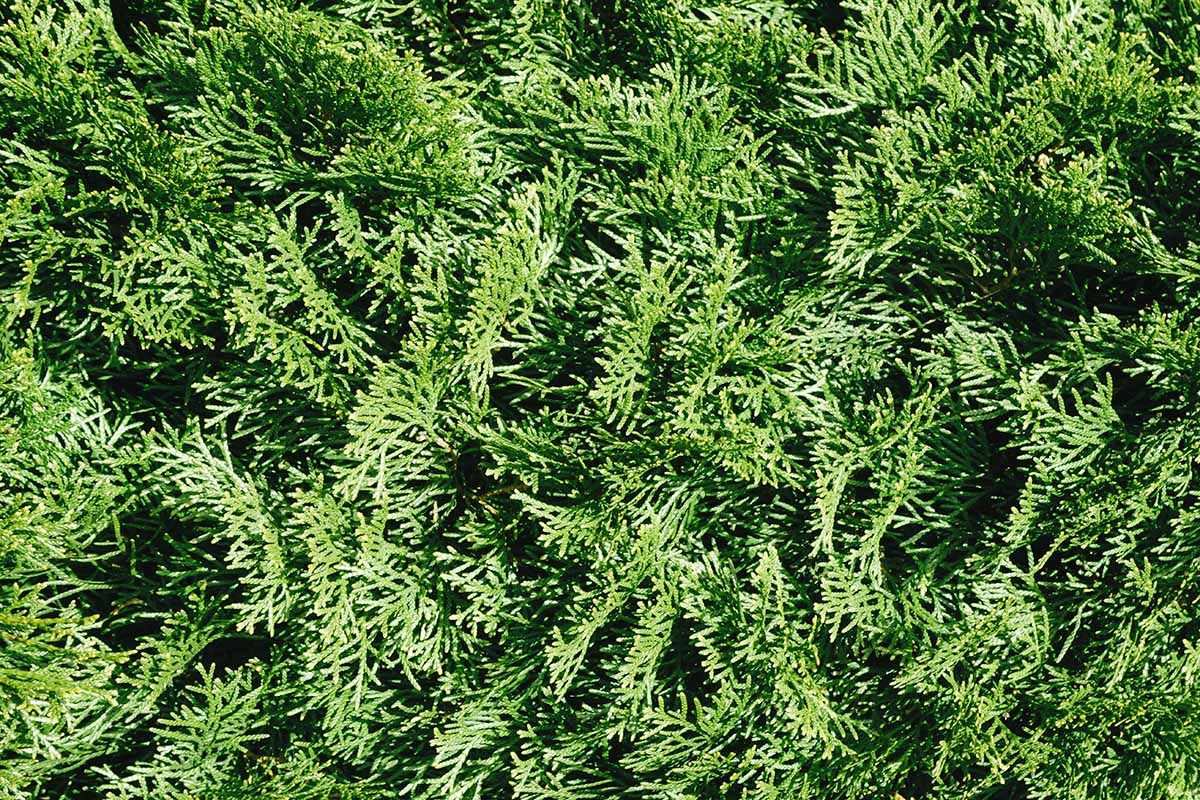
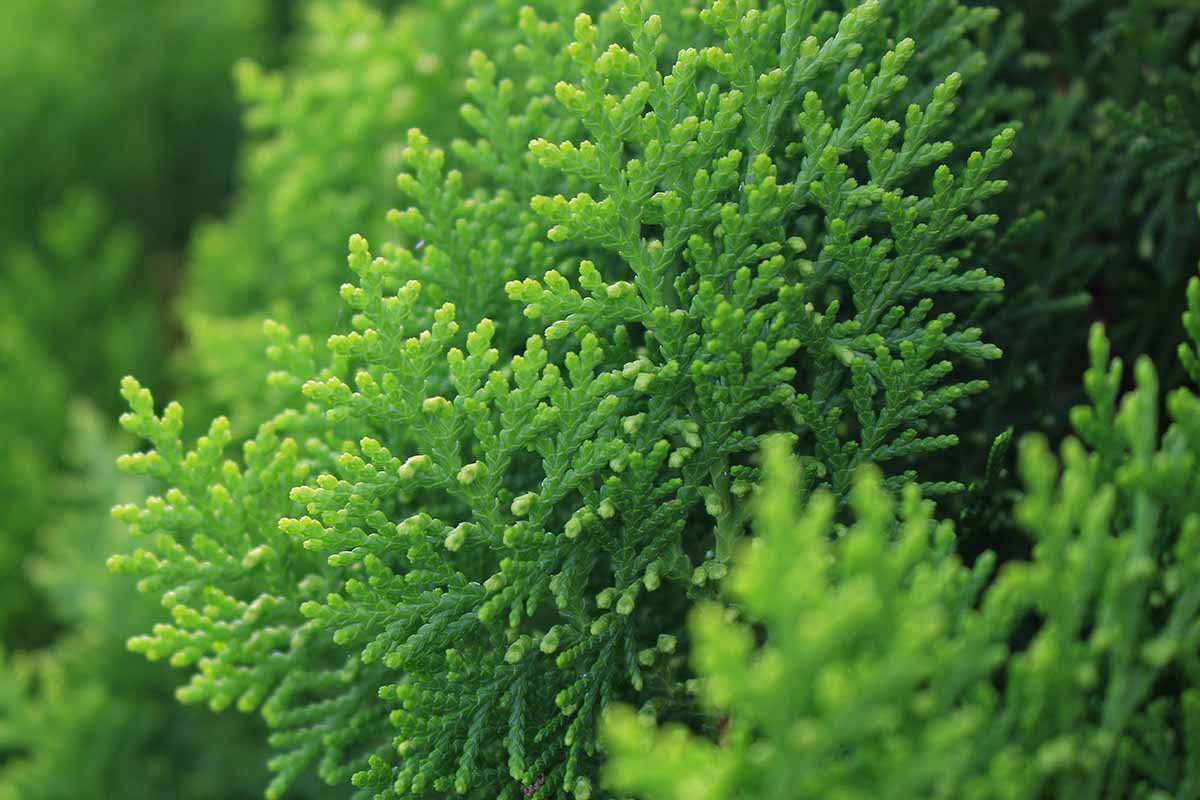
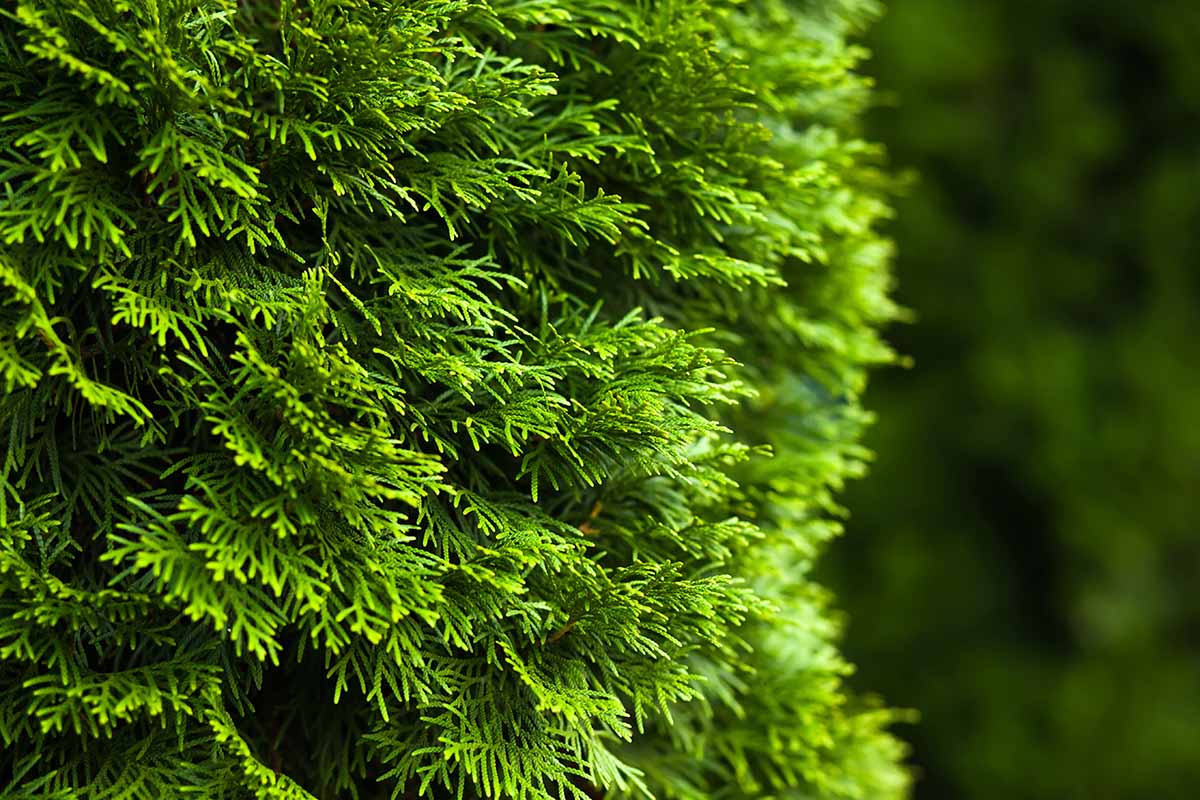
After a year or so of growth, the plants produce flattened, scaly, dense, and fan-like sprays of adult leaves.
Most of the time, the leaf color is green, but sometimes it’s more of a yellow-green, or green on the upper surface with white or glaucous hues underneath.
For a multisensory experience, pluck the textured foliage from the plant and crush it between your fingers.
Take a quick whiff, and you’ll experience a woodland, citrusy aroma that Bath & Body Works should definitely sell in scented candle form.
As coniferous plants, arborvitaes produce small, copper-brownish cones rather than fruits.
Insignificant pollen cones grow from the tips of twigs, and rely on the wind to carry their pollen to the larger seed cones of other trees which grow further down the branches.
After pollination, the cones bear seeds, which are also dispersed by the wind.
Arborvitae bark ranges in color from dark brown to reddish-brown, and it has a furrowed, fibrous texture, peeling away a bit in stringy flakes with age.
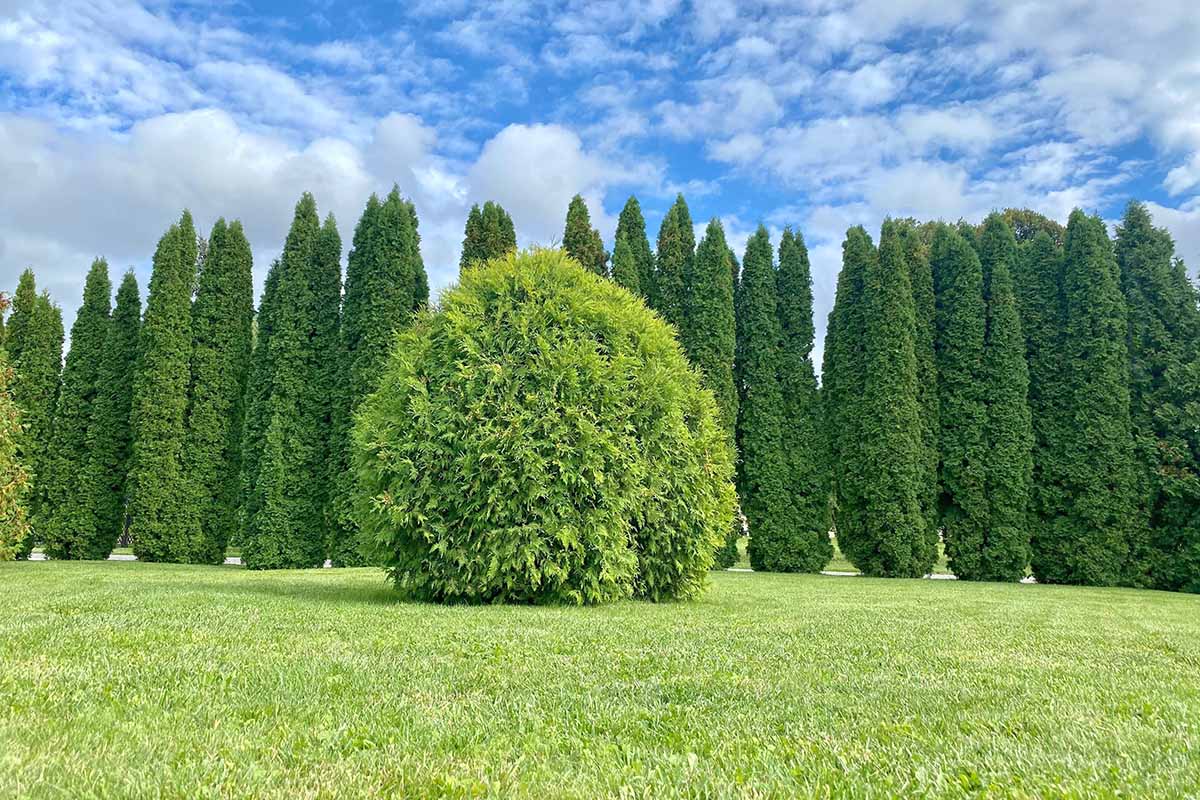
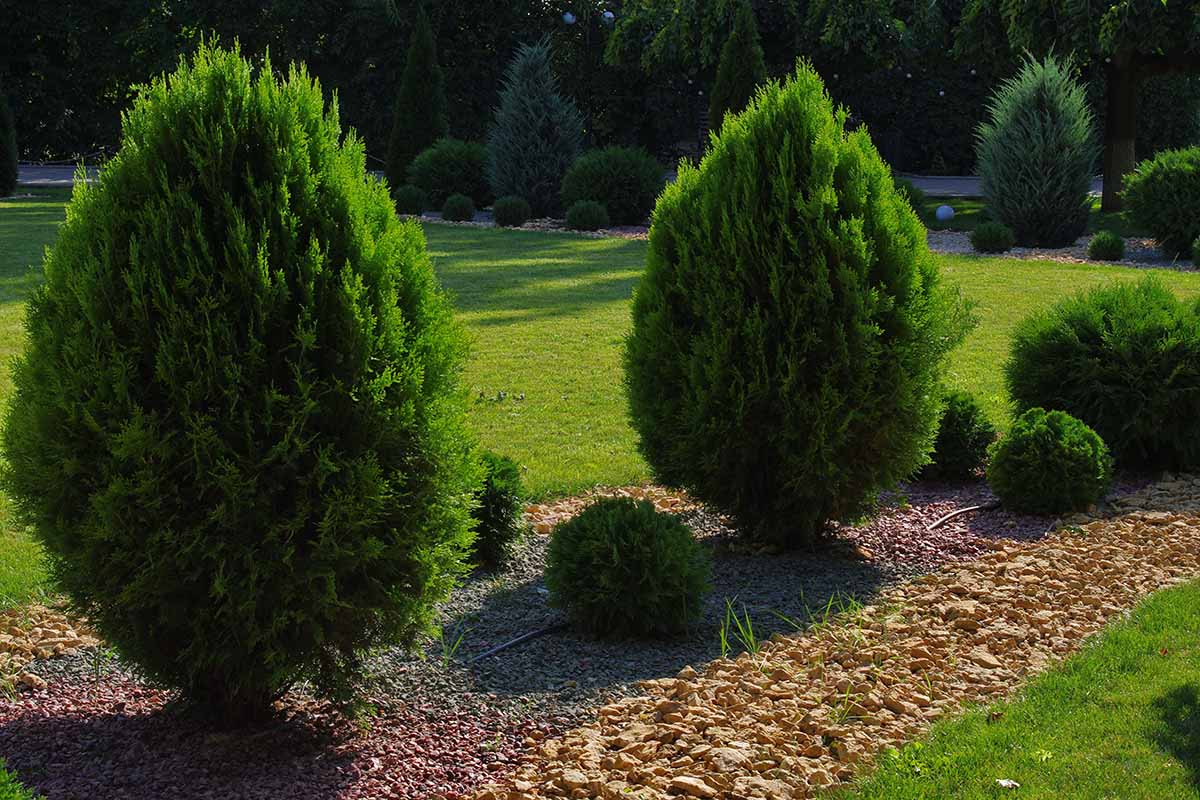
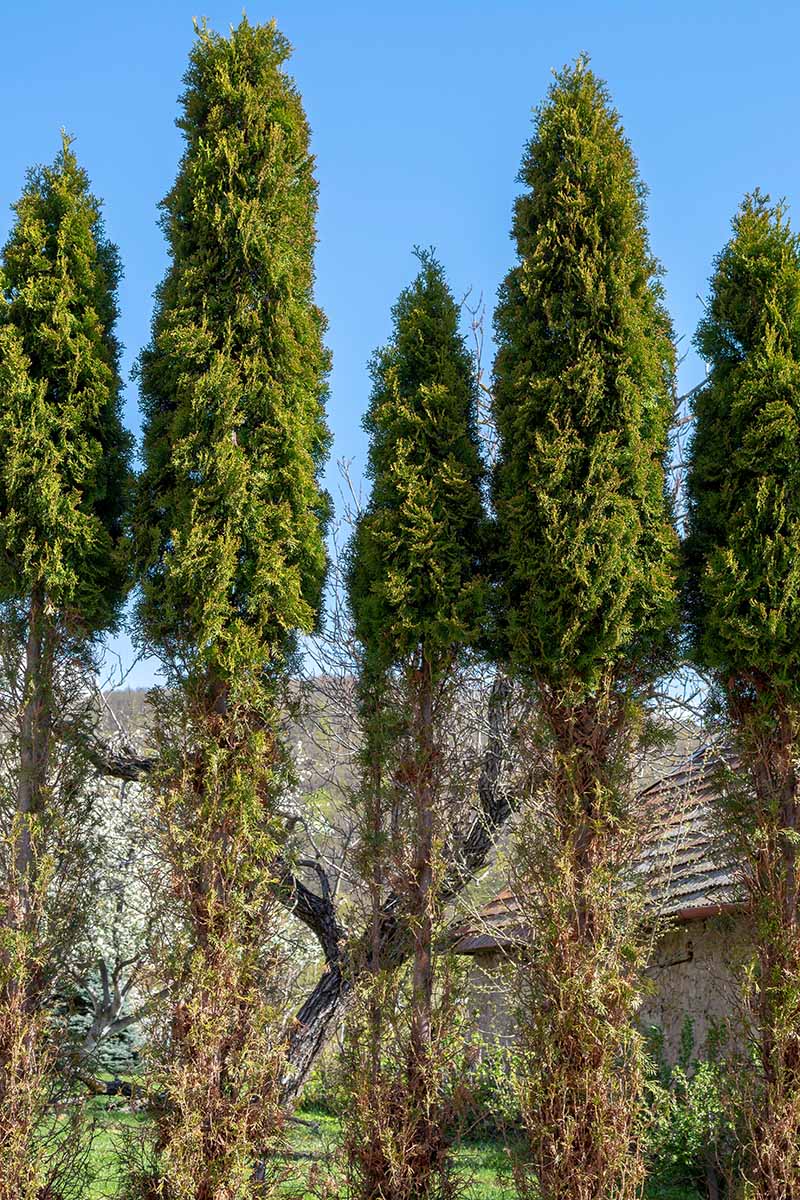
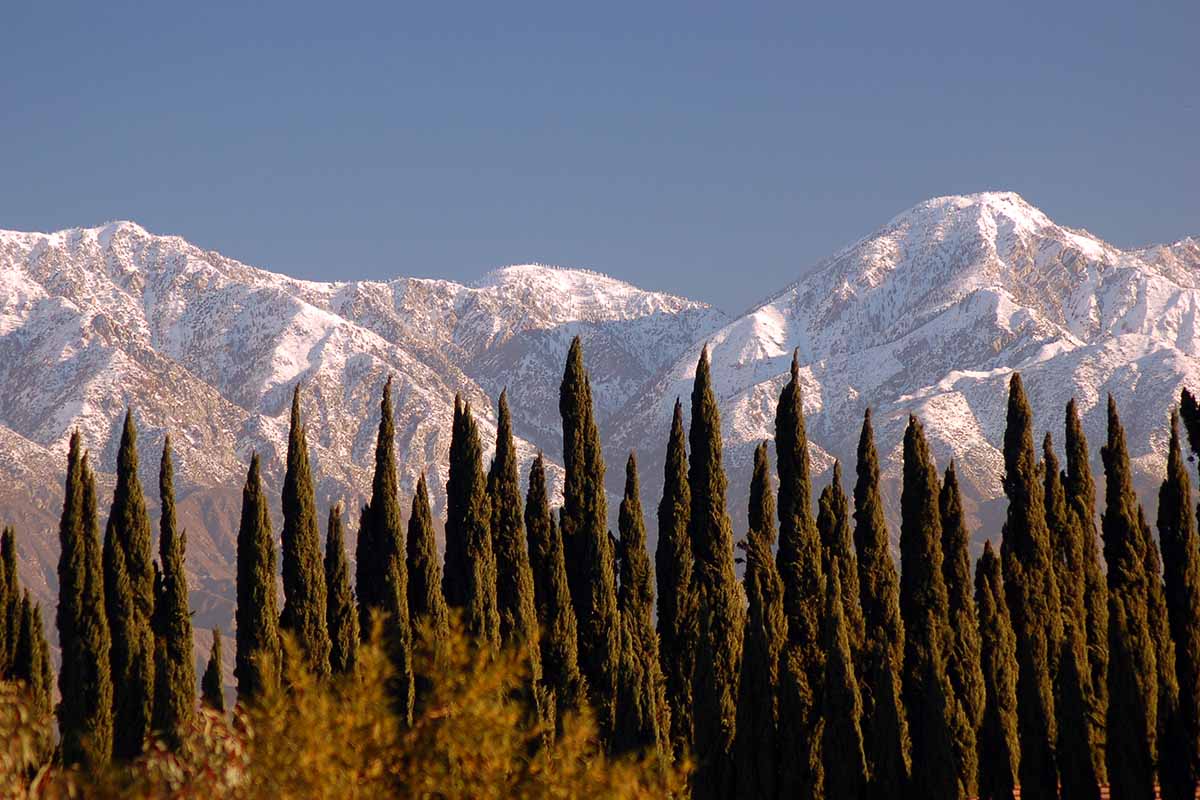
Whether broad or fan-like, species of Thuja tend to be pyramidal in habit, although many cultivars exist that sport different forms.
Of course, all that glitters isn’t gold, and all plants referred to commonly as “arborvitae” aren’t necessarily Thuja species.
For example, the Hiba and Russian arborvitae actually belong to the Thujopsis and Microbiota genera, respectively.
Cultivation and History
Based on the known fossil record, the Thuja genus probably originated in high-altitude regions of North America, going as far back as at least 56 million years ago in the Paleocene Epoch.
From there, it’s theorized that Thuja expanded into eastern Asia via the Bering Land Bridge, the landmass connecting Alaska and Russia that existed prior to the end of the last ice age.
“Arborvitae” is a union of the Latin words arbor and vitae, which combine to mean “tree of life” – and the way this name was earned is actually quite epic.
In 1536, the French explorer Jacques Cartier and his crew were sailing up Canada’s St. Lawrence River on their second voyage to the New World.
Come winter, the men started to exhibit symptoms of scurvy due to vitamin C deficiency, which ended up killing several crew members.
Upon consulting the native Iroquois, Cartier was shown how to extract a scurvy cure from T. occidentalis foliage, which we know today contains vitamin C.
The cure was enough to restore the health and vigor of the crew, earning the plant its “tree of life” moniker. Cartier brought samples of the plant home, making it the first North American tree introduced to Europe.
Centuries later, it was assigned the genus name Thuja by Swedish botanist Carl Linnaeus.
The name Thuja doesn’t have one agreed-upon origin, but some sources suggest it comes from the Greek name for a Greek juniper: thyia, meaning “incense.” This is a nod to the delightful scent of the foliage when it’s crushed.
Along with combating scurvy, humans have found many uses for arborvitae trees throughout history.
Native Americans in what is now Maine used T. occidentalis to make cordage, shingles, and mattresses, while Ojibwe peoples made soup from tree’s juvenile twigs.
Natives from the Pacific Northwest used T. plicata in constructing canoes, totem poles, homes, bowls, tools, baskets, fishing nets, and articles of clothing.
In the 19th century, herbalists used arborvitae to treat warts, ringworm, and yeast infections.
Nowadays, the wood is utilized in guitar soundboards and man-made beehives, while essential oils extracted from arborvitae trees are used in pesticides, room sprays, soaps, cleansers, disinfectants, and pain-relieving lotions.
And of course, let’s not forget arborvitae’s utility in the landscape… It’s probably why you’re here, after all!
Propagation
Here are your arborvitae propagation options, listed in descending order of difficulty and time investment.
From Seed
Arborvitae seed propagation is like a box of chocolates: you never know what you’re gonna get.
Since sexual reproduction results in genetic variation, you could end up with an exciting new variety!
To gather arborvitae seeds, you’ll first need to gather the cones in which they are housed.
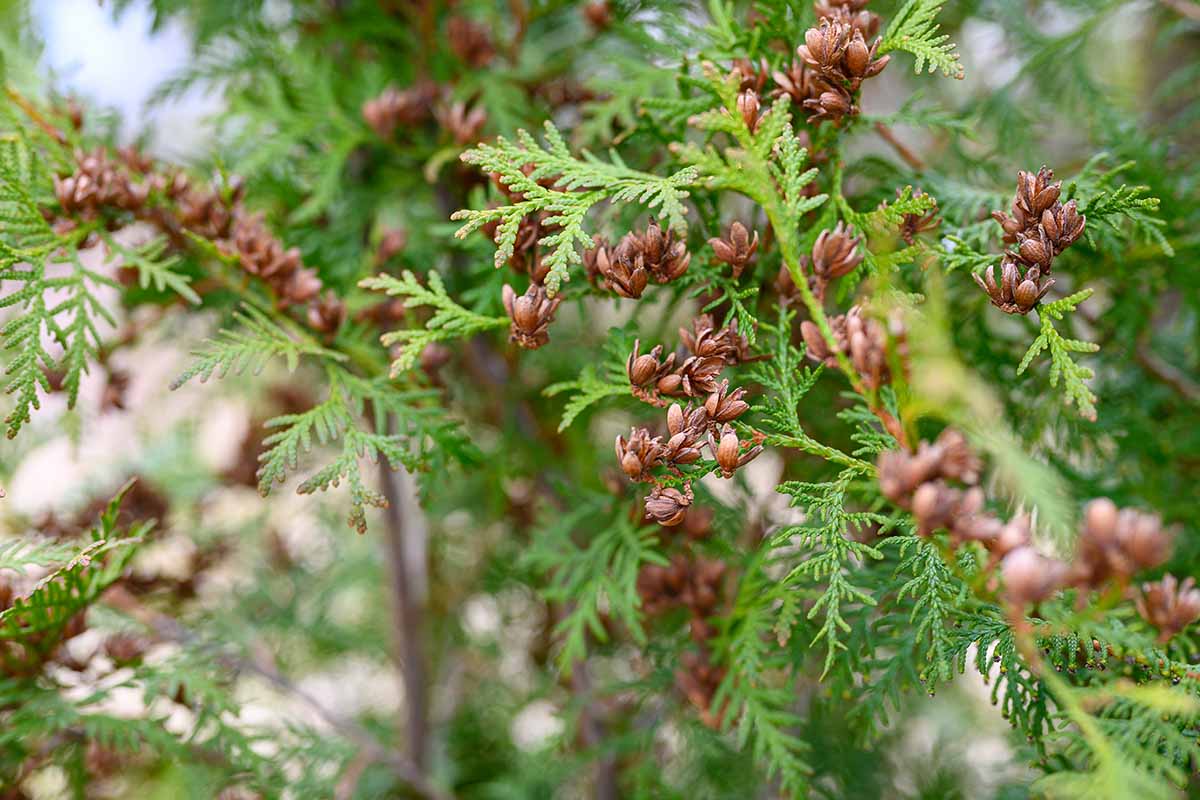
The juvenile, greenish-yellow cones will mature to brown in early fall, at which point they’ll be ready for harvest.
Take one healthy-looking cone for every two plants that you plan to propagate from seed, since germination rates tend to be low.
Place the cones in a container and leave them out in the sun. This will dry out the cones and loosen their grip on the seeds.
After a few days, shake the cones over a paper towel – the seeds should drop out.
Soak the seeds in water for 12 to 24 hours, drain, then layer the seeds in a container filled with a 50:50 mix of peat moss and perlite. Cover the container and leave it in the fridge for 60 days, making sure to keep the media moist.
Following this artificial stratification period, fill a seed-starting tray with the same 50:50 mix of peat moss and perlite.
Space the seeds an inch or two apart, and sow them just below the soil surface.
Keep the tray indoors in a place with bright, indirect sun exposure, and temperatures between 60 and 75°F.
If necessary, these seedling heat mats from Gardener’s Supply can be used to add 10 to 20 degrees of heat, to keep the propagation medium warm. They are available in multiple sizes.
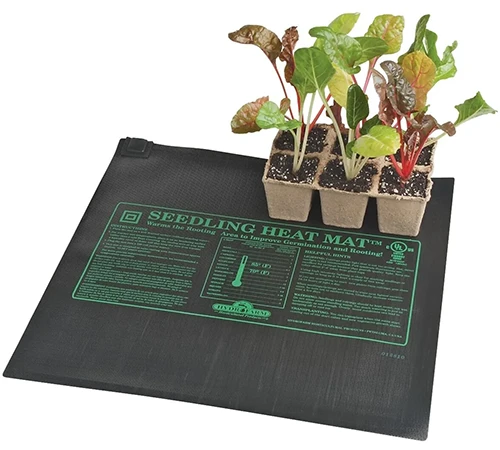
Maintain soil moisture. Expect seedlings to emerge from seeds that germinate within two to three weeks.
When the seedlings start to crowd each other out in the tray, it’s time to repot them into their own containers. Keep providing the necessary light and soil moisture as they grow.
Come spring, harden them off by leaving them outside in partial to full sun for 30 to 60 minutes before bringing them back inside. Add 30 minutes to a full hour of outdoor exposure each subsequent day until the plants can handle a full day outside.
Now it’s transplanting time! We’ll cover this in more detail below.
From Cuttings
Rooting cuttings isn’t as tough as seed propagation, but it still requires a bit of work. It’s a nice way to acquire an exact copy or clone of the mother plant.
In summer, use a sterilized blade to take four- to five-inch lengths of semi-hardwood cuttings from the ends of healthy-looking branches.
Defoliate the bottom half of each cutting, then coat the bare ends in a rooting hormone such as this IBA powder from Bonide, available from Arbico Organics.
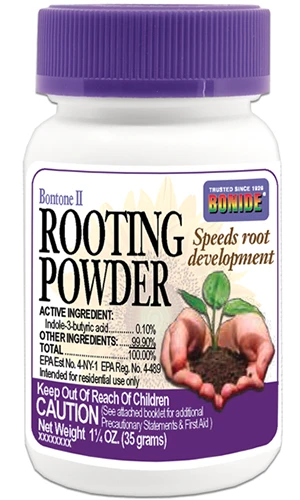
Bontone II Powdered Rooting Hormone
The hormone-coated end of each cutting should be stuck into its own four-inch pot filled with a 50:50 mix of peat moss and sand.
Moisten the media and place the containers in a location that receives bright, indirect light indoors with temperatures between 60 and 75°F.
Your cuttings should form roots in six to eight weeks. At this point, repot the cuttings into larger containers filled with an even mix of peat moss and perlite.
Continue to keep the media moist all the while as they continue to grow, and give the pots a quarter-turn each day so their growth isn’t all slanted.
Come spring, after the threat of frost has passed, harden off the cuttings with the above protocol used for seedlings. At this point, they’ll be ready for transplanting!
Transplanting
Whether you have a propagule that you’ve nursed from infancy, or a potted specimen that you’ve acquired from a nursery, transplanting these guys is pretty simple.
In fertile and well-draining patches of soil that are situated in full sun or partial shade, prepare holes that are as deep and slightly wider than the transplants’ root systems.
Lower each plant into a hole, spread out its roots, and backfill with soil just a bit at a time, gently tamping down the roots between additions to snuff out any air pockets.
Afterwards, water in the transplants, and keep the soil moist.
How to Grow Arborvitae Trees
Arborvitaes need no coddling, but optimal performance demands optimal conditions. These recommendations, while not species-specific, should generally serve an arborvitae well.
In general, an arborvitae needs to grow in USDA Hardiness Zones 3 to 8, but specific requirements from one variety to the next will vary a bit within this range.
Full sun is preferred, but partial shade is also acceptable. Full shade, while not fatal, will cause an arborvitae to lose its tightly-packed foliar density.
Don’t worry about exposure to air pollution or juglone-producing plants like black walnut, as arborvitae tolerates both.
A fertile, well-draining, loamy soil is absolutely delectable for these trees. But if you can’t provide the latter two qualities, don’t sweat it – wet, clayey soils and non-loamy soil textures aren’t a dealbreaker for arborvitae trees.
A general pH prescription of 5.0 to 8.0 works well, although you may have to adjust this a bit, depending on the species.
Arborvitae prefers a soil that’s moist and fertile. That means deeply irrigating whenever the soil starts to dry out if a naturally moist location isn’t available, as well as applying a balanced, slow-release fertilizer each year in spring.
Try this organic, 4-3-4 NPK fertilizer from Espoma that’s available on Amazon.
Growing Tips
- Provide full sun or partial shade exposure.
- Planting in fertile, well-draining loam is ideal.
- Keep the soil moist and apply fertilizer annually in spring.
Pruning and Maintenance
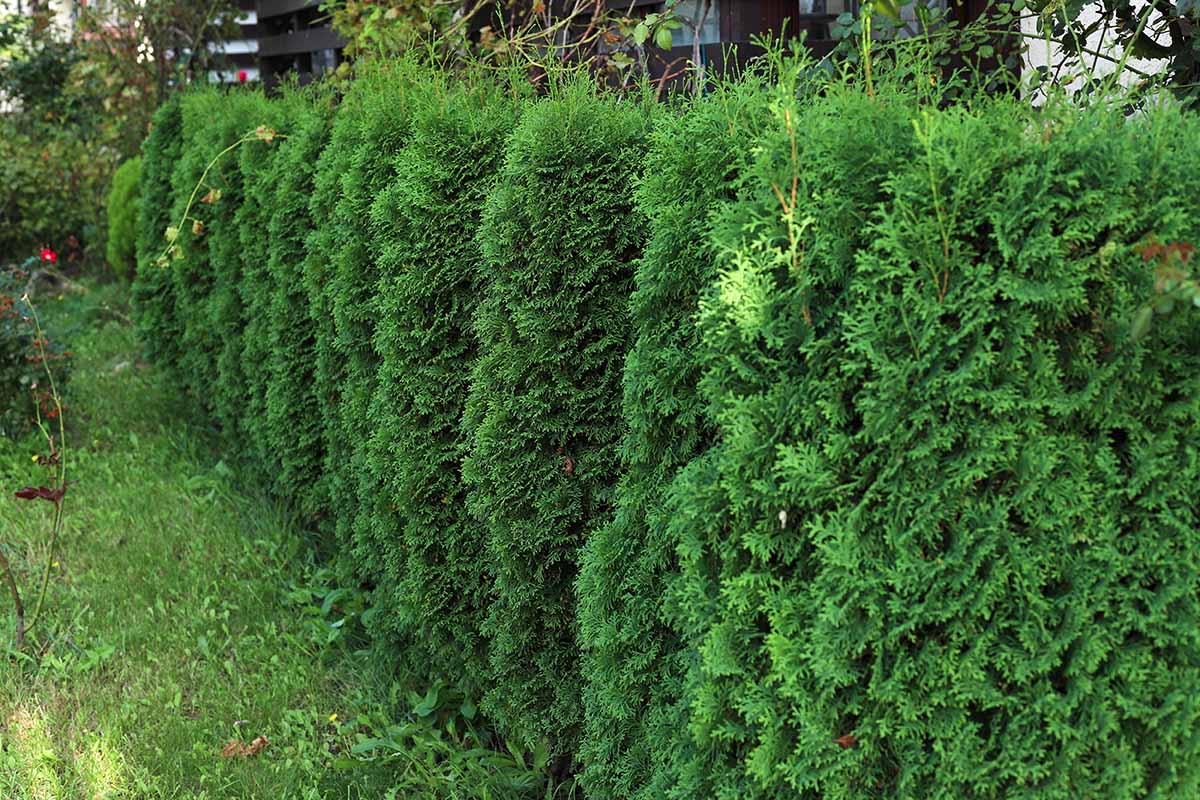
An arborvitae doesn’t need pruning, per se, but hedges and foundation plantings benefit from a well-maintained manicured look.
Dedicated sessions of shaping should be done in early spring before new growth emerges, but don’t remove more than a third of each plant’s aboveground mass at once.
Damaged, diseased, or dead branches can be pruned whenever you see them.
Maintaining a couple inches of mulch over the root zone of your trees will help to conserve soil moisture and snuff out any weeds. Plus, what could look better than a fresh mulch ring?
Species to Select
There are only five species of arborvitae out there – the only members of the Thuja genus are T. occidentalis, T. plicata, T. standishii, T. sutchuenensis, and T. koraiensis.
Since the latter three aren’t common landscape plantings, I’ll just focus on the first two… along with a very special hybrid cultivar!
American Arborvitae
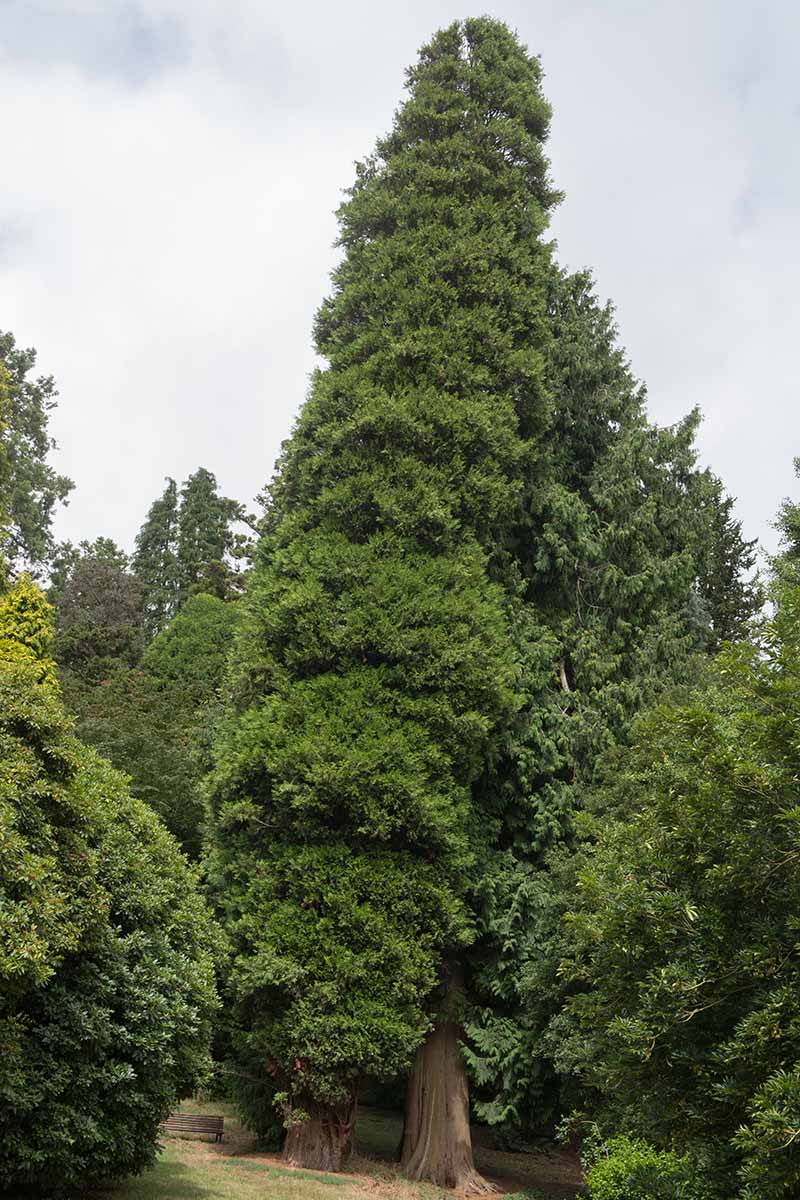
Hardy in USDA Zones 3 to 7, T. occidentalis is the plant that probably comes to mind when you picture an arborvitae.
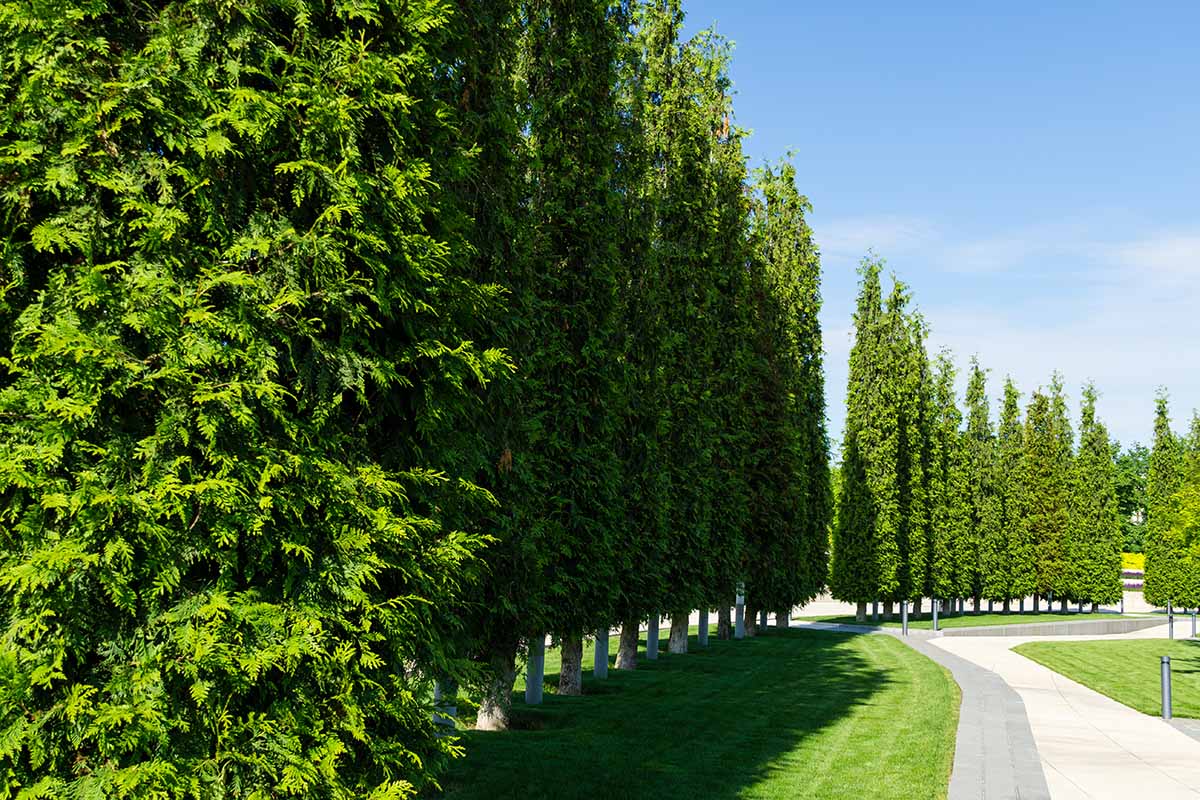
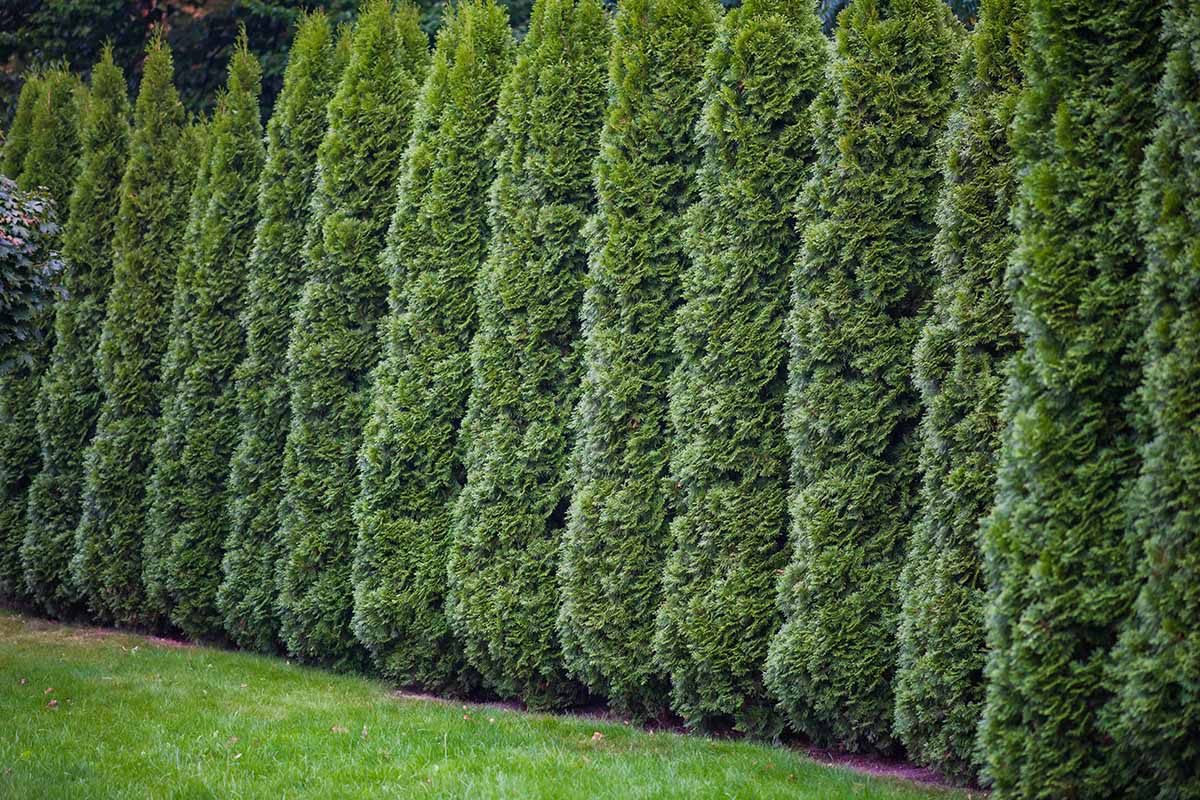
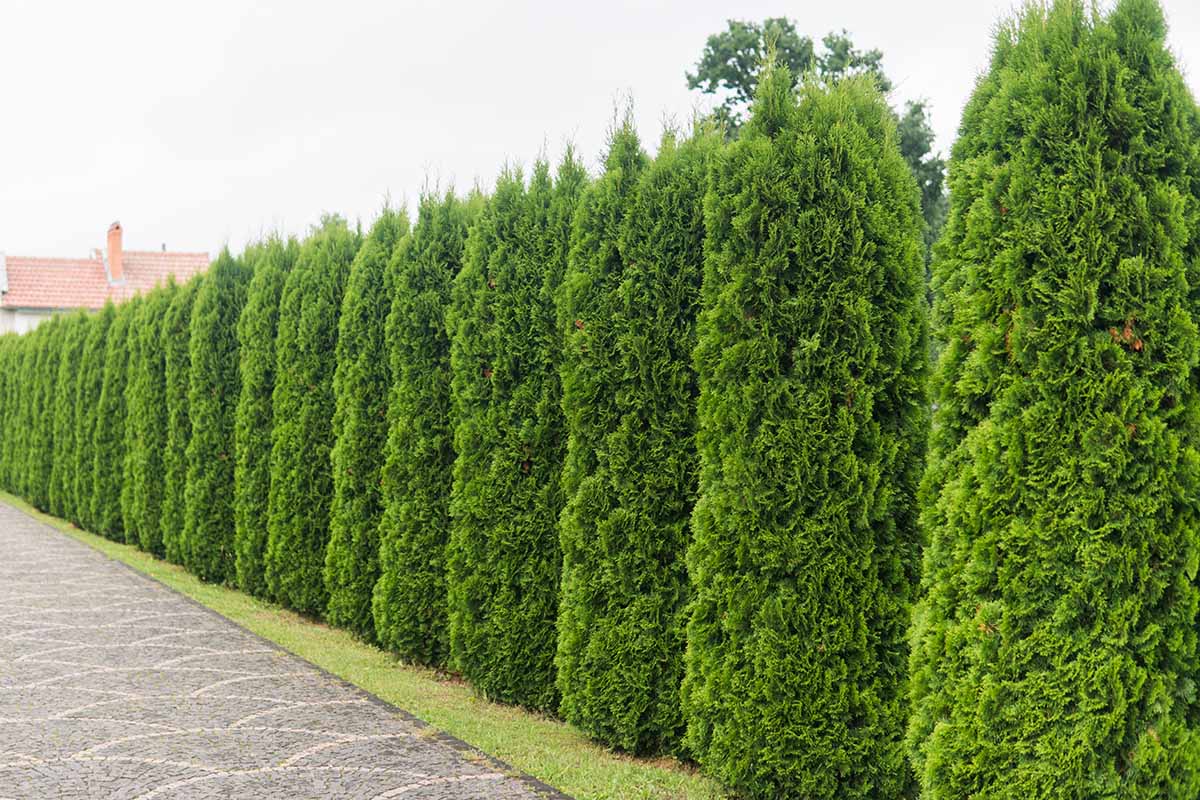
Reaching 40 to 60 feet in height with a width of 10 to 15 feet, American arborvitae has a broad pyramidal form with dense foliage that obscures its trunk from view.
As a geometrically pleasing green mass, it can pretty much go anywhere in the landscape. Specimen or accent, foundation planting or border – this plant wears many different hats well.
Critics of T. occidentalis say that it’s overused in landscaping, but I personally view it in the same vein as peanut butter – as a beloved staple that never ceases to satisfy, even when it’s featured in disproportionately large amounts.
Unless you’re allergic, that is. Only a small fraction of the population has a cypress allergy, but it never hurts to consult an allergist before planting if this may be a concern.
With over 100 T. occidentalis cultivars today, you have plenty of options.
My personal favorite is the Emerald Green arborvitae, aka ‘Smaragd’ – it’s 10 to 15 tall and three to four feet wide at maturity, with a narrow pyramidal form and bright green, lustrous foliage that tends to maintain its color quite well in winter.
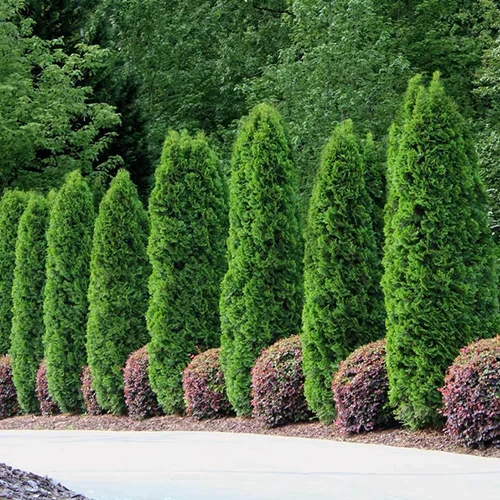
Fast Growing Trees offers Emerald Green arborvitaes in a variety of sizes.
To purchase the standard American species, visit Fast Growing Trees.
Western Red Cedar
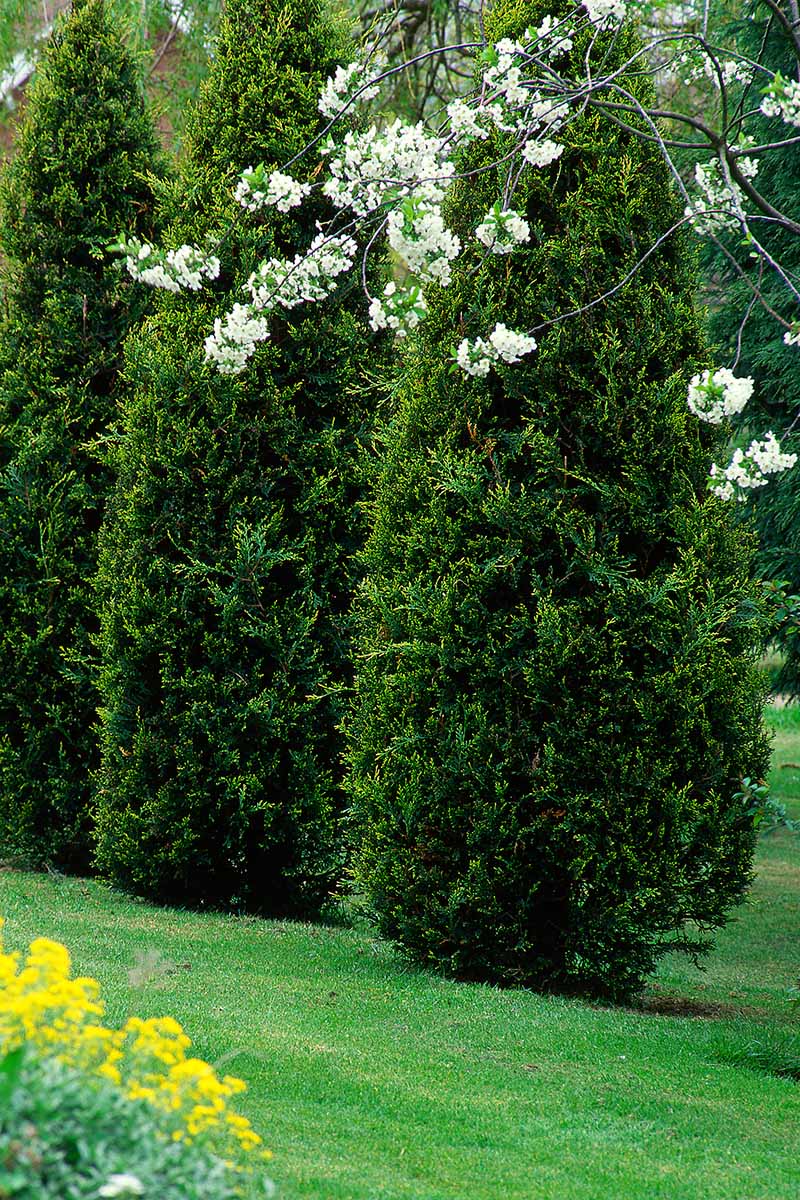
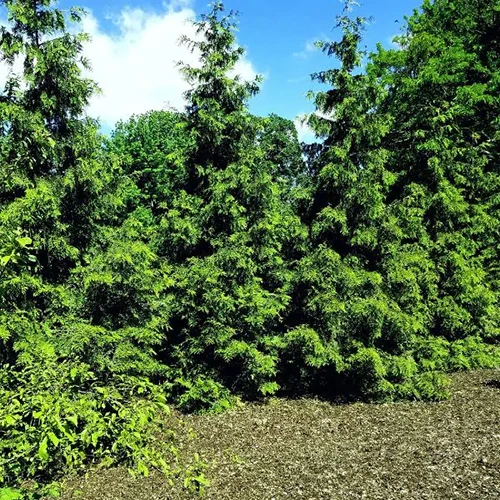
Reaching 50- to 70-foot heights with a 15- to 25-foot width in cultivation, T. plicata is hardy in USDA Zones 4 to 9, and it is absolutely stunning.
The leaves are a darker, more lustrous green than those of T. occidentalis, with white-striped undersides.
Additionally, the leaves spread more narrowly than those of American arborvitae, which makes western red cedar foliage look less densely-packed.
To me, this seems to give the tree more of a natural-looking forest vibe.
An expansive, buttressed root system and multiple leaders further differentiate this plant from T. occidentalis. All in all, it’s a fine selection that many gardeners and landscapers favor.
Learn more about growing western red cedar here.
Green Giant
Hardy in USDA Zones 5 to 8, ‘Green Giant’ stands tall and proud, just like the packaged vegetable mascot… but this tree doesn’t come bearing frozen brussels sprouts.
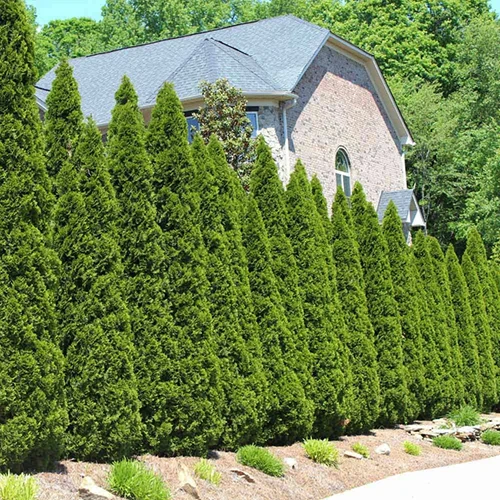
A hybrid of western red cedar and Japanese arborvitae (T. standishii), ‘Green Giant’ is similar in height to T. occidentalis but with a greater width, which makes its broad pyramidal form even more pronounced.
‘Green Giant’ grows very quickly: up to four feet per year! This blows your average arborvitae’s one to two feet of annual growth clear out of the water.
For a stout and vigorous addition to the garden, ‘Green Giant’ is absolutely perfect.
To purchase ‘Green Giant’ in #1 or #3 containers, visit Nature Hills Nursery.
Perfect Plants Nursery carries this cultivar in a variety of sizes.
Managing Pests and Disease
Generally, arborvitaes don’t suffer from serious infestations and infections.
But pests and pathogens can still leave an arborvitae looking worse for wear, so here are a few to be aware of that may cause issues:
Herbivores
Some of our furry friends find arborvitae foliage rather tasty. As cute as they are, we must remain strong in our control efforts.
Deer
Come fall and winter, food becomes scarce… and for a hungry deer, an arborvitae is the perfect cold-weather snack.
The American arborvitae is, at least. Western red cedar and ‘Green Giant’ are both moderately deer-resistant.
Your first line of defense is going to be a deer fence that’s at least eight feet tall. Applications of deer repellent work well as a secondary measure.
Our DIY deer fencing guide is sure to come in handy, as well as these six-pound tubs of granular deer repellent sold by Enviro Pro on Amazon.
Rabbits
Buster Baxter, Bugs Bunny, Peter Cottontail… regardless of their high-ranking protagonist status in works of fiction, any real rabbit will turn into an arborvitae-munching fiend when it’s hungry enough.
These guys can’t reach as high up as deer, but they can completely strip away what’s within reach.
If a perimeter fence doesn’t keep them out, you may have to erect a small barrier of hardware cloth around each individual plant.
A height of 18 to 24 inches – with several inches buried belowground – should do the trick.
Find flexible and rust-resistant hardware cloth on Amazon.
Insects
As if they weren’t annoying enough already, insects can vector pathogens when they feed. All the more reason to manage them properly, I say.
When applying chemicals for control, always do so safely and according to product instructions.
Aphids
Also known as Cinara tujafilina, arborvitae aphids are an eighth of an inch long, with a brownish color and a waxy white splotch on their backs.
They appear in the fall, feed on the shoots, produce young that overwinter belowground, reach peak population size in spring, and go underground to feed on the roots by midsummer.
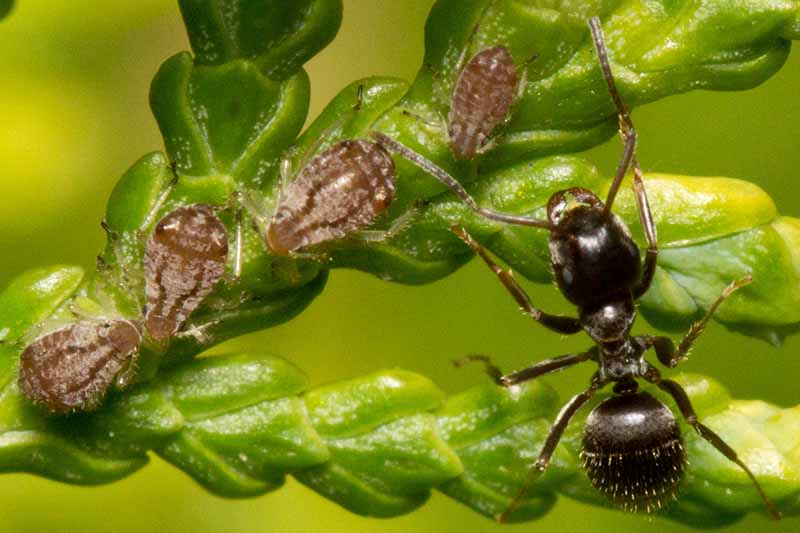
These pests can turn foliage brown and kill off entire branches. They also excrete honeydew, which can attract other insects, lead to sooty mold, and just drip all over the place.
Sprays of insecticidal soap or horticultural oil throughout the growing season will control the aphids.
Bagworms
Emerging from their eggs in early June, baby Thyridopteryx ephemeraeformis caterpillars carry and construct their trademark bags as they feed, which look like brown cocoons assembled from assorted plant bits.
As they continue to feed and cause defoliation, the bagworms grow and mature.
In early fall, the mature bagworms hang up their bags and transform into adult moths. Fertilized by the winged male, the wingless female can lay over a thousand eggs in her bag, which overwinter until the following June.
Removing bagworms by hand and drowning them in soapy water can work with small populations, but larger infestations require insecticide applications immediately after hatching.
Drench the soil with Bacillus thuringiensis var. kurstaki and/or spray the foliage with malathion.
Leaf Miners
The small, green larvae of Argyresthia thuiella eat their way through and overwinter in arborvitae leaflets, which browns the injured foliage.
Light gray adult moths emerge in late spring to lay eggs, which then hatch and repeat the cycle.
Spraying the foliage with acephate in mid-May should stop the larvae from mining, while an imidacloprid soil drench in early spring will provide systemic control throughout the growing season.
Disease
Using pathogen-free soil, clean plant stock, and sanitized tools will go a long way in preventing disease.
Blight
The dense canopies of arborvitae sure are beautiful… to both people and the pathogens that cause blight.
Tip blights caused by Pestalotiopsis fungi tend to strike when the tree isn’t cared for properly.
Yellowing manifests at the leaf tips and works its way downward, eventually progressing to a dark brown-black necrosis.
Twigs can also turn brown and exhibit small black dots of fungal fruiting structures.
Leaf blights are caused by Phyllosticta fungi, and these infections are restricted to the foliage. Infected leaves exhibit pale green to yellow colors, and often appear desiccated.
Symptomatic needles rupture, ejecting spores in wet weather with mild temperatures, which leads to further spread.
Prune leaves infected with blight as soon as you notice them, but not during periods of wet weather.
To prevent pathogen spread, avoid overhead watering and space your plants properly. Fungicides can also be used as a preventative measure, applied in spring and/or fall.
Seiridium Cankers
Caused by species of Seiridium fungi that overwinter in infected bark, Seiridium cankers cause browning in individual branches, also referred to as flagging.
Resinous, oozing cankers are often observed on the trunk near the origin of infected branches.
Over time, the disease can spread to additional branches, especially in humid conditions with mild temps.
Seiridium cankers can kill a plant in several years, or in under a year with younger, smaller trees or exposure to a stronger strain of Seiridium.
There are no known chemical controls for this disease.
Prune and pitch infected branches, maintaining plant health as best you can. Severely infected trees should be removed from the landscape to prevent further spread.
Winter Damage
Physiological in nature rather than pathogenic, winter damage is caused by harsh sun and wind exposure during the dormant months.
The leaves desiccate more quickly than the tree is able to take up water, which can leave foliage with a winterburned, reddish-brown hue.
Watering properly and mulching thoroughly in advance of dormancy will give your plants a fighting chance.
Additionally, putting up a burlap screen will help block out damaging winds. And be mindful of your deicing efforts through the winter – salt accumulation around these trees can lead to salt burn and further desiccation.
Learn more about winter damage in evergreen shrubs in our guide.
Best Uses for Arborvitae Trees
An arborvitae is a versatile landscaping staple that can play so many different roles in the garden.
It can go front and center as a specimen, or hang in the background as an accent.
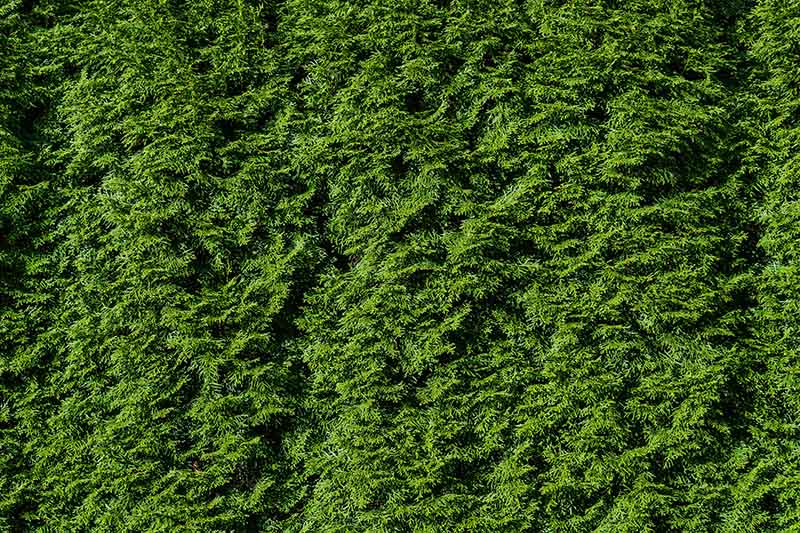
Put a wall of them on the edge of your yard to block out peeping neighbors, or plant one right up next to your home to highlight its structure.
You can pair them with colorful, flowering plants for a one-two punch of contrasting aesthetic awesomeness.
Grasses, ground covers, and trees with attractive bark make for solid complementary plantings.
I’m just scratching the surface with the above suggestions, honestly.
Especially when you consider all the available cultivars available to choose from, which can give you new colors, shapes, and sizes to work with.
Quick Reference Growing Guide
| Plant Type: | Coniferous evergreen shrub or tree | Foliage Color: | Green |
| Native to: | East Asia, North America | Maintenance: | Low |
| Hardiness (USDA Zones): | 3-9, depending on species | Tolerance: | Air pollution, black walnut juglone, clay soil, wet sites |
| Exposure: | Full sun to partial shade | Soil Type: | Fertile, loamy |
| Time to Maturity: | 10-20 years | Soil pH: | 5.0-8.0 |
| Spacing: | 3-5 feet | Soil Drainage: | Well-draining |
| Planting Depth: | Slightly below the soil surface (seeds), depth of root ball (transplants) | Companion Planting: | Colorful flowers, grasses, ground covers, plants with textured bark |
| Height: | 1-70 feet | Uses: | Accent, foundation planting, hedge, screen, specimen, windbreak |
| Spread: | 1-25 feet | Family: | Cupressaceae |
| Water Needs: | Moderate | Genus: | Thuja |
| Common Pests and Diseases: | Aphids, leaf miners, bagworms; blight, Seiridium canker | Species: | Koraiensis, occidentalis, plicata, standishii, sutchuenensis |
Wouldja Plant a Thuja?
Hopefully, the answer is yes. If not, go back and read this guide again. Repeat until your mind is changed.
In my opinion, every garden with a suitable climate can benefit from the addition of an arborvitae or two… or ten. They’re just that attractive.
And regardless of whether or not you think they’re overused, there’s no denying their popularity.
Questions, comments, or concerns? Lay ’em on me via the comment box below, I’d be happy to get back to you with replies.
Interested in other evergreen conifers? Peruse these guides at your leisure:
Great article! My arborvitae have winter damage similar to the picture that you used. I live in zone 4. Any tips to help aid in recovery or is all hope lost?
There are definitely some things you can do to try and help your arborvitae recover! First, you should prune away the dead growth in the mid-spring, once new growth has started. Check for green tissue underneath the wood of the growth in question before you prune them, just to double-check that the growth isn’t still alive. To prepare for the following winter: mulch your specimens with 2-4 inches of mulch, avoid fertilizing them too late (mid-summer to fall), and make sure to provide adequate irrigation up until the ground freezes. You can also shield them with canvas or burlap… either… Read more »
Hi Joe, I have a question. Should I soak seeds in cold, warm or room temp water for the 12 to 24 hours before stratification??
Hey, Barbara! Water that’s warm – but not hot – would be my prescription.
Can you cut the tops off of tall Arborvitae? The top 2 feet of my neighbor’s trees are brown. Can this part of the tree be cut off with the side branches recovering. They are brown due to drought.
Hey, Gayle! Usually, “topping” a tree isn’t a recommended way of pruning, but if the top two feet of growth are brown and dead with no hope for recovery, then you gotta do what you gotta do.
Hello, I have two yellow ribbon cedars and my neighbor has commented to my husband that the fact they are growing cones is a sign that they are stressed. I thought that cones were a usual part of the lifecycle of these trees and nothing to worry about. The cones don’t look unusual or blighted in any way. Would you explain the lifecycle of cones and whether they indicate any kind of stress? Thanks for your help.
Howdy! That’s an interesting question. Cones production is indeed a usual part of a conifer’s life cycle, especially now in spring. However, stress can also be a cause of heave cone production — when a plant is stressed by a sub-optimal growing environment, it may produce a bunch of cones in an attempt to produce offspring that will ensure the survival of the species. I guess you could compare your yellow ribbon cedars to other local conifers to see if your plants are indeed stressed. If other healthy-looking cedars aren’t producing as many cones as your yellow ribbons are, then… Read more »
I have a major issue with about 5 of the probably 35 I have along my back yard. 1 of the 5 is looking worse as time passes and sickly looking. ALL five I believe were backed over by my neighbor and his lawn tractor. I witnessed at least 4-5 times the trees being bent almost on a 45 degree angle. I fear the worse the tree the more roots and lower trunk was stretched and broke and damaged … thus the pathetic looking trees. The really bad one has not really grown over the last few years. My line… Read more »
Hi Franklin, unfortunately, your video didn’t attach. If the plants were truly broken at the base or the roots were damaged, there isn’t much you can do. You’ll probably need to replace them. Feel free to send us the video via email and I can give it a look to give you a better idea.