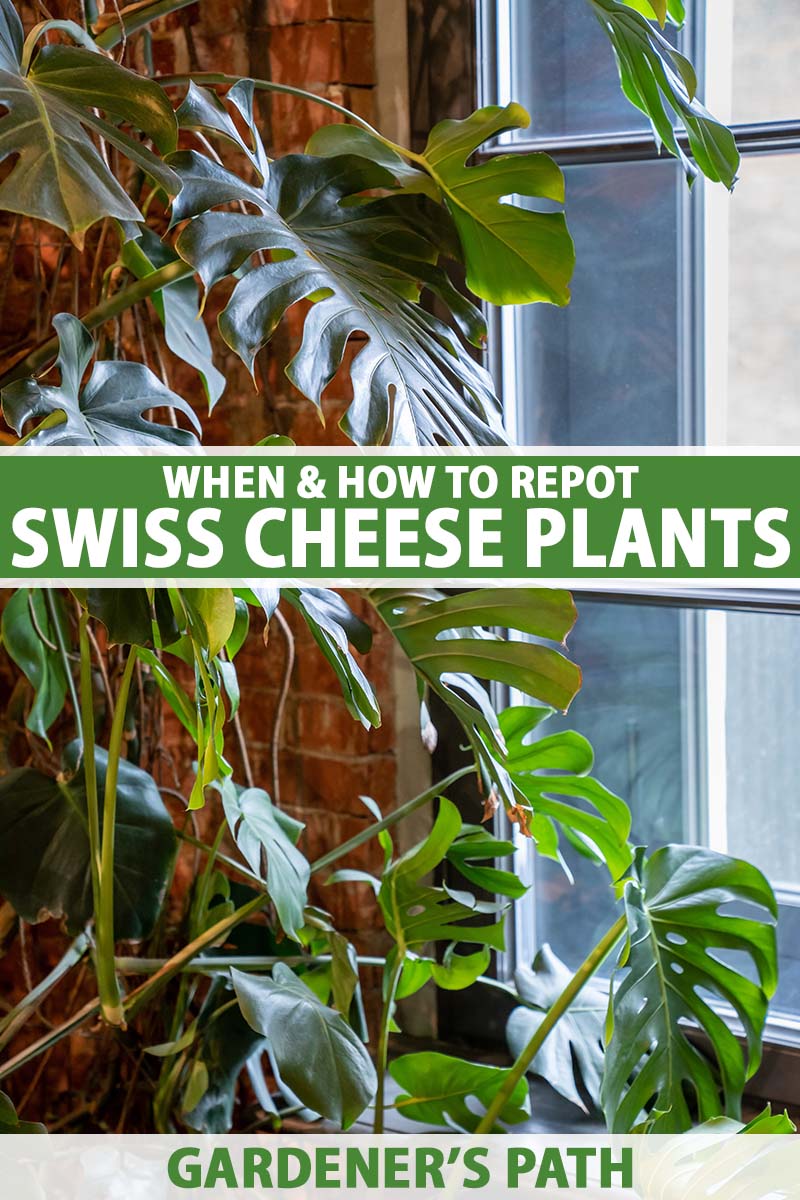
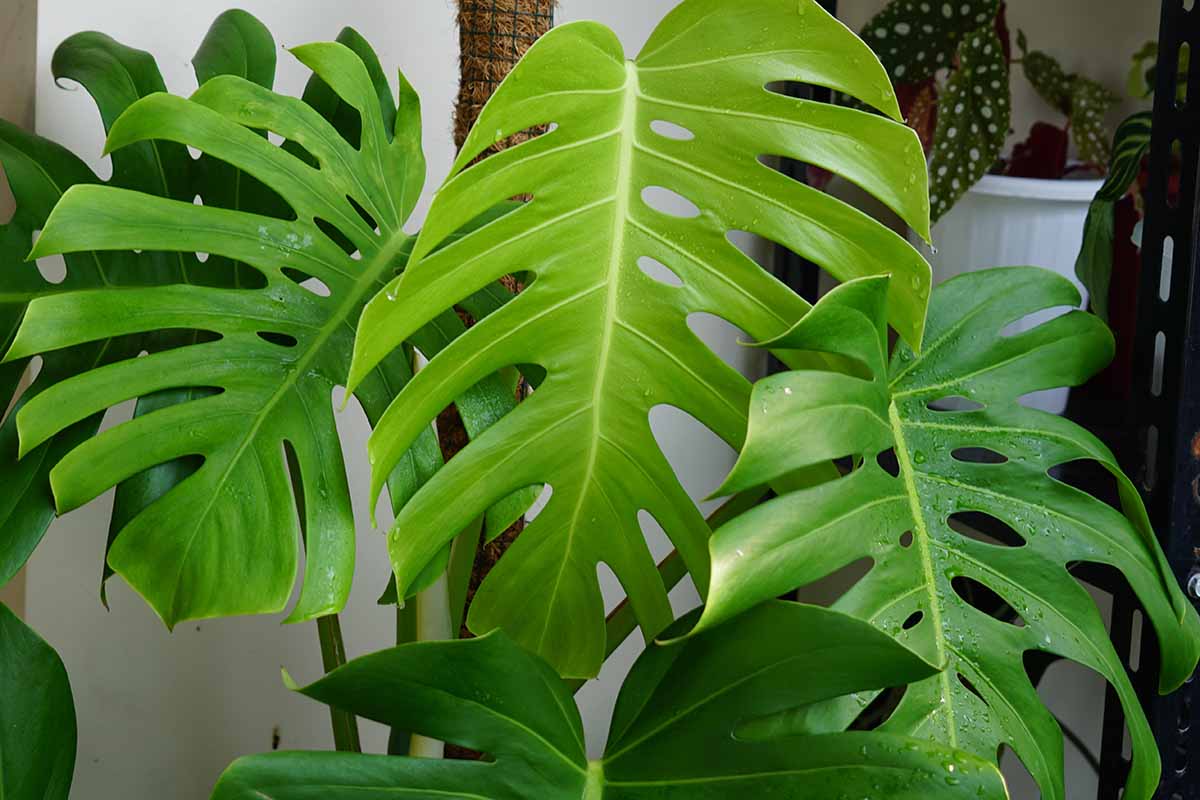
Monsteras are easygoing houseplants that grow rapidly when provided with the right care.
Before you know it, your plant has sprouted new leaves and sent out aerial roots all over the place.
Suddenly, it feels like your Swiss cheese plant has turned into a real monster, crawling out of its container and reaching across the floor with its tentacles!
Your monstera has outgrown its home.
We link to vendors to help you find relevant products. If you buy from one of our links, we may earn a commission.
I have three or four dozen species of houseplants at any given time and it’s inevitably my monsteras that I find myself repotting the most.
These plants like being rootbound, but they grow so quickly and I have so many that it feels like I’m always dividing one or repotting another. One day my husband will come home and find me buried under Swiss cheese plants.
Is your monstera needing a new home, too? This guide will help. Coming up ahead, here’s what we’re going to go over:
What You’ll Learn
Gather your tools, which should include clean scissors or pruners, fresh potting medium, and a clean pot.
When to Repot
If your existing container is cracked, crumbling, clogged, or otherwise compromised, you can repot whenever you want.
If the roots have outgrown the pot and are coming out of the drainage holes, it’s best to wait for late winter or early spring. It won’t hurt your monstera to hang out a little longer unless there is so little soil that absolutely no water can be retained.
During this time the plant is still dormant, so it won’t be as shocked by a move. And with the growing season just round the corner, once growth resumes, it will quickly re-establish itself.
It won’t hurt your aroid to repot it at other times of the year, but if you want to do it at the ideal time, late winter or early spring is the way to go.
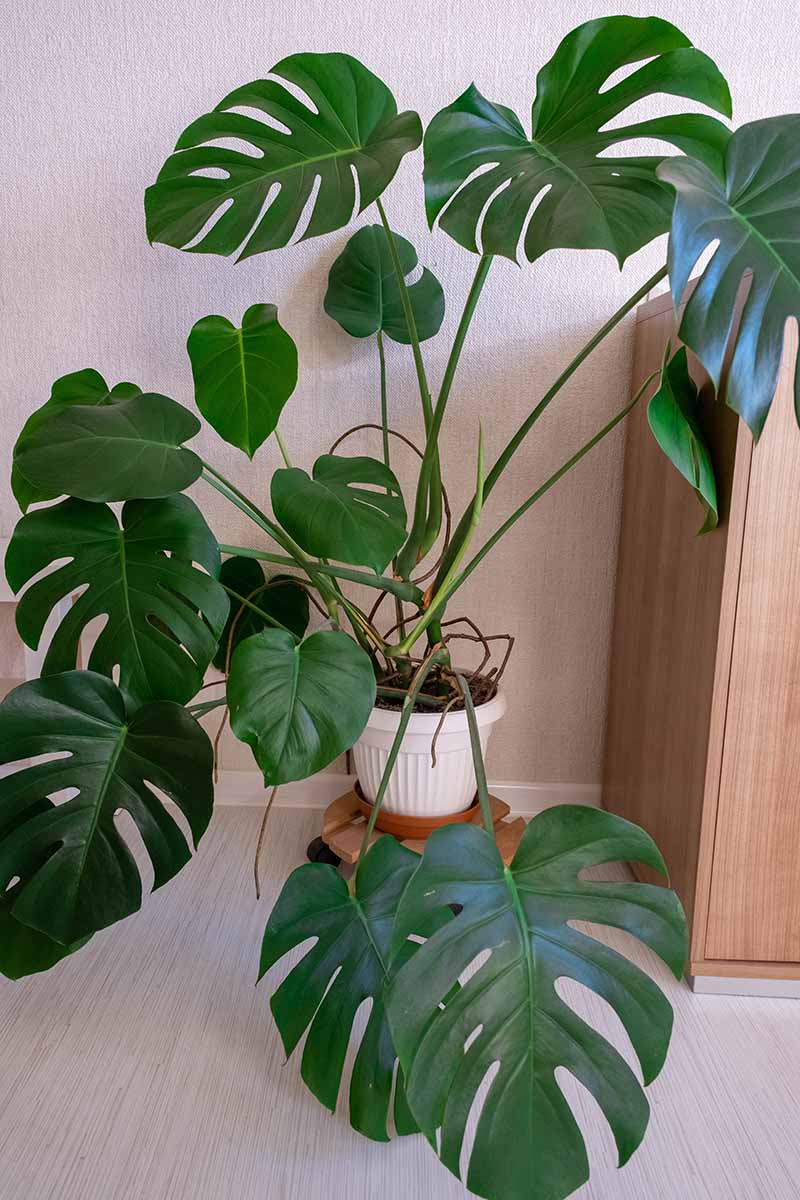
Knowing when the time is right to repot is a matter of keeping an eye on your houseplant. If you see roots coming out of the drainage holes, you can be sure your Swiss cheese plant needs a bigger home.
The same goes for if you see roots circling up out of the medium and around the perimeter of the pot.
Aerial roots – those that grow from the stems above the soil – aren’t a reliable sign that you need to repot. These are a normal part of the plant’s growth.
You can expect to go up a container size every three or four years if your plants are doing well.
Prepare Your Pot
Before you start working, you’ll need to prepare the new pot. If you’ve just purchased a new one, don’t worry too much about sanitizing, though it never hurts to wipe it out with soapy water.
If you’re reusing a pot, clean it with soapy water and then wipe it down with isopropyl alcohol to kill any pathogens.
Don’t go up more than one pot size. I know it may seem more convenient to go up several sizes, then you can skip the next few years of repotting, right?
The problem is that too much soil around the roots often results in water sitting in the potting medium too long, leading to root rot. Monsteras do best if the roots are snug.
Fill the base of the pot with fresh, new potting mix. Don’t reuse the old mix.
Speaking of soil, you can use pretty much any water-retentive potting soil, but I like to mix potting soil with orchid bark in equal parts.
Orchid bark increases the amount of air that reaches the roots and as epiphytes or hemiepiphytes, their roots prefer access to a lot of oxygen.
You can also find mixes made specifically for aroids.
I have all my monsteras in FoxFarm’s Ocean Forest Potting Soil mix with some added bark – and they love it!
FoxFarm Ocean Forest Potting Soil
Pick up 12 quart bags of FoxFarm Ocean Forest via Amazon.
It contains earthworm castings, bat guano, fishmeal, forest humus, and sphagnum moss. All the stuff aroids need to thrive.
Then, I mix it with an equal amount of Bonsai Supply’s fine texture pine bark nuggets.
Bonsai Supply Pine Bark Nuggets
This product is also available via Amazon.
Remove the Plant
The first step is to take the plant out of its existing container. Do this by gripping the stems at the base around as many of them as you can manage and tilting the pot on its side.
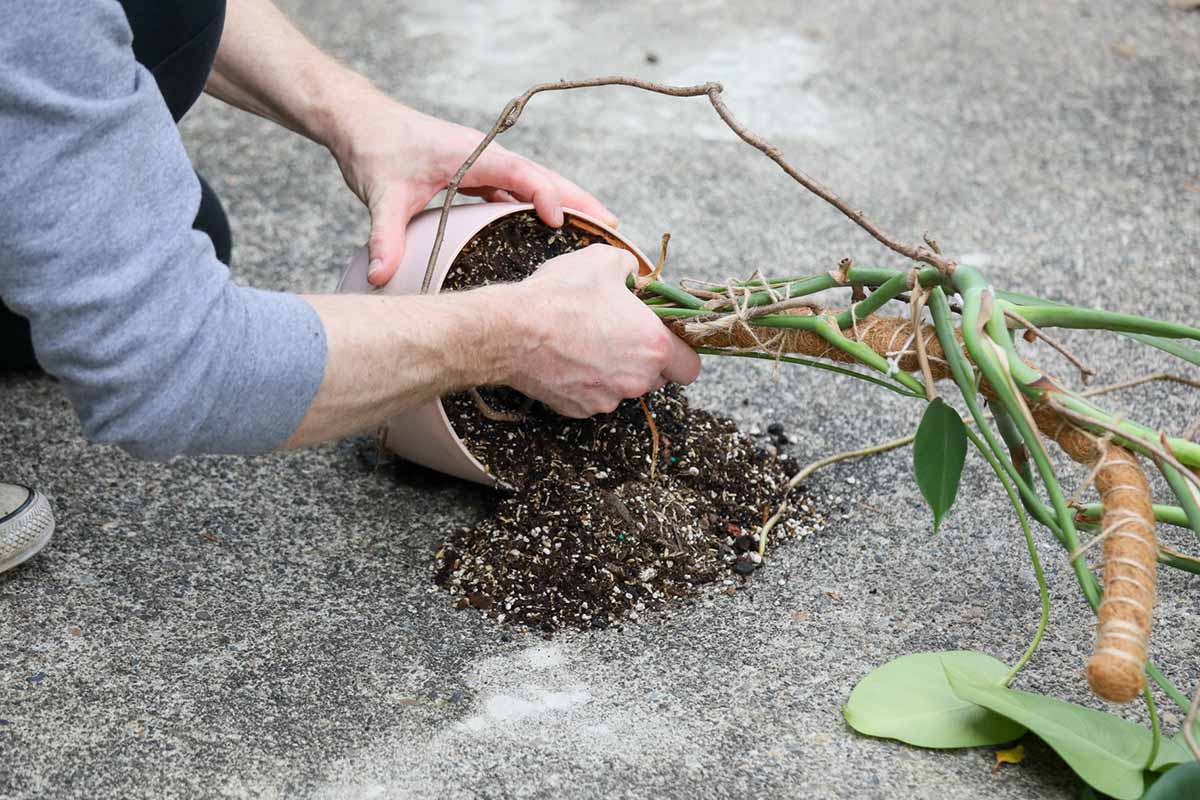
It helps to do this part outside or over a tray, cardboard, or newspaper so you can catch the soil that falls out. This can be a messy job.
Hold the pot steady with your other hand and gently pull the roots out of the pot.
Prepare the Monstera
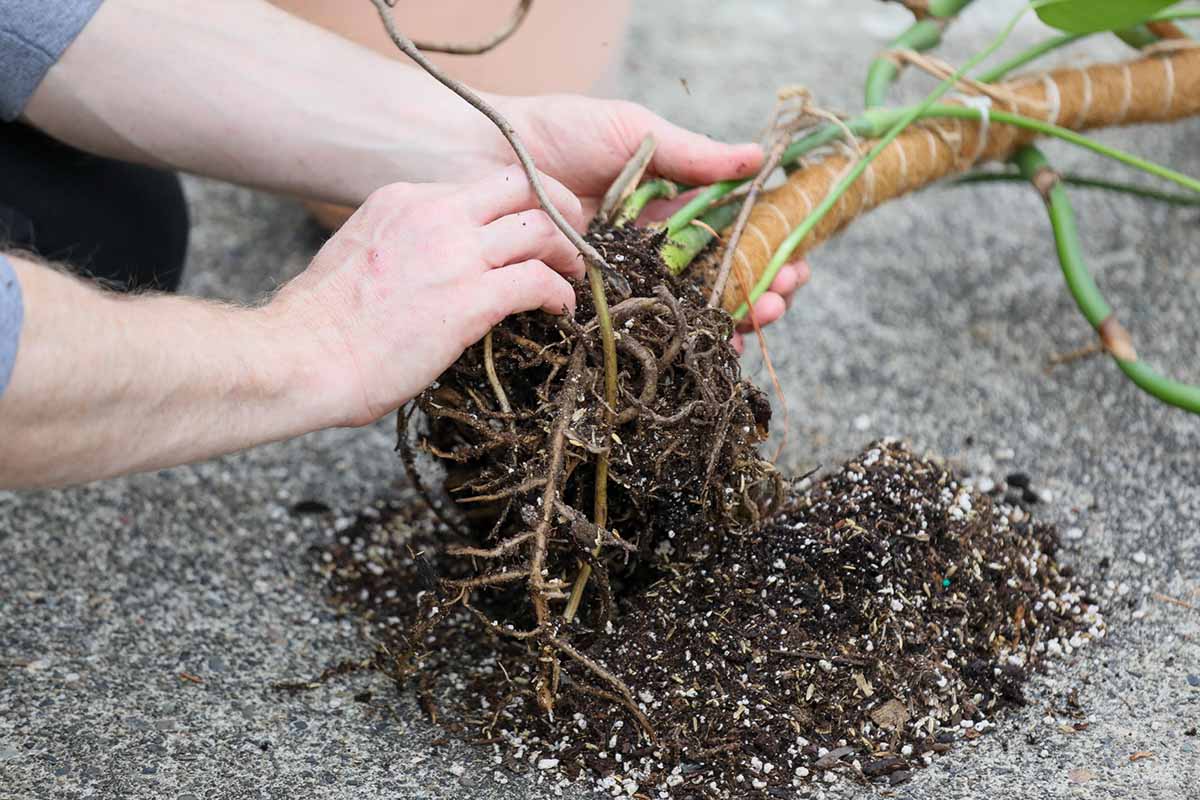
Once it’s out of the container, knock away as much of the soil from around the roots as you can.
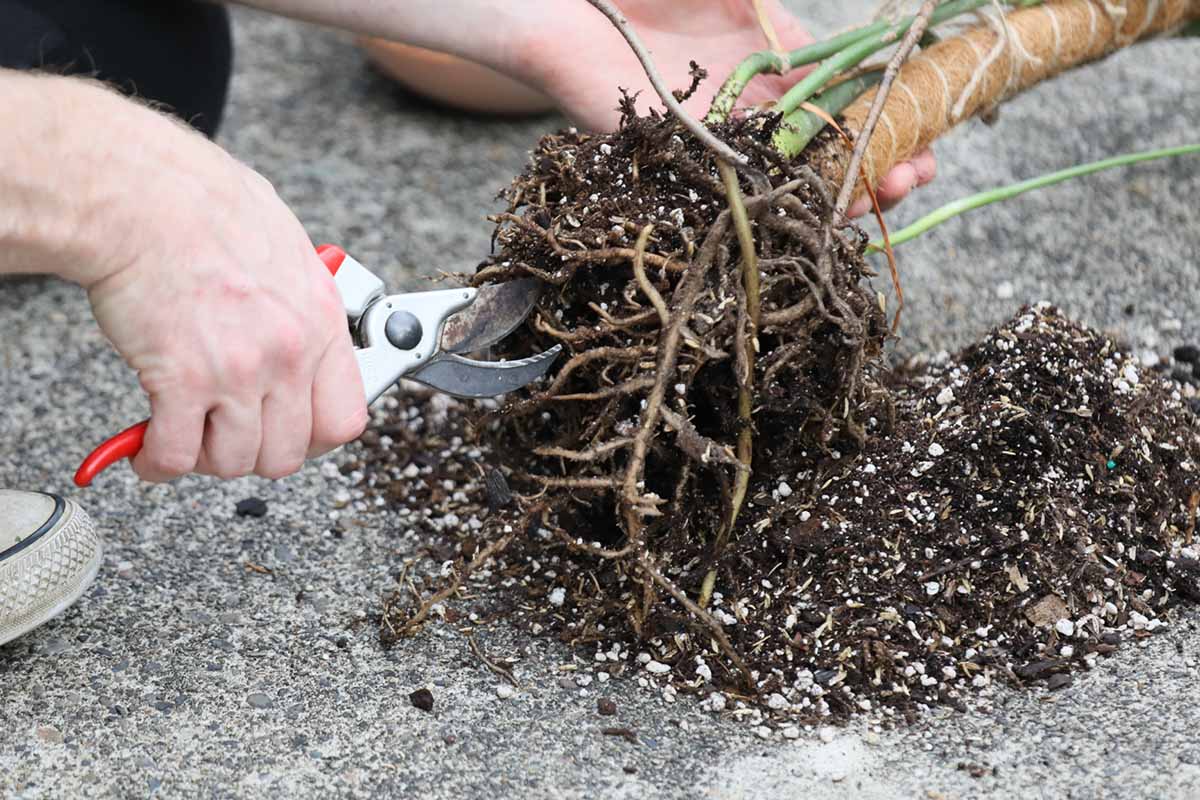
Then, examine the roots carefully. Look for any that are dead, broken, black, or mushy and snip them off at the end of the healthy area using scissors or pruners.
Once any damaged or dead portions are removed, gently untangle the remaining roots.
Replant
Place the monstera in the pot and hold the plant at the level you want it to sit. Use your other hand to pour or scoop your chosen potting medium into the container.
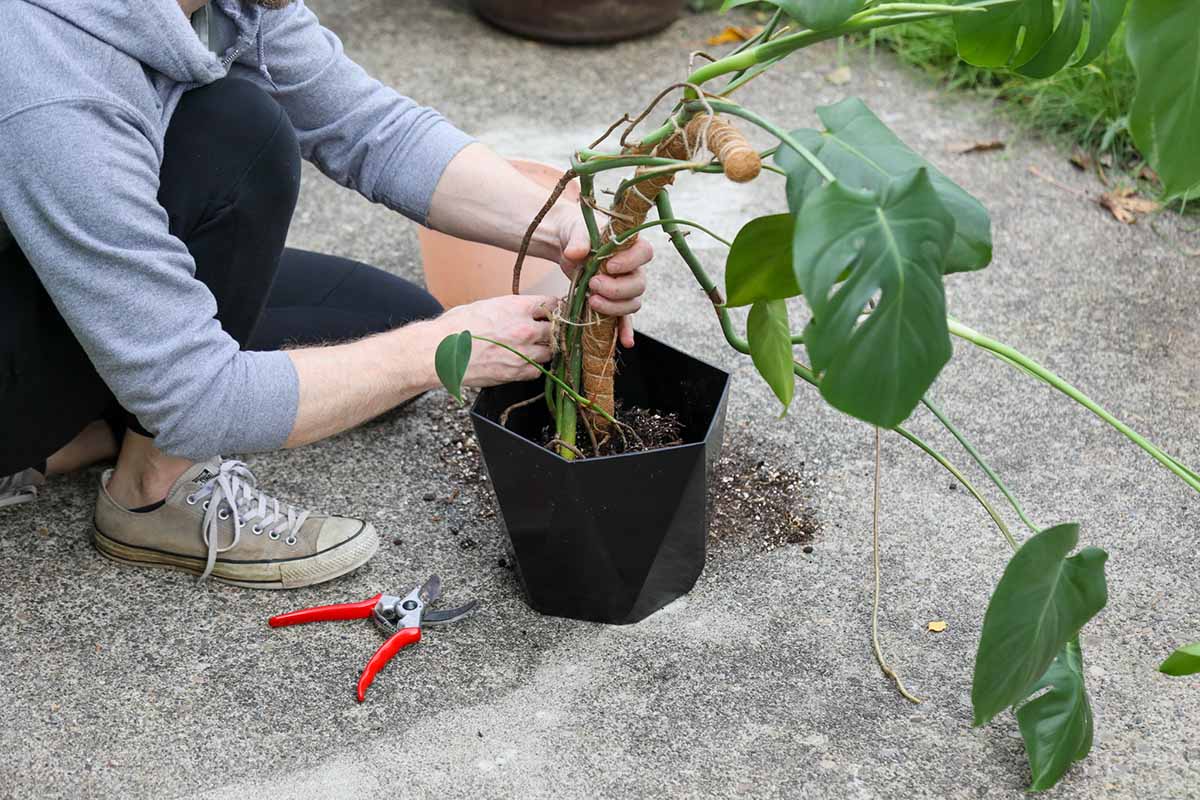
Add water and wait for the medium to settle. Once it does, you might need to add a bit more soil.
If you decide that you’ve gone large enough and you don’t want to move up another container size, you can remove the plant from its pot, remove all the soil, and trim the roots back by about a third.
Repot it in the original container, as described above. Then, trim some of the leaves, cutting them back to the nearest stem. Doing this can keep a plant happy and in the same size container for years.
Learn more about keeping your Swiss cheese plant healthy.
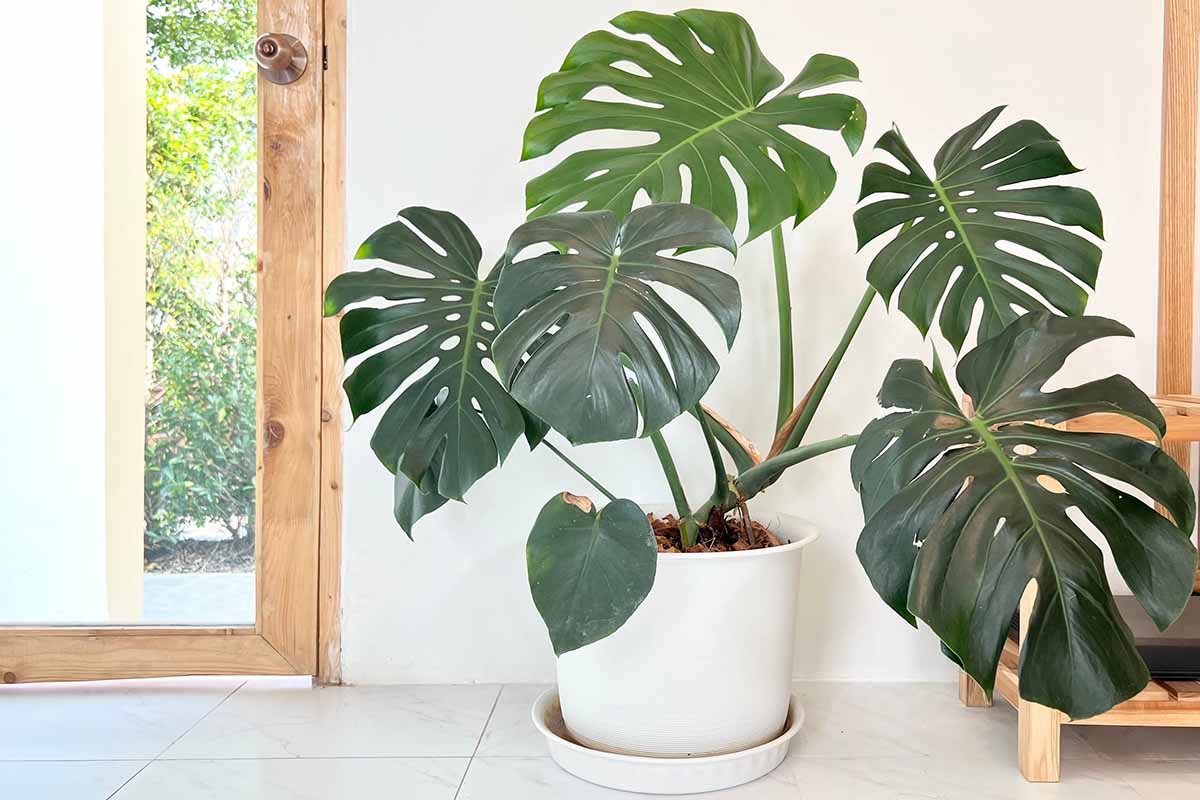
Your Monsteras Are Going To Love Their New Homes
It’s fortunate that monsteras are so easy going about repotting. They don’t suffer terribly from shock when they’re transplanted, and most of the time they’ll start growing again as if nothing happened.
How long have you been growing your monstera? Is this your first time repotting it? Share your experiences with us in the comments section below.
If you’re looking for some additional information about caring for monsteras, you might be interested in these guides next:
Mines been on a slow dive since I brought her home and repotted her. I don’t m ow how to save it
Hi Megan, this isn’t a monstera; it’s a tree philodendron (Thaumatophyllum bipinnatifidum). These plants have similar requirements but they aren’t the same. The type of discoloration that you’re seeing is often from transplant shock or overwatering. These plants are sensitive to overwatering and you should allow the top fourth of the soil to dry out before watering.