There are several reasons why you might choose to grow your own pomegranate trees at home.
Obviously, there’s the fresh factor – homegrown produce seems to taste better when it’s just been picked than store-bought fruit that’s been shipped from afar and left to sit, doesn’t it?
Then, there’s ease of access. Perhaps your local store doesn’t carry the produce you want, so you’re taking matters into your own hands.
It could also be that you’ve shopped around for commercially available trees and you’re either experiencing sticker shock at the prices you’ve seen, or you’re having trouble finding the variety you want most.
We link to vendors to help you find relevant products. If you buy from one of our links, we may earn a commission.
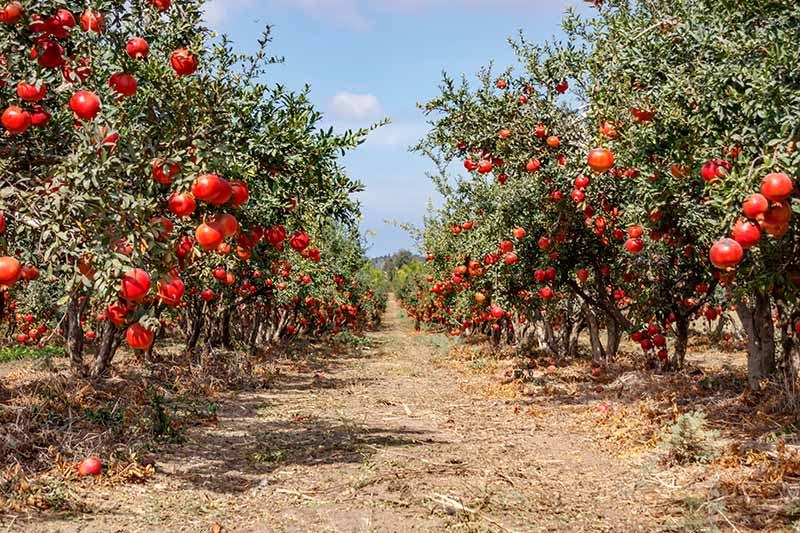
Maybe you want to start a bunch of plants at once to create your own orchard, and you need to do it affordably, with reliable results – or you want to plant more than one tree for cross-pollination, which is recommended for bigger yields.
Propagating your own trees or shrubs at home is fairly easy, and there are several methods available to you. In this guide, we’ll go over your options, and explain the necessary steps to get started.
What You’ll Learn
As you might imagine, there is a lot to cover. But you’ll be more than ready to start your own plants at home by the time you reach the end of this article.
Without further ado, let’s get to it!
The Best Pomegranate Propagation Methods for Home Growers
Each of the techniques described here will result in new plants, or allow you to give ones that you’ve purchased a successful start.
We’ll cover rooting cuttings and air layering, as well as transplanting saplings and bare root plants that you’ve purchased.
Please be aware that propagating pomegranates from seed will produce a plant whose fruit or growth habit is unlike that of the parent plant. We cover this particular propagation method in more detail in a separate guide.
Even with the potential for a wide range of variation in results, it can sometimes still be worth it to experiment with seed-grown trees, as many of the more than 500 named cultivars of pomegranate are derived from variations produced by growing them from seed originally.
But if you want a more reliable result, it’s best to use other methods of propagation.
Please note that grafting or propagating via tissue cultures may also be possible, but these options are generally rare for pomegranates, and typically reserved for commercial use.
Tissue culture propagation requires a sterile lab environment and special equipment, and grafting is not generally preferred since pomegranates are particularly prone to suckering.
Suitable Growing Conditions
Even though these trees can withstand quite a bit of variation in their environment, and sometimes less than ideal soil conditions, they prefer nutrient-rich, loamy soil.
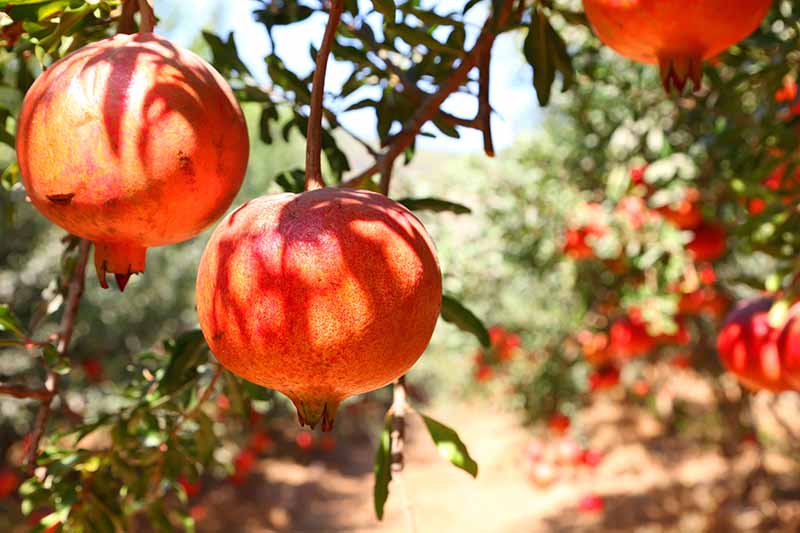
Pomegranate trees that are grown in healthy soil with lots of organic material will generally produce better quality fruit and bigger yields than those growing in less favorable conditions.
Choose a location where plants will receive at least eight hours of direct, full sunlight and where the soil drains well. I suggest testing the soil prior to planting, as these plants prefer slightly acidic to neutral conditions. A pH of 5.5 to 7.0 is best.
It’s also important to allow adequate space between plants, so plan to provide at least 15 feet between each tree if you’re planting multiples – unless you’re planning to form a hedge, in which case six to eight feet should be adequate with proper pruning.
Don’t plant the trees close to structures such as your house, fences, or outbuildings. Allow at least 15 feet between the tree and the structure, unless you plan to do some serious pruning.
Now that you know how to provide ideal growing conditions, read on to learn about the best propagation options for home growers.
Rooting Cuttings and Suckers
If your goal for planting pomegranate trees is to clone the fruit of a mature parent plant, then starting with cuttings works well, and offers a few advantages.
Hardwood cuttings taken from a plant that is already producing fruit will generally produce flowers and fruit in less time than starting from seed.
Healthy, disease resistant, productive trees are the best source of cuttings, especially if you’re growing yours in the same region as the parent is growing in, as opposed to a purchased plant that was grown elsewhere.
Rooting is an easy process if it’s done at the right time. Be aware, however, that some cuttings may not root despite your best efforts. Plan to start with a couple extra to make up for any failures.
It’s best to cut dormant branches for rooting if possible, taken when the plant is not actively growing in late winter. At that time, the natural growth cycle of the plant will encourage rooting and leaf growth in late winter and early spring.
In regions where dormancy does not occur, where year-round temperatures remain above about 50°F, cuttings can be taken at any time of year.
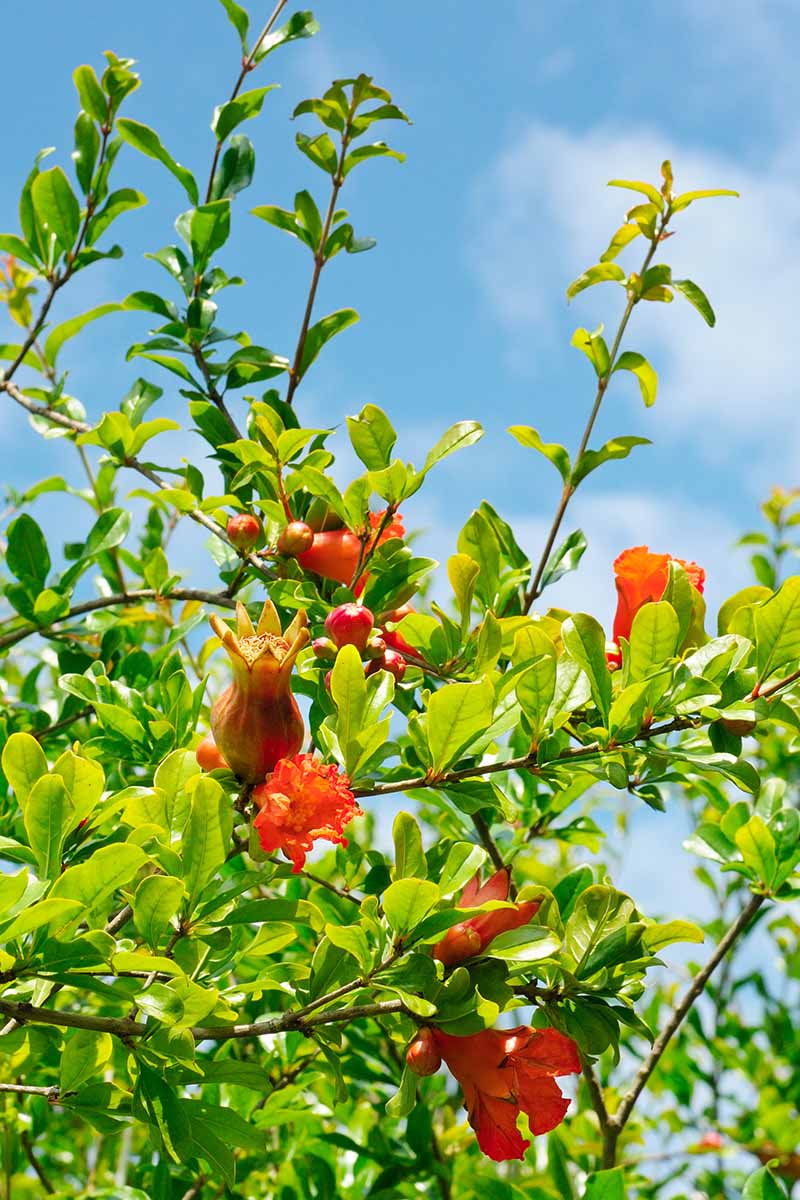
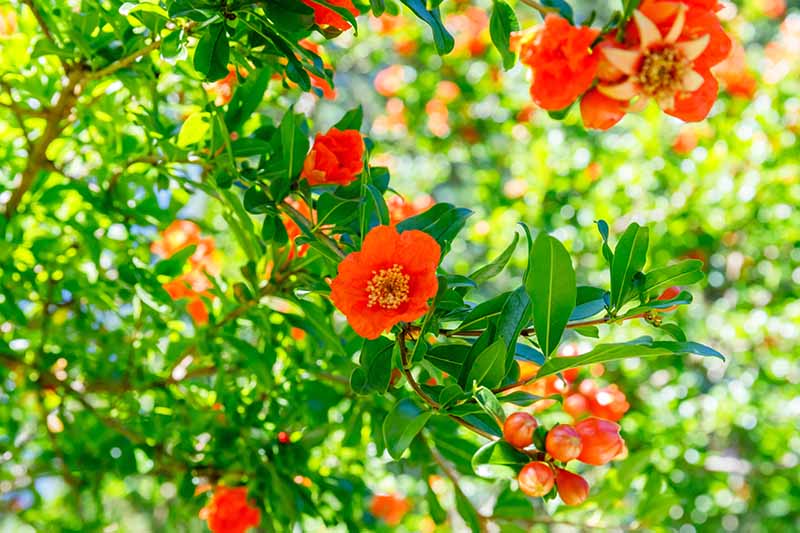
Pomegranates flower at branch tips, so be sure to remove any buds before rooting. Don’t cut too many at a time, particularly if your tree is small, as removing budding branches can reduce your overall harvest the next season.
Look for healthy branches in areas where pruning will open up space in the plant, whether that’s in the canopy of the tree or the interior of the shrub. Extra space encourages airflow and can help to prevent some diseases, like powdery mildew.
You can also use suckers that grow from the roots of a pomegranate tree or shrub for rooting, because these plants are rarely propagated by grafting.
Suckers pruned from trees and shrubs that are grafted, on the other hand, will not typically produce plants that produce fruit like the parent, since they will share the characteristics of the rootstock instead of the scion, or the productive top of the plant.
Rooting the suckers can be especially attractive – not to mention resourceful – if you’re going to prune them anyway to maintain your plant’s tree form, and to prevent them from drawing energy and resources away from the parent.
They’ll have the opportunity to be put to good use, rather than being cast onto the debris pile!
Branches that are about as thick as a pencil generally work best for rooting purposes.
It’s not necessary to select branches that have leaves, as these will need to be trimmed away. Dormant trees in areas where pomegranates are deciduous won’t have any leaves anyway.
Use sharp pruning shears or a knife to cut the branch between leaf nodes at about four to six inches in length. Trim off any leaves or flower buds, so the new plant’s energy will be directed into rooting, rather than supporting above-ground growth.
Suckers can be cut using sharp pruning shears as well, but make sure to cut them above the collar, or the area where the branch begins to widen where it’s attached to the tree.
Be sure to keep your cuttings oriented upright, so the cut portion will be planted and the tip will remain above ground.
Wrap the cuttings in a wet paper towel to keep them moist while they await planting; dried out branches are less likely to take root.
Prepare a planting flat or four-inch pots by filling them with one part soil to one part coarse silica sand. The rooting medium should be porous and loose in texture with good drainage.
Spray the mix with water until it feels slightly moist, but not wet to the touch.
You can scrape half an inch or so of bark off at the base to expose the green cambium layer of the cutting and then dip it in rooting hormone powder if you like, to promote rooting.
Stick the branches about one-half to one inch deep in the rooting medium, but don’t compact it around the base. Make sure they’re deep enough to stay upright.
Place the tray or pots in a warm location; temperatures should be a consistent 70 to 85°F for optimum results.
It’s not necessary to expose the cuttings to sunlight until they begin to form leaf buds, but plan to mist the potting medium at least one a day to keep it moist, as drying out will inhibit rooting.
If you don’t have access to a greenhouse, you can place the flat or pots inside a clear plastic storage tote with a lid to maintain humidity, or wrap individual pots in clear plastic bags.
Humidity is very important for cuttings as they’re not able to take up water without roots, so they absorb it from the air instead.
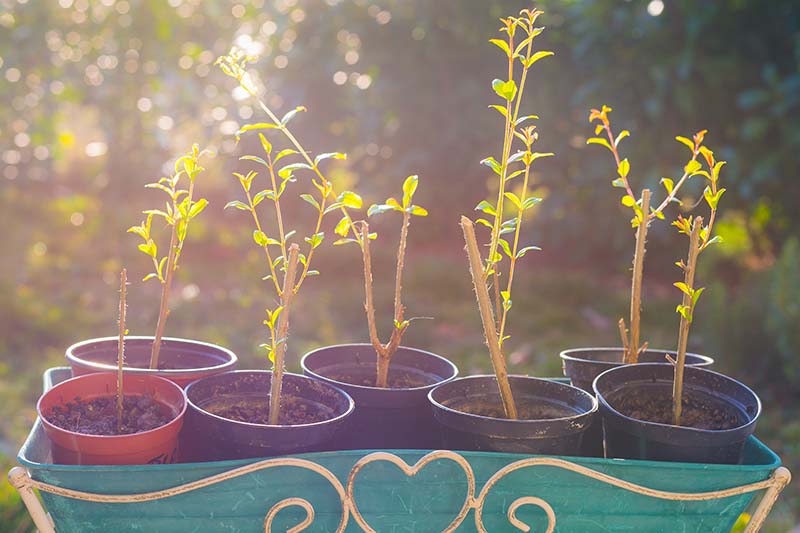
It can take anywhere from one to two months for cuttings or suckers to root, but you’ll notice the formation of leaf buds when the roots have become established.
After the first few leaves unfurl, you can harden them off to transplant outdoors, or move them to larger pots to continue growing until it’s time to plant them out.
When they’re ready to be planted in their permanent home, choose a location with at least eight hours of sunlight per day.
Pomegranates need lots of sun, but young plants may need some protection for the first year until their canopies are more established.
The site should have good drainage as these plants can’t tolerate soggy soil. And while they can withstand poor soil, they’ll grow and produce better in soil that is rich in nutrients.
You should also be prepared to protect saplings from strong winds, heavy rain, and foraging animals.
Prepare a hole that is twice as wide and one to two inches deeper than the root system, and place the plant in the hole. Backfill around the roots and press the soil with your hands to stabilize the plant.
Water it well to settle and be sure to provide about one inch of water per week for the first year, unless there has been adequate rainfall.
Air Layering
Air layering is another option that’s available to you. This is the process of encouraging roots to develop on a branch that is still attached to the parent plant, and then cutting the rooted branch free to plant elsewhere.
It’s important to note that you shouldn’t use more than two or three branches per tree to layer simultaneously, because the rooting process can be taxing on the tree, leading to poor health overall.
For plants that are composed of both semi-hardwood and hardwood growth, such as the pomegranate, air layering works very well.
It is almost always the easiest and most highly guaranteed method as compared to the other options, for several reasons.
First, air layering allows roots to develop prior to separating the branch from the parent plant, as opposed to taking cuttings – a method that has a moderate rate of failure.
In addition to this, there’s no need to wait like you would for a cutting to develop leaves and then go through the process of hardening off, since the plants will already be acclimated to outdoor growing conditions.
Another advantage is that the propagated portion can potentially be larger, hardier, and ready to produce blossoms and fruit more quickly after being planted in its new home – and the fruit it produces will be clones of that of the parent plant, with the same characteristics.
It’s also the lowest-maintenance propagation method, as compared to the others. After the initial setup, you’ll only need to check on it periodically until it’s ready to be cut and planted, unless it’s disturbed by animals or insects.
If animals or insects do manage to unwrap or penetrate the plastic, check to make sure they haven’t eaten or infested the forming roots. If either occurs, you should remove the wrapping, cut the branch off below the roots, and start over with a new branch.
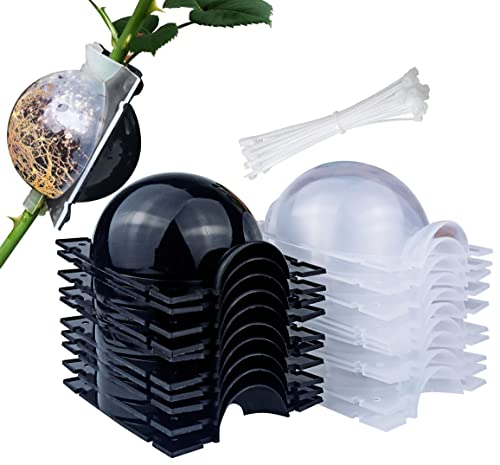
To begin, all you’ll need is a sharp sanitized plant knife, some sphagnum moss, plastic wrap, and a twist tie, zip tie, or tape.
Or, if you want to simplify the process even further, you can spring for inexpensive and reusable air layering devices such as one of these, available from Amazon.
Choose a healthy hardwood branch of 12 to 24 inches in length that is at least one year old.
A branch that shows signs of new growth is ideal, so plan to begin air layering in late winter or early spring in warmer regions, or mid- to late spring in cooler regions.
From the tip of the branch, move down eight to 18 inches, leaving several inches of the branch free between the site and the trunk, and use your knife to cut through the outer layer of bark in a ring all the way around the branch.
About an inch below the first cut, make another parallel cut in a ring all the way around.
Between those two rings, cut only the bark open with a slit, but do not cut into or through the interior of the branch. Pull the ring of bark off and scrape away most of the remaining underlying green cambium layer.
You can dust the exposed portion with rooting hormone powder at this time, if you wish to use it.
Lay a 10- to 12-inch piece of plastic wrap on a flat surface. Moisten a handful of sphagnum moss and place it in the center of the clear plastic wrap.
Or, if you’re using a purchased device, use the moss to fill both sides of the air layering device instead.
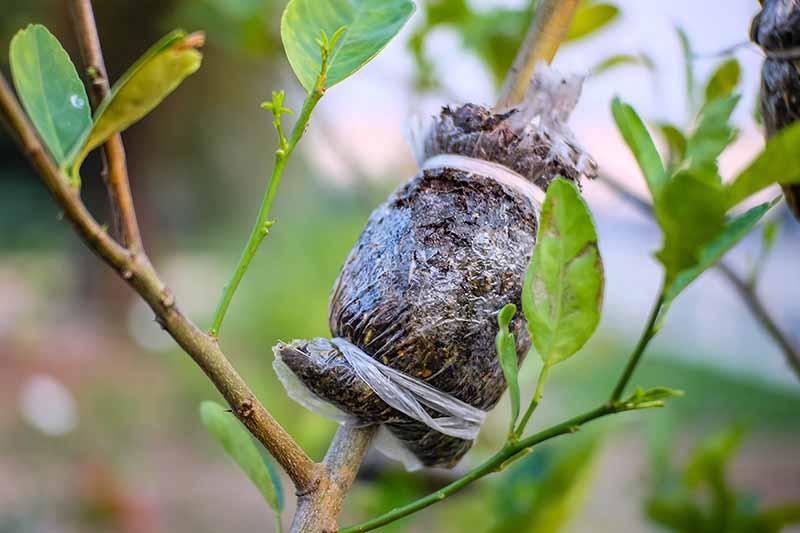
Wrap the plastic or snap the device together around the branch to fully enclose the exposed portion, and secure it in place with zip ties, twist ties, or waterproof tape.
It will take at least a few weeks for roots to form, but you’ll be able to tell either by feeling the plastic, which will feel noticeably more firm, or by opening the plastic or the layering device and taking a look.
The roots will be white to light brown, and as they grow, you’ll want to make sure the medium remains moist but not wet.
Adding an eyedropperful of water when you notice the medium feels nearly dry to the touch – about once every one to two weeks – is enough to moisten the medium without causing rotting.
Once the roots fill out in the available space until they’re visible on the outside of the moss, it’s time to cut the branch free of the parent plant.
Use sharp pruning shears and make a clean cut below the wrapped roots, between the root ball and the trunk of the tree. Keep the roots wrapped until you’re ready to plant.
Prepare the planting site – which should have good drainage, loamy soil with lots of organic material, and at least eight hours of full sunlight – with a hole as deep and about twice as wide as the root system. Loosen the soil to allow the young roots to grow easily.
Carefully unwrap the roots and place the plant in the hole, pushing the soil in around it, and pressing with your hands to seat it firmly. Water it deeply to settle it in.
Transplanting Potted Nursery Saplings and Bare Root Plants
The most popular way to propagate pomegranate trees at home is to start with a sapling purchased from a nursery. This allows you to select a healthy cultivar of your choosing.
These are typically between one and three years old, and one to four feet in height. Potted and bare root plants are both available to home gardeners.
Pomegranate trees or shrubs have a relatively shallow root system, with the exception of a taproot that can grow to two to three feet long in mature trees.
Plants purchased from a nursery can also be grown in containers, which we cover in a separate guide. (coming soon!)
Prepare a hole at the planting site that is the same depth and two to three times as wide as the root system of the plant. If the soil is heavy or dense, such as that which contains a large amount of clay, or if it’s compacted, take some time to loosen it up with a hand rake, and consider amending with compost to add organic material.
If your transplants are potted, carefully turn them out of the pots and seat them in the hole at the planting site.
Bare root plants should be seated in the hole at a depth of about two inches above the root system so that most of the stem is positioned above ground level.
In both instances, backfill the space around them with soil and press with your hands to secure into place. Water deeply and monitor moisture levels until they are acclimated to their new home, providing supplementary water as needed.
Ideally, highly productive pomegranates receive about 50 to 60 inches of rainfall or supplemental watering per year to produce the best yields.
In arid climates, you’ll want to make sure you provide enough water throughout the first year in particular. One to two inches of water per week will be adequate to support sapling growth as the root system continues to mature.
Gradually reduce the amount of water you offer toward the end of the first year of the plants’ lives in your garden to encourage the roots to reach more deeply.
One inch of water per week is enough in most regions in the absence of rain.
Now You’re Ready to Start Your Own Pomegranate Plants!
As you can see, there are several ways to begin growing pomegranate trees or shrubs at home, and all of those described here are pretty straightforward.
With a carefully chosen planting site in a sunny spot and some attentive care, your plant will grow healthy and happy, churning out delicious, nutritious seed-filled globes every season.
Have you decided which variety you plan to grow? How will you propagate it? Let us know in the comments section below!
Still seeking more information about growing these ancient fruits? These titles might be of interest for your pomegranate planting perusal:
Like your clear description of how to propagate the tree. Your passion to share and encourage others to grow comes through and is commendable! May this bare much fruit in your personal life!
Barb, thank you so much for that lovely compliment!
Dear Kelly
Thank you for the well articulated propagation lesson.
I started a home orchard during the covid lockdown and now have some 80 fruit trees.
I have used your airlayering method and it works.
Now with so many mother trees growing and bearing fruit I am thinking of starting a little business, sales of propagated fruit trees.
Thanks again
Alan Devar
Hi Alan, thank you for your kind words and good luck with your propagation venture!
Best pomegranate article so far. Thank you for sharing your wisdom.
Thank you for your kind words, Moriah! We’re very glad you enjoyed the article.
Hello. I have a Russian pomegranate that seems like it wont break dormancy? I have pruned it here or there to check for life and its absolutely alive. But it will not grow any leaves or anything since it went dormant. Do you have any suggestions? It is watered properly, I used a slow release organic fertilizer of fish bone meal and a bit of cottonseed meal. It gets plenty of sun. The ph is within range. Here we are almost in July I’m not sure what I can do. I know cutting it back will not get me fruit… Read more »
Hello Cally. I’m sorry to hear about this still-dormant Russian pomegranate. I wouldn’t prune it back. Is there a chance it got a little too much water this winter? They only need sparse amounts of water when they’re dormant and this may be slowing its progress. If any part of the stem is beneath the soil, that could also be affecting spring growth. I’d give it some more time to start leafing out, after making sure it’s planted in well-draining soil and that the stem is showing above the soil surface. Also, if you could let me know where you… Read more »