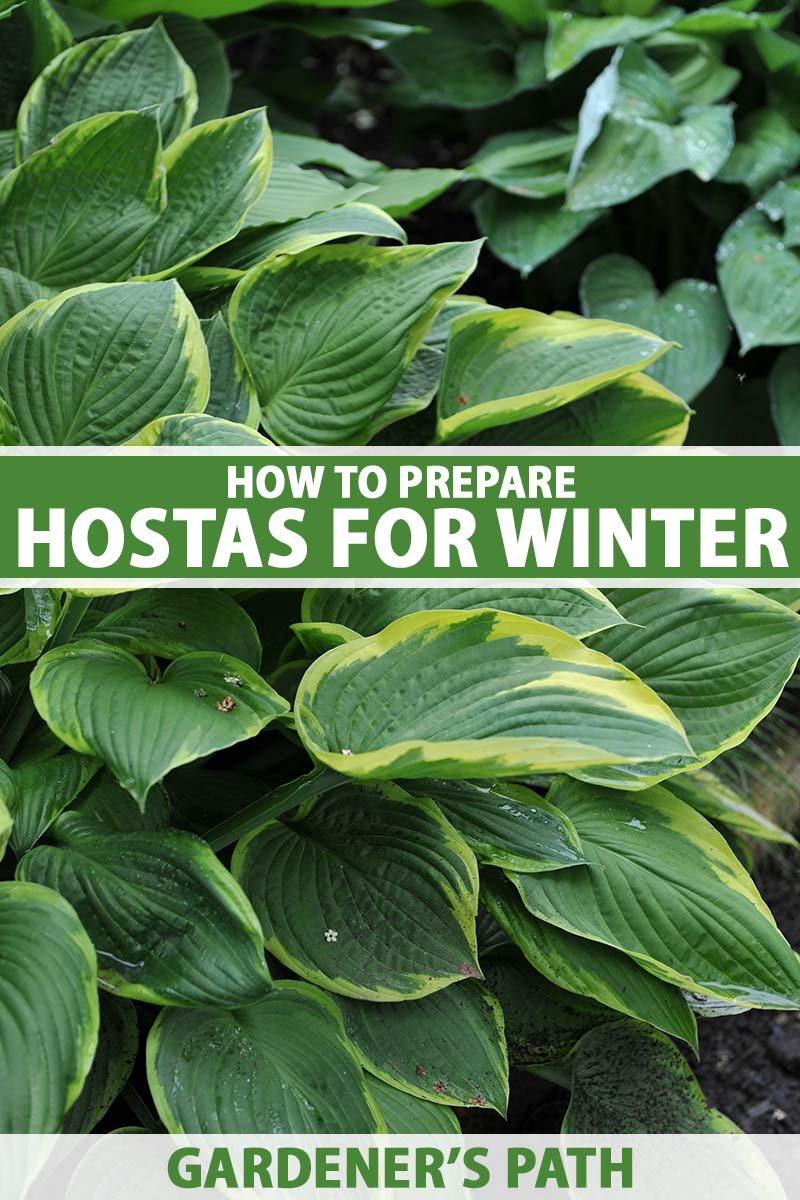
Every year I tell myself I’m going to embrace the winter season and enjoy the process of putting my plants to bed until the following spring.
And every year, my attempt at improving my attitude is seriously challenged when it comes to saying “goodbye” to my hostas.
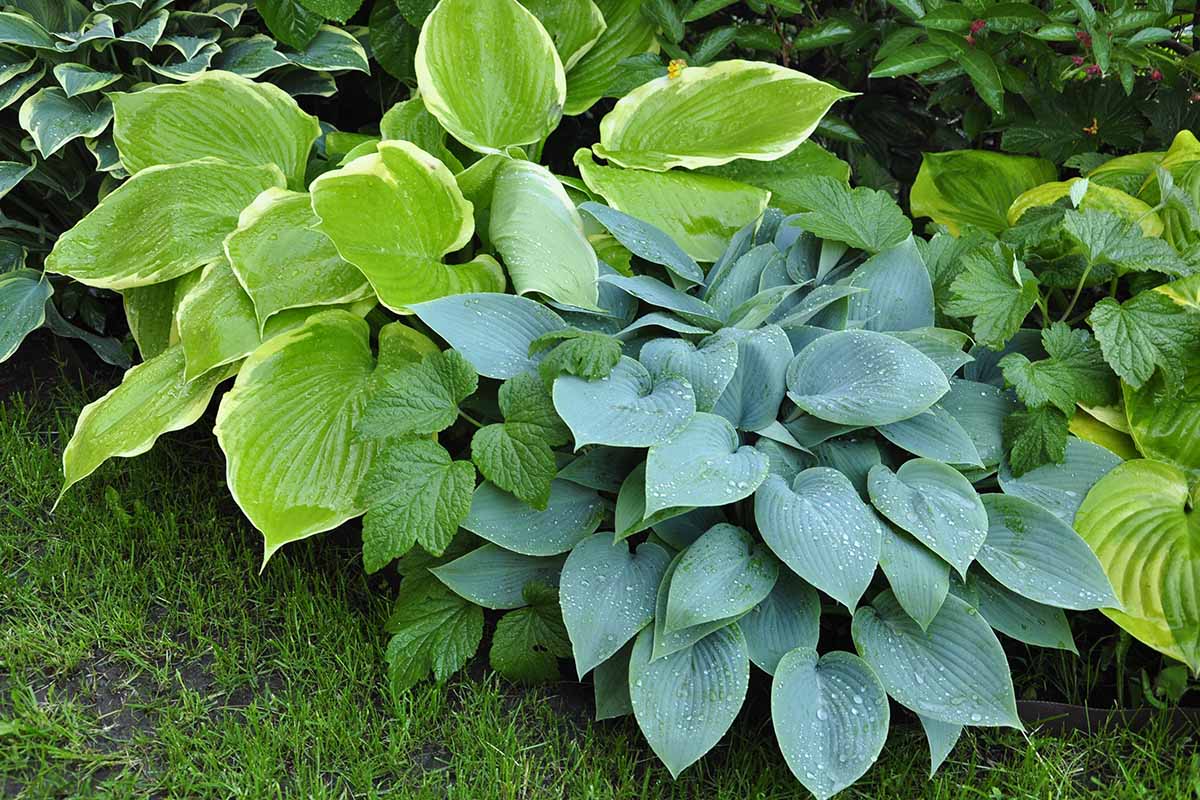
They are such a reliable, ever-present part of my spring, summer, and fall garden that it feels like watching dear friends depart on a months-long holiday without me. Don’t go!
We link to vendors to help you find relevant products. If you buy from one of our links, we may earn a commission.
Hostas, unlike me, need to experience a period of frost to grow and flower their best.
So we don’t need to protect them from the cold. But there are things we can do to encourage healthy growth next year.
Potted specimens need more care than those in the ground. They’re a bit more exposed out there.
Think of it like the difference between living in a tent and living in a well-insulated house – that’s how the roots feel in a container versus the soil.
If you need a refresher on how to grow hostas, check out our guide.
Here are the steps we’ll discuss to protect your hostas in the winter:
How to Care for Hostas in Winter
As with all perennials, your USDA Hardiness Zone and the plant’s Zone rating dictate how you should care for your plants.
A Zone 4 to 8 hosta cultivar grown in Zone 6 is going to need less fussing over than the same plant might if it was grown in Zone 4.
You should also keep microclimates in mind. Every garden has its own microclimates, and they can impact the work you need to do.
In a cozy spot protected from freezing wind and extreme variations in temperature, you can probably skip the mulching step, for instance.
Some areas gather more moisture, some are drier, some reflect heat, and others stay colder.
Finally, don’t assume that just because your plant was fine last year, it will be fine this year.
Pests can build up in numbers over years, a particularly harsh winter might cause unusual damage, or a plant might have been stressed in the previous growing season.
Prepare to adapt as needed from one growing season to the next.
1. Remove the Leaves
If you do nothing else on this list, don’t skip this step.
In the fall, usually after a frost arrives, the leaves will turn yellow and brown, and will collapse into a mushy mess.
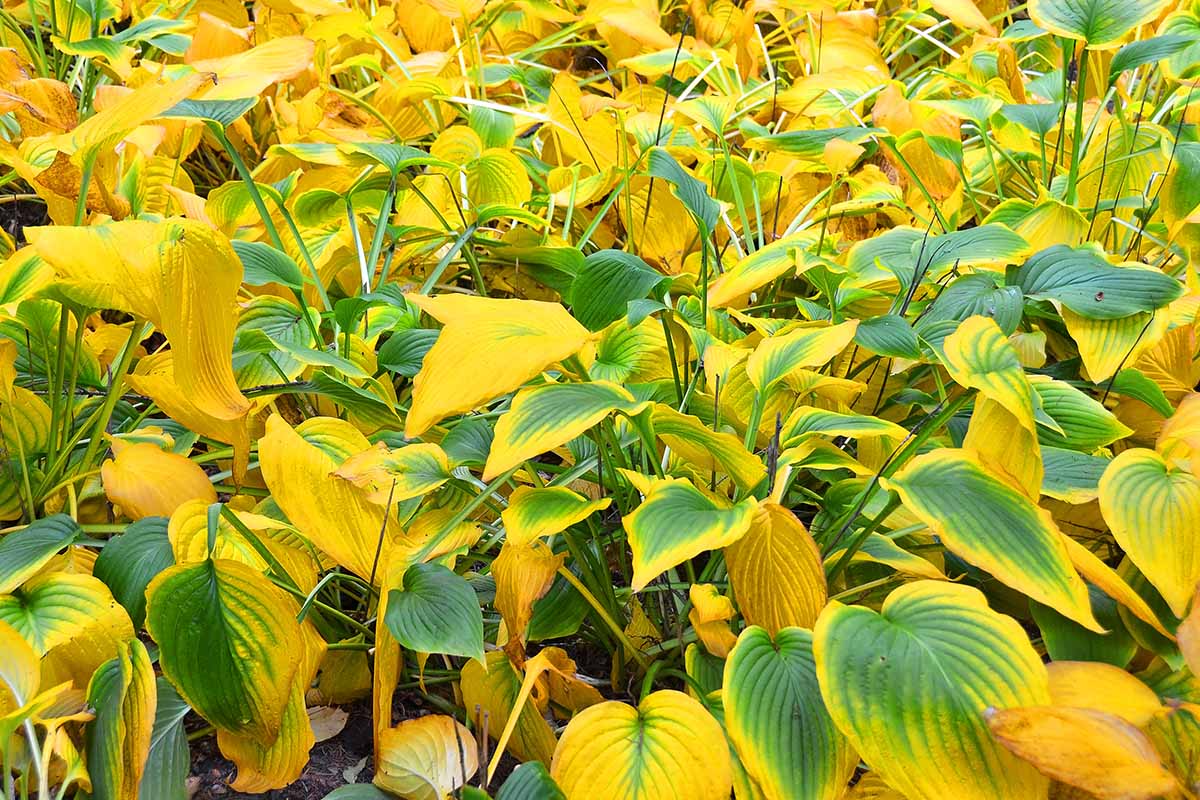
The world won’t end if you don’t remove the dead leaves and petioles, but you can greatly reduce the chance of pests and diseases finding their way into your hostas if you do.
Plus, it just looks better.
Removing foliage also denies slugs and snails a place to hide out and breed. That means you’ll be dealing with fewer mollusks next year. Hooray!
Get out a pair of scissors and cut off all of the spent foliage at ground level.
We generally like to wait until the leaves die back on their own because we can be sure all the nutrients in the leaves have been stored up by the roots.
Toss the leaves in your compost pile.
But wait! There is an exception to this…
If your hostas are infested with nematodes, don’t wait until the leaves die back. Once they start turning yellow in the fall, get out there and remove them.
That way, all the nematodes don’t have time to exit the leaves and move to the soil and roots. This won’t eliminate a nematode infestation, but it will help to reduce it.
Dispose of the cut leaves rather than tossing them in the compost if you had an infestation or if they were diseased.
To learn more about nematodes, such as how to confirm that your plants have them, read our guide to hosta pests.
2. Mulch
Mulching is optional, but I strongly encourage it in areas where the weather regularly freezes and then warms. The repeated freeze-thaw cycle can seriously damage roots.
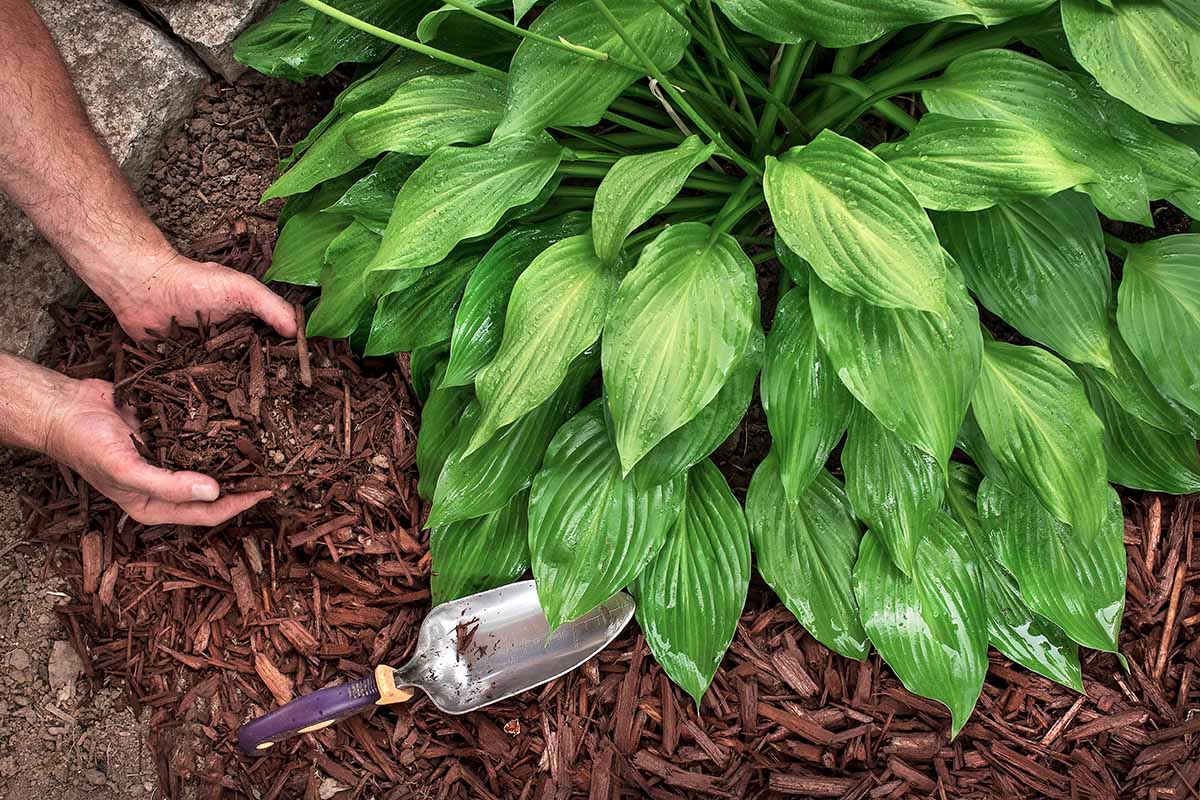
Mulch helps moderate the shift between temperatures and protects the plant’s roots.
Mulching is especially helpful for newly planted hostas, which haven’t had time to establish a large, robust root system yet.
It’s also extra beneficial for potted plants, which are more vulnerable to the effects of freezing and thawing, and frost heaving.
Straw, leaf litter, shredded bark, pine boughs, or well-rotted compost all work well as mulch.
I personally stick with pine or straw because slugs don’t seem to like them as much as they like leaf litter and shredded bark.
Use a few inches of mulch, and be sure to remove it in the early spring. If you leave the mulch in place, it can smother the plant or cause crown rot.
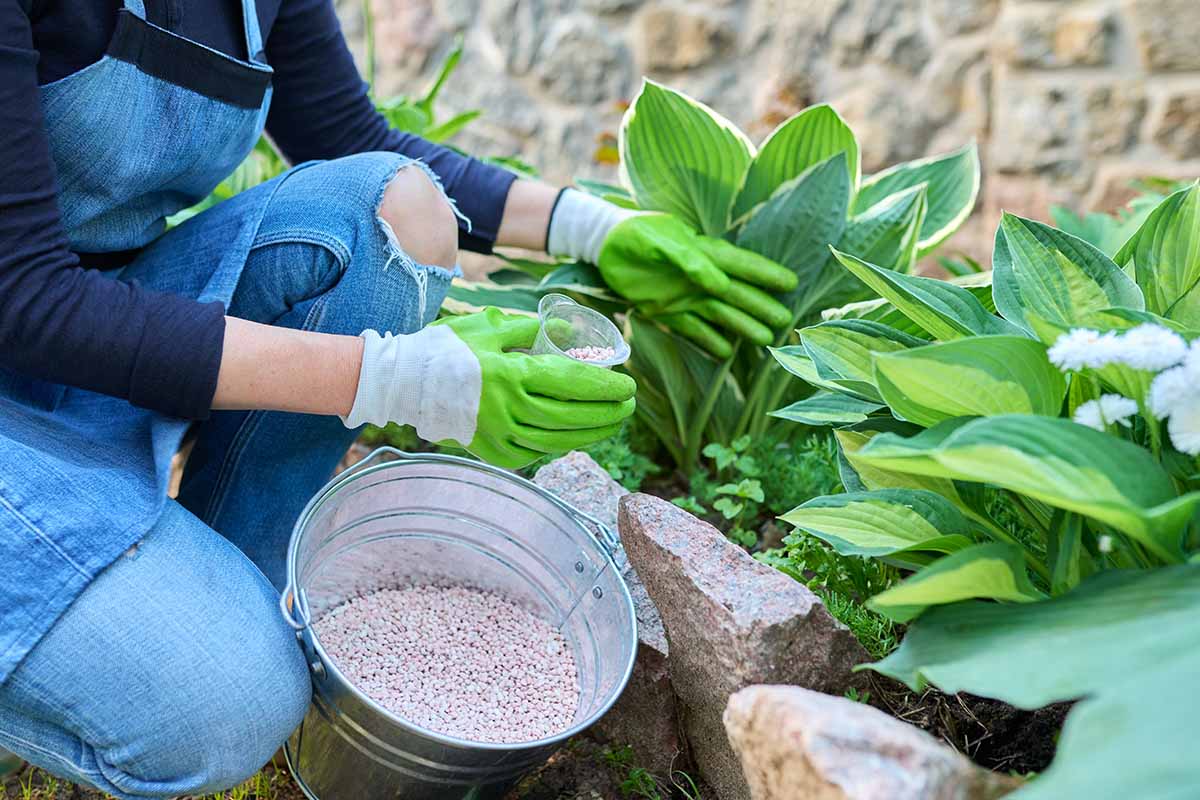
3. Stop Feeding
You’ve got enough going on in the fall – don’t add unnecessary fertilization to the list.
Hostas don’t need much fertilizer in general, but feeding in the fall can actually harm the plants and your environment.
Excess fertilizer might run off into areas where you don’t want it, including waterways.
It also encourages new growth right when the plants should be putting themselves to bed.
Once you start planning your Halloween costume, the kids are back to school, and the leaves are just starting to turn, put the fertilizer away.
4. Divide Large Plants
If you didn’t do your division chores in the spring, now is the time to split up your hostas.
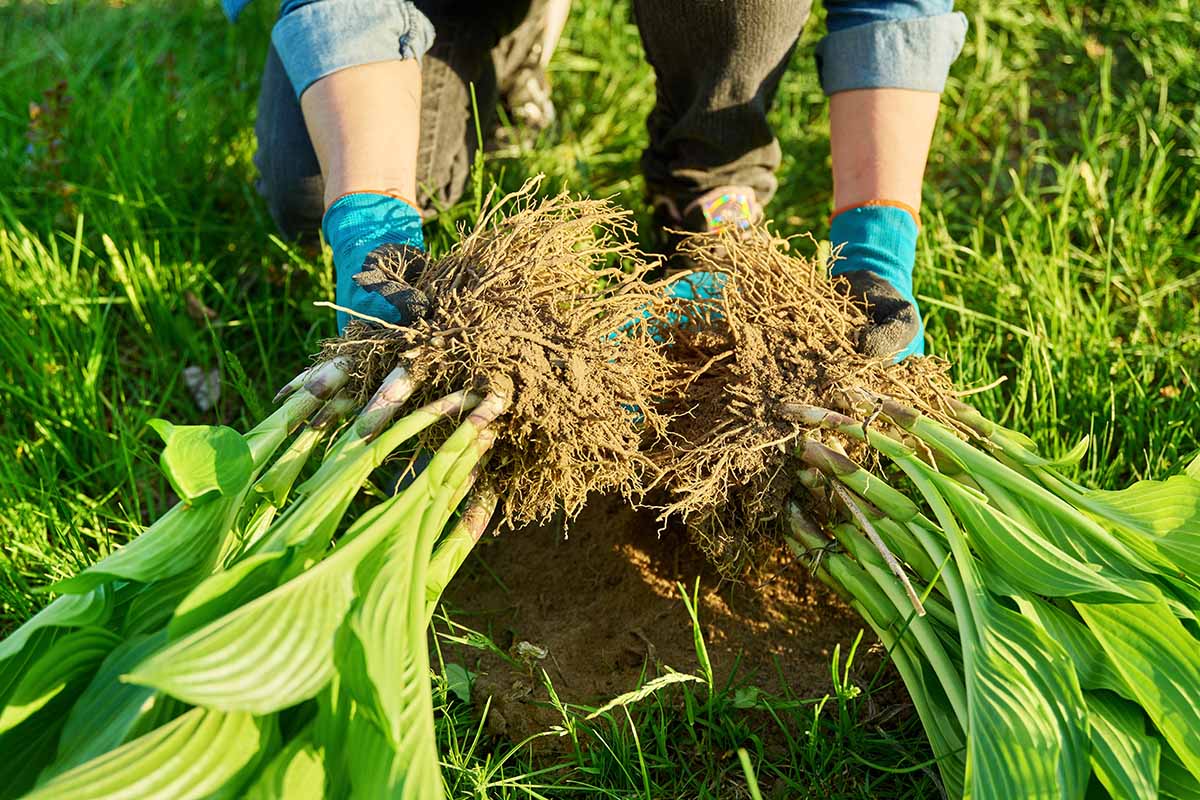
Before you break out the shovel, water the plants well if you’ve had a dry fall. You want the soil to be moist and easy to work.
It’s easier to divide them if you do it while some of the leaves are intact, but you can do it even after the leaves have died back.
If you aren’t familiar with the process of dividing a hosta, read our guide, which will walk you through the entire process from start to finish.
5. Protect Containers
The easiest way to protect your containers from cracking and your hostas from freeze-thaw cycles is to bury them in the soil, even if you only partially bury them.
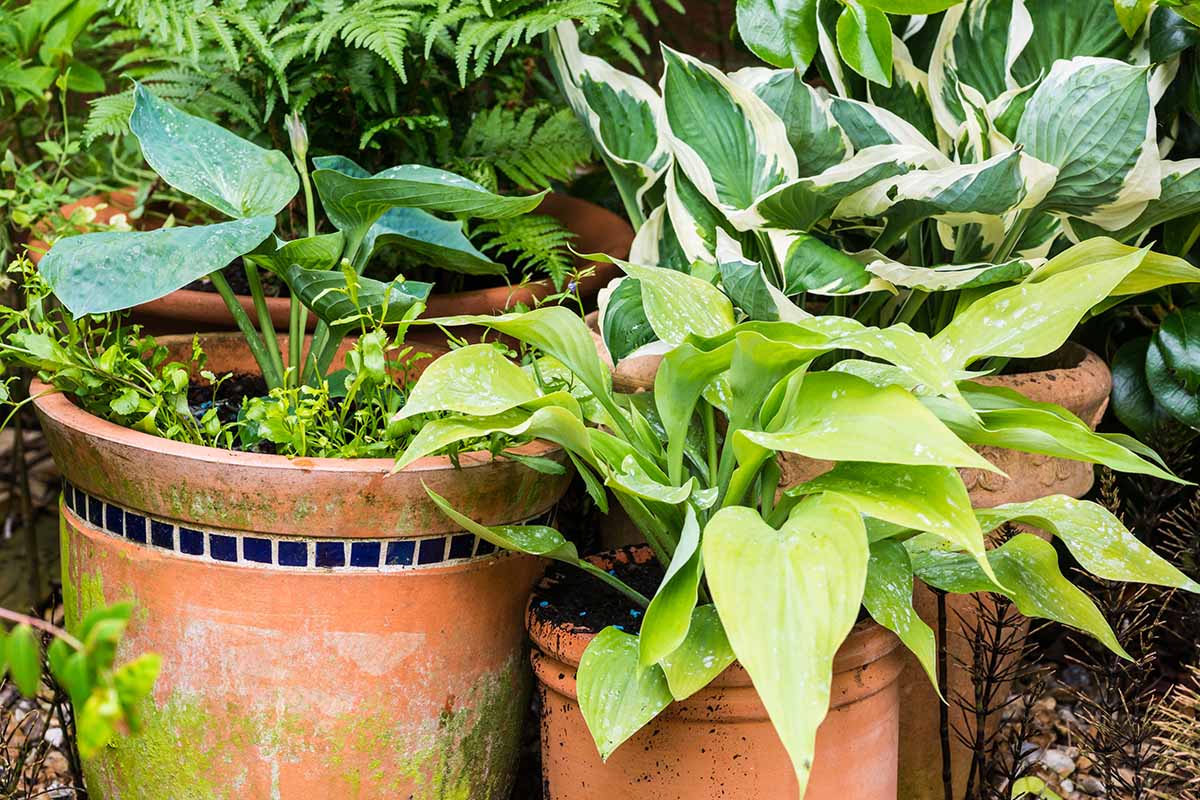
If you can’t or don’t want to do this, you can move them against a wall or wrap them in burlap. You could also cover them in pine boughs.
Avoid placing them somewhere they’ll collect rainwater or snowmelt off of a roof or other structure.
The point here isn’t to avoid the cold, so don’t take the pots into a garage or shed. Just protect them from repeated freezing and thawing.
The exception to this is if you’re growing a hosta that is on the border of hardiness for your region.
If you live in USDA Hardiness Zone 5 and you are growing a cultivar that’s hardy to Zone 5 in a pot, you should treat it as if it’s growing in Zone 4 and tuck it into a garage or shed to provide some protection from the cold. Always subtract one Zone for containers.
6. Mark Your Plants
I learned this one the hard way. Several times. If you do any early spring planting, you don’t want to go digging into the roots of existing hosta plants that haven’t popped up yet.
Don’t cover the area where the leaves will emerge, but use a stick, wire, or something else that you have on hand to note where the plants are while you’re cutting back the foliage.
I’ll sometimes stick a tomato cage upside down in the soil to mark a spot if I’m sure I’ll be digging around there and the plant isn’t in a spot that’s visible from my house.
Tomato cages aren’t exactly pretty, but they’re sturdy and large enough to prevent any major mishaps.
Feel free to skip this step if you know exactly where your plants are or if you don’t have any spring digging plans.
The Right Winter Care Makes for Happy Hostas
Hostas don’t ask for much. They give us reliable color without demanding much of our time or effort. But a little care right before the winter sets in goes a long way.
Just think of it as an investment in your plants’ future. You’re protecting them from potential pests, diseases, and damage. And all it takes is a little time and maybe some mulch.
What kind of hostas are you growing? What steps do you plan to take to protect them? Give us all the details in the comments!
One of the things that I love most about gardening is that there’s always something new to learn!
If you’re interested in more tips on how to make your hostas happy, check these guides out next:
My container hostas have really suffered during our record breaking hot summer, and the leaves are pretty scorched. Any additional tips?
Hi Deb, I’m in the same boat with you. Don’t worry, our plants will send out new growth to replace the damaged stuff or, if it doesn’t send up new growth this year, it will emerge with fresh new foliage next year. You don’t need to do anything special to help the process along except to prune off any leaves that are more than 75% yellow/brown/scorched.