There is something truly intoxicating about a bountiful rose garden.
While it might seem like a costly endeavor to fill your yard with roses, there is actually an easy, and practically free, way to take one bush and turn it into many.
We link to vendors to help you find relevant products. If you buy from one of our links, we may earn a commission.
Read on to learn how to collect and save the seeds you need to grow new ones!
What You’ll Learn
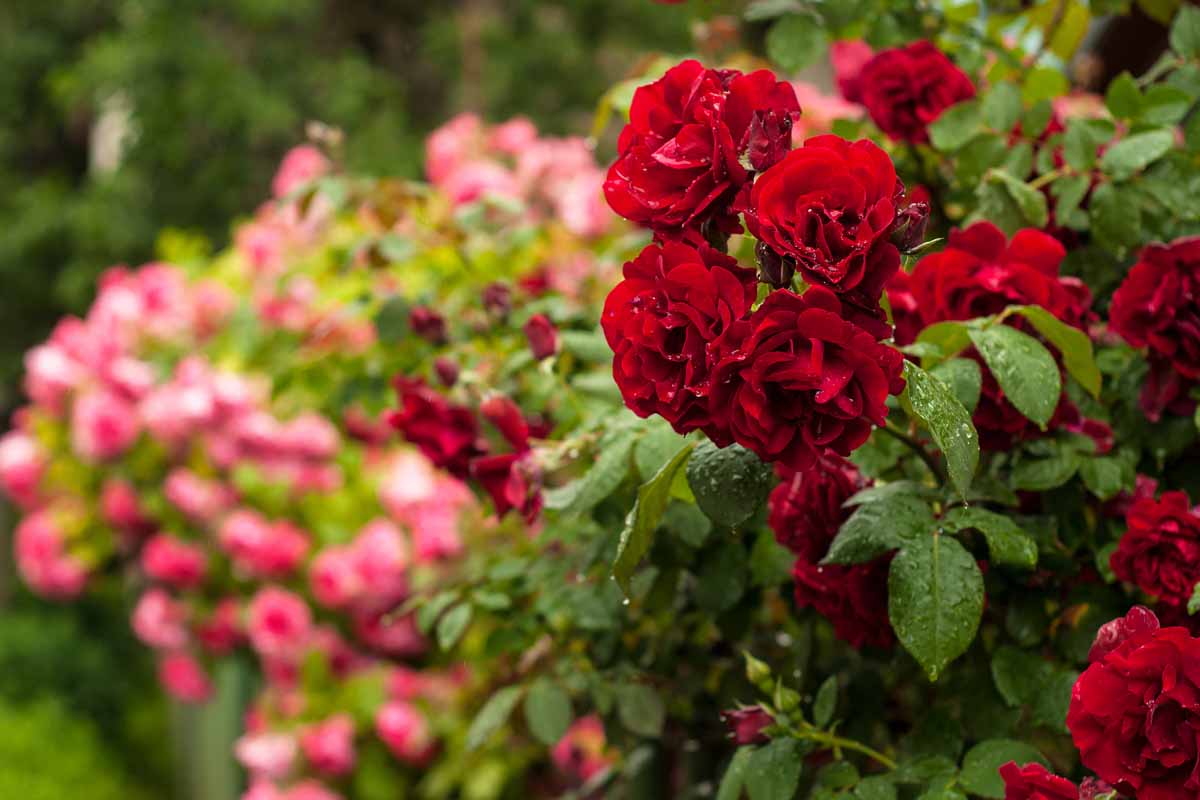
Each season, rose bushes form buds which open into fragrant blooms that are pollinated by butterflies, bees, and wasps.
Once the flowers begin to die back, you will notice green ovaries begin to swell at the base of the blooms.
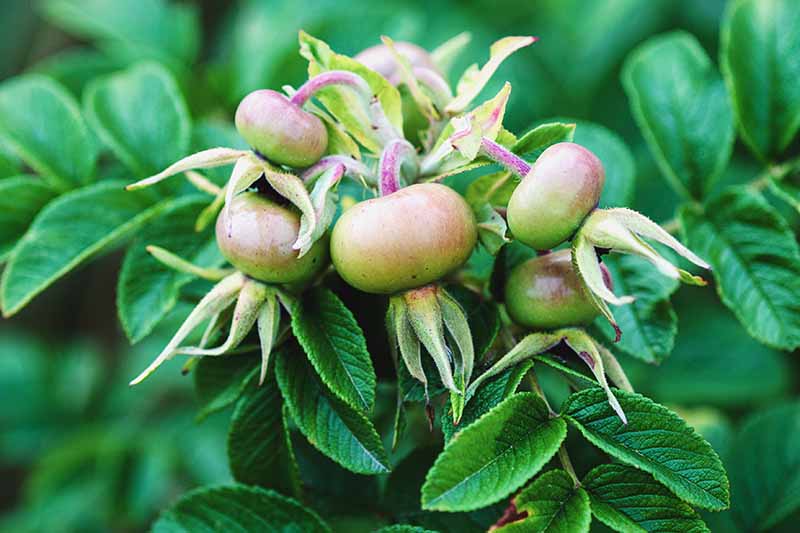
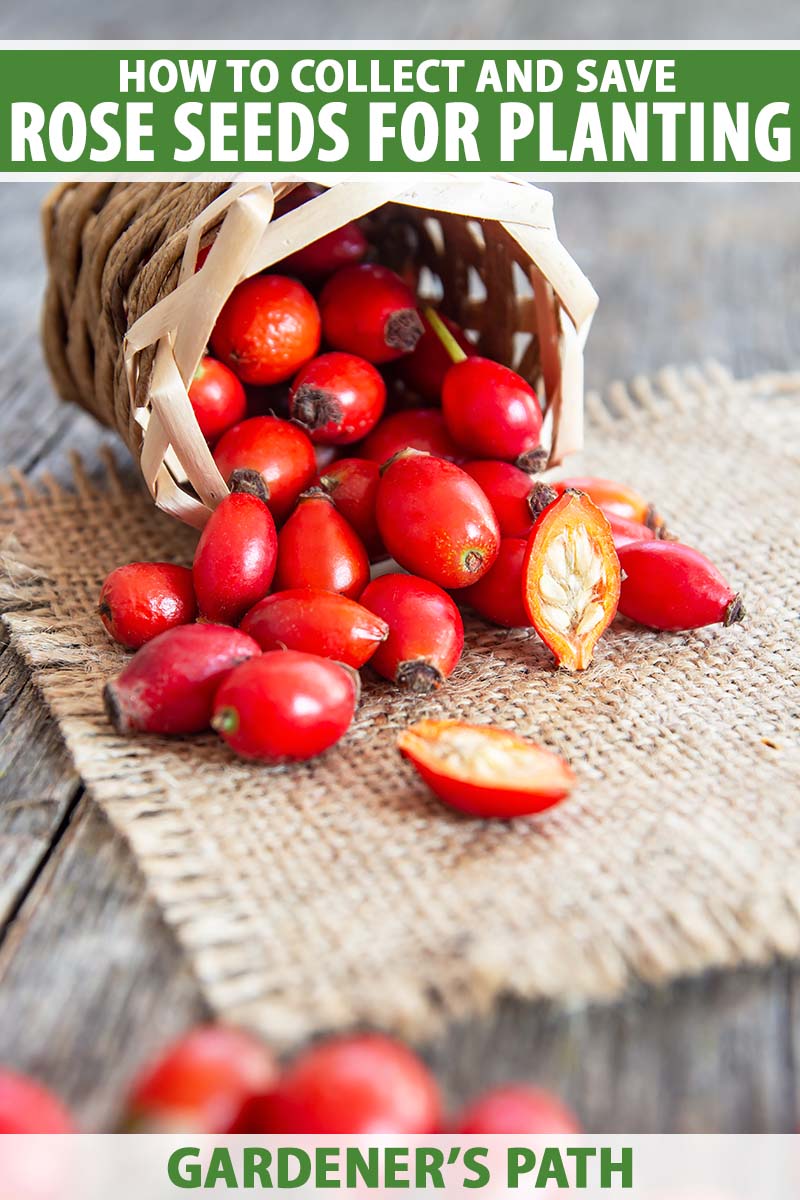
These fleshy pods, known as rose hips, will slowly ripen to red, orange, or yellow. The seeds are contained within these pods.
In addition, the hips are edible and make a delicious nutrient-rich tea. You can learn all about the health benefits here.
Deadhead with Care
It is worth noting that there are many hybridized cultivars out there, and not all plants create hips or produce viable offspring.
You may not know before you try whether the particular cultivar you have will produce usable seed, but since collecting them is so easy, I say there isn’t much harm in giving it a shot.
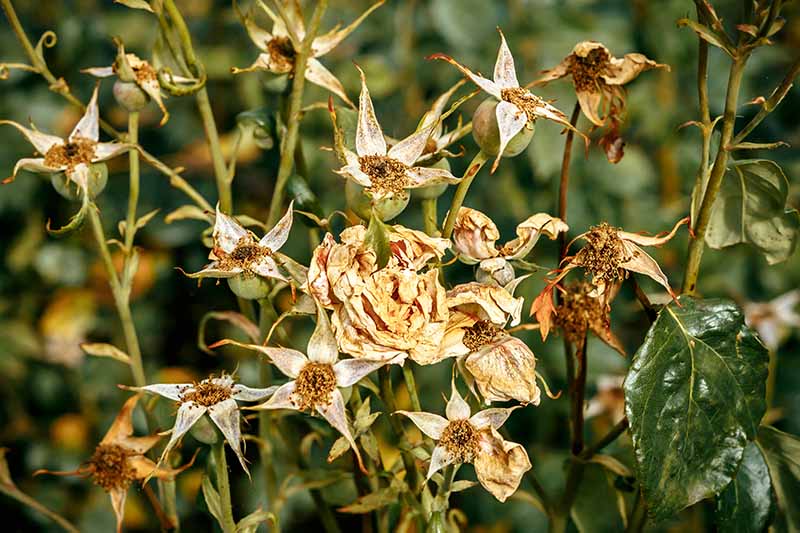
One reason that some blooms may not form hips is because flowers are removed before pollination can happen. It is important to leave old blooms to fall off on their own to give the hips a chance to develop.
At the same time, hip formation requires energy, and if too many are allowed to form on each plant, it could become overburdened, possibly resulting in underdeveloped seeds.
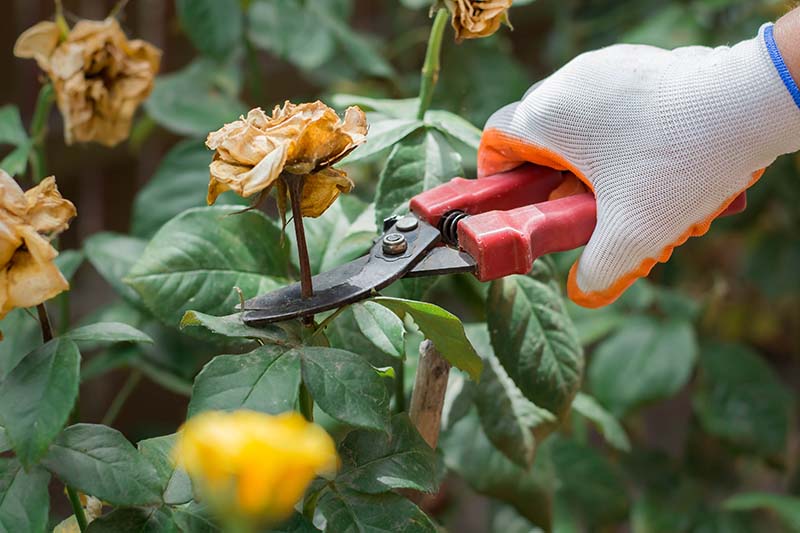
Therefore, deadheading some but not all of the blooms can create fewer but stronger hips that are more likely to produce viable seeds. You can read all about how to do this in our guide.
Cut no more than two thirds of the flowers off the plant, and also remove any brown or shriveled pods.
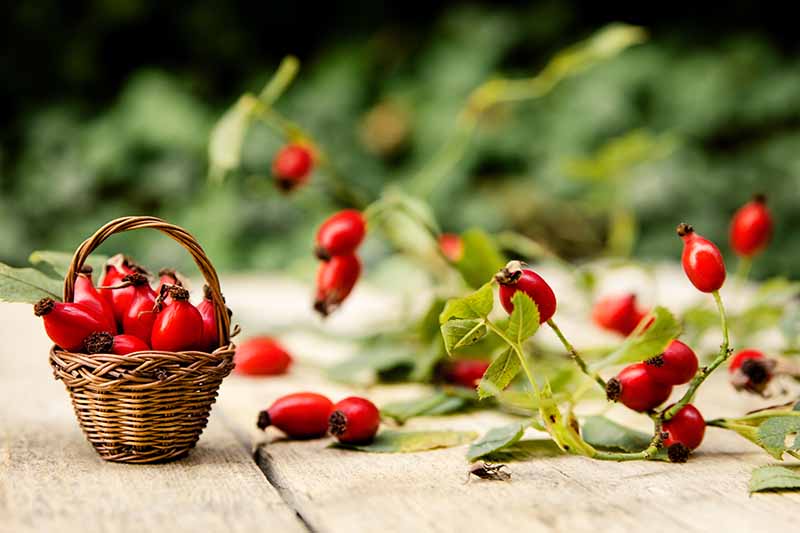
Harvest the Ripe Hips
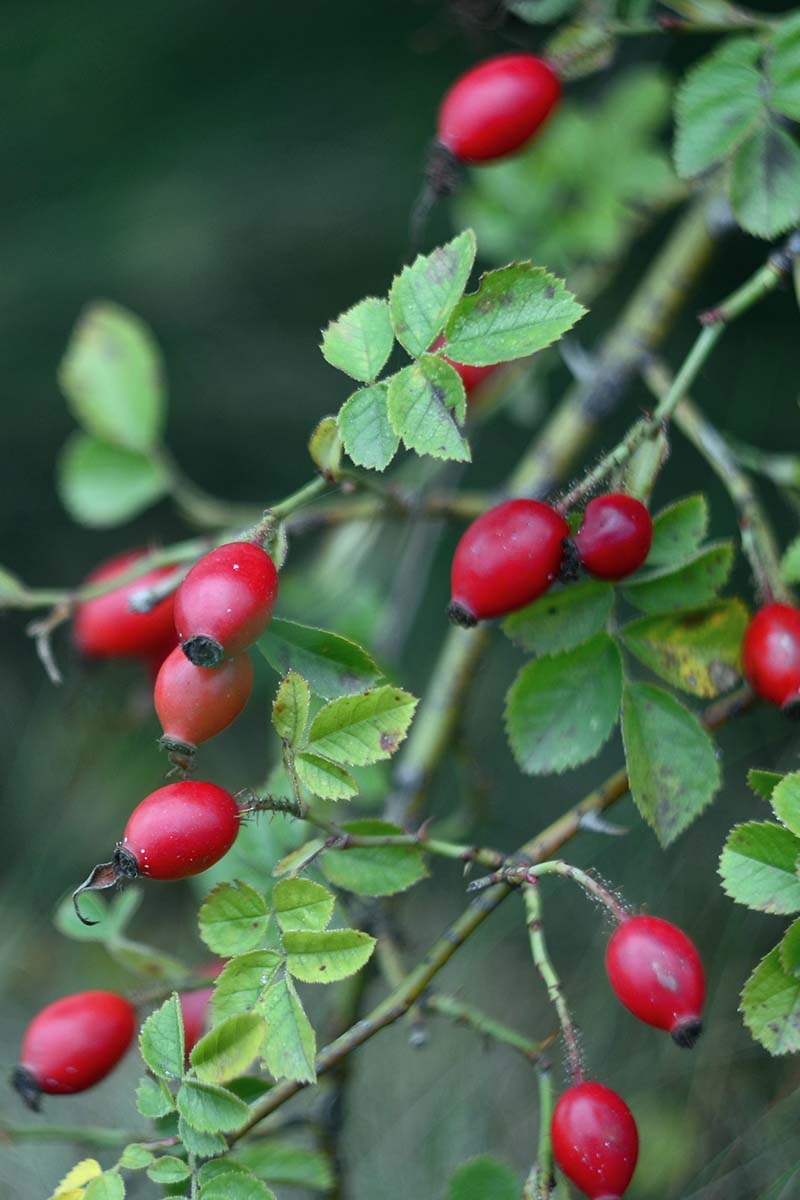
Collect the well ripened hips in late summer or fall, a few months after they begin to form, and once they have fully turned from green to red, orange, or yellow and have softened up a bit.
Some gardeners suggest picking them right after the first light frost of fall, but before a hard frost has a chance to send the plant into dormancy. Either way, just be sure they are completely ripe.
Harvesting is easy, but if you are growing varieties with thorns, don’t forget to wear long sleeves and gloves to avoid getting pricked!
When you are ready, with gloves donned and basket in hand, simply pluck the hips off of the plant with your fingers.
If you are collecting from more than one cultivar, separating them into different containers may be helpful to note the parent plants. But unless you are breeding them in a controlled environment, don’t expect an exact replica to grow after you plant the seeds.
Bees and other pollinators may transport pollen from one plant to another, and it is impossible to know exactly where the pollen is winding up. Additionally, seeds collected from hybrid varieties may not breed true.
In any case, be prepared to propagate something different than what you started with!
Remove and Clean the Seeds
After harvesting, carefully cut or pry the hips open with a knife or your fingers, and remove the contents within. If the pods are ripe, they should come apart pretty easily.
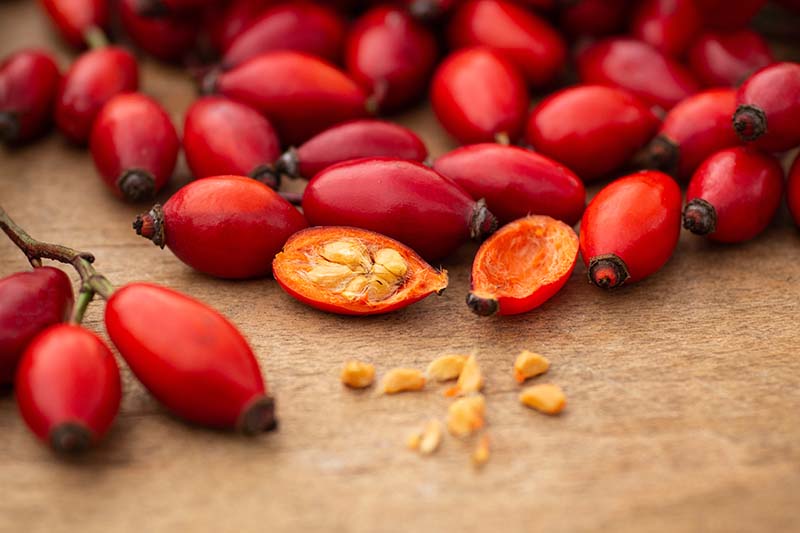
Remove as much of the pulp and other fibrous material as you can by hand, and then use a strainer to rinse off any leftover chaff from the seeds under cool running water.
Another method is to put the hips in a glass of water and mash them up a bit with a spoon. Leave them to soak for a day or two, and then pull out the loose pulp by hand. Using a strainer, rinse off the remaining debris.
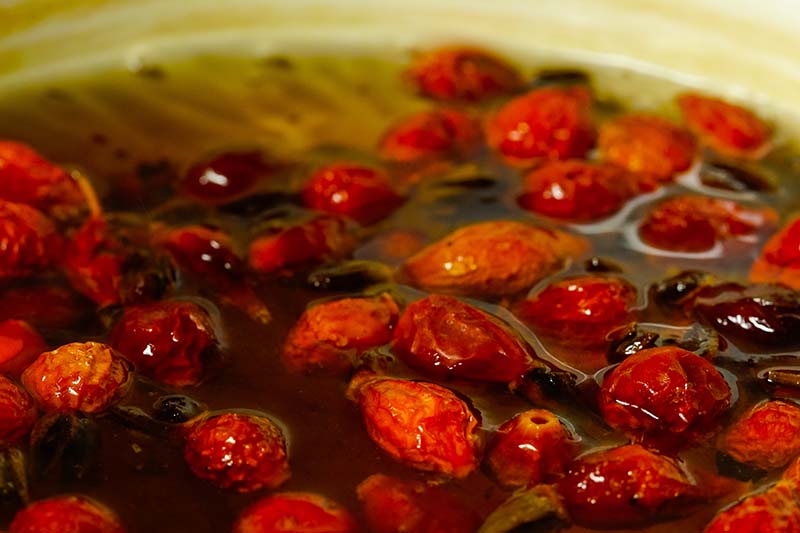
With either of these methods, after you’re done, drop the cleaned seeds in a glass of water to test for viability. Those that float to the top are less likely to germinate and should be discarded.
Spread the remainder on a coffee filter or paper towel and set in a dark, cool location to dry. Leave them for a week or two until they are completely dry to eliminate the risk of spoilage.
Store in a labeled plastic bag in the refrigerator or any dark cool place until you are ready to use them.
Now you are ready to try your hand at growing new plants. These seeds can be tricky to get to germinate, but is t is a rewarding project. You can learn more about propagating roses from seed in our guide.
Make Your Bed of Roses
If you want to multiply a rose garden cheaply and are up for a bit of a surprise, saving seeds is without a doubt the way to go!
After all, no matter what you end up with, the flowers are sure to be aromatic and delightful.
Have you ever saved your own rose seeds? Tell us how it went in the comments below!
Looking to take your rose gardening skills to the next level? These articles are a great place to start:


I am trying to grow roses from seed for the first time this year. I’ve been admiring wild roses in the Adirondacks for years, amazed at the size of the hips. So this year a brought a few home. I also saved some seeds from my own rose bush and from my miniature rose bush.
Hi Sue! I am venturing into trying to propagate by seed. I don’t have any yet. I wish I would have read this article first. I deadheaded the rose bush I want to get seeds from. I’ll be sure to not deadhead any new roses or at least not all of them. I have had luck propagating from a cutting. It took 15 month for the cutting to grow and produce its first bloom. I’m over the moon. I’ll stay hopeful that it gives me seeds even though it’s the rose bush is so small. I am going to ask… Read more »
I meant to share these pictures.
Your cuttings look fabulous! Thanks for sharing and keep up updated on your adventures growing roses by seed.
Wanted to give an update on my rose cutting. It gave me a second rose. ❤️
That rose is just stunning! Congrats on a very happy plant! Do you happen to know what cultivar it is?
We traveled to the Maine coast last summer in August. We were amazed by the vibrant purple color of the coastal rose so we picked a few hips. At home we washed them and picked out the seeds and stored them until now February in the cabinet. Started to soak them in light hydrogen peroxide for an hour before putting them in a moist napkin/ziploc and storing them for a few weeks in the fridge. Worried now because they are all floating! Do they have a chance of germinating after storing them dry? Thanks.
Seeds should be stored in a cool dry place and then cold stratified prior to planting, which it sounds like you did. Be patient though, wild rose seeds tend to have low germination rates, and it may take up to several months for seeds to sprout. I would recomend placing them in a moist cool environment for at least six weeks prior to planting. Not sure if they will still germinate if they are all floating, but its worth a try!
I am shocked you soaked them in peroxide it would surely ruin them !
Soaking seeds in a diluted solution of hydrogen peroxide generally causes them no harm. It simply helps to soften the seed coat.
I am trying hard to get the teeny tiny rose hips from my miniature rose bush…..they are already dead on the vine so I cut them and brought them in and under magnification I could not see any seeds in the tiny seed pods… ideas please ???
Hi Carol, how unusual. I’ve never encountered a hip without seeds unless it was too young to have fully developed. When you say that you found seed pods, do you mean that you cut open the fleshy hips and found seed pods inside? If so, these are the seeds. You don’t need to open them. Or do you mean that you cut open the hips and found no seeds? If you didn’t find seeds, where are you located? Few hips are ripe this time of year in North America. Most don’t start ripening for another month or so. It could… Read more »