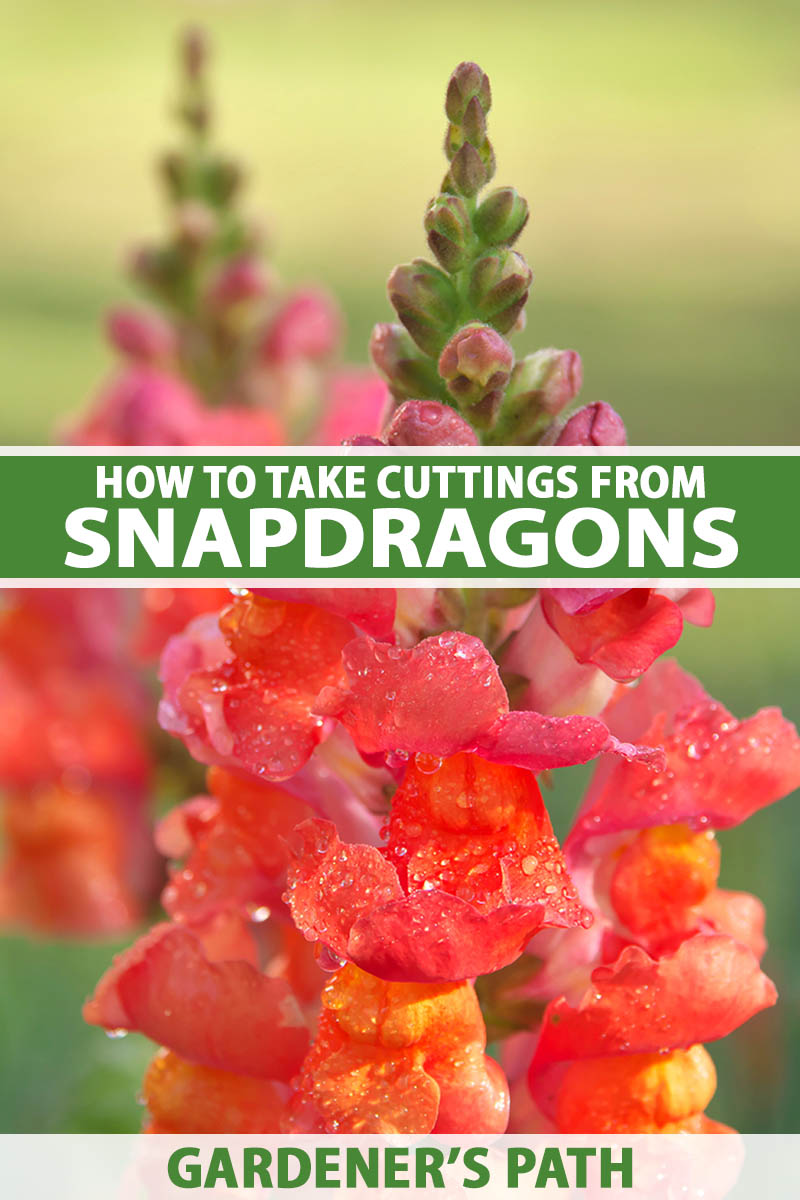
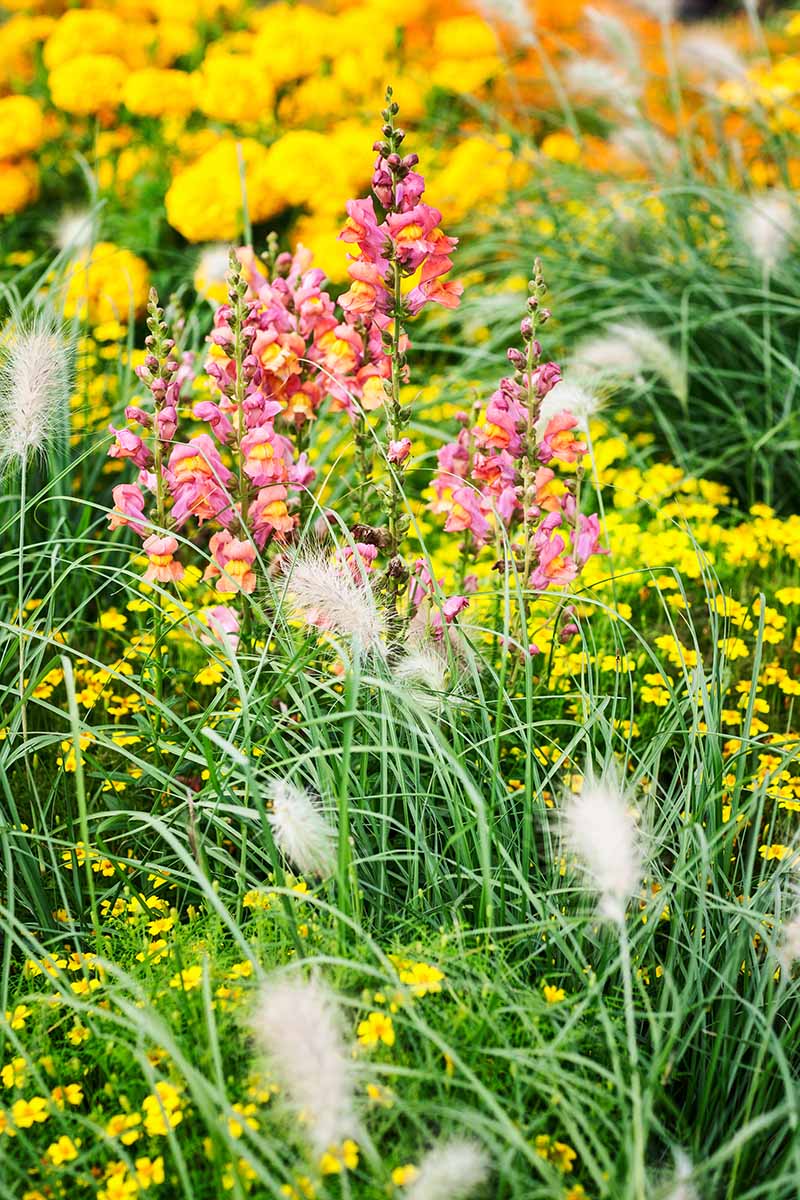
Snapdragons (Antirrhinum majus), perennial in USDA Hardiness Zones 7 to 10 and annual in other temperate regions, are one of the most popular garden plants and cut flowers out there, and for good reason.
If you like bright colors, they’ve got that covered. Or if you prefer pastels, snapdragons can bring it.
We link to vendors to help you find relevant products. If you buy from one of our links, we may earn a commission.
When it comes to fragrance, snaps will have you analyzing sweet notes of bubblegum, citrus, and a perfume that you can’t quite put your finger on but remember from your childhood.
Bees – especially bumblebees – like them too, so you can check “attracts pollinators” off your list.
If you’re already growing some, or a friend has them growing in the garden, you don’t need to head to the nursery to get more. And you don’t need to wait for them to produce seeds, either.
Snapdragons can be propagated not only via their seeds, but also from cuttings. That’s exactly what we’ll talk about in this article.
Here’s what we’ll cover:
What You’ll Learn
Why Cuttings?
There are several reasons why you may want to propagate snapdragons via cuttings rather than starting seeds.
You want more plants now, and you can’t wait for your plants to produce seeds. Or, you might not want to wait for the seeds to germinate.
Plants propagated via cuttings reach maturity and bloom faster than those grown from seed.
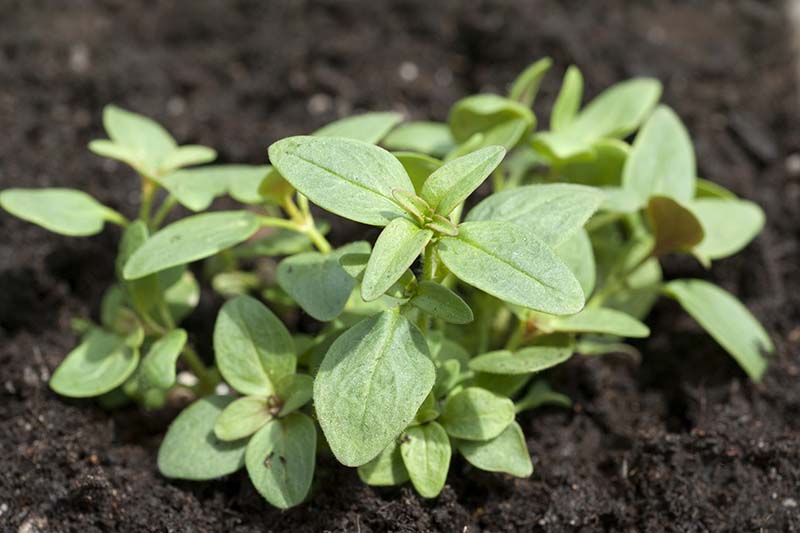
You may want to skip over the seedling stage, at which point the tender young snapdragons are more vulnerable to disease, especially the fungal pathogens that cause damping off.
With cuttings, you go straight from clippings to rooting young plants.
You might want exact clones of your friend’s grandma’s multicolor variety that smells like sweet cherries, or another cultivar that’s already thriving on your patio.
Vegetative propagation, such as what we’ll do here by taking cuttings, will result in a perfect copy of your favorites.
What are you waiting for?
If you decide starting from seed is still the best option for you, read our guide to this propagation method. Otherwise, let’s begin!
How to Propagate Snapdragons from Cuttings
Everything that you need to do can be completed in just seven easy steps.
1. Select a Mature Parent Plant
To begin, find a healthy parent plant with features that you prefer. Good health is key, and it serves to set up the rest of the process for success.
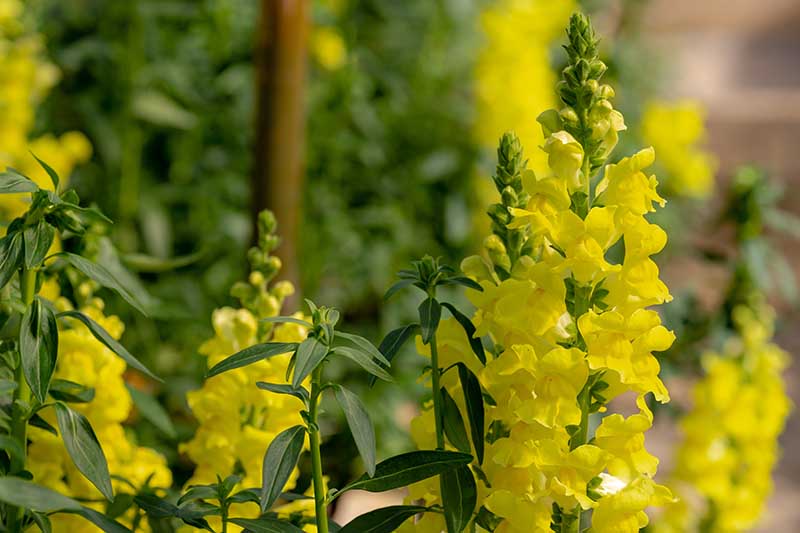
What do we mean by this? You should see no signs of disease, no insect issues, good vigor, green leaves, and sturdy stems.
Water the plants that you’ve chosen a day prior to taking your cuttings.
2. Select and Gather Your Tools and Materials
Collect the following to have handy while you complete the propagation project:
- Healthy plants
- Jar of water or plastic bag
- Three- to four-inch pots with drainage holes
- Large plastic bag (that will fit the pots) and popsicle sticks, or plastic dome
- Soilless medium
- Pencil or chopstick
- Rooting hormone
- Sharp blade
You always want to use a sharp blade to make clean cuts. Scissors and clippers tend to pinch while cutting, mashing some of the stem tissue, while scalpels, razor blades, or sharpened knives are better for propagation.
Disinfect the blade you plan to use with a 10 percent bleach solution, rinse, and let dry. Containers that are being reused should be sanitized first as well.
3. Prepare Pots for Planting
Prepare three- to four-inch pots with good drainage by filling them with a moistened, well-draining soilless propagation medium, such as Miracle-Gro Seed Starting Potting Mix, available at Home Depot.
Miracle-Gro Seed Starting Potting Mix
You will need one container for each cutting.
Make a hole about an inch deep in the center of the medium in each pot, using a pencil or something similar like a chopstick.
4. Take Your Cuttings
Plan to take them early in the day, before it gets hot and the leaves begin to droop.
Locate a leaf node, the swollen area on a stem where leaves will emerge. Cut a two- to four-inch shoot just below the node.
Repeat if you’d like to start multiple snapdragons at once, but be sure not to take too many cuttings from a single plant, to avoid causing the parent plant too much stress.
5. Provide Water or Protection
If you aren’t able to plant them right away, place the cut ends in water or temporarily place the cuttings in a plastic bag in a cool, shaded area to prevent them from wilting.
Plant the cuttings the same day.
6. Prep Your Cuttings and Pot Up
Remove the leaves from the bottom third to one-half of each shoot, but be sure to leave three to four leaves on the upper portion. Remove any flowers or buds.
Dip the bottom inch of each cutting into an auxin-based rooting hormone containing either indole-3-butyric acid (IBA) or naphthaleneacetic acid (NAA).
Those containing abscisic acid (ABA) or Ethephon are not recommended, as these have been shown to slow root growth in snapdragons.
I like Bontone II Rooting Powder, which is available at Arbico Organics.
Insert each cutting an inch deep into the prepared hole, potting one per container, and firm the medium around the stem.
7. Provide Humidity, Water, Sunlight, and Warmth
Enclose the pots in a bag or place a plastic dome cover on top to maintain high humidity while the cuttings are rooting.
If you’re using a bag, keep the plastic from touching the leaves by propping it up with popsicle sticks, chopsticks, or something similar.
Keep the pots in a bright area but not in direct sunlight. Temperatures of 62 to 68°F are ideal.
Check the soil moisture often, misting with water as needed, using a mister like this one, available from Terrain.

Remove the plastic covers after about two weeks.
Your cuttings should form roots within two to three weeks. New shoot growth is a good indication that they are ready to move on with their lives, as self-sustaining snapdragons!
Care Tips Moving Forward
Depending on where you want to put your plants, you can transplant them straight into a prepared garden bed or into larger pots.
First, get your coddled indoor baby plants ready for the outdoors by slowly introducing them to breezes and increasingly direct sunlight.
Do this gradually, bring them out a few hours more each day over the course of a week and then back inside.
Prepare a sunny garden bed by loosening the soil and digging holes slightly larger than the size of pots you’re transplanting from, or prepare a larger pot with moistened, well-draining potting medium and create appropriately sized holes.
Carefully remove each rooted cutting from its pot, turning the container sideways or upside down onto your hand, keeping the plant stem tucked between your fingers, and gently squeezing the pot to release it.
Place each plant into its prepared hole, fill with soil or potting medium, and water in well.
Check out our complete guide to growing snapdragons for more in-depth information about caring for our plants beyond propagation and transplanting.
From Roots to Blooms
Now that you know how to vegetatively propagate snapdragons by rooting cuttings, you can fill your garden with them!

Let us know in the comments below if you tried this method, and how it went!
Wait, there’s more! If you want to learn more about snapdragons, check out these guides next:


What time of year is best? Can i take tge cuttings in spring? Thanks
Hi Charlie, you can do this any time of year but spring is best.