If you’re here reading this article, this is a good indication that you want to do some experimenting. Like an artist mixing colors on a palette.
Sure, you could just let your snapdragon bed do its thing, collect the seeds, and see what color combinations you get next year. But you’ll likely end up with a similar mix of shades.
We link to vendors to help you find relevant products. If you buy from one of our links, we may earn a commission.
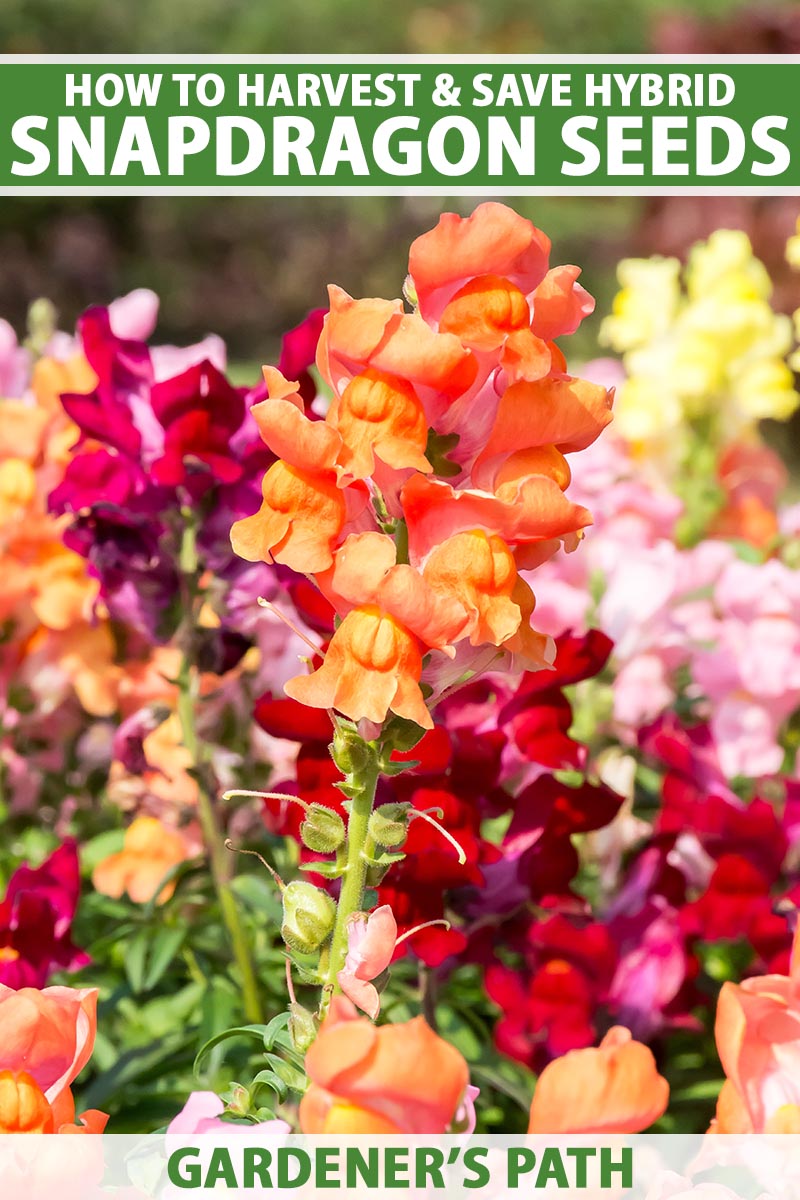
If you want to work with beautiful snapdragon blooms, you’ll find out why these plants are a great choice to try to create hybrids with in this guide.
We’ll teach you how to cross-pollinate and collect the resulting seeds.
Here’s everything we’ll talk about:
What You’ll Learn
Snapdragon Genetics
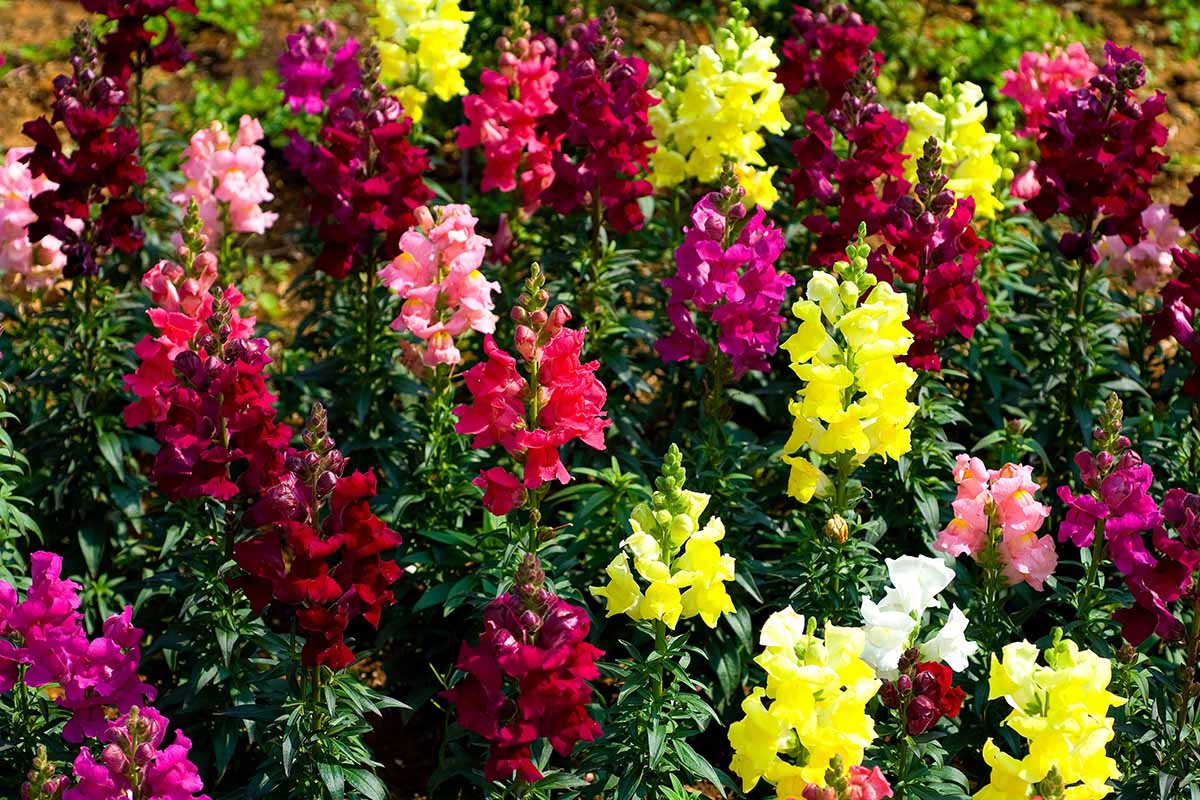
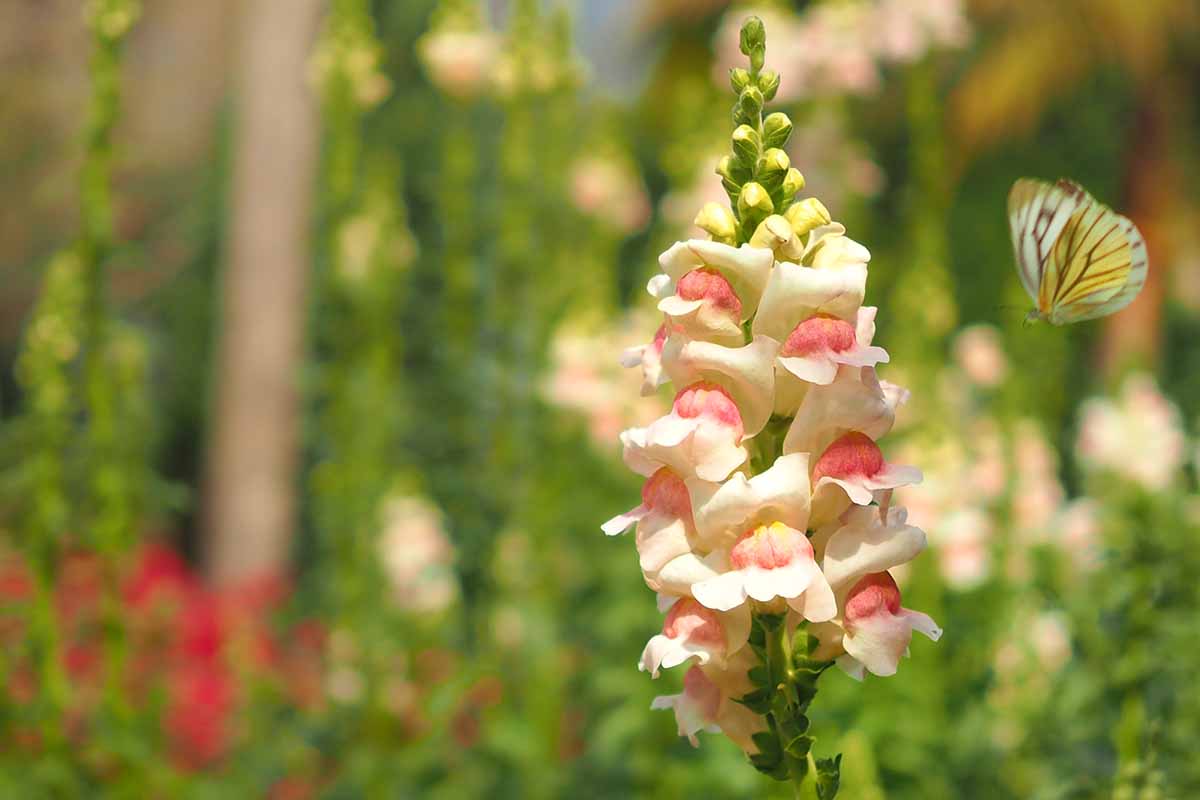
Snapdragons (Antirrhinum majus) are an excellent choice for hybridization experiments.
In fact, before Arabidopsis became what one of my professors used to call “the white mouse of the plant world” when it came to scientific studies, snapdragons were the plant of choice.
They are easy to manipulate, and have been very well studied. If you think back to middle school, you might remember genetics problem sets using snapdragon breeding and color as the subject.
While most wild types are self-incompatible, meaning the flowers can’t pollinate themselves, domesticated snapdragons are self-compatible. Plus, they are receptive to all pollen from other wild species so they are very easy to hybridize.
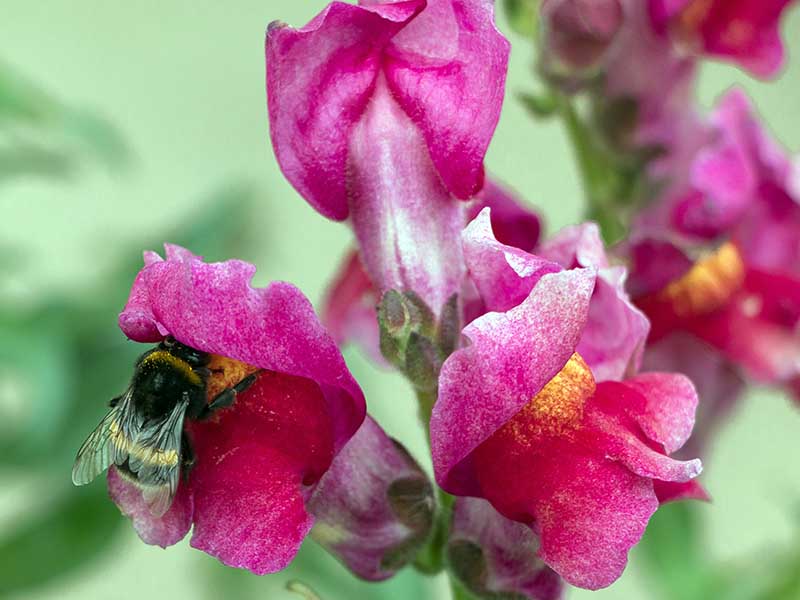
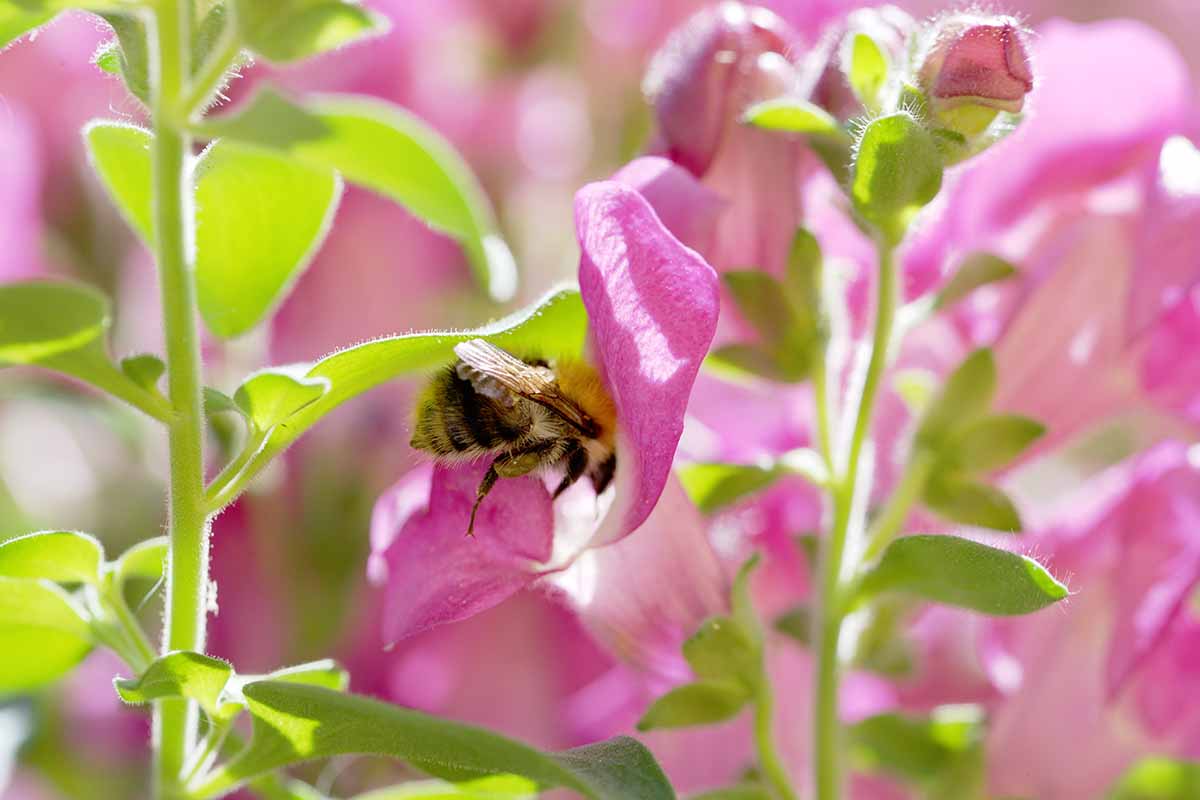
However, it does take some intervention on the part of the gardener. Otherwise, the results will be randomized with the majority pollinating themselves and a few bumblebees doing some criss-crossing of pollen as well.
If you are planning to collect seeds and want them to be true to type, you need to separate different varieties at least 600 feet from each other.
Maybe you’re wondering – if you’ll get viable seeds without any intervention, why bother in the first place?
Besides the fun of seeing what colors you end up with, hybrids are often created to discover and emphasize good traits, such as disease resistance.
In general, hybrids are usually more adaptable to stress, produce higher yields, and have other characteristics such as earlier flowers, better germination vigor, and more.
It is difficult to predict what color, for example, you’ll get out of two parents with an unknown genetic makeup.
In your middle school genetics studies, you would have been given the parents’ phenotypes (visible traits, such as color) and genotypes (genetic makeup) to use to figure out the resulting cross’s phenotypes and genotypes.
When you create hybrids at home, you only know phenotype. So, mixing a red and a white may not result in a pink. But that’s half the fun.
What we do know is in A. majus, magenta is the most dominant and yellow is the most recessive color. So, if you have a yellow flower, that plant is pure for that recessive gene.
That’s enough of a throwback to Punnett Squares. There’s really only one way to find out what you’ll get!
Let’s talk about how to actually create a hybrid now.
Creating Hybrids
Creating hybrids is finicky business and it involves things like forceps. If doing this doesn’t make you feel like a mad garden scientist, let me know in the comments what will.
To start, choose your parents. Decide which will be the donor (of pollen), and which will be the recipient.
Collect the bright yellow sticky pollen from the freshly open flowers of the donor by scraping it off with forceps (tweezers), or opening the mouths of the dragons by squeezing the sides of the flower and tapping them over some waxed paper.
Channel your inner bumblebee.
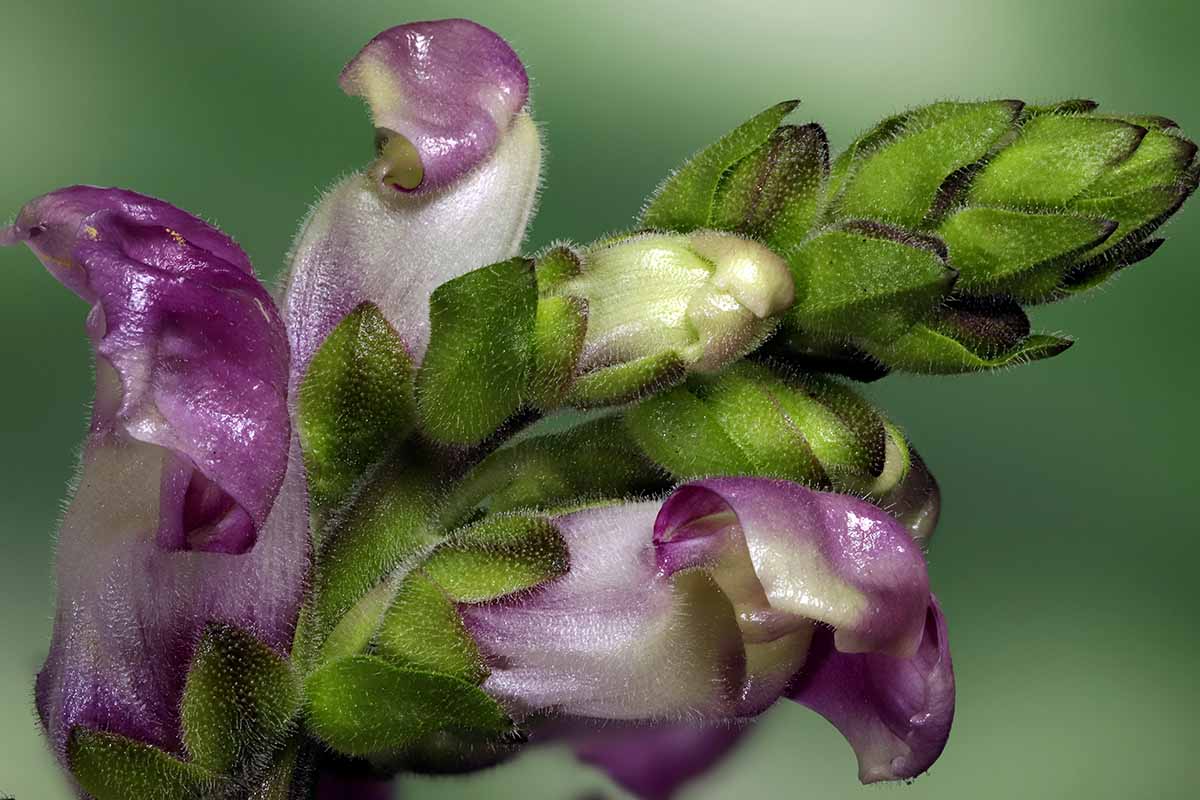
Fold back the petals of the recipient buds before they’ve opened and remove the anthers with tweezers to make sure it can’t pollinate itself later on.
Use a toothpick or small paintbrush to play bumblebee again, and apply the donor pollen to the stigma of the recipient.
Cover the recipient flowers with a mesh bag to avoid any contamination thanks to insects and nearby blooms.
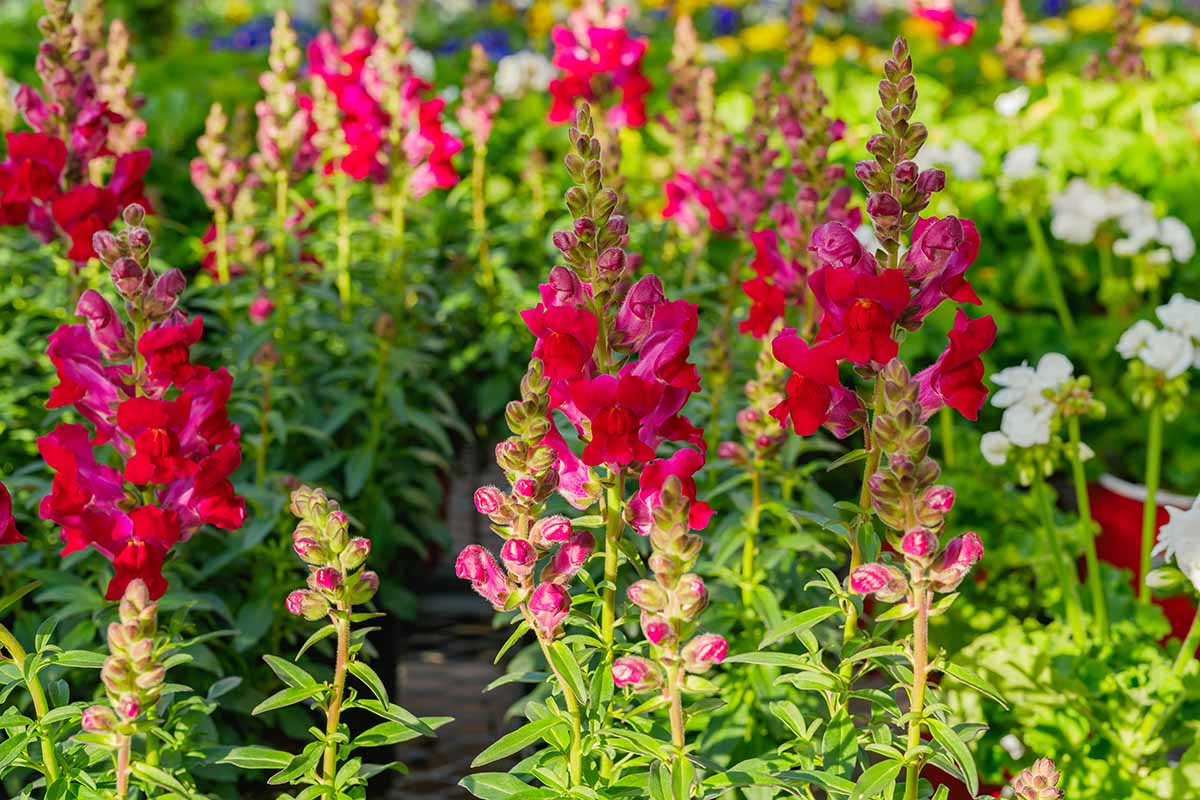
Keep an eye on the blooms. If you were a good bee and pollination was successful, the petals will shed. That means seeds are being produced!
Harvesting and Storing Seeds
Four to five weeks post-pollination, the seed pods should be ready to shake. They’ll be brown and crispy and look a little like skulls.
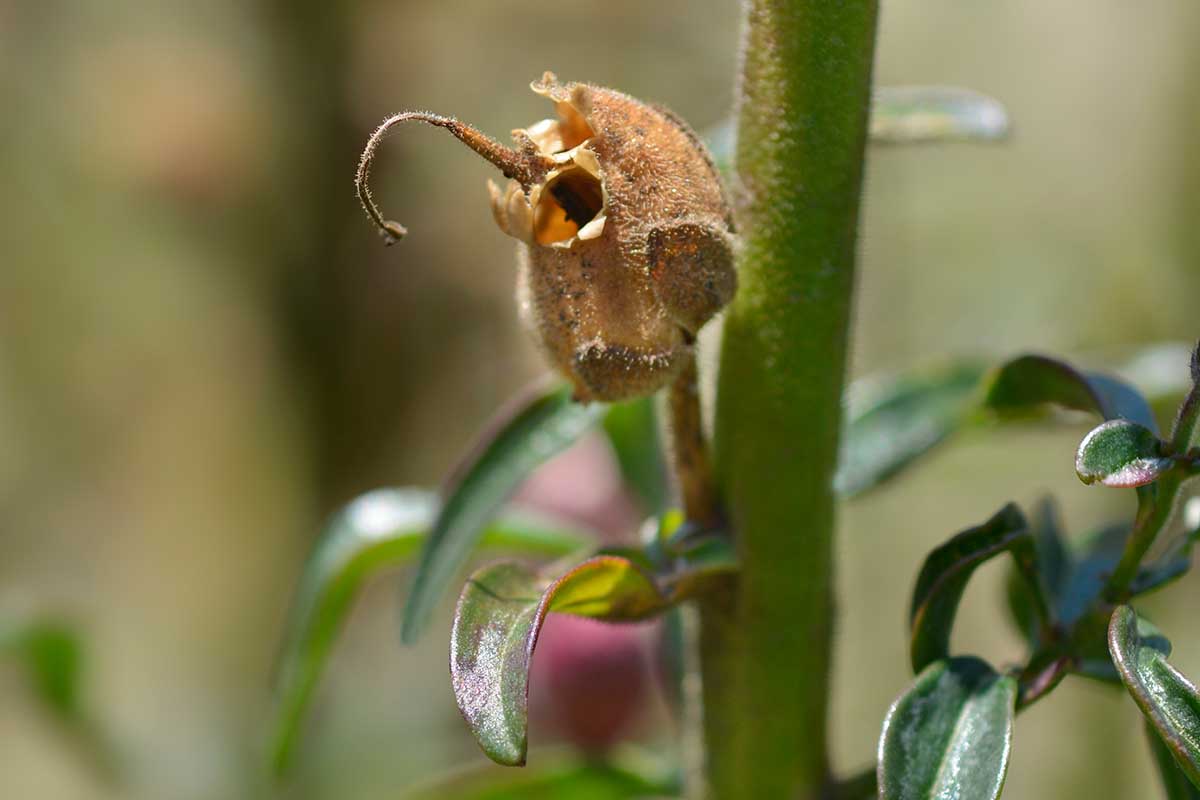
Shake them over a bag or container.
Proper storage is essential in keeping the seeds viable until you can sow and find out what you created. Store completely dry seeds in an airtight container or waxed envelope and keep in a cool dark place.
It is essential to keep them away from heat and moisture until you want them to germinate.
Label the package or jar with parent information, and the date collected.
Snapdragon Mixology
At home in my parents’ greenhouses, everyone was excited to find oddball snaps while picking bunches from the perfectly uniform beds. It wasn’t common, but they were a fun surprise on those long, hot days.
Most of these were wayward seeds or mutations, but can you imagine an entire bed of surprises?
Creating new hybrids on purpose does require some fussing over tiny bits of pollen and flower parts, but the anticipation is worth it!
Even if nothing spectacular comes of it, it’s a fun experiment that gets you outside and up close to snapdragon flowers you might normally just glance at.
If you try creating your own hybrids and collecting their seeds, let me know in the comments below which parents you choose and what you end up with!
For more help with growing snapdragons, read these guides next:

I have two snapdragon plants one is 98 inches high and the other 97 inches high and they are starting to bloom. The flower is a dark purple with yellow in the middle..they are gorgeous
These are actually hollyhocks – beautiful! Thanks for sharing!